1. ആമുഖം
This manual provides comprehensive instructions for the setup, operation, and maintenance of your Audix OM2 Dynamic Vocal Microphone. Please read this manual thoroughly before using the product to ensure optimal performance and longevity.

Figure 1: Audix OM2 Dynamic Vocal Microphone. This image shows the microphone's sleek black body and metal grille.
2. ഉൽപ്പന്ന സവിശേഷതകൾ
- ബഹുമുഖ പ്രകടനം: Suitable for a wide variety of live, home, and studio applications, including vocals and instruments.
- വ്യക്തമായ ശബ്ദ പുനരുൽപാദനം: Known for clear and accurate sound reproduction with exceptional voice response.
- Feedback Resistance: Features a proprietary anti-feedback design, ideal for live performances.
- ഉയർന്ന SPL കൈകാര്യം ചെയ്യൽ: Capable of handling very high Sound Pressure Levels (SPLs) without distortion.
- നീണ്ടുനിൽക്കുന്ന നിർമ്മാണം: Built with a robust zinc alloy body, black E-coat finish, steel grille, and gold-plated XLR connector for longevity.
- VLM (Very Low Mass) Diaphragm: Employs a VLM type-B diaphragm for a precise sound with a tailored mid-range.
3. പാക്കേജ് ഉള്ളടക്കം
Upon unpacking your Audix OM2, please ensure all items listed below are present:
- Audix OM2 Dynamic Vocal Microphone
- മൈക്രോഫോൺ ക്ലിപ്പ്
- സംരക്ഷണ സഞ്ചി

Figure 2: The Audix OM2 microphone shown with its included microphone clip and protective pouch.
4. സജ്ജീകരണം
- മൈക്രോഫോൺ ക്ലിപ്പ് അറ്റാച്ചുചെയ്യുക: Securely fasten the included microphone clip to a standard microphone stand.
- Mount Microphone: Insert the Audix OM2 microphone into the microphone clip. Ensure it is firmly seated.
- XLR കേബിൾ ബന്ധിപ്പിക്കുക: Connect a standard XLR cable (not included) to the microphone's XLR output connector. The OM2 uses a 3-pin XLR connector.
- ഓഡിയോ സിസ്റ്റത്തിലേക്ക് ബന്ധിപ്പിക്കുക: Plug the other end of the XLR cable into your mixer, audio interface, or ampജീവൻ.

ചിത്രം 3: ക്ലോസപ്പ് view of the Audix OM2 microphone's XLR connector, ready for cable attachment.
5. പ്രവർത്തന നിർദ്ദേശങ്ങൾ
5.1 മൈക്രോഫോൺ പ്ലേസ്മെന്റ്
- For vocals, hold the microphone 1-6 inches from your mouth. Experiment with distance to achieve desired tone and proximity effect.
- The OM2 features a Hypercardioid polar pattern, which is highly directional. Aim the microphone directly at the sound source to maximize pickup and minimize off-axis noise and feedback.
- When miking instruments, position the microphone close to the sound source (e.g., guitar amplifier speaker, drum head) for a direct and punchy sound.
5.2 ഗെയിൻ എസ്taging
- Adjust the gain on your mixer or audio interface to achieve a strong signal without clipping (distortion). The OM2 can handle high SPLs, but proper gain staging is crucial.
- The microphone's sensitivity is 1.7 mV/Pascal @ 1kHz, providing a robust signal.
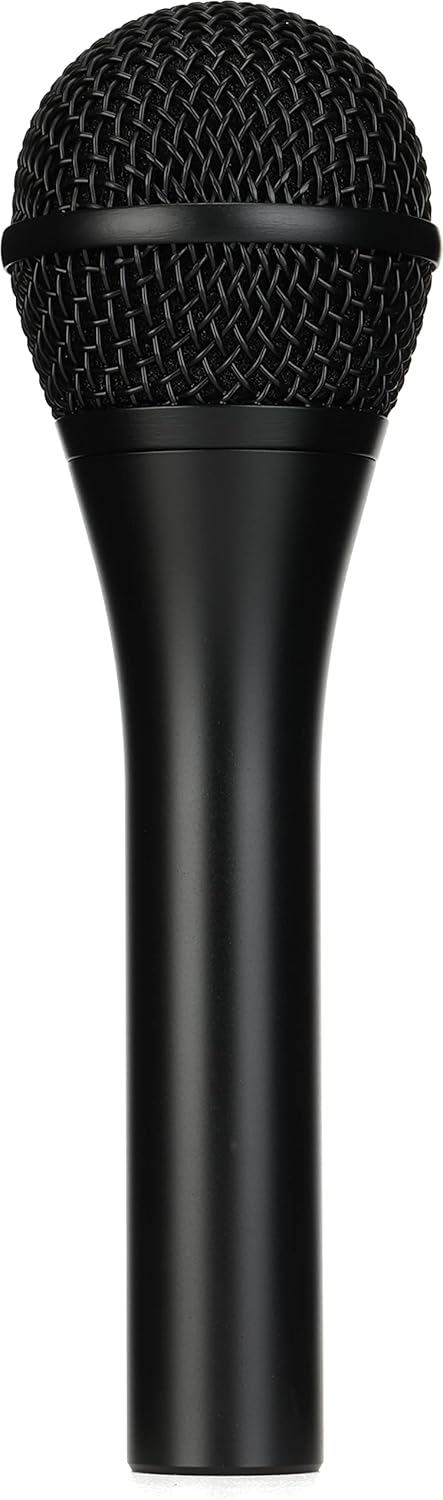
Figure 4: A close-up of the Audix OM2 microphone's grille, highlighting its robust construction and design for vocal clarity.
6. പരിപാലനം
- വൃത്തിയാക്കൽ: മൈക്രോഫോൺ ബോഡി തുടയ്ക്കാൻ മൃദുവായതും ഉണങ്ങിയതുമായ തുണി ഉപയോഗിക്കുക. ഗ്രില്ലിന് വേണ്ടി, പൊടിയോ അവശിഷ്ടങ്ങളോ സൌമ്യമായി നീക്കം ചെയ്യാൻ മൃദുവായ ബ്രഷ് ഉപയോഗിക്കാം. ലിക്വിഡ് ക്ലീനറുകൾ നേരിട്ട് മൈക്രോഫോണിൽ ഉപയോഗിക്കുന്നത് ഒഴിവാക്കുക.
- സംഭരണം: When not in use, store the microphone in its included protective pouch to prevent dust accumulation and physical damage.
- കൈകാര്യം ചെയ്യൽ: While the OM2 is built for durability, avoid dropping or subjecting it to excessive force to maintain its performance and appearance.

Figure 5: The Audix OM2 microphone viewഒരു കോണിൽ നിന്ന്, കാണിക്കുകasing its ergonomic design and durable finish.
7. പ്രശ്നപരിഹാരം
- ശബ്ദമില്ല:
- എല്ലാ XLR കേബിളുകളും രണ്ട് അറ്റത്തും സുരക്ഷിതമായി ബന്ധിപ്പിച്ചിട്ടുണ്ടെന്ന് ഉറപ്പാക്കുക.
- Verify that the input channel on your mixer/interface is selected and its gain is appropriately set.
- Check if phantom power is accidentally engaged on a dynamic microphone input, though the OM2 is dynamic and does not require it.
- ഫീഡ്ബാക്ക് പ്രശ്നങ്ങൾ:
- Reposition the microphone to point directly at the sound source and away from speakers.
- Reduce the gain on the input channel.
- Utilize the anti-feedback design by ensuring proper microphone technique.
- വികലമായ ശബ്ദം:
- Lower the input gain on your mixer/interface. The microphone might be receiving too strong a signal.
- Ensure the microphone is not too close to an extremely loud sound source.
8 സ്പെസിഫിക്കേഷനുകൾ
| ഫീച്ചർ | സ്പെസിഫിക്കേഷൻ |
|---|---|
| ട്രാൻസ്ഫ്യൂസർ തരം | ചലനാത്മകം |
| ഫ്രീക്വൻസി പ്രതികരണം | 50 Hz - 16 kHz |
| പോളാർ പാറ്റേൺ | ഹൈപ്പർകാർഡിയോയിഡ് |
| ഔട്ട്പുട്ട് ഇംപെഡൻസ് | 250 ഓം |
| സംവേദനക്ഷമത | 1.7 mV / Pascal @ 1kHz |
| Off Axis Rejection | > 25 ഡിബി |
| പരമാവധി SPL | 140 ഡി.ബി |
| മെറ്റീരിയൽ | Zinc alloy, black E-coat finish, steel, gold |
| ഇനത്തിൻ്റെ ഭാരം | 15.8 ഔൺസ് (0.99 പൗണ്ട്) |
| ഉൽപ്പന്ന അളവുകൾ | 8.85 x 4.35 x 2.65 ഇഞ്ച് |
| കണക്റ്റിവിറ്റി ടെക്നോളജി | XLR |
| ശുപാർശ ചെയ്യുന്ന ഉപയോഗങ്ങൾ | പാട്ട്, പ്രസംഗം |
9. വാറൻ്റിയും പിന്തുണയും
For warranty information and technical support, please refer to the official Audix webസൈറ്റിൽ ബന്ധപ്പെടുകയോ അവരുടെ ഉപഭോക്തൃ സേവനവുമായി നേരിട്ട് ബന്ധപ്പെടുകയോ ചെയ്യുക. ഏതെങ്കിലും വാറന്റി ക്ലെയിമുകൾക്ക് വാങ്ങിയതിന്റെ തെളിവായി നിങ്ങളുടെ വാങ്ങൽ രസീത് സൂക്ഷിക്കുക.