
ഉൽപ്പന്നം കഴിഞ്ഞുview
The Yamaha RK1 Rack Mount Kit is designed to securely install compatible Yamaha mixers into a standard 19-inch equipment rack. This kit provides the necessary hardware to integrate your mixer seamlessly into a professional studio or live sound setup, ensuring stability and accessibility.
പ്രധാന കുറിപ്പ്: This product includes only the rack mount kit and its associated hardware. The mixer itself is sold separately and is not included with this kit.
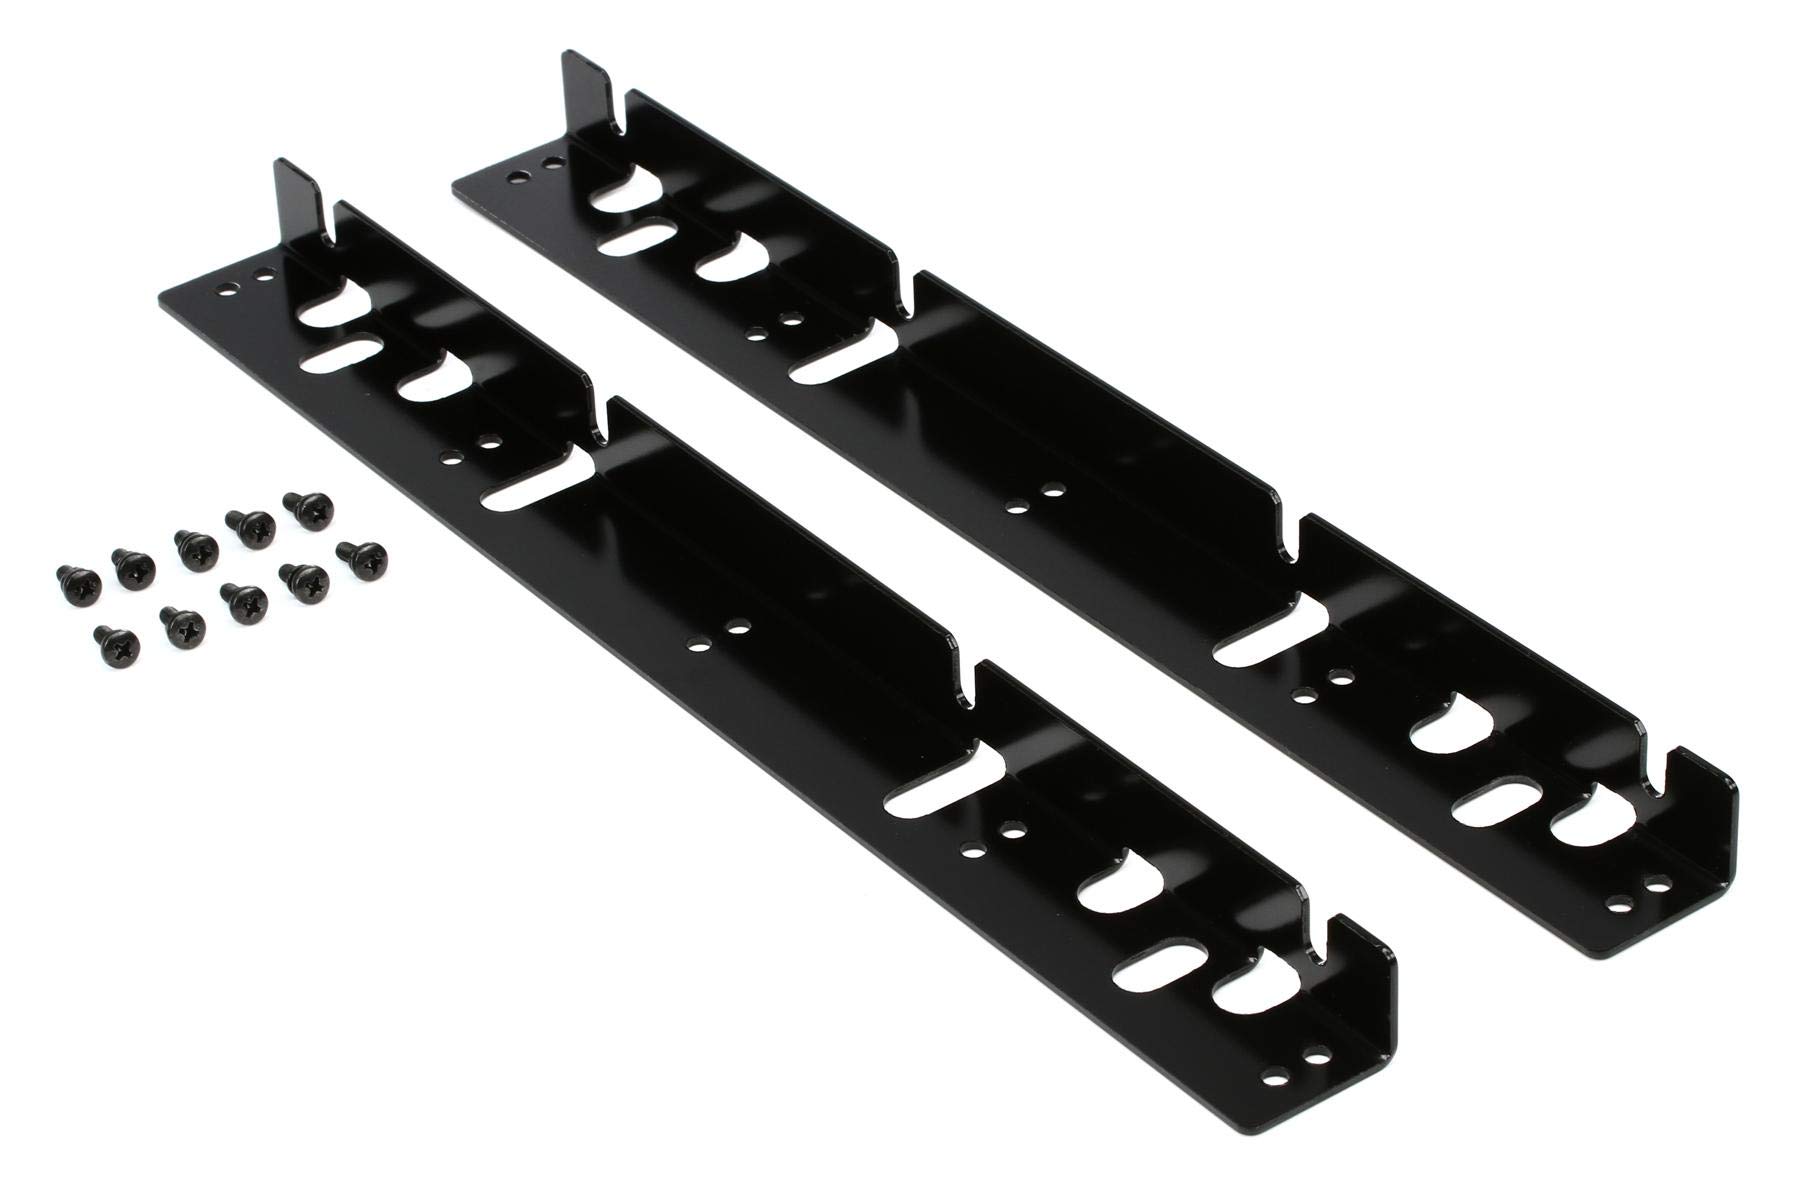
Image: The Yamaha RK1 Rack Mount Kit, showing the two metal brackets and mounting screws.
പാക്കേജ് ഉള്ളടക്കം
- Two (2) RK1 Rack Mount Brackets
- Set of mounting screws for attaching brackets to the mixer
- Set of rack screws for securing the mixer to a 19-inch equipment rack
അനുയോജ്യത
The RK1 Rack Mount Kit is specifically designed for use with the Yamaha O1V96 series mixers (all versions, including O1V96i). It has also been confirmed to fit the older Yamaha MX12/4 mixer.
കുറിപ്പ്: This kit is അനുയോജ്യമല്ല with the Yamaha Promix 01 mixer. Please verify your mixer model before attempting installation to ensure proper fitment.
ഇൻസ്റ്റലേഷൻ നിർദ്ദേശങ്ങൾ
Follow these steps to properly install your Yamaha mixer using the RK1 Rack Mount Kit:
- മിക്സർ തയ്യാറാക്കുക: Ensure your Yamaha mixer is powered off and disconnected from all cables. Place it on a stable, flat surface.
- മൗണ്ടിംഗ് പോയിന്റുകൾ തിരിച്ചറിയുക: Locate the screw holes on the sides of your mixer chassis, typically near the front panel. These are where the RK1 brackets will attach.
- ബ്രാക്കറ്റുകൾ അറ്റാച്ചുചെയ്യുക: Align one RK1 bracket with the mounting holes on one side of the mixer. Use the smaller screws provided in the kit to securely fasten the bracket to the mixer. Do not overtighten. Repeat this process for the second bracket on the opposite side of the mixer.
- റാക്ക് തയ്യാറാക്കുക: Identify the desired location within your 19-inch equipment rack. Ensure there is adequate space and ventilation.
- Mount the Mixer: Carefully lift the mixer (with attached brackets) and align the holes on the RK1 brackets with the corresponding screw holes on the rack rails.
- റാക്കിലേക്ക് സുരക്ഷിതമാക്കുക: Use the larger rack screws provided in the kit to firmly attach the mixer to the equipment rack. Tighten all screws evenly to ensure a secure and stable installation.
- അന്തിമ പരിശോധന: Verify that the mixer is securely mounted and does not wobble. Reconnect all necessary cables and power on your mixer.
പരിചരണവും പരിപാലനവും
The Yamaha RK1 Rack Mount Kit requires minimal maintenance. To ensure its longevity and appearance:
- Periodically check all mounting screws to ensure they remain tight.
- Clean the brackets with a soft, dry cloth to remove dust or smudges. Avoid abrasive cleaners or solvents.
- If the kit is removed from the rack, store the components in a dry, safe place to prevent loss or damage.
ട്രബിൾഷൂട്ടിംഗ്
Problem: The RK1 kit does not align with my mixer's mounting holes.
പരിഹാരം: റഫർ ചെയ്യുക അനുയോജ്യത section of this manual. The RK1 is designed for specific Yamaha mixer models, primarily the O1V96 series. If your mixer is not listed as compatible, the kit may not fit. Do not attempt to force the installation, as this could damage your mixer or the rack kit.
Problem: The mixer feels unstable after installation.
പരിഹാരം: Ensure all screws attaching the brackets to the mixer and the mixer to the rack are securely tightened. Over time, screws can loosen due to vibrations. Re-tighten them as necessary. If the issue persists, inspect the rack rails for damage or misalignment.
സ്പെസിഫിക്കേഷനുകൾ
| സ്പെസിഫിക്കേഷൻ | മൂല്യം |
|---|---|
| മോഡൽ നമ്പർ | RK1 |
| ഇനത്തിൻ്റെ ഭാരം | 5.6 ഔൺസ് (ഏകദേശം 159 ഗ്രാം) |
| ഉൽപ്പന്ന അളവുകൾ | 5.25 x 1.5 x 3 ഇഞ്ച് (13.34 x 3.81 x 7.62 സെ.മീ) |
| മെറ്റീരിയൽ | ലോഹം |
| Rack Size Compatibility | സാധാരണ 19 ഇഞ്ച് ഉപകരണ റാക്ക് |
പിന്തുണയും വാറൻ്റിയും
For technical assistance, warranty information, or service inquiries regarding your Yamaha RK1 Rack Mount Kit, please contact Yamaha customer support directly. Refer to the official Yamaha website or your product packaging for the most current contact details and warranty terms applicable to your region.
You can typically find support information on the official Yamaha Musical Instruments webസൈറ്റ്: www.yamaha.com