1. ആമുഖം
The VILTROX JY-710-C1 is a 2.4GHz wireless remote shutter timer controller designed for Canon EOS cameras. This device allows for precise control over your camera's shutter, enabling various shooting modes including single shot, continuous shooting, BULB mode, delay shooting, and advanced timer schedule shooting. Its wireless functionality provides flexibility, while the wired option ensures reliability. This manual provides detailed instructions for setup, operation, and maintenance of your JY-710-C1.
2. പാക്കേജ് ഉള്ളടക്കം
താഴെ പറയുന്ന എല്ലാ ഇനങ്ങളും നിങ്ങളുടെ പാക്കേജിൽ ഉൾപ്പെടുത്തിയിട്ടുണ്ടോ എന്ന് ദയവായി പരിശോധിക്കുക:
- 1 x JY-710 Transmitter Unit
- 1 x JY-710 Receiver Unit
- 1 x Shutter Connection Cord (C1 type for Canon cameras)
- 1 x ഇൻസ്ട്രക്ഷൻ മാനുവൽ
3. ഉൽപ്പന്ന ഘടകങ്ങൾ
3.1 ട്രാൻസ്മിറ്റർ യൂണിറ്റ്
The transmitter features an LCD display for settings, navigation buttons, and a shutter release button. It is used to configure and initiate shooting sequences.
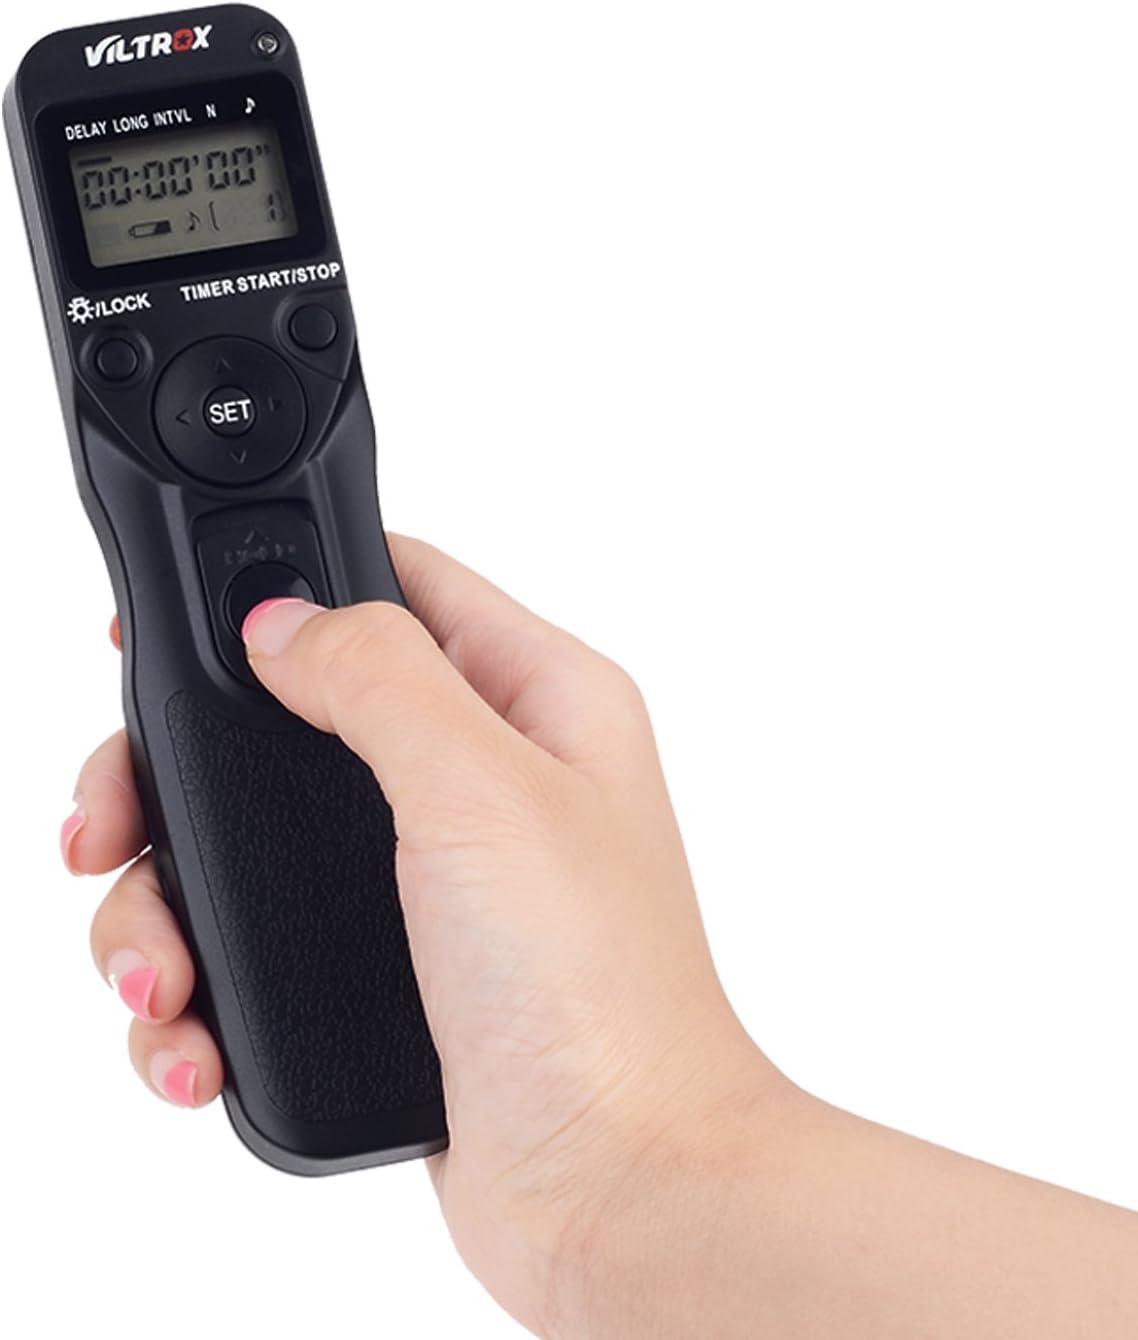
ചിത്രം 3.1: Close-up of the JY-710-C1 Transmitter Unit. This image shows the ergonomic design of the transmitter, with its clear LCD display and accessible control buttons for setting various timer functions.
3.2 റിസീവർ യൂണിറ്റ്
The receiver unit connects to your camera's remote port and receives signals from the transmitter. It features a channel selector switch and a battery compartment.

ചിത്രം 3.2: Close-up of the JY-710-C1 Receiver Unit. This image highlights the receiver's compact size, the FSK 2.4GHz wireless technology indicator, and the channel selection switch (1, 2, 3, 4).
4. സജ്ജീകരണം
4.1 ബാറ്ററി ഇൻസ്റ്റാളേഷൻ
Both the transmitter and receiver units require two AAA 1.5V LR03 alkaline batteries each. To install:
- Open the battery compartment cover on the back of both the transmitter and receiver.
- ശരിയായ പോളാരിറ്റി (+/-) ഉറപ്പാക്കിക്കൊണ്ട് രണ്ട് AAA ബാറ്ററികൾ ഇടുക.
- ബാറ്ററി കമ്പാർട്ട്മെൻ്റ് കവർ സുരക്ഷിതമായി അടയ്ക്കുക.
4.2 Connecting to Camera (Wireless Mode)
For wireless operation, the receiver unit connects to your camera.
- Attach the receiver unit to your camera's hot shoe (optional, for secure mounting).
- Connect one end of the provided shutter connection cord to the receiver unit's port.
- Connect the other end of the shutter connection cord to your camera's remote control terminal.
- Ensure both the transmitter and receiver are powered on and set to the same channel (1-4) using the channel selector switch on the receiver.

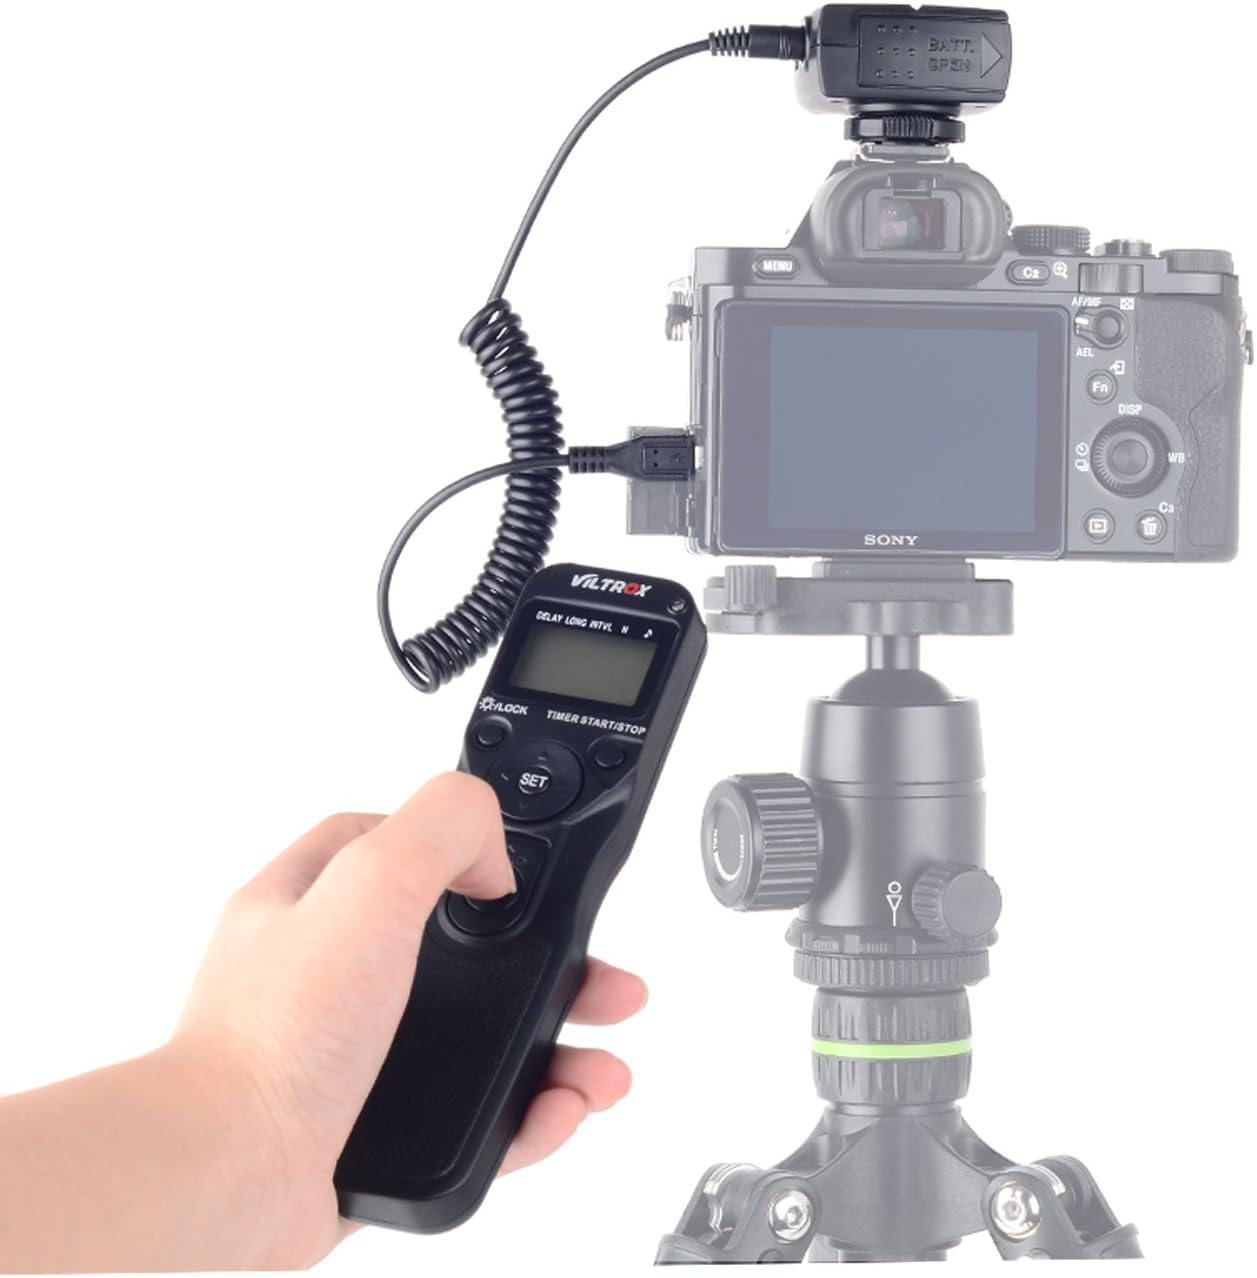
ചിത്രം 4.1: Wireless Setup with Transmitter and Receiver. This image illustrates the complete wireless setup, showing the transmitter in use and the receiver connected to a Canon DSLR camera mounted on a tripod.
4.3 Connecting to Camera (Wired Mode)
The transmitter can also be used as a wired remote control by connecting it directly to the camera.
- Connect one end of the provided shutter connection cord to the transmitter unit's port.
- Connect the other end of the shutter connection cord to your camera's remote control terminal.
- The receiver unit is not needed for wired operation.

ചിത്രം 4.2: Wired Connection Example. This image shows the receiver unit connected directly to a Canon camera, demonstrating how the unit can function as a wired remote when the transmitter is not used wirelessly.
5. Basic Operation Modes
The JY-710-C1 supports several basic shooting modes:
- സിംഗിൾ ഷൂട്ടിംഗ്: Press the shutter button on the transmitter halfway to focus, then fully to take a single photo.
- 1s Continuous Shooting: Hold the shutter button fully pressed for continuous shots.
- BULB Shooting: For long exposures, press the shutter button fully and release to start the exposure. Press again to end the exposure.
- Delay Shooting: Set a delay time before the shutter is released.
6. Timer Schedule Shooting
The JY-710-C1 offers advanced timer functions for automated shooting sequences. Use the navigation buttons on the transmitter to select and adjust parameters.
6.1 ക്രമീകരണ പാരാമീറ്ററുകൾ
The transmitter's LCD displays various parameters: DELAY, LONG (exposure time), INTNL (interval), and N (number of shots). Use the സെറ്റ് button to enter editing mode and the arrow buttons to adjust values.
- DELAY (Timer Delay): Sets the delay before the first shot. Range: 0s to 99hrs 59min 59s.
- LONG (Exposure Time): Sets the duration of each exposure. Range: 0s to 99hrs 59min 59s. This is used for BULB exposures.
- INTNL (Interval): Sets the time between each shot. Range: 1s to 99hrs 59min 59s.
- N (Number of Shots): Sets the total number of photos to be taken. Range: 1 to 399, or '--' for unlimited.
ചിത്രം 6.1: Setting Timer Functions on the Transmitter. This image shows the transmitter's display with various timer settings (DELAY, LONG, INTNL, N) being adjusted, demonstrating the user interface for programming shooting sequences.
6.2 Starting a Timer Sequence
After setting your desired parameters, press the TIMER START/STOP button to begin the programmed shooting sequence. Press it again to stop the sequence.
7. പരിപാലനം
7.1 വൃത്തിയാക്കൽ
മൃദുവായതും ഉണങ്ങിയതുമായ തുണി ഉപയോഗിച്ച് ഉപകരണം തുടയ്ക്കുക. അബ്രസീവ് ക്ലീനറുകളോ ലായകങ്ങളോ ഉപയോഗിക്കരുത്.
7.2 ബാറ്ററി കെയർ
Remove batteries if the device will not be used for an extended period to prevent leakage. Replace batteries when the low battery indicator appears on the LCD.
8. പ്രശ്നപരിഹാരം
- ഉപകരണം ഓണാക്കുന്നില്ല: ബാറ്ററി ഇൻസ്റ്റാളേഷൻ പരിശോധിച്ച് ബാറ്ററികൾ പുതിയതാണെന്ന് ഉറപ്പാക്കുക.
- Camera not responding (Wireless): Ensure both transmitter and receiver are powered on and set to the same channel. Verify the shutter connection cord is securely attached to both the receiver and camera. Check camera settings for remote control.
- Camera not responding (Wired): Ensure the shutter connection cord is securely attached to both the transmitter and camera. Check camera settings.
- Timer sequence not starting: Ensure all timer parameters (DELAY, LONG, INTNL, N) are correctly set and the TIMER START/STOP ബട്ടൺ അമർത്തി.
- ഇടപെടൽ: If experiencing inconsistent wireless performance, try changing the channel on both the transmitter and receiver.
9 സ്പെസിഫിക്കേഷനുകൾ
| ടൈമർ കാലതാമസം | 0s to 99hrs 59min 59s in one-second increments |
| സമ്പർക്ക സമയം | 0s to 99hrs 59min 59s in one-second increments |
| ഇടവേള | 1s to 99hrs 59min 59s in one-second increments |
| ഷോട്ടുകളുടെ എണ്ണം | 1 to 399, or unlimited ('--') |
| പവർ ഉറവിടം | 2 x AAA 1.5V LR03 alkaline batteries (for transmitter) 2 x AAA 1.5V LR03 alkaline batteries (for receiver) |
| ബാറ്ററി ലൈഫ് | Approx. two months of continuous shooting (specific conditions apply) |
| പ്രവർത്തന താപനില | -20°C മുതൽ +50°C വരെ (-4°F മുതൽ +122°F വരെ) |
| അളവുകൾ (ട്രാൻസ്മിറ്റർ) | ഏകദേശം. 155 x 40 x 18 മിമി (6.1 x 1.6 x 0.7 ഇഞ്ച്) |
| Weight (with receiver) | ഏകദേശം. 125 ഗ്രാം (3.7oz) |
| ചരടിന്റെ നീളം | Approx. 850mm (33.5in) |
| വയർലെസ് ഫ്രീക്വൻസി | FSK 2.4GHz |
| വയർലെസ് ചാനലുകൾ | 4 ചാനലുകൾ |
| വയർലെസ് ശ്രേണി | Approx. 50-80m |
10 അനുയോജ്യത
The VILTROX JY-710-C1 is compatible with the following Canon EOS camera models:
- EOS 80D, 77D, 70D, 60D, 60Da
- EOS 800D, 760D, 750D, 700D, 650D, 600D, 550D, 500D, 450D
- EOS 100D, 1300D, 1200D, 1100D, 1000D
- EOS M5, M6
11. വാറൻ്റിയും പിന്തുണയും
VILTROX products are designed for reliability and performance. For warranty information and technical support, please refer to the official VILTROX webനിങ്ങളുടെ സൈറ്റിൽ ബന്ധപ്പെടുക അല്ലെങ്കിൽ നിങ്ങളുടെ പ്രാദേശിക വിതരണക്കാരനെ ബന്ധപ്പെടുക. വാറന്റി ക്ലെയിമുകൾക്കായി നിങ്ങളുടെ വാങ്ങിയതിന്റെ തെളിവ് സൂക്ഷിക്കുക.