
1. ആമുഖം
This manual provides detailed instructions for the setup, operation, and maintenance of your Marathon CL030050BL Digital Dual Alarm Clock. This digital clock features an easy-to-read display with backlight, dual alarms for weekdays and weekends, and displays time, date, and temperature. Please read this manual thoroughly before using the device.

Image 1.1: The Marathon CL030050BL Digital Dual Alarm Clock, showcasing its compact design and clear display on a desk.
2. പാക്കേജ് ഉള്ളടക്കം
പാക്കേജിൽ എല്ലാ ഇനങ്ങളും ഉണ്ടെന്ന് ഉറപ്പാക്കുക:
- Marathon CL030050BL Digital Dual Alarm Clock
- ഉപയോക്തൃ മാനുവൽ (ഈ പ്രമാണം)
3. ഉൽപ്പന്ന സവിശേഷതകൾ
The Marathon CL030050BL Digital Dual Alarm Clock offers the following key features:
- വായിക്കാൻ എളുപ്പമുള്ള ഡിസ്പ്ലേ: Large digital numbers for clear visibility.
- ബാക്ക്ലൈറ്റ്: Provides illumination for viewകുറഞ്ഞ വെളിച്ചത്തിൽ.
- ഒന്നിലധികം ഡിസ്പ്ലേ മോഡുകൾ: Shows time (12/24 hour format), date, and indoor temperature (Celsius/Fahrenheit).
- ഇരട്ട അലാറം: Allows setting two separate alarms, suitable for weekdays and weekends.
- സ്നൂസ്/ലൈറ്റ് ബട്ടൺ: Convenient button for temporary alarm pause and backlight activation.
- ബഹുഭാഷാ ദിന പ്രദർശനം: Day of the week available in 7 languages.
- ഒതുക്കമുള്ളതും ഭാരം കുറഞ്ഞതുമായ ഡിസൈൻ: Ideal for bedside tables or travel.

ചിത്രം 3.1: വിശദമായത് view of the clock's display and highlighted features such as ease of use, multilingual support, and sleek design.
4. സജ്ജീകരണം
4.1 ബാറ്ററി ഇൻസ്റ്റാളേഷൻ
The clock requires batteries for operation. Locate the battery compartment on the back of the unit.
- ബാറ്ററി കമ്പാർട്ട്മെന്റ് കവർ പതുക്കെ സ്ലൈഡ് ചെയ്ത് തുറക്കുക.
- Insert the required batteries (typically AA or AAA, refer to the compartment label) according to the polarity indicators (+ and -).
- ബാറ്ററി കമ്പാർട്ട്മെൻ്റ് കവർ സുരക്ഷിതമായി അടയ്ക്കുക.
4.2 പ്രാരംഭ പവർ ഓൺ
Upon successful battery installation, the clock display will activate. It may show a default time or a flashing display, indicating it is ready for time and date setting.

ചിത്രം 4.1: പിൻഭാഗം view of the clock, illustrating the location of control buttons for setup and operation.
5. പ്രവർത്തന നിർദ്ദേശങ്ങൾ
Familiarize yourself with the buttons on the back of the clock: മോഡ്, അലാറം (bell icon), UP (triangle up), താഴേക്ക് (triangle down), സി / എഫ്, ഒപ്പം പുനഃസജ്ജമാക്കുക.
5.1 സമയവും തീയതിയും ക്രമീകരിക്കുക
- അമർത്തുക മോഡ് സമയ ഡിസ്പ്ലേ മിന്നിത്തുടങ്ങുന്നതുവരെ അല്ലെങ്കിൽ നിങ്ങൾ സമയ ക്രമീകരണ മോഡിൽ പ്രവേശിക്കുന്നതുവരെ ബട്ടൺ ആവർത്തിച്ച് അമർത്തുക.
- ഉപയോഗിക്കുക UP or താഴേക്ക് മണിക്കൂർ ക്രമീകരിക്കാനുള്ള ബട്ടണുകൾ.
- അമർത്തുക മോഡ് again to move to minutes, then use UP or താഴേക്ക് ക്രമീകരിക്കാൻ.
- അമർത്തുന്നത് തുടരുക മോഡ് വർഷം, മാസം, ദിവസം എന്നീ ക്രമീകരണങ്ങളിലൂടെ സൈക്കിൾ ചെയ്യാൻ, ഓരോന്നും ഉപയോഗിച്ച് ക്രമീകരിക്കുക UP or താഴേക്ക്.
- ദിവസം സജ്ജീകരിച്ചതിനുശേഷം, അമർത്തുക മോഡ് ക്രമീകരണ മോഡിൽ നിന്ന് പുറത്തുകടക്കാൻ.
5.2 12/24 മണിക്കൂർ ഫോർമാറ്റ്
While in time display mode (not setting mode), press the UP 12 മണിക്കൂർ (AM/PM സൂചകത്തോടൊപ്പം) 24 മണിക്കൂർ ഫോർമാറ്റുകൾക്കിടയിൽ ടോഗിൾ ചെയ്യാൻ ബട്ടൺ.
5.3 അലാറങ്ങൾ സജ്ജീകരിക്കൽ (അലാറം 1 ഉം അലാറം 2 ഉം)
This clock supports two independent alarms.
- അമർത്തുക അലാറം ബട്ടൺ ഒരിക്കൽ view Alarm 1. Press it again to view അലാറം 2.
- അതേസമയം viewing the desired alarm, press and hold the അലാറം അലാറം സമയം മിന്നിത്തുടങ്ങുന്നത് വരെ ബട്ടൺ അമർത്തുക.
- ഉപയോഗിക്കുക UP or താഴേക്ക് അലാറം സമയം സജ്ജീകരിക്കുന്നതിനുള്ള ബട്ടണുകൾ.
- അമർത്തുക അലാറം again to move to minutes, then use UP or താഴേക്ക് ക്രമീകരിക്കാൻ.
- അമർത്തുക അലാറം അലാറം സമയം സ്ഥിരീകരിക്കാൻ.
- ഒരു അലാറം സജീവമാക്കാനോ നിർജ്ജീവമാക്കാനോ, അമർത്തുക അലാറം button to select it, then press UP or താഴേക്ക് to toggle it on or off. An alarm icon will appear on the display when active.
5.4 സ്നൂസ് ഫംഗ്ഷനും ബാക്ക്ലൈറ്റും
അലാറം മുഴങ്ങുമ്പോൾ, വലിയ ബട്ടൺ അമർത്തുക സ്നൂസ് / ലൈറ്റ് button (usually located on top or front) to temporarily silence the alarm for a few minutes. The alarm will sound again after the snooze period. Pressing this button outside of an alarm will activate the backlight for a few seconds.
5.5 താപനില യൂണിറ്റ് തിരഞ്ഞെടുക്കൽ
അമർത്തുക സി / എഫ് button on the back of the clock to switch the temperature display between Celsius (°C) and Fahrenheit (°F).
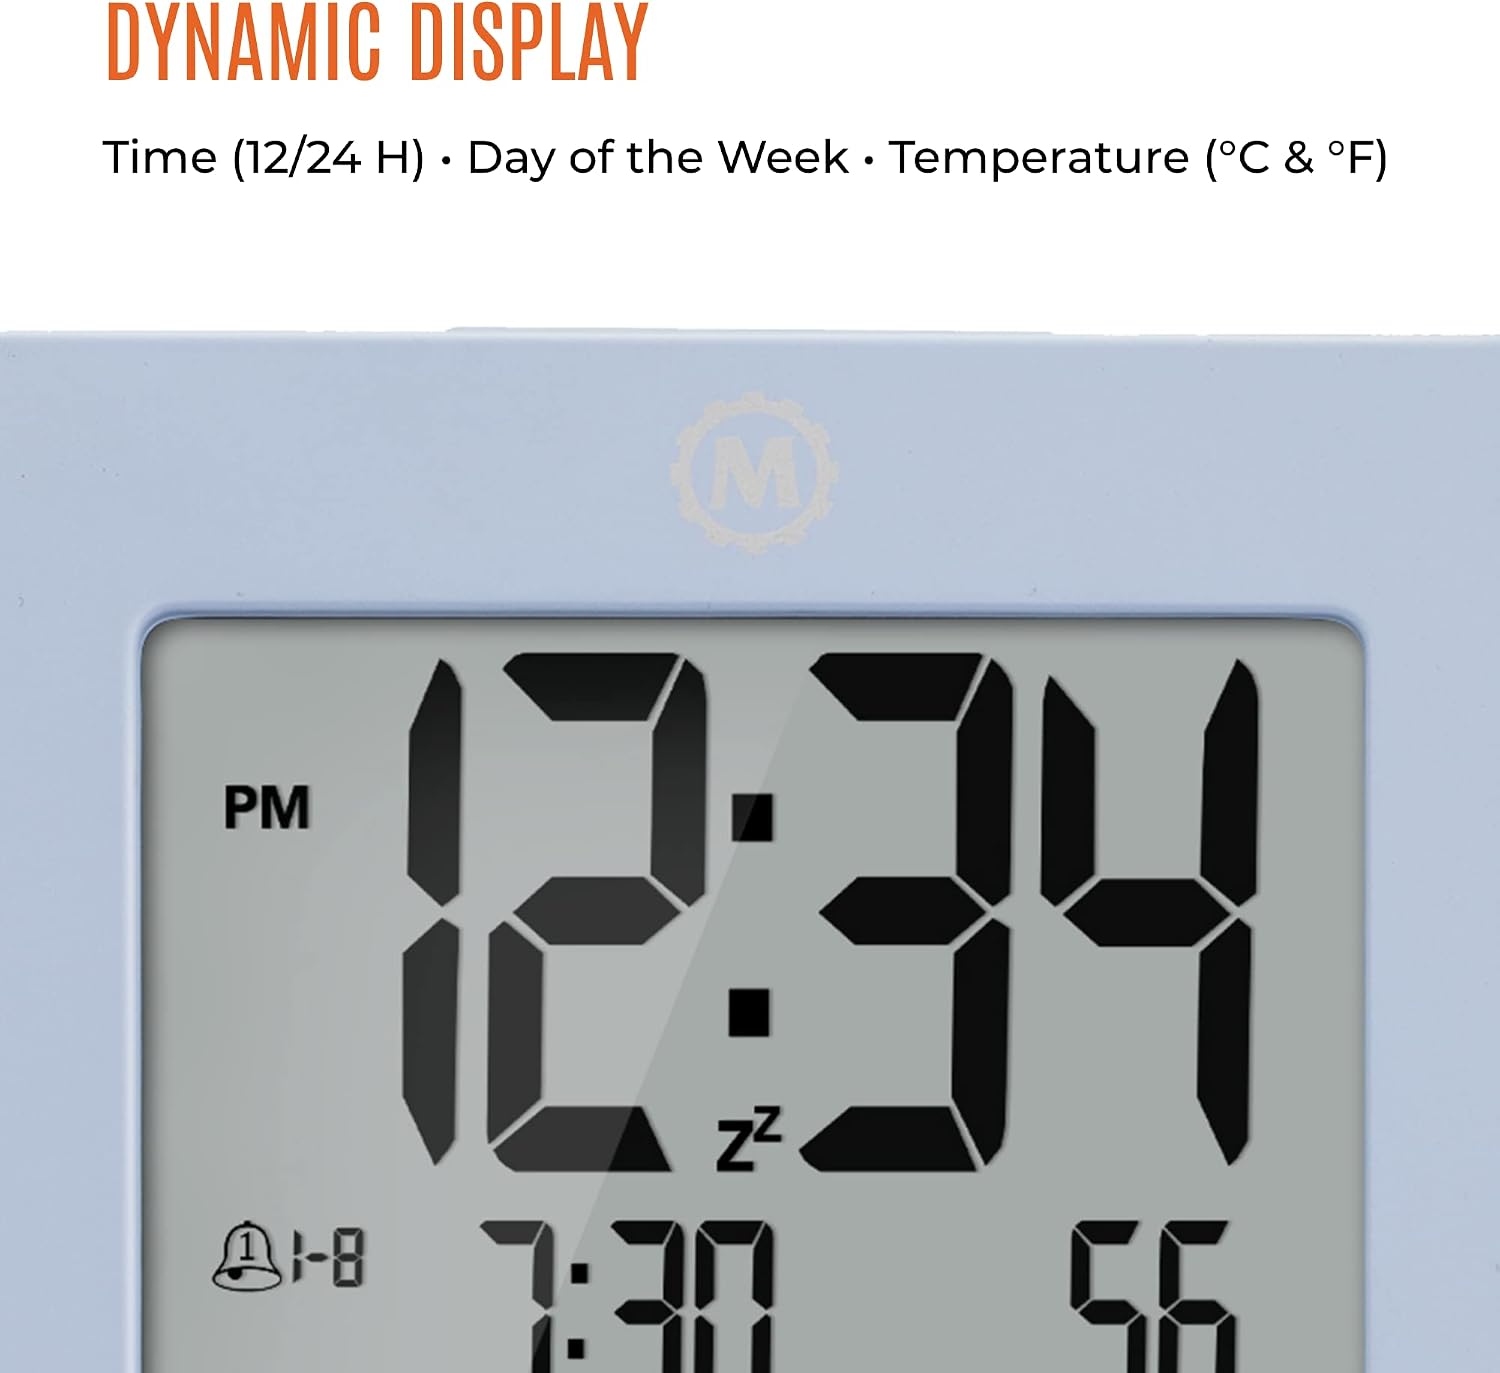
Image 5.1: Dynamic display showing various information including time, alarm status, date, and temperature.
6. പരിപാലനം
6.1 വൃത്തിയാക്കൽ
To clean the clock, use a soft, dry cloth. Do not use abrasive cleaners, solvents, or chemical sprays, as these may damage the display or casing.
6.2 ബാറ്ററി മാറ്റിസ്ഥാപിക്കൽ
When the display dims or functions become erratic, it is time to replace the batteries. Follow the battery installation steps in Section 4.1. Dispose of old batteries responsibly according to local regulations.
7. പ്രശ്നപരിഹാരം
- ഡിസ്പ്ലേ ശൂന്യമോ മങ്ങിയതോ ആണ്:
ബാറ്ററികൾ ശരിയായി ഇൻസ്റ്റാൾ ചെയ്തിട്ടുണ്ടെന്നും തീർന്നുപോയിട്ടില്ലെന്നും ഉറപ്പാക്കുക. ആവശ്യമെങ്കിൽ ബാറ്ററികൾ മാറ്റിസ്ഥാപിക്കുക. - സമയം/തീയതി തെറ്റാണ്:
Re-enter time and date settings as described in Section 5.1. Ensure the correct 12/24 hour format is selected. - അലാറം മുഴങ്ങുന്നില്ല:
Verify that the alarm is activated (alarm icon visible on display) and the alarm time is set correctly. Check battery level. - താപനില വായന തെറ്റാണ്:
Ensure the clock is placed in an area with stable ambient temperature, away from direct heat sources or drafts. - ബട്ടണുകൾ പ്രതികരിക്കുന്നില്ല:
അമർത്താൻ ശ്രമിക്കുക പുനഃസജ്ജമാക്കുക button (often a small recessed button requiring a pointed object like a paperclip) to restart the clock. This will clear all settings, requiring re-setup.
8 സ്പെസിഫിക്കേഷനുകൾ

Image 8.1: Visual representation of the clock's dimensions.
| ഫീച്ചർ | വിശദാംശങ്ങൾ |
|---|---|
| മോഡൽ നമ്പർ | CL030050BL |
| അളവുകൾ (L x W x H) | 9.53 x 3.81 x 9.53 സെ.മീ (3.7 x 1.5 x 3.7 ഇഞ്ച്) |
| ഭാരം | 160 ഗ്രാം |
| ഡിസ്പ്ലേ തരം | ഡിജിറ്റൽ |
| പ്രത്യേക സവിശേഷതകൾ | Dual Alarm, Day, Date, Temperature, Backlight |
| പവർ ഉറവിടം | Batteries (Type specified in compartment) |
9. വാറൻ്റിയും പിന്തുണയും
For warranty information or technical support, please refer to the warranty card included with your purchase or visit the official MARATHON webസൈറ്റ്. ഏതെങ്കിലും വാറന്റി ക്ലെയിമുകൾക്ക് വാങ്ങിയതിന്റെ തെളിവായി നിങ്ങളുടെ വാങ്ങൽ രസീത് സൂക്ഷിക്കുക.