
ആമുഖം
This manual provides detailed instructions for the setup, operation, and maintenance of your AW BM-700 Studio Recording Condenser Microphone Kit. This kit is designed to provide clear, optimized audio for various applications, including voice recording, podcasting, and studio use. Please read this manual thoroughly before using the product to ensure proper functionality and longevity.
ബോക്സിൽ എന്താണുള്ളത്
Your AW BM-700 Studio Recording Condenser Microphone Kit includes the following components:
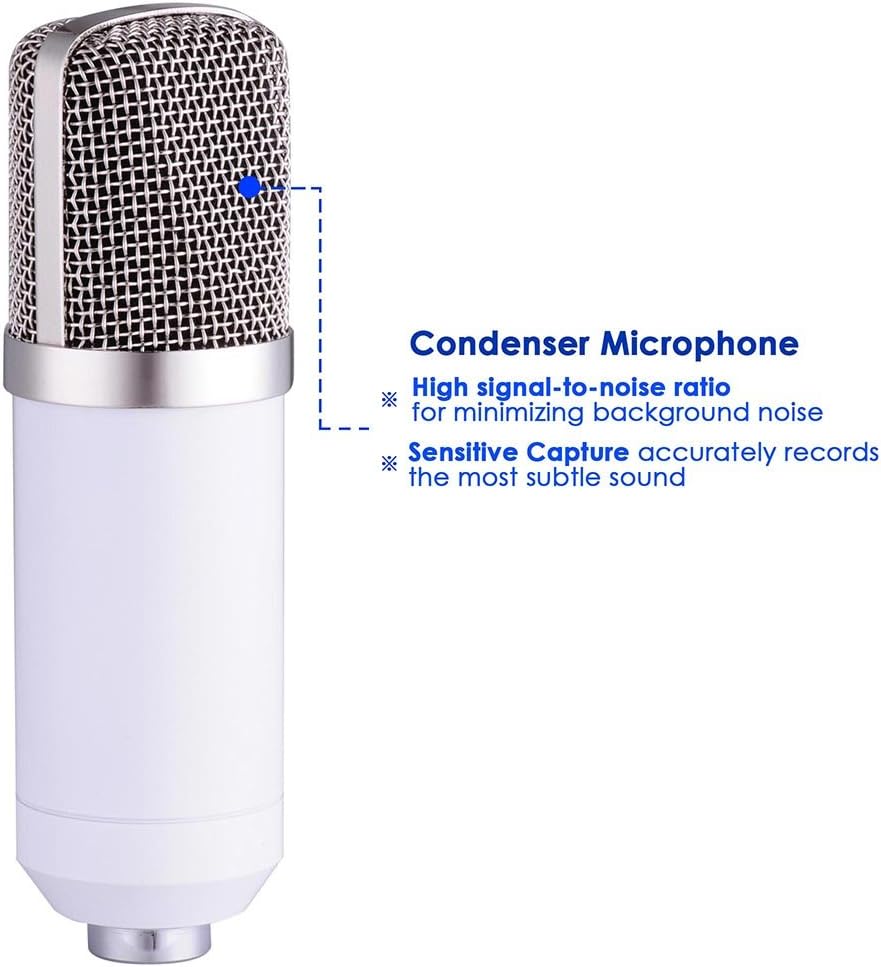
- 1x കണ്ടൻസർ മൈക്രോഫോൺ
- 1x Microphone Cap (Foam Windscreen)
- 1x Shock Mount
- 1x Boom Suspension Scissor Arm Stand
- 1x Pop Filter Mask Shield
- 1x Power Cord (3.5mm audio cable)
- 1x ഉപയോക്തൃ മാനുവൽ (ഈ പ്രമാണം)

സജ്ജീകരണ നിർദ്ദേശങ്ങൾ
Follow these steps to assemble and set up your microphone kit:
- Attach the Arm Stand: cl സുരക്ഷിതമാക്കുകamp of the boom suspension scissor arm stand to a sturdy table or desk. Ensure the table thickness is less than 1 1/2" (3.7 cm). Adjust the arm to your desired position.
- Mount the Shock Mount: Attach the solid metal anti-vibration shock mount to the end of the arm stand. Tighten securely to prevent movement.
- മൈക്രോഫോൺ ചേർക്കുക: Carefully place the condenser microphone into the shock mount. The shock mount holds the microphone in place and isolates it from vibrations.
- പോപ്പ് ഫിൽട്ടർ ഘടിപ്പിക്കുക: Mount the pop filter with its 360-degree adjustable gooseneck to the arm stand or desk. Position it approximately 2-3 inches in front of the microphone to effectively eliminate popping sounds and protect the microphone from saliva.
- പവർ കോർഡ് ബന്ധിപ്പിക്കുക: Plug the 3.5mm audio interface end of the power cord into the microphone's output interface. Connect the other end to your desktop PC or laptop's 3.5mm microphone input.
- പവർ ആവശ്യകതകൾ: The microphone requires 5V to 9V of power, or 48V phantom power supply. It is highly recommended to use this microphone with an external audio card for optimal performance.



പ്രവർത്തന നിർദ്ദേശങ്ങൾ
Once assembled, your microphone kit is ready for use. Follow these guidelines for optimal performance:
- പ്ലേസ്മെൻ്റ്: Position the microphone directly in front of the sound source (e.g., your mouth for vocals) to utilize its cardioid polar pick-up pattern, which focuses on sound from the front and minimizes side and rear noise.
- പോപ്പ് ഫിൽട്ടർ ഉപയോഗം: Always use the pop filter to prevent plosive sounds (like 'p' and 'b') from causing harsh audio spikes.
- ക്രമീകരണം നേടുക: If using an external audio interface, adjust the gain settings to achieve a strong signal without clipping or distortion.
- സോഫ്റ്റ്വെയർ സജ്ജീകരണം: Ensure your computer's audio settings recognize the microphone as the input device. Most recording software will allow you to select the microphone from a list of available inputs.


മെയിൻ്റനൻസ്
Proper maintenance ensures the longevity and performance of your microphone kit:
- വൃത്തിയാക്കൽ: Use a soft, dry cloth to wipe down the microphone body and stand. Avoid using liquid cleaners directly on the microphone.
- പോപ്പ് ഫിൽട്ടർ: പരസ്യം ഉപയോഗിച്ച് പോപ്പ് ഫിൽട്ടർ സൌമ്യമായി വൃത്തിയാക്കാം.amp ആവശ്യമെങ്കിൽ തുണി ഉപയോഗിക്കുക. വീണ്ടും ഘടിപ്പിക്കുന്നതിന് മുമ്പ് പൂർണ്ണമായും ഉണങ്ങിയെന്ന് ഉറപ്പാക്കുക.
- സംഭരണം: When not in use, store the microphone in a clean, dry place away from dust and extreme temperatures.
- കേബിൾ കെയർ: Avoid sharp bends or kinks in the audio cable to prevent internal damage.
ട്രബിൾഷൂട്ടിംഗ്
If you encounter issues with your microphone kit, refer to the following common solutions:
- ശബ്ദമില്ല/കുറഞ്ഞ ശബ്ദം:
- എല്ലാ കേബിളുകളും സുരക്ഷിതമായി ബന്ധിപ്പിച്ചിട്ടുണ്ടെന്ന് ഉറപ്പാക്കുക.
- Verify the microphone is selected as the input device in your computer's sound settings and recording software.
- Check the gain levels on your audio interface or computer.
- Confirm that the microphone is receiving adequate power (5V-9V or 48V phantom power).
- Humming/Hissing Noise:
- എല്ലാ കണക്ഷനുകളും കട്ടിയുള്ളതാണെന്ന് ഉറപ്പാക്കുക.
- Try using a different USB port or power outlet for your computer/audio interface.
- Minimize other electronic devices near the microphone that might cause interference.
- Using an external audio card is highly recommended for best performance and noise reduction.
- Microphone Not Fitting Stand:
- Ensure you are using the correct adapter if the microphone's thread size does not match the stand's. Some microphones may require a thread adapter (not included in this kit) for universal compatibility.
- Incompatibility with Mobile Phones: This microphone cannot be used with mobile phones as a power supply. Do not attempt to connect it directly to a phone for power.
- Incompatibility with Apple Computers: This microphone is not directly compatible with Apple computers. An external sound card must be equipped for use with Apple computers.
സ്പെസിഫിക്കേഷനുകൾ
| ഫീച്ചർ | സ്പെസിഫിക്കേഷൻ |
|---|---|
| മൈക്രോഫോൺ തരം | കണ്ടൻസർ |
| പോളാർ പാറ്റേൺ | കാർഡിയോയിഡ് (യൂണിഡയറക്ഷണൽ) |
| ഫ്രീക്വൻസി പ്രതികരണം | 20 Hz മുതൽ 20 kHz വരെ |
| സംവേദനക്ഷമത | -32 dB ± 3 dB (0 dB = 1 V/Pa at 1 kHz) |
| ഔട്ട്പുട്ട് ഇംപെഡൻസ് | 100 |
| ലോഡ് ഇംപെഡൻസ് | ≥1000 ഓം |
| തുല്യമായ ശബ്ദ നില | ≤20 dBA (IEC 581-5) |
| സിഗ്നൽ-ടു-നോയിസ് അനുപാതം | 78 ഡി.ബി |
| പരമാവധി SPL | 130 dB (1 kHz ≤ 1% THD-ൽ) |
| Usage Voltage | 5V to 9V (or 48V phantom power supply) |
| ഇലക്ട്രിക്കൽ കറന്റ് | 3 എം.എ |
| Microphone Output Interface | 3.5 മില്ലീമീറ്റർ (1/8") |
| കേബിൾ നീളം | 8.2 അടി (2.5 മീറ്റർ) |
| Microphone Material | ലോഹം |
| Scissor Arm Stand Size (LxW) | 13 3/4" x 13 3/4" (35 x 35 cm) |
| Suitable Table Thickness (Stand) | Less than 1 1/2" (3.7 cm) |
| മൊത്തം നെറ്റ് ഭാരം | 3.2 പൗണ്ട് (1.4 കി.ഗ്രാം) |
| Item Dimensions (Product) | 19.29 x 8.23 x 3.54 ഇഞ്ച് |

വാറൻ്റിയും പിന്തുണയും
This product does not come with a specified warranty. For any product-related inquiries or support, please refer to the retailer or manufacturer's customer service channels.