
1. ആമുഖം
This manual provides instructions for the proper use and installation of components included in the John Deere Maintenance Kit LG186. This kit is designed to facilitate routine maintenance for specific John Deere Lawn and Garden Tractor models, ensuring optimal performance and longevity of your equipment. Always refer to your tractor's specific owner's manual for detailed, model-specific service procedures and safety guidelines.

ചിത്രം 1.1: കഴിഞ്ഞുview of the John Deere Maintenance Kit LG186, showing all included components: engine oil, oil filter, air filter, foam pre-cleaner, fuel filter, and spark plugs.
2 അനുയോജ്യത
This Maintenance Kit LG186 is specifically compatible with the following John Deere Lawn and Garden Tractor models:
- John Deere 345 Lawn and Garden Tractors with serial numbers 096209 വരെ.
പ്രധാനപ്പെട്ടത്: If your John Deere 345 tractor has a serial number 105,001-ന് മുകളിൽ, the correct kit is LG238. Verify your tractor's serial number before proceeding with maintenance.
3 സുരക്ഷാ വിവരങ്ങൾ
Always prioritize safety when performing maintenance on your equipment. Failure to follow safety precautions can result in serious injury or damage to the equipment.
- Read and understand your tractor's owner's manual before beginning any service.
- Ensure the engine is off, cool, and the spark plug wire is disconnected to prevent accidental starting.
- കയ്യുറകൾ, കണ്ണ് സംരക്ഷണം തുടങ്ങിയ ഉചിതമായ വ്യക്തിഗത സംരക്ഷണ ഉപകരണങ്ങൾ (പിപിഇ) ധരിക്കുക.
- നന്നായി വായുസഞ്ചാരമുള്ള സ്ഥലത്ത് പ്രവർത്തിക്കുക.
- Properly dispose of used oil, filters, and other waste materials according to local regulations.
4. പരിപാലന നടപടിക്രമങ്ങൾ
The following sections detail the replacement procedures for each component included in the LG186 kit. These are general guidelines; always consult your tractor's owner's manual for precise steps and torque specifications.
4.1. എഞ്ചിൻ ഓയിൽ മാറ്റം
Regular oil changes are crucial for engine health. This kit includes two quarts of John Deere Turf-Gard SAE 10W-30 4-Cycle Engine Oil (TY22029).
- Warm up the engine for a few minutes, then shut it off and disconnect the spark plug wire.
- Place a suitable drain pan under the oil drain plug.
- ഓയിൽ ഡ്രെയിൻ പ്ലഗ് നീക്കം ചെയ്ത് പഴയ ഓയിൽ പൂർണ്ണമായും വറ്റാൻ അനുവദിക്കുക.
- ഡ്രെയിൻ പ്ലഗ് വീണ്ടും ഇൻസ്റ്റാൾ ചെയ്യുക, നിർമ്മാതാവിന്റെ സ്പെസിഫിക്കേഷനുകൾ പാലിക്കുന്നുണ്ടെന്ന് ഉറപ്പാക്കുക.
- ഓയിൽ ഫിൽ ക്യാപ്/ഡിപ്സ്റ്റിക്ക് നീക്കം ചെയ്യുക.
- Pour the new John Deere Turf-Gard SAE 10W-30 oil into the engine. Refer to your owner's manual for the exact oil capacity.
- Check the oil level using the dipstick, adding more if necessary, but do not overfill.
- Reinstall the oil fill cap/dipstick.

Image 4.1: John Deere Turf-Gard SAE 10W-30 4-Cycle Engine Oil (TY22029), included in the kit for engine lubrication.
4.2. Oil Filter Replacement
The kit includes one John Deere Oil Filter (AM107423).
- After draining the old engine oil, position a drain pan under the oil filter.
- Use an oil filter wrench to loosen and remove the old oil filter. Be prepared for residual oil to drain.
- എഞ്ചിനിലെ ഓയിൽ ഫിൽറ്റർ മൗണ്ടിംഗ് ഉപരിതലം വൃത്തിയാക്കുക.
- പുതിയ ഓയിൽ ഫിൽട്ടറിന്റെ റബ്ബർ ഗാസ്കറ്റിൽ പുതിയ എഞ്ചിൻ ഓയിലിന്റെ ഒരു നേർത്ത ഫിലിം പുരട്ടുക.
- Thread the new oil filter onto the engine by hand until the gasket makes contact with the mounting surface.
- Tighten the filter an additional 1/2 to 3/4 turn by hand or according to your owner's manual specifications. Do not overtighten.
- Refill the engine with new oil as described in Section 4.1.
- Start the engine and check for leaks around the oil filter. Shut off the engine and recheck the oil level.
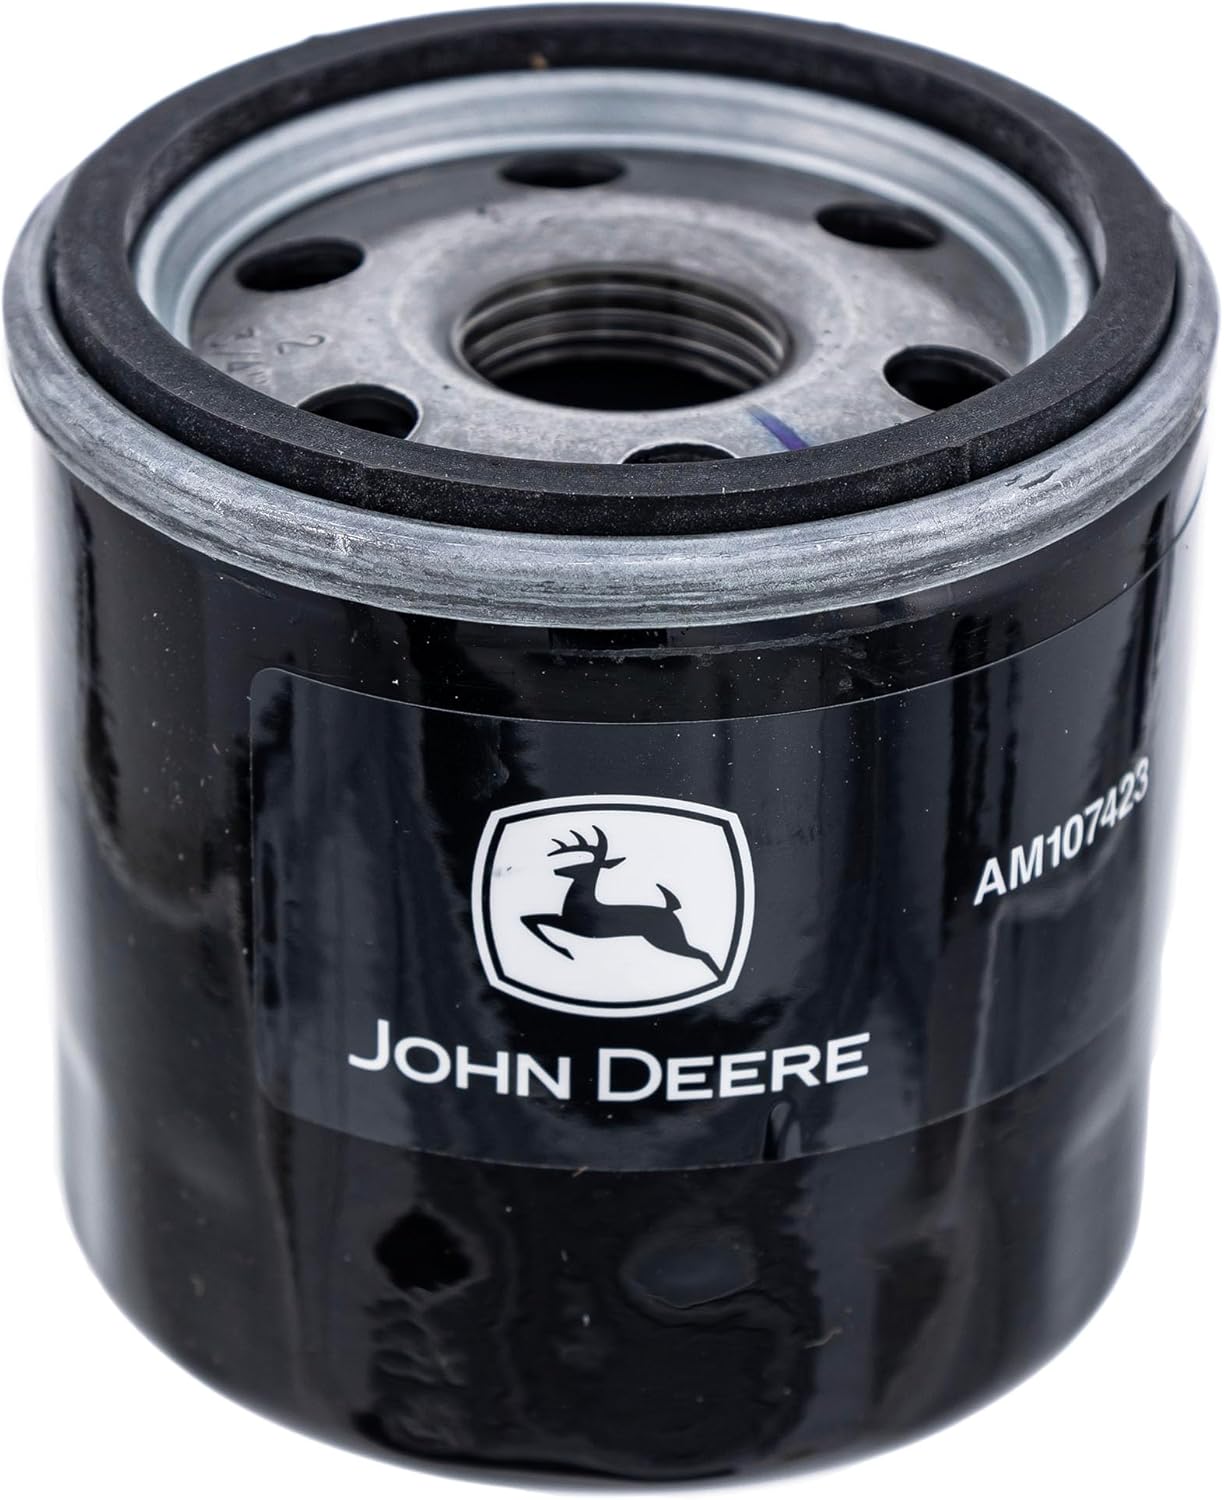
Image 4.2: John Deere Oil Filter (AM107423), designed to remove contaminants from engine oil.
4.3. എയർ ഫിൽറ്റർ മാറ്റിസ്ഥാപിക്കൽ
The kit includes one John Deere Air Element (MIU10778) and one Foam Air Element (M76076).
- Locate the air filter housing, typically near the engine.
- Open or unlatch the air filter housing cover.
- Carefully remove the old air filter element and foam pre-cleaner. Note their orientation.
- എയർ ഫിൽറ്റർ ഹൗസിംഗിനുള്ളിൽ നിന്ന് ഏതെങ്കിലും അവശിഷ്ടങ്ങൾ വൃത്തിയാക്കുക.
- Install the new foam pre-cleaner (M76076) over the new air filter element (MIU10778).
- Insert the assembled new air filter and foam pre-cleaner into the housing, ensuring a proper seal.
- Securely close the air filter housing cover.

Image 4.3: John Deere Air Element (MIU10778), the primary air filter for engine intake.

Image 4.4: John Deere Foam Air Element (M76076), serving as a pre-cleaner for the main air filter.
4.4. Fuel Filter Replacement
The kit includes one John Deere Fuel Filter (AM116304).
- Locate the fuel filter, typically in the fuel line between the fuel tank and the carburetor/fuel pump.
- cl ഉപയോഗിക്കുകamps to pinch off the fuel lines on both sides of the filter to prevent fuel leakage.
- Carefully remove the old fuel filter and discard it. Be prepared for a small amount of fuel to spill.
- Install the new fuel filter, ensuring the arrow on the filter points in the direction of fuel flow (towards the engine).
- Secure the fuel lines to the new filter with clamps.
- പിഞ്ച് cl നീക്കം ചെയ്യുകamps from the fuel lines.
- ഇന്ധന ചോർച്ചയുണ്ടോയെന്ന് പരിശോധിക്കുക.

Image 4.5: John Deere Fuel Filter (AM116304), designed to remove impurities from the fuel supply.
4.5. സ്പാർക്ക് പ്ലഗ് മാറ്റിസ്ഥാപിക്കൽ
The kit includes two John Deere Spark Plugs (M71939).
- Ensure the engine is cool and the spark plug wires are disconnected.
- Carefully remove the spark plug wires from the old spark plugs.
- Use a spark plug wrench to loosen and remove the old spark plugs.
- Inspect the old spark plugs for signs of wear or fouling.
- Before installing new spark plugs, check the gap according to your tractor's owner's manual specifications. Adjust if necessary.
- Thread the new spark plugs into the cylinder head by hand to prevent cross-threading.
- Tighten the spark plugs with a spark plug wrench to the manufacturer's recommended torque. Do not overtighten.
- സ്പാർക്ക് പ്ലഗ് വയറുകൾ വീണ്ടും ദൃഢമായി ബന്ധിപ്പിക്കുക.

Image 4.6: John Deere Spark Plug (M71939), essential for engine ignition.
5. Post-Maintenance Checks and Operation
After completing all maintenance procedures, perform the following checks before operating your tractor:
- Ensure all tools are removed from the engine area.
- Verify all caps, covers, and connections are securely fastened.
- Check for any fluid leaks (oil, fuel).
- Reconnect the spark plug wire(s).
- Start the engine and allow it to run for a few minutes, observing for unusual noises or warning lights.
- Shut off the engine and recheck fluid levels (especially engine oil) after the engine has cooled slightly.
6. Recommended Maintenance Schedule
The following is a general maintenance schedule. Always refer to your specific John Deere tractor's owner's manual for precise intervals based on operating conditions and hours.
| ഘടകം | ശുപാർശ ചെയ്യുന്ന ഇടവേള |
|---|---|
| എഞ്ചിൻ ഓയിൽ | Every 50 hours or annually, whichever comes first |
| ഓയിൽ ഫിൽട്ടർ | Every 50 hours or annually, whichever comes first (replace with oil change) |
| Air Filter & Foam Pre-cleaner | Inspect frequently, replace annually or more often in dusty conditions |
| ഇന്ധന ഫിൽട്ടർ | Annually or every 100 hours, whichever comes first |
| സ്പാർക്ക് പ്ലഗുകൾ | Annually or every 100-200 hours, whichever comes first |
7. പൊതുവായ പ്രശ്നങ്ങൾ പരിഹരിക്കുന്നു
If you encounter issues after performing maintenance with this kit, consider the following:
- എഞ്ചിൻ ആരംഭിക്കില്ല:
- Ensure spark plug wires are securely connected.
- Verify fuel filter is installed correctly with the arrow pointing towards the engine.
- Check for adequate fuel in the tank.
- Oil leaks after oil change:
- Check the oil drain plug for proper tightening and condition of its washer.
- Inspect the oil filter for proper tightening and ensure the gasket was lubricated and seated correctly.
- Engine runs rough or lacks power:
- Ensure the air filter housing is properly sealed.
- Verify spark plug gaps are correct and plugs are tightened to specification.
- Check for any kinks or blockages in the fuel line after fuel filter replacement.
For persistent issues, consult your tractor's owner's manual or contact an authorized John Deere service dealer.
8. Kit Contents and Specifications
The John Deere Maintenance Kit LG186 includes the following genuine John Deere parts:
- ഓയിൽ ഫിൽട്ടർ: AM107423 (Quantity: 1)
- ഇന്ധന ഫിൽട്ടർ: AM116304 (Quantity: 1)
- Air Element: MIU10778 (Quantity: 1)
- Air Element - Foam (Pre-cleaner): M76076 (അളവ്: 1)
- സ്പാർക്ക് പ്ലഗ്: M71939 (അളവ്: 2)
- എഞ്ചിൻ ഓയിൽ: TY22029 (SAE 10W-30, 2 Quarts)
- Oil Change Sticker: (അളവ്: 1)
ഉൽപ്പന്ന അളവുകളും ഭാരവും:
- ഉൽപ്പന്ന അളവുകൾ: 12 x 10 x 9 ഇഞ്ച്
- ഇനത്തിൻ്റെ ഭാരം: 5.7 പൗണ്ട്
9. വാറൻ്റി വിവരങ്ങൾ
This John Deere Maintenance Kit LG186 is covered by John Deere's standard warranty for genuine parts. For specific details regarding warranty coverage, terms, and conditions, please refer to the official John Deere warranty documentation provided with your original equipment or contact an authorized John Deere dealer. Keep your purchase receipt as proof of purchase.
10. ഉപഭോക്തൃ പിന്തുണ
If you have questions regarding the John Deere Maintenance Kit LG186, its compatibility, or require assistance with maintenance procedures that are not covered in this manual or your tractor's owner's manual, please contact your local authorized John Deere dealer. They can provide expert advice and service for your equipment.
You can find your nearest John Deere dealer by visiting the official John Deere webസൈറ്റ്: www.deere.com/en/dealer-locator/