
Flysky FS-iA6B
Flysky FS-iA6B Receiver User Manual
മോഡൽ: FS-iA6B | ബ്രാൻഡ്: ഫ്ലൈസ്കി
1. ആമുഖം
The Flysky FS-iA6B is a compact and reliable 6-channel 2.4G receiver designed for various RC models, including airplanes, gliders, and helicopters. It features i-BUS and data acquisition interfaces, offering versatile connectivity options for your remote control systems.
പാക്കേജ് ഉള്ളടക്കം:
- 1x Flysky FS-iA6B 6CH Receiver
- 1x Bind Plug
- 1x 25cm Lipo Battery Strap
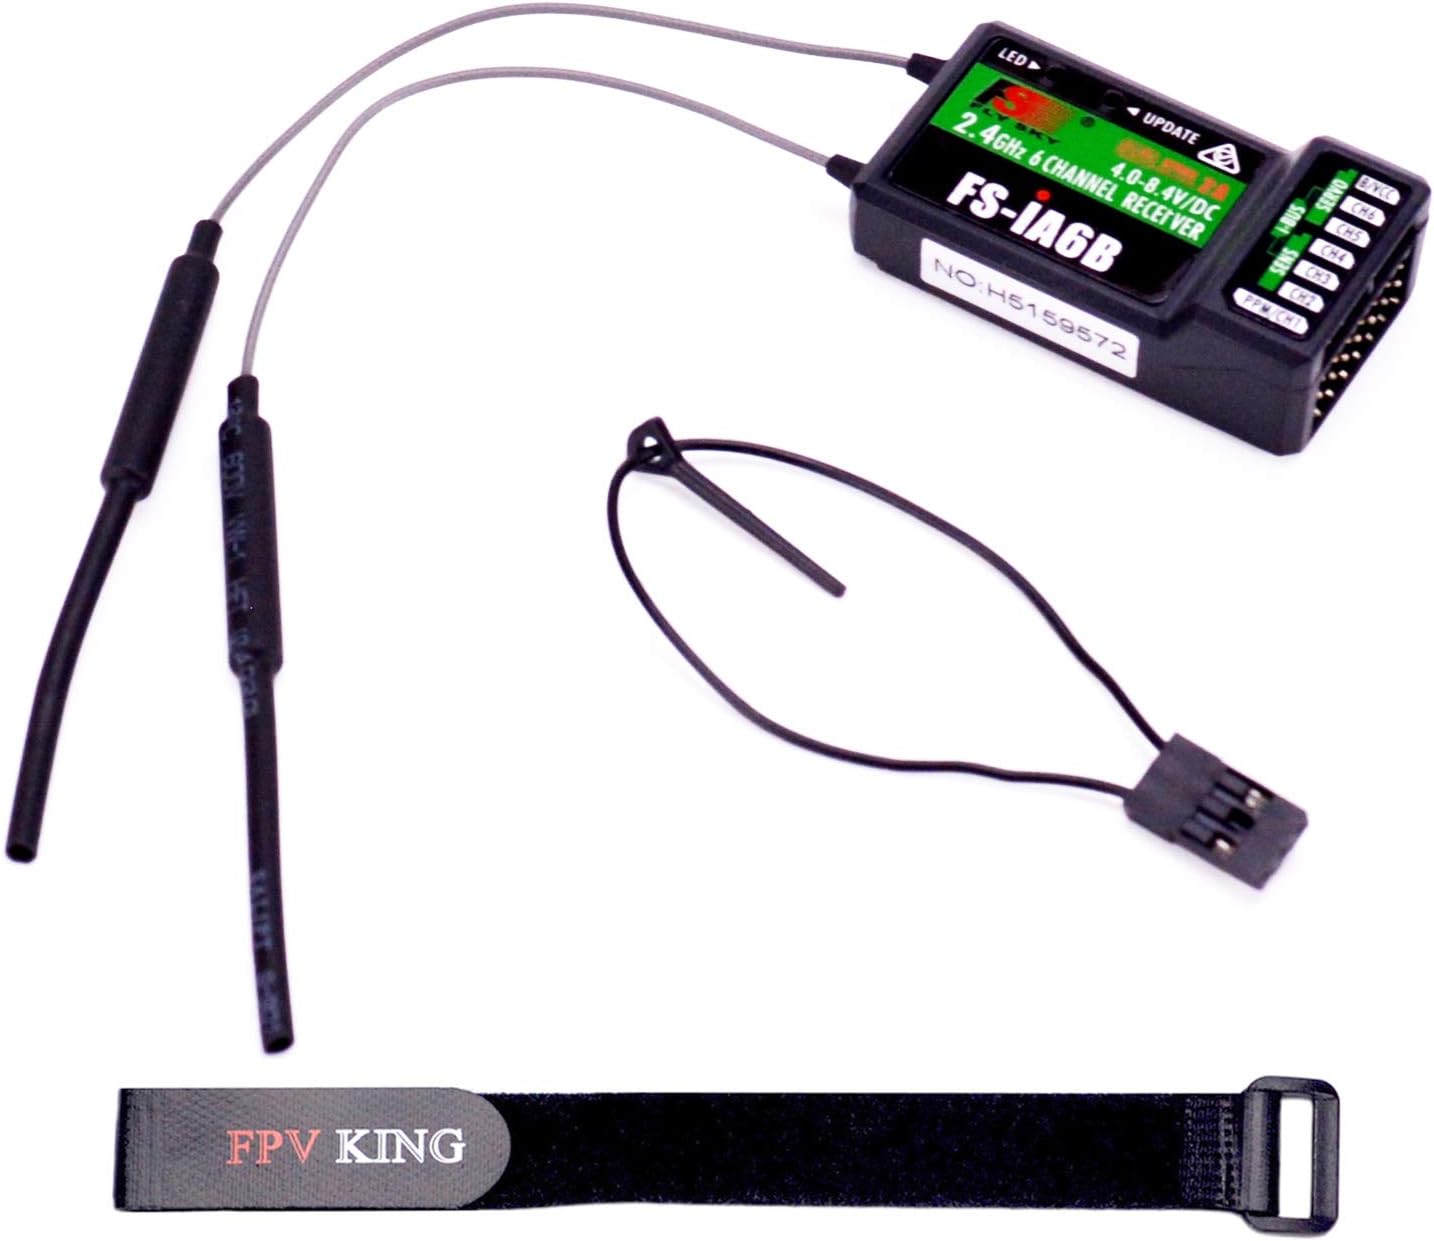
ചിത്രം 1: Contents of the Flysky FS-iA6B receiver package, including the receiver unit, a bind plug, and a Lipo battery strap.
2 സ്പെസിഫിക്കേഷനുകൾ
| ബ്രാൻഡ് നാമം | ഫ്ലൈസ്കി |
| ഇനത്തിൻ്റെ പേര് | FS-iA6B Receiver |
| ചാനലുകൾ | 6 |
| ഫ്രീക്വൻസി റേഞ്ച് | 2.4055 - 2.475 ജിഗാഹെർട്സ് |
| Band Width Number | 140 |
| പവർ ട്രാൻസ്മിറ്റിംഗ് | D 20dBm |
| RF റിസീവർ സെൻസിറ്റിവിറ്റി | -105 ദിർഹം |
| 2.4G മോഡ് | Second generation enhanced automatic FM digital system |
| എൻകോഡിംഗ് | ജി.എഫ്.എസ്.കെ |
| ആൻ്റിന നീളം | 26mm * 2 (dual antenna) |
| ഇൻപുട്ട് പവർ | 4.0 - 6.5V ഡിസി |
| അളവുകൾ (L x W x H) | 47 x 26.2 x 15 മിമി (1.85 x 1.03 x 0.59 ഇഞ്ച്) |
| ഭാരം | 14.9 ഗ്രാം (0.53 ഔൺസ്) |
| i-Bus Interface | അതെ |
| Data Acquisition Interface | അതെ |
| മോഡൽ തരം | Airplane / Glider / Helicopter |
| അനുയോജ്യമായ ട്രാൻസ്മിറ്ററുകൾ | FS-i4, FS-i6, FS-i10, FS-GT2E, FS-GT2G |
| പരമാവധി പരിധി | 500 അടി |

ചിത്രം 2: Physical dimensions of the Flysky FS-iA6B receiver, showing its compact size.
3. സജ്ജീകരണ ഗൈഡ്
3.1. റിസീവർ ബന്ധിപ്പിക്കുന്നു
Connect the receiver to your flight controller or servos using the appropriate cables. Ensure correct polarity when connecting power to the B/VCC port. The receiver operates on 4.0-6.5V DC.

ചിത്രം 3: The FS-iA6B receiver with its dual antennas properly connected, ready for installation.
3.2. Binding the Receiver to a Transmitter
To establish communication between the receiver and your Flysky transmitter, follow these binding steps:
- നിങ്ങളുടെ ട്രാൻസ്മിറ്റർ ഓഫാണെന്ന് ഉറപ്പാക്കുക.
- Insert the provided bind plug into the B/VCC port on the FS-iA6B receiver.
- Apply power to the receiver (e.g., connect to a flight controller or a 4.0-6.5V DC power source). The LED on the receiver should start flashing rapidly, indicating it is in binding mode.
- Turn on your compatible Flysky transmitter (e.g., FS-i6, FS-i10) and navigate to the binding function in its menu.
- ട്രാൻസ്മിറ്ററിൽ ബൈൻഡിംഗ് പ്രക്രിയ ആരംഭിക്കുക.
- Once binding is successful, the LED on the receiver will stop flashing and remain solid.
- Turn off the receiver's power, then remove the bind plug.
- നിങ്ങളുടെ ട്രാൻസ്മിറ്റർ ഓഫ് ചെയ്യുക.
- Reconnect power to the receiver and then turn on your transmitter. The receiver LED should be solid, indicating a successful connection.

ചിത്രം 4: ക്ലോസ് അപ്പ് view of the receiver's ports, showing the bind plug inserted into the B/VCC port for binding.
കുറിപ്പ്: Always remove the bind plug after successful binding to prevent the receiver from entering binding mode unintentionally during subsequent power-ups.
3.3. Compatible Transmitters
The FS-iA6B receiver is compatible with a range of Flysky transmitters, including:
- FS-i4
- FS-i6
- FS-i10
- FS-GT2E
- FS-GT2G

ചിത്രം 5: A compatibility chart illustrating which Flysky transmitters are compatible with various receivers, including the FS-iA6B.
4. റിസീവർ പ്രവർത്തിപ്പിക്കൽ
The FS-iA6B receiver supports both PPM (Pulse Position Modulation) and i-BUS (Intelligent Bus) outputs, providing flexibility for different flight controllers and setups.
4.1. PPM Output
PPM combines all channel data into a single signal wire, simplifying wiring to your flight controller. The PPM/CH1 port on the receiver typically outputs the PPM signal.
4.2. i-BUS Output
i-BUS is a digital serial bus system that allows for multiple channels and telemetry data to be transmitted over a single wire. This can reduce wiring clutter and improve signal integrity. The i-BUS port on the receiver is dedicated for this purpose.
4.3. Channel Assignment
The receiver provides 6 physical channels (CH1-CH6) for connecting servos or other components. Ensure your flight controller or servo connections match the channel assignments configured on your transmitter.
5. പരിപാലനം
- ഉണക്കി സൂക്ഷിക്കുക: Protect the receiver from moisture and humidity, as water can damage electronic components.
- തീവ്രമായ താപനില ഒഴിവാക്കുക: റിസീവറിനെ അമിതമായി ഉയർന്നതോ താഴ്ന്നതോ ആയ താപനിലയിലേക്ക് തുറന്നുകാട്ടരുത്.
- സൌമ്യമായി വൃത്തിയാക്കുക: If cleaning is necessary, use a soft, dry cloth. Avoid using solvents or harsh chemicals.
- സുരക്ഷിത ആൻ്റിനകൾ: Ensure the dual antennas are securely mounted and positioned for optimal signal reception. Avoid bending them sharply.
- കണക്ഷനുകൾ പരിശോധിക്കുക: Periodically check all wiring and connections for signs of wear, corrosion, or looseness.
6. പ്രശ്നപരിഹാരം
| പ്രശ്നം | സാധ്യമായ കാരണം | പരിഹാരം |
|---|---|---|
| Receiver LED not solid after binding attempt. | Binding failed; bind plug not removed; incorrect binding procedure. | Re-attempt binding process carefully, ensuring bind plug is removed after successful binding. Check transmitter settings. |
| No signal/control from transmitter. | Receiver not bound; transmitter off; range issue; antenna damage. | Verify binding status. Ensure transmitter is on and charged. Check antenna placement and condition. Test range in a safe environment. |
| ഇടയ്ക്കിടെ സിഗ്നൽ നഷ്ടം. | Interference; antenna placement; low battery voltage. | Ensure antennas are clear of carbon fiber or metal. Avoid operating near strong interference sources. Check receiver and transmitter battery voltage. |
| Servos not responding correctly. | Incorrect channel assignment; faulty servo; wiring issue. | Verify channel assignments on transmitter and flight controller. Check servo connections and test individual servos. |
7. വാറൻ്റിയും പിന്തുണയും
This product is manufactured by FPVKing. For any issues or support inquiries, please refer to the seller's contact information or the platform where the product was purchased.
The manufacturer provides customer service and support. If you encounter any problems, please do not hesitate to contact customer service for assistance.
Ask a question about this manual
Ask about setup, troubleshooting, compatibility, parts, safety, or missing instructions. Manuals+ will review the question and use this page’s manual context to help answer it.