1. ആമുഖവും അവസാനവുംview
This manual provides detailed instructions for the safe and efficient use of your Esperanza ERW017 Monitor Desk Mount. Please read this manual thoroughly before installation and operation, and retain it for future reference. This adjustable desk mount is designed to support monitors up to 27 inches and a maximum weight of 8 kg (17.6 lbs), featuring VESA compatibility for 75x75mm and 100x100mm mounting patterns.
2 സുരക്ഷാ വിവരങ്ങൾ
മുന്നറിയിപ്പ്: Failure to read, thoroughly understand, and follow all instructions can result in serious personal injury, damage to the product, or property damage. Keep this manual for future reference.
ജാഗ്രത: Do not exceed the maximum weight capacity of 8 kg (17.6 lbs). Serious injury or property damage may occur. Ensure the mounting surface can safely support the combined weight of the mount and the monitor. This product is intended for indoor use only. Keep small parts away from children.
3. പാക്കേജ് ഉള്ളടക്കം
Before installation, verify that all components are present and undamaged. If any parts are missing or damaged, contact your retailer for assistance.
- മോണിറ്റർ ആം അസംബ്ലി
- ഡെസ്ക് Clamp / Grommet Base (components for both options)
- വെസ പ്ലേറ്റ്
- Hardware Kit (various screws, washers, Allen keys)
- ഉപയോക്തൃ മാനുവൽ
4. സജ്ജീകരണവും ഇൻസ്റ്റാളേഷനും
Follow these steps carefully to install your monitor desk mount.
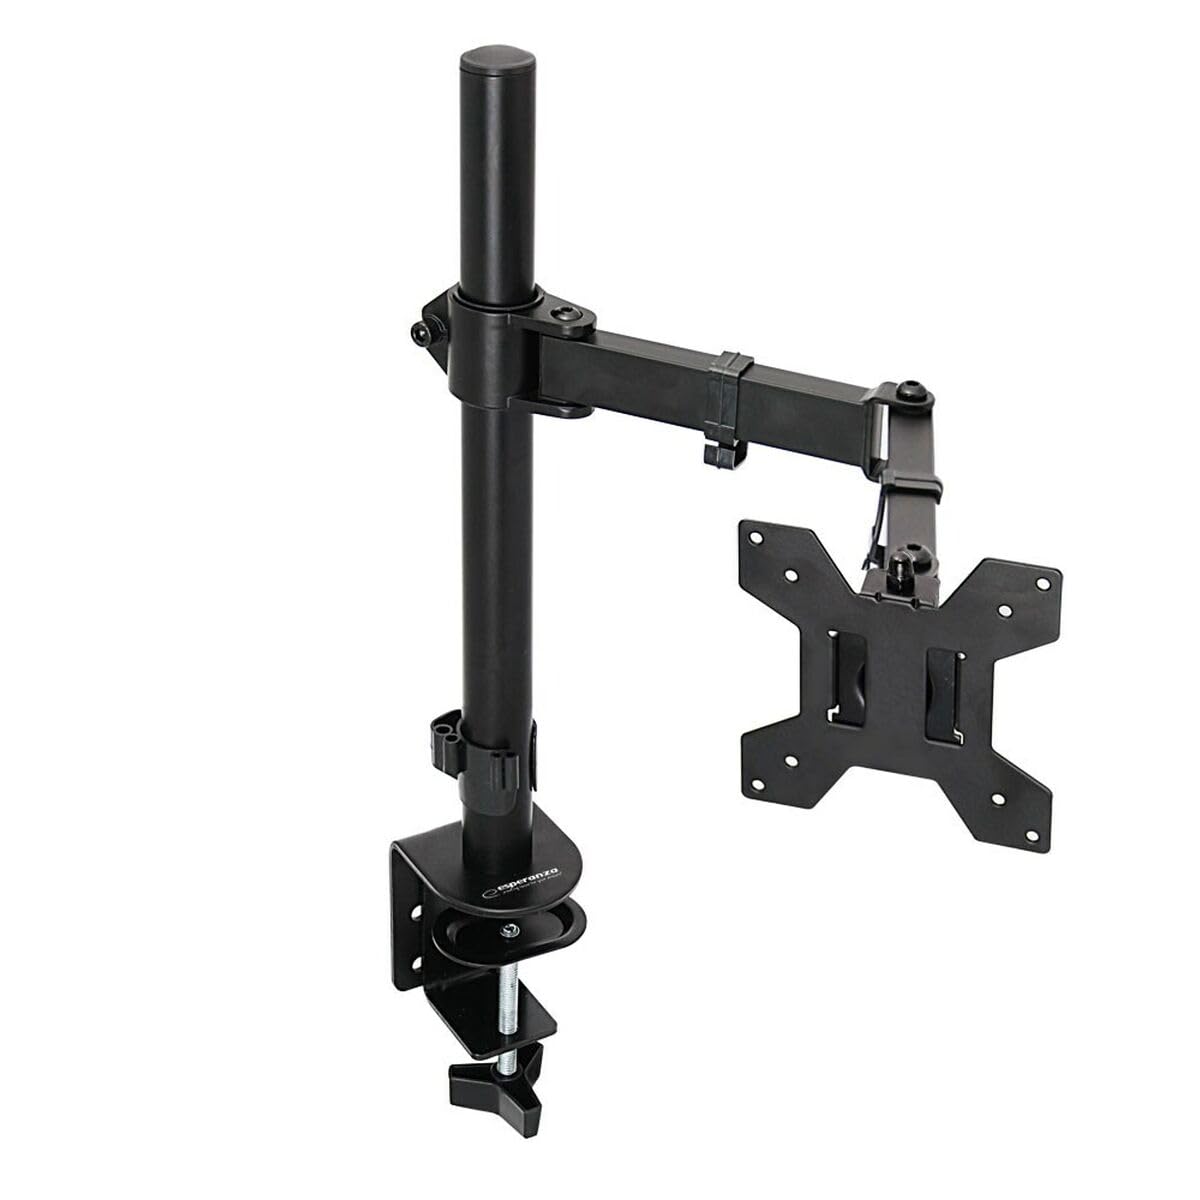
An image showing the Esperanza ERW017 monitor desk mount, featuring its adjustable arm and desk clamp.
Step 1: Choose Mounting Option
The mount supports both desk clamp and grommet hole installation. Select the option suitable for your desk.
- ഡെസ്ക് Clamp: cl അറ്റാച്ചുചെയ്യുകamp components to the main pole. Position the clamp on the edge of your desk and tighten the knob until it is secure. Ensure the desk thickness is within the specified range for the clamp.
- Grommet Base: If your desk has a grommet hole, assemble the grommet base components to the main pole. Insert the pole through the grommet hole and secure it from underneath the desk using the provided plate and nut.
ഘട്ടം 2: മോണിറ്ററിലേക്ക് VESA പ്ലേറ്റ് ഘടിപ്പിക്കുക
Carefully place your monitor face down on a soft, clean surface. Attach the VESA plate to the back of your monitor using the appropriate screws and washers from the hardware kit. The mount supports VESA patterns of 75x75mm and 100x100mm. Ensure screws are tightened securely but do not overtighten.
Step 3: Attach Monitor to Arm
With assistance, carefully lift the monitor (with the VESA plate attached) and slide it onto the mounting head of the arm. Ensure it clicks into place or is secured with the provided locking screw. Verify that the monitor is firmly attached before releasing അത്.
ഘട്ടം 4: കേബിൾ മാനേജ്മെൻ്റ്
Route your monitor cables (power, video, etc.) through the integrated cable management clips or channels on the arm to maintain a tidy workspace.
5. പ്രവർത്തന നിർദ്ദേശങ്ങൾ (ക്രമീകരണങ്ങൾ)
The Esperanza ERW017 monitor mount offers various adjustment options to optimize your viewഅനുഭവം.
- ഉയരം ക്രമീകരിക്കൽ: Loosen the collar on the main pole (if applicable) or gently move the arm up or down to your desired height. Retighten any locking mechanisms.
- ടിൽറ്റ് അഡ്ജസ്റ്റ്മെന്റ്: Grasp the top and bottom edges of your monitor and gently tilt it up or down to achieve the perfect viewing angle. If the monitor does not hold its tilt, use the provided Allen key to adjust the tension screw on the tilt mechanism.
- സ്വിവൽ അഡ്ജസ്റ്റ്മെന്റ്: Rotate the monitor arm horizontally left or right to share your screen or adjust your viewസ്ഥാനം.
- റൊട്ടേഷൻ അഡ്ജസ്റ്റ്മെന്റ്: ലാൻഡ്സ്കേപ്പ്, പോർട്രെയ്റ്റ് ഓറിയന്റേഷനുകൾക്കിടയിൽ മാറാൻ മോണിറ്റർ 360 ഡിഗ്രി തിരിക്കുക.
- ടെൻഷൻ അഡ്ജസ്റ്റ്മെൻ്റ്: If the arm feels too loose or too stiff, use the provided Allen key to adjust the tension screws located at the arm joints. Adjust gradually until the desired movement resistance is achieved.
6. പരിപാലനം
To ensure the longevity and optimal performance of your monitor mount, follow these maintenance guidelines:
- വൃത്തിയാക്കൽ: Clean the mount with a soft, dry cloth. Avoid using abrasive cleaners or harsh chemicals, as they may damage the finish.
- ആനുകാലിക പരിശോധനകൾ: എല്ലാ സ്ക്രൂകളും കണക്ഷനുകളും ഇറുകിയതും സുരക്ഷിതവുമാണെന്ന് ഉറപ്പാക്കാൻ ഇടയ്ക്കിടെ പരിശോധിക്കുക. ആവശ്യമെങ്കിൽ വീണ്ടും മുറുക്കുക.
- ഭാരം ശേഷി: Always ensure that the total weight of your monitor and any accessories does not exceed the maximum load capacity of 8 kg.
7. പ്രശ്നപരിഹാരം
If you encounter issues with your monitor mount, refer to the following common problems and solutions:
- Issue: Monitor sags or does not stay in position.
പരിഹാരം: The arm tension may be too loose. Use the provided Allen key to tighten the tension screw(s) on the arm joints or tilt mechanism until the monitor holds its position. - Issue: Difficulty attaching VESA plate to monitor.
പരിഹാരം: Ensure you are using the correct VESA pattern (75x75mm or 100x100mm) and the appropriate screw length for your monitor. Do not force screws. - Issue: Mount feels unstable on the desk.
പരിഹാരം: Verify that the desk clamp or grommet base is securely tightened to the desk. Ensure the desk surface is stable and can support the weight. - Issue: Arm movement is too stiff.
പരിഹാരം: The arm tension may be too tight. Use the provided Allen key to slightly loosen the tension screw(s) on the arm joints until movement is smooth.
8 സ്പെസിഫിക്കേഷനുകൾ
| ആട്രിബ്യൂട്ട് | സ്പെസിഫിക്കേഷൻ |
| മോഡൽ | ERW017 ഡെവലപ്മെന്റ് സിസ്റ്റം |
| ബ്രാൻഡ് | Esperanza |
| ടൈപ്പ് ചെയ്യുക | ഡെസ്ക് മ .ണ്ട് നിരീക്ഷിക്കുക |
| നിറം | കറുപ്പ് |
| പരമാവധി സ്ക്രീൻ വലിപ്പം | 27 ഇഞ്ച് |
| VESA അനുയോജ്യത | 75x75mm, 100x100mm |
| പരമാവധി ലോഡ് കപ്പാസിറ്റി | 8 കി.ഗ്രാം (17.6 പൗണ്ട്) |
| മോഡൽ നമ്പർ (SKU) | എസ് 91099657 |
9. വാറൻ്റിയും പിന്തുണയും
For warranty information or technical support, please refer to the warranty card included with your product or contact Esperanza customer service through their official website or your retailer. Keep your purchase receipt as proof of purchase for warranty claims.