
ആമുഖം
This manual provides detailed instructions for the installation, operation, and maintenance of your ARCTIC W1C Wall Mount. Please read this manual thoroughly before installation to ensure correct setup and safe usage. The ARCTIC W1C is designed to securely mount monitors up to 43 inches (or 49 inches for ultrawide monitors) and weighing up to 18 kg (39.6 lbs), offering flexible positioning and space-saving benefits.

Image: The ARCTIC W1C Wall Mount, showcasing its retractable folding arm design.
സുരക്ഷാ വിവരങ്ങൾ
- Ensure the wall structure can support the combined weight of the mount and your monitor. Consult a professional if unsure.
- പരമാവധി ഭാര ശേഷി 18 കിലോഗ്രാം (39.6 പൗണ്ട്) കവിയരുത്.
- Use appropriate tools and follow all installation steps carefully.
- ചെറിയ ഭാഗങ്ങൾ കുട്ടികളിൽ നിന്ന് അകറ്റി നിർത്തുക.
- എല്ലാ സ്ക്രൂകളും കണക്ഷനുകളും സുരക്ഷിതമായി നിലനിൽക്കുന്നുണ്ടെന്ന് ഉറപ്പാക്കാൻ ഇടയ്ക്കിടെ പരിശോധിക്കുക.
പാക്കേജ് ഉള്ളടക്കം
ഇൻസ്റ്റാളേഷൻ ആരംഭിക്കുന്നതിന് മുമ്പ് എല്ലാ ഘടകങ്ങളും ഉണ്ടെന്ന് ഉറപ്പാക്കുക.
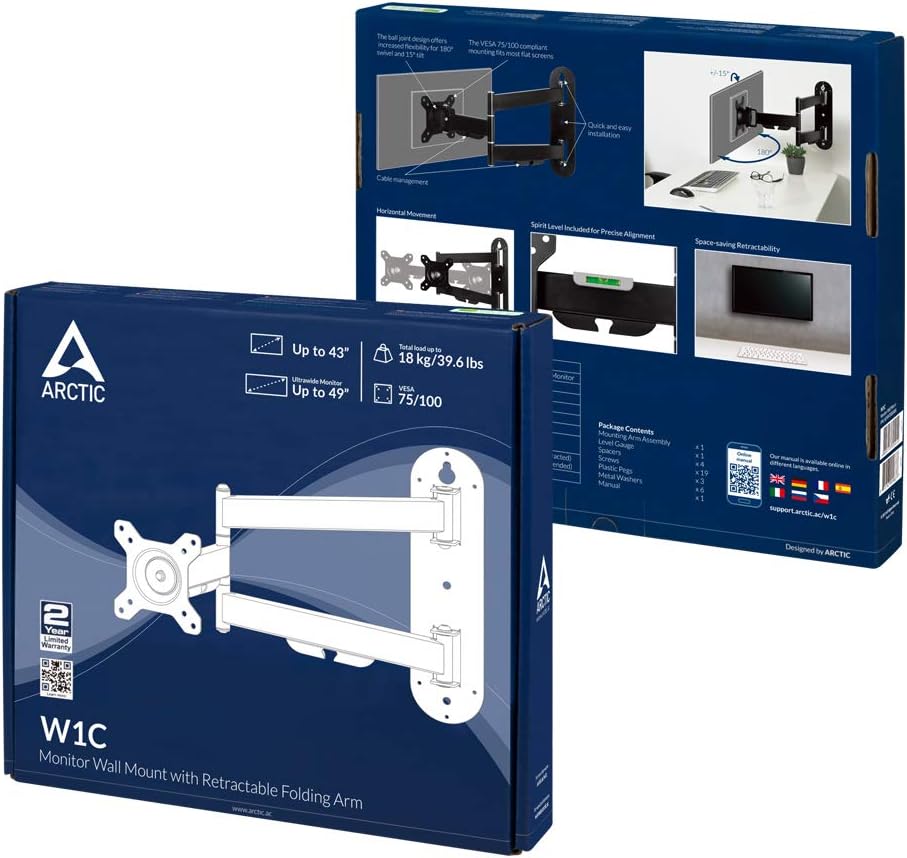
Image: Product packaging illustrating the included components.
- മൗണ്ടിംഗ് ആം അസംബ്ലി
- വെസ പ്ലേറ്റ്
- വാൾ മൗണ്ടിംഗ് ഹാർഡ്വെയർ (സ്ക്രൂകൾ, ആങ്കറുകൾ)
- Monitor Mounting Hardware (various screw sizes, spacers)
- കേബിൾ മാനേജ്മെന്റ് ക്ലിപ്പുകൾ
- ഇൻസ്ട്രക്ഷൻ മാനുവൽ
സ്പെസിഫിക്കേഷനുകൾ
| ഫീച്ചർ | സ്പെസിഫിക്കേഷൻ |
|---|---|
| മോഡൽ നമ്പർ | AEMNT00058A |
| അനുയോജ്യമായ മോണിറ്റർ വലുപ്പം | Up to 43" (standard), Up to 49" (ultrawide) |
| പരമാവധി ലോഡ് കപ്പാസിറ്റി | 18 കി.ഗ്രാം (39.6 പൗണ്ട്) |
| VESA അനുയോജ്യത | 75x75mm, 100x100mm |
| ചലന തരം | Tilt, Swivel, Rotation |
| പരമാവധി ടിൽറ്റ് ആംഗിൾ | 15 ഡിഗ്രി |
| മെറ്റീരിയൽ | Aluminum Alloy ADC12 |
| നിറം | കറുപ്പ് |
| ഉൽപ്പന്ന അളവുകൾ | 23.62 x 23.62 x 33.46 ഇഞ്ച് (ഏകദേശം, നീട്ടിയത്) |
സജ്ജീകരണവും ഇൻസ്റ്റാളേഷനും
ഘട്ടം 1: മതിൽ തയ്യാറാക്കൽ
- Identify a suitable location on a sturdy wall. Ensure there are no hidden electrical wires or pipes.
- Use a stud finder to locate a wall stud for secure mounting. If mounting to concrete or brick, use appropriate anchors (not always included, verify package contents).
- Determine the desired height for your monitor. The center of the monitor should ideally be at eye level when seated.
ഘട്ടം 2: വാൾ പ്ലേറ്റ് മൌണ്ട് ചെയ്യുക
- Position the wall plate against the wall at your desired height.
- വാൾ പ്ലേറ്റിലെ ദ്വാരങ്ങളിലൂടെ ഡ്രില്ലിംഗ് പോയിന്റുകൾ അടയാളപ്പെടുത്തുക.
- Drill pilot holes at the marked locations. The size of the drill bit will depend on your wall type and the provided screws/anchors.
- Secure the wall plate to the wall using the provided screws. Ensure it is level using a spirit level.
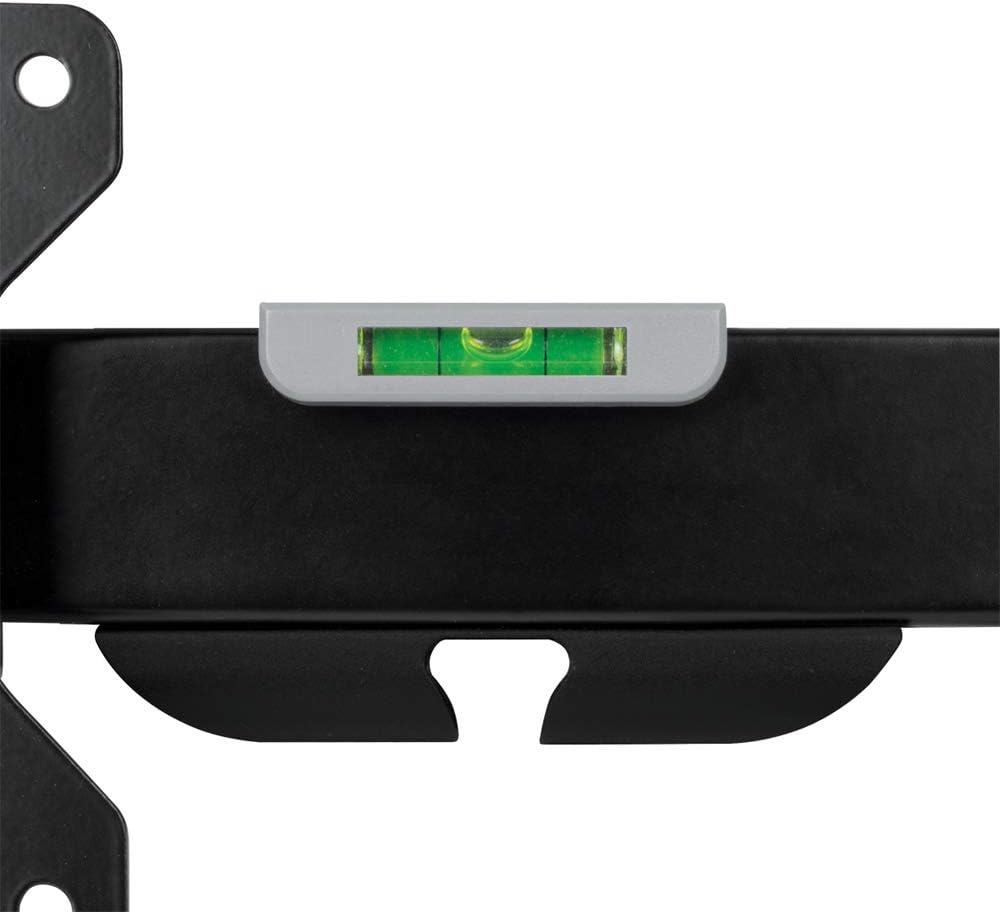
Image: Integrated spirit level on the mount for precise alignment during installation.
ഘട്ടം 3: മോണിറ്ററിലേക്ക് VESA പ്ലേറ്റ് ഘടിപ്പിക്കുക
- Carefully place your monitor face down on a soft, clean surface to prevent scratches.
- Identify the VESA mounting holes on the back of your monitor. These are typically 75x75mm or 100x100mm apart.
- Select the appropriate screws and spacers from the provided hardware kit.
- Attach the VESA plate to the back of your monitor, ensuring it is securely fastened but not overtightened.
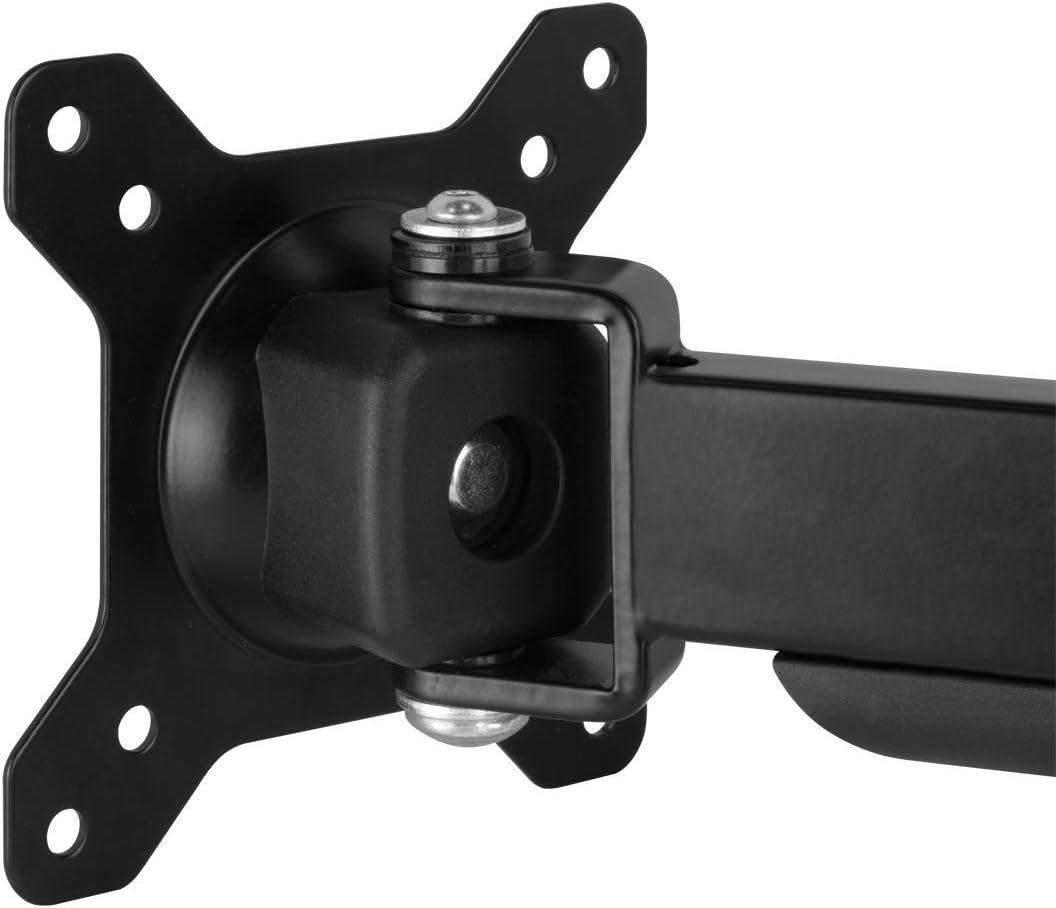
Image: Detail of the VESA plate connection point, showing the monitor attachment mechanism.
ഘട്ടം 4: മോണിറ്റർ ആംമിലേക്ക് ഘടിപ്പിക്കുക
- With assistance, lift the monitor (with the VESA plate attached) and carefully slide it onto the mounting arm's VESA head.
- Ensure the monitor is securely seated on the arm. Tighten any locking screws or mechanisms as per the specific design of the VESA head.

Image: A monitor securely attached to the ARCTIC W1C Wall Mount, viewed വശത്ത് നിന്ന്.
പ്രവർത്തനവും ക്രമീകരണങ്ങളും
The ARCTIC W1C offers various adjustment options for optimal viewആശ്വാസം.
പൊസിഷനിംഗ് നിരീക്ഷിക്കുക
- വിപുലീകരണം/പിൻവലിക്കൽ: Gently pull or push the monitor to extend or retract the arm, adjusting the distance from the wall.
- സ്വിവൽ: The monitor can be swiveled left or right at the arm joints and the VESA head.
- ടിൽറ്റ്: ലംബമായി ക്രമീകരിക്കുക viewing angle by tilting the monitor up or down at the VESA head.
- റൊട്ടേഷൻ: The VESA plate allows for 360-degree rotation, enabling portrait or landscape orientation.

Image: Illustration of monitor swivel capability.

Image: Illustration of monitor tilt capability.

Image: Monitor rotated to portrait mode for specialized tasks.
കേബിൾ മാനേജ്മെൻ്റ്
Utilize the integrated cable management clips on the arm to route and secure your monitor cables. This helps maintain a tidy workspace and prevents cables from snagging or becoming damaged.

Image: Detail of the cable management clips integrated into the monitor arm.
മെയിൻ്റനൻസ്
- വൃത്തിയാക്കൽ: മൗണ്ട് ഒരു സോഫ്റ്റ്, ഡി ക്ലീനർ ഉപയോഗിച്ച് തുടയ്ക്കുക.amp തുണി. ഉരച്ചിലുകൾ ഉണ്ടാക്കുന്ന ക്ലീനറുകളോ ലായകങ്ങളോ ഒഴിവാക്കുക.
- പരിശോധന: Periodically check all mounting screws and connections for tightness. Retighten if necessary.
- ലൂബ്രിക്കേഷൻ: The moving parts are designed for long-term use and generally do not require lubrication. If movement becomes stiff, contact support.
ട്രബിൾഷൂട്ടിംഗ്
- മോണിറ്റർ ലെവലല്ല: Ensure the wall plate was installed level. The VESA head also allows for minor rotational adjustments to correct monitor tilt.
- മൗണ്ട് അസ്ഥിരമായി തോന്നുന്നു: Recheck all wall mounting screws and monitor attachment screws for tightness. Ensure the wall structure is adequate.
- Difficulty adjusting monitor: Check if any adjustment screws are overtightened. Loosen slightly to allow movement, then retighten to desired tension.
- Cables are not staying in clips: Ensure cables are properly routed and not excessively thick. Use additional cable ties if needed.
വാറൻ്റിയും പിന്തുണയും
ARCTIC products are covered by a manufacturer's warranty. For specific warranty terms and conditions, please refer to the documentation included with your product or visit the official ARCTIC website. For technical support or further assistance, please contact ARCTIC customer service.
ARCTIC Support: https://support.arctic.ac/