
1. ആമുഖം
This manual provides essential instructions for the safe and effective operation of your Estink Mini Electric Hand Drill. Please read this manual thoroughly before first use and retain it for future reference. This portable DC 5V electric drill is designed for precision drilling tasks on specific materials.
2 സുരക്ഷാ വിവരങ്ങൾ
തീ, വൈദ്യുതാഘാതം, വ്യക്തിപരമായ പരിക്കുകൾ എന്നിവ കുറയ്ക്കുന്നതിന് വൈദ്യുത ഉപകരണങ്ങൾ ഉപയോഗിക്കുമ്പോൾ എല്ലായ്പ്പോഴും അടിസ്ഥാന സുരക്ഷാ മുൻകരുതലുകൾ പാലിക്കുക.
- നേത്ര സംരക്ഷണം: Always wear safety glasses or goggles to protect your eyes from debris.
- ജോലി ഏരിയ: നിങ്ങളുടെ ജോലിസ്ഥലം വൃത്തിയുള്ളതും നല്ല വെളിച്ചമുള്ളതുമായി സൂക്ഷിക്കുക. അലങ്കോലമായതോ ഇരുണ്ടതോ ആയ പ്രദേശങ്ങൾ അപകടങ്ങൾ ക്ഷണിച്ചുവരുത്തുന്നു.
- ഇലക്ട്രിക്കൽ സുരക്ഷ: Do not expose the drill to rain or wet conditions. Avoid body contact with earthed or grounded surfaces.
- സുരക്ഷിത വർക്ക്പീസ്: Always secure the material you are drilling. Do not hold it by hand.
- ശരിയായ ഉപയോഗം: Use the correct drill bit for the material. Do not force the drill.
- Material Limitations: This drill is not suitable for drilling hard materials such as thick metal, stone, or bodhi. Refer to the 'Operating Instructions' section for compatible materials.
- തുടർച്ചയായ ഉപയോഗം: This is a light-power electric mini hand drill and is not designed for continuous, long-duration use. Allow for cooling periods.
- കുട്ടികളും കാഴ്ചക്കാരും: ഡ്രിൽ പ്രവർത്തിപ്പിക്കുമ്പോൾ കുട്ടികളെയും കാഴ്ചക്കാരെയും അകറ്റി നിർത്തുക.
3. പാക്കേജ് ഉള്ളടക്കം
താഴെ കൊടുത്തിരിക്കുന്ന എല്ലാ ഇനങ്ങളും നിങ്ങളുടെ പാക്കേജിൽ ഉണ്ടെന്ന് ഉറപ്പാക്കുക:
- Estink Mini Electric Hand Drill
- USB Power Cable with On/Off Switch (approx. 1.5 meters)
- 3 x Replacement Drill Bits (0.7mm, 1.0mm, 1.3mm)
- 1 x Hex Key (for collet adjustment)


4 സ്പെസിഫിക്കേഷനുകൾ
| ഫീച്ചർ | സ്പെസിഫിക്കേഷൻ |
|---|---|
| ബ്രാൻഡ് | എസ്റ്റിങ്ക് |
| മോഡൽ | Yosoo1w8r7bmegs |
| വാല്യംtage | DC 5V |
| പവർ ഉറവിടം | USB (DC Power Supply) |
| പരമാവധി റൊട്ടേഷണൽ സ്പീഡ് | 15000 ആർപിഎം |
| Collet Range | 0.7mm - 1.3mm (with included bits) |
| മെറ്റീരിയൽ | മെറ്റൽ + പ്ലാസ്റ്റിക് |
| ഇനത്തിൻ്റെ ഭാരം | Approx. 0.12 kg (4.2 ounces) |
| USB കേബിൾ ദൈർഘ്യം | Approx. 1.5 meters (4.92 ft) |
| പ്രത്യേക സവിശേഷതകൾ | ഭാരം കുറഞ്ഞ, പോർട്ടബിൾ |

5. സജ്ജീകരണം
Follow these steps to prepare your drill for use:
- ബിറ്റ് തിരഞ്ഞെടുക്കുക: Choose the appropriate drill bit (0.7mm, 1.0mm, or 1.3mm) for your task.
- Loosen Collet: Unscrew the brass collet at the front of the drill counter-clockwise to open the jaws.
- ബിറ്റ് ചേർക്കുക: Carefully insert the shank of the chosen drill bit into the collet. Ensure it is seated properly.
- കോലറ്റ് മുറുക്കുക: Screw the brass collet clockwise until the drill bit is securely held. Use the provided hex key to gently tighten the collet for a firm grip, but do not overtighten.
- പവർ ബന്ധിപ്പിക്കുക: Plug the USB cable into a compatible 5V USB power source (e.g., a USB wall adapter, power bank, or computer USB port).


6. പ്രവർത്തന നിർദ്ദേശങ്ങൾ
Once the drill bit is securely installed and power is connected, you can begin operation.
- പവർ ഓൺ: Locate the switch on the USB cable and slide it to the 'ON' position. The drill will start rotating.
- സ്ഥാനനിർണ്ണയം: Carefully position the drill bit on the desired drilling point of your workpiece.
- ഡ്രില്ലിംഗ്: Apply gentle, steady pressure. Allow the drill to do the work. Do not apply excessive force, as this can damage the drill or the workpiece.
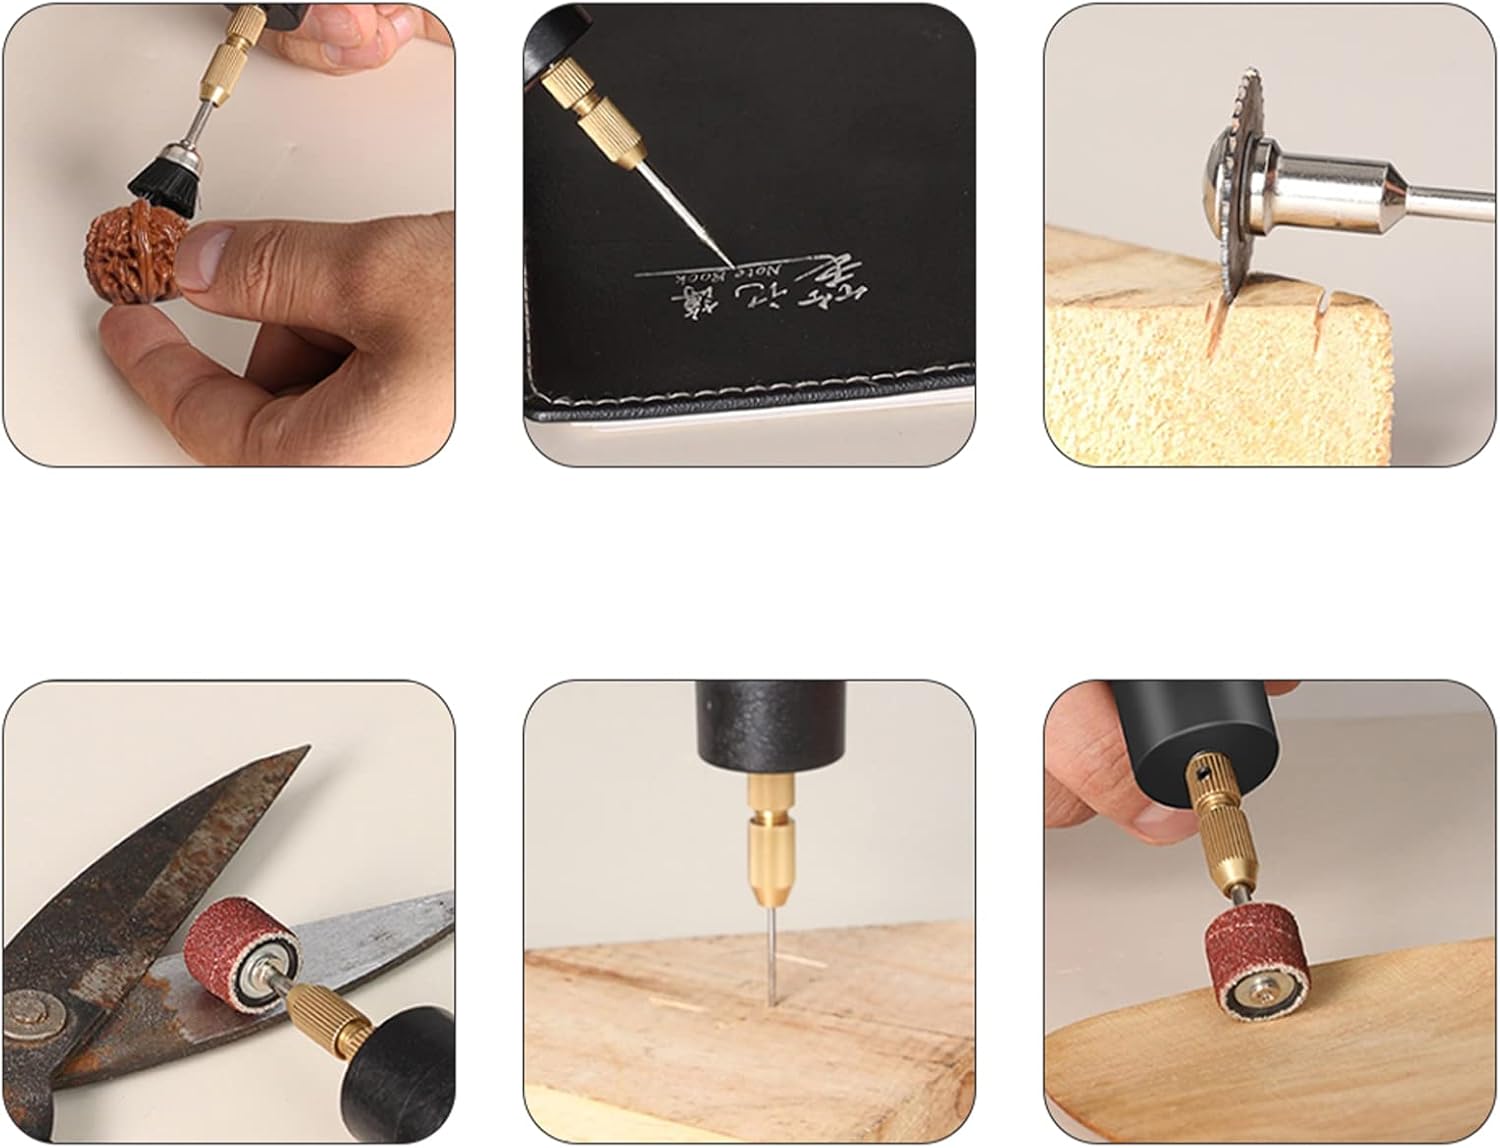
- മെറ്റീരിയൽ അനുയോജ്യത: This drill is primarily designed for drilling soft materials such as:
- Wooden boards (thickness within 10mm)
- Plastic boards (thickness within 10mm)
- Paper sheets (thickness within 10mm)
- Aluminum boards (thickness within 10mm)
- Circuit boards (thickness within 10mm)
പ്രധാന കുറിപ്പ്: This hand drill is അനുയോജ്യമല്ല for drilling hard materials such as bodhi, thick metal, walls, or stone.
- പവർ ഓഫ്: After completing your task, slide the switch on the USB cable to the 'OFF' position to stop the drill.


7. പരിപാലനം
Proper maintenance ensures the longevity and performance of your drill.
- വൃത്തിയാക്കൽ: After each use, disconnect the power and gently wipe the drill body with a clean, dry cloth to remove dust and debris. Do not use harsh chemicals or abrasive cleaners.
- ബിറ്റ് സ്റ്റോറേജ്: Store drill bits in a protective case to prevent damage and dulling.
- സംഭരണം: Store the drill in a dry place, away from direct sunlight and extreme temperatures. Keep it out of reach of children.
- പരിശോധന: Periodically inspect the USB cable for any signs of damage. If damaged, discontinue use and replace the cable.
8. പ്രശ്നപരിഹാരം
If you encounter issues with your Estink Mini Electric Hand Drill, refer to the following common problems and solutions:
- Drill does not turn on:
- Ensure the USB cable is securely plugged into a working 5V power source.
- Check that the on/off switch on the USB cable is in the 'ON' position.
- Try a different USB power source or cable to rule out power supply issues.
- Drill bit is loose or falls out:
- Ensure the collet is tightened sufficiently using the hex key.
- Verify that the drill bit shank is fully inserted into the collet.
- Drill stops during operation or slows down significantly:
- You may be applying too much pressure. Reduce pressure and allow the drill to work at its own pace.
- The material might be too hard for the drill. Refer to the 'Operating Instructions' for compatible materials.
- The drill may be overheating from prolonged use. Allow it to cool down before resuming.
9. വാറൻ്റിയും പിന്തുണയും
For warranty information or technical support, please refer to the product packaging or contact the manufacturer directly through their official channels. Keep your purchase receipt as proof of purchase.