
1. ആമുഖം
This manual provides essential information for the safe and efficient operation of your Prixton Goya P20 Mini Portable Projector. Please read it thoroughly before using the device and retain it for future reference.
2 സുരക്ഷാ വിവരങ്ങൾ
- l ചെയ്യുമ്പോൾ പ്രൊജക്ടർ ലെൻസിലേക്ക് നേരിട്ട് നോക്കരുത്amp ഓണാണ്. തീവ്രമായ വെളിച്ചം കണ്ണിന് കേടുവരുത്തും.
- Ensure proper ventilation around the projector. Do not block ventilation openings.
- പ്രൊജക്ടർ വെള്ളം, ഈർപ്പം, കടുത്ത താപനില എന്നിവയിൽ നിന്ന് അകറ്റി നിർത്തുക.
- പ്രൊജക്ടറിനൊപ്പം നൽകിയിരിക്കുന്ന പവർ അഡാപ്റ്റർ മാത്രം ഉപയോഗിക്കുക.
- പ്രൊജക്ടർ സ്വയം വേർപെടുത്താനോ നന്നാക്കാനോ ശ്രമിക്കരുത്. യോഗ്യതയുള്ള സേവന ഉദ്യോഗസ്ഥരെ ബന്ധപ്പെടുക.
- പ്രൊജക്ടർ വീഴാതിരിക്കാൻ ഒരു സ്ഥിരതയുള്ള, നിരപ്പായ പ്രതലത്തിൽ വയ്ക്കുക.
3. പാക്കേജ് ഉള്ളടക്കം
പാക്കേജിൽ എല്ലാ ഇനങ്ങളും ഉണ്ടെന്ന് ഉറപ്പാക്കുക:
- Prixton Goya P20 Mini Portable Projector
- റിമോട്ട് കൺട്രോൾ
- പവർ അഡാപ്റ്റർ
- ഉപയോക്തൃ മാനുവൽ (ഈ പ്രമാണം)

Image: The Prixton Goya P20 projector shown alongside its included remote control.
4. ഉൽപ്പന്നം കഴിഞ്ഞുview
4.1. ഫ്രണ്ട് View

ചിത്രം: മുൻഭാഗം view of the projector, highlighting the projection lens.
4.2. പിൻഭാഗവും വശവും Views (തുറമുഖങ്ങൾ)

Image: Rear panel of the projector, showing the VGA input and IR receiver.
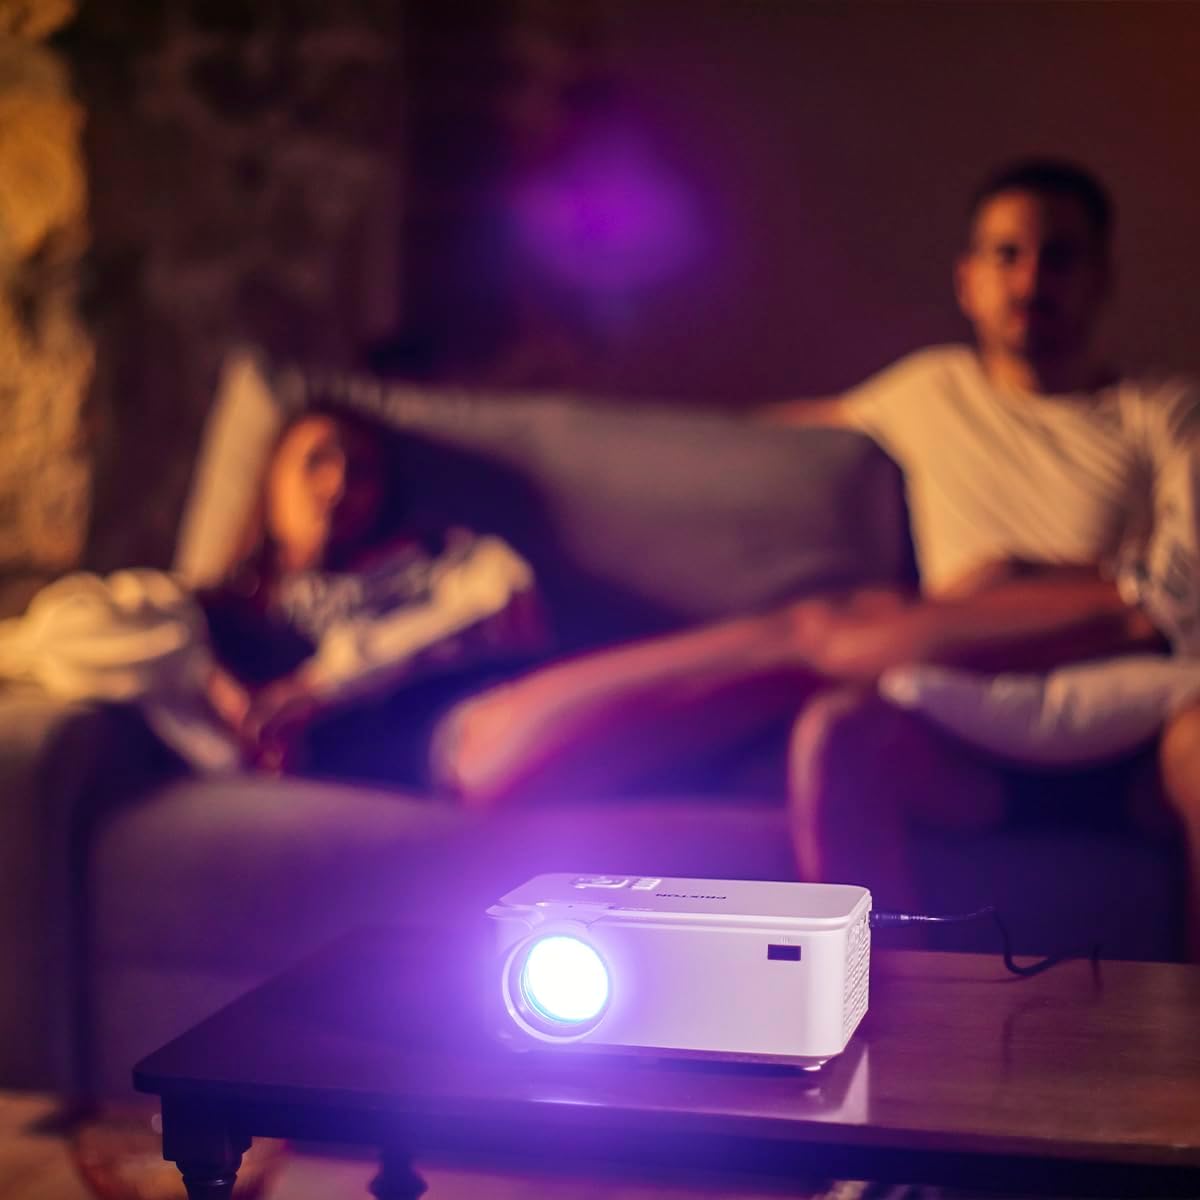
Image: Side panel of the projector, displaying the AV, MicroSD, HDMI (x2), and USB (x2) ports.
4.3. മുകളിലെ പാനൽ നിയന്ത്രണങ്ങൾ

Image: Top panel of the projector, illustrating the control buttons for navigation and power.
The projector features various input ports for connectivity and intuitive controls on the top panel, in addition to the remote control.
5. സജ്ജീകരണം
5.1. പ്ലേസ്മെന്റ്
പ്രൊജക്ടർ ഒരു പരന്നതും സ്ഥിരതയുള്ളതുമായ പ്രതലത്തിൽ സ്ഥാപിക്കുക. ഒപ്റ്റിമൽ ആയി viewing, position the projector between 1 to 5 meters from the projection surface. This distance allows for a screen size ranging from 30 to 150 inches.

Image: A visual representation of recommended projection distances (1 to 5 meters) and corresponding screen sizes (30 to 150 inches).
5.2. പവർ കണക്ഷൻ
- പ്രൊജക്ടറിന്റെ പവർ ഇൻപുട്ട് പോർട്ടിലേക്ക് പവർ അഡാപ്റ്റർ ബന്ധിപ്പിക്കുക.
- അനുയോജ്യമായ ഒരു ഇലക്ട്രിക്കൽ ഔട്ട്ലെറ്റിലേക്ക് പവർ അഡാപ്റ്റർ പ്ലഗ് ചെയ്യുക.
5.3. ഉപകരണങ്ങൾ ബന്ധിപ്പിക്കുന്നു
പ്രൊജക്ടർ ഒന്നിലധികം ഇൻപുട്ട് ഉറവിടങ്ങളെ പിന്തുണയ്ക്കുന്നു:
- എച്ച്ഡിഎംഐ: Connect Blu-ray players, laptops, game consoles, or media players using an HDMI cable.
- USB: Insert a USB flash drive for direct media playback.
- വി.ജി.എ: Connect older computers or laptops using a VGA cable.
- മൈക്രോ എസ്ഡി: Insert a MicroSD card for direct media playback.
- ഓഫ്: Use the AV port for connecting devices with composite video and stereo audio outputs.

Image: A hand connecting a USB drive to the projector's USB port.
5.4. ഫോക്കസും കീസ്റ്റോൺ ക്രമീകരണവും
Use the focus ring near the lens to sharpen the image. If the image appears trapezoidal, adjust the keystone correction to achieve a rectangular projection.
6. പ്രവർത്തന നിർദ്ദേശങ്ങൾ
6.1. പവർ ഓൺ/ഓഫ്
ഉപകരണം ഓൺ അല്ലെങ്കിൽ ഓഫ് ചെയ്യാൻ പ്രൊജക്ടറിലെ പവർ ബട്ടൺ അല്ലെങ്കിൽ റിമോട്ട് കൺട്രോൾ അമർത്തുക.
6.2. ഉറവിടം തിരഞ്ഞെടുക്കൽ
After powering on, use the 'Source' button on the remote or projector to select the desired input source (HDMI1, HDMI2, USB, VGA, AV, MicroSD).
6.3. മീഡിയ പ്ലേബാക്ക്
When a USB drive or MicroSD card is inserted, the projector's interface will allow you to browse and play video, audio, photo, and text fileനേരിട്ട്.
6.4. ബ്ലൂടൂത്ത് കണക്റ്റിവിറ്റി
The projector supports Bluetooth for audio output. Navigate to the Bluetooth settings in the projector's menu to pair with compatible Bluetooth speakers or headphones.

Image: The projector in operation, casting an image onto a wall in a dimly lit room, demonstrating its home cinema capability.
7. പരിപാലനം
7.1. വൃത്തിയാക്കൽ
- പ്രൊജക്ടറിന്റെ പുറംഭാഗം വൃത്തിയാക്കാൻ മൃദുവായതും ഉണങ്ങിയതുമായ തുണി ഉപയോഗിക്കുക.
- ലെൻസിന്, പോറലുകൾ ഒഴിവാക്കാൻ ഒരു പ്രത്യേക ലെൻസ് ക്ലീനിംഗ് തുണിയും ലായനിയും ഉപയോഗിക്കുക.
- Regularly clear dust from the ventilation openings using a soft brush or compressed air.
7.2. എൽamp ജീവിതം
The LED light source in your projector has an estimated lifespan of up to 50,000 hours, providing long-term use without frequent lamp മാറ്റിസ്ഥാപിക്കൽ.
8. പ്രശ്നപരിഹാരം
| പ്രശ്നം | സാധ്യമായ കാരണം | പരിഹാരം |
|---|---|---|
| ചിത്രമൊന്നും പ്രദർശിപ്പിച്ചിട്ടില്ല | Power not connected, incorrect input source, device not connected properly. | Check power cable, select correct input source, ensure source device is on and connected securely. |
| ചിത്രം മങ്ങിയതാണ് | Focus not adjusted, projection distance too far/close. | Adjust the focus ring. Ensure projector is within the recommended 1-5 meter projection distance. |
| ശബ്ദമില്ല | Volume too low, external audio device not connected, incorrect audio settings. | Increase projector volume. Check if external speakers are connected and functioning. Verify audio output settings. |
| റിമോട്ട് കൺട്രോൾ പ്രവർത്തിക്കുന്നില്ല | Batteries depleted, obstruction between remote and projector. | Replace batteries. Ensure no objects are blocking the IR sensor on the projector. |
| ഫാൻ ശബ്ദം ഉച്ചത്തിലാണ് | സാധാരണ പ്രവർത്തനം, പരിമിതമായ വായുസഞ്ചാരം. | Some fan noise is normal for projectors. Ensure ventilation ports are clear and not obstructed. |
9 സ്പെസിഫിക്കേഷനുകൾ
| ഫീച്ചർ | വിശദാംശങ്ങൾ |
|---|---|
| ബ്രാൻഡ് | പ്രിക്സ്റ്റൺ |
| മോഡൽ നമ്പർ | Goya P20 |
| ഡിസ്പ്ലേ ടെക്നോളജി | എൽഇഡി |
| നേറ്റീവ് റെസല്യൂഷൻ | 800 x 480 |
| പരമാവധി ഡിസ്പ്ലേ റെസല്യൂഷൻ | 1920 x 1080 (Full HD compatible) |
| തെളിച്ചം | Up to 2800 lumens (40 LED lumens) |
| കോൺട്രാസ്റ്റ് റേഷ്യോ | 500:1 |
| ലൈറ്റ് സോഴ്സ് ലൈഫ് | 50,000 മണിക്കൂർ |
| കണക്റ്റിവിറ്റി ടെക്നോളജി | Bluetooth, HDMI (x2), USB (x2), VGA, MicroSD, AV |
| പ്രത്യേക സവിശേഷതകൾ | Integrated speaker, Portable, Remote control included |
| ശുപാർശ ചെയ്യുന്ന ഉപയോഗം | ഹോം സിനിമ |
| അനുയോജ്യമായ ഉപകരണങ്ങൾ | Game console, Blu-ray player, Media player, Laptop, Smartphone |
| ഫോം ഫാക്ടർ | പോർട്ടബിൾ |
| മൗണ്ടിംഗ് തരം | ടേബിൾ മൗണ്ട് |
10. വാറൻ്റിയും പിന്തുണയും
For warranty information and technical support, please refer to the documentation provided at the time of purchase or contact Prixton customer service. Information regarding spare parts availability and software updates is not available in this manual.