1. ആമുഖം
This manual provides detailed instructions for the safe installation, operation, and maintenance of your Utilitech 6-Pack Canless Color Choice Dimmable Recessed Downlight. Please read all instructions carefully before beginning installation and retain this manual for future reference.
1.1 സുരക്ഷാ വിവരങ്ങൾ
- Always turn off power at the circuit breaker before installation, removal, or servicing.
- ഇൻസ്റ്റലേഷൻ പ്രക്രിയയുടെ ഏതെങ്കിലും ഭാഗത്തെക്കുറിച്ച് നിങ്ങൾക്ക് ഉറപ്പില്ലെങ്കിൽ, യോഗ്യതയുള്ള ഒരു ഇലക്ട്രീഷ്യനെ സമീപിക്കുക.
- എല്ലാ വൈദ്യുത കണക്ഷനുകളും പ്രാദേശിക കോഡുകളും ഓർഡിനൻസുകളും പാലിക്കുന്നുണ്ടെന്ന് ഉറപ്പാക്കുക.
- Do not install in areas with direct exposure to water spray unless specifically rated for such conditions. This product is rated for indoor and outdoor use.
- Do not attempt to modify the product. Any modifications may void the warranty and create a safety hazard.
- ഇൻസ്റ്റാളേഷൻ സമയത്ത് സുരക്ഷാ ഗ്ലാസുകളും കയ്യുറകളും ഉൾപ്പെടെയുള്ള ഉചിതമായ സുരക്ഷാ ഗിയർ ധരിക്കുക.
2. പാക്കേജ് ഉള്ളടക്കം
ഇൻസ്റ്റാളേഷൻ ആരംഭിക്കുന്നതിന് മുമ്പ് എല്ലാ ഘടകങ്ങളും ഉണ്ടെന്ന് ഉറപ്പാക്കുക.
- 6 x Canless Tethered Downlights
- 6 x Trim Kits
- നിർദ്ദേശ മാനുവൽ (ഈ പ്രമാണം)
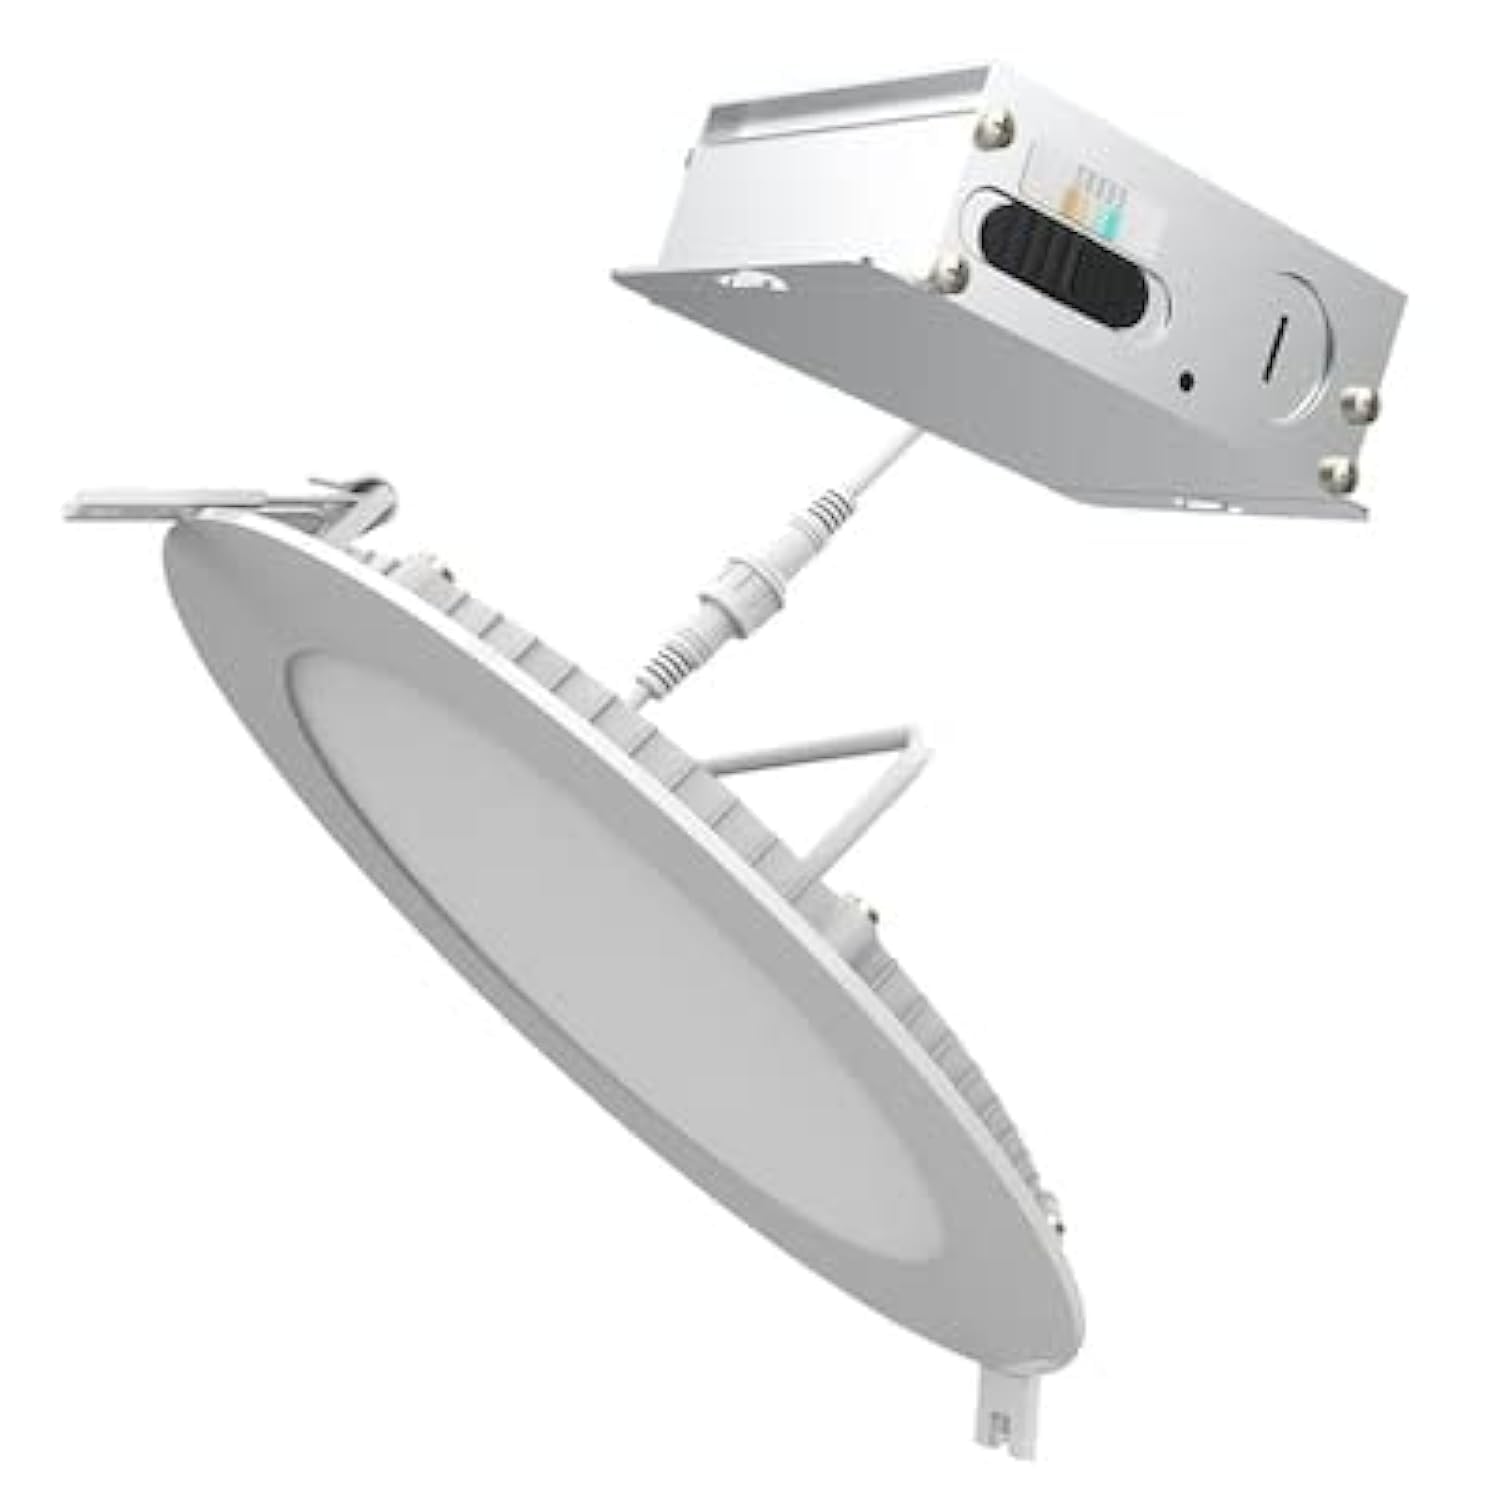
Image 2.1: Contents of the Utilitech 6-Pack Canless Recessed Downlight Kit. Includes the downlights and trim kits.
3. സജ്ജീകരണവും ഇൻസ്റ്റാളേഷനും
These canless recessed downlights are designed for easy installation without the need for an existing recessed can or junction box. They are suitable for low plenum clearance applications.
3.1 ആവശ്യമായ ഉപകരണങ്ങൾ (ഉൾപ്പെടുത്തിയിട്ടില്ല)
- Hole Saw (appropriate size for 5-inch or 6-inch fixture, refer to instruction sheet for exact dimension)
- വയർ സ്ട്രിപ്പറുകൾ
- സ്ക്രൂഡ്രൈവർ
- സുരക്ഷാ ഗ്ലാസുകൾ
- കയ്യുറകൾ
3.2 ഇൻസ്റ്റലേഷൻ ഘട്ടങ്ങൾ
- പവർ ഓഫ് ചെയ്യുക: Before starting, ensure the power to the installation area is turned off at the circuit breaker.
- ദ്വാരം മുറിക്കുക: Using a hole saw, cut a hole in the drywall at the desired location. Refer to the separate instruction sheet for the precise hole dimension required for your 5-inch or 6-inch fixture.
- വയറിംഗ് പ്രവർത്തിപ്പിക്കുക: Run the electrical wire cable from the direct line voltage to the location of the canless retrofit kit.
- വയറിംഗ് ബന്ധിപ്പിക്കുക: Open the knockout on the canless retrofit kit's quick connect terminal. Connect the line voltage wires to the quick connect terminal. Ensure proper polarity (Live, Neutral, Ground).
- Daisy Chain (Optional): If installing multiple downlights, you can daisy chain additional wire from the quick connect terminal through another knockout to your next canless retrofit kit.
- ഫിക്ചർ തിരുകുക: Gently push the spring-loaded clips on the downlight fixture through the cut hole in the ceiling.
- സുരക്ഷിത ഫിക്സ്ചർ: The springs will pull up on the retrofit kit, securing it firmly against the ceiling for an airtight seal.
- പവർ പുന ore സ്ഥാപിക്കുക: Once all fixtures are installed and secured, restore power at the circuit breaker.
4. പ്രവർത്തന നിർദ്ദേശങ്ങൾ
This downlight features Color Choice (5CCT) and dimmable functionality.
4.1 Color Temperature Selection (5CCT)
The fixture allows you to select from five color temperatures (2700K to 6500K). The color temperature switch is located on the fixture itself, typically on the driver box or the back of the light. Before final installation into the ceiling, select your desired color temperature. Once installed, you may need to remove the fixture to change the setting.
- 2700K: Warm White, similar to incandescent light.
- 3000K: Soft White, slightly cooler than 2700K.
- 4000K: Cool White, neutral white light.
- 5000K: Bright White, daylight-like appearance.
- 6500K: Daylight, very cool white with a bluish tint.
4.2 മങ്ങൽ പ്രവർത്തനം
This downlight is dimmable. To utilize the dimming feature, ensure you have a compatible LED dimmer switch installed on the circuit. Refer to your dimmer switch's instructions for proper operation.
5. പരിപാലനം
The Utilitech Canless Recessed Downlight requires minimal maintenance.
- വൃത്തിയാക്കൽ: വൃത്തിയാക്കുന്നതിന് മുമ്പ് പവർ ഓഫ് ചെയ്തിട്ടുണ്ടെന്ന് ഉറപ്പാക്കുക. മൃദുവായതോ, ഉണങ്ങിയതോ, അല്ലെങ്കിൽ ചെറുതായി ഡി-ടാപ്പിംഗ് ഉള്ളതോ ആയ ഒരു തുണി ഉപയോഗിച്ച് ഫിക്സ്ചർ തുടയ്ക്കുക.amp തുണി. ഉരച്ചിലുകളുള്ള ക്ലീനറുകളോ ലായകങ്ങളോ ഉപയോഗിക്കരുത്.
- LED- കൾ: സംയോജിത എൽഇഡി ലൈറ്റ് സ്രോതസ്സ് ദീർഘായുസ്സിനായി രൂപകൽപ്പന ചെയ്തിരിക്കുന്നു, മാത്രമല്ല അത് ഉപയോക്താക്കൾക്ക് മാറ്റിസ്ഥാപിക്കാനാകില്ല.
6. പ്രശ്നപരിഹാരം
നിങ്ങളുടെ ഡൗൺലൈറ്റിൽ പ്രശ്നങ്ങൾ അനുഭവപ്പെടുകയാണെങ്കിൽ, ഇനിപ്പറയുന്ന പൊതുവായ പ്രശ്നങ്ങളും പരിഹാരങ്ങളും പരിശോധിക്കുക:
| പ്രശ്നം | സാധ്യമായ കാരണം | പരിഹാരം |
|---|---|---|
| ലൈറ്റ് ഓണാക്കില്ല. | ഘടിപ്പിക്കാൻ ശക്തിയില്ല. അയഞ്ഞ വയറിംഗ് കണക്ഷൻ. തെറ്റായ സ്വിച്ച്. | സർക്യൂട്ട് ബ്രേക്കർ പരിശോധിക്കുക. എല്ലാ വയർ കണക്ഷനുകളും സുരക്ഷിതമാണെന്ന് ഉറപ്പാക്കുക (ആദ്യം പവർ ഓഫ് ചെയ്യുക). Test the switch with another device. |
| പ്രകാശം അനുചിതമായി മിന്നിമറയുകയോ മങ്ങുകയോ ചെയ്യുന്നു. | പൊരുത്തപ്പെടാത്ത ഡിമ്മർ സ്വിച്ച്. അയഞ്ഞ വയറിംഗ്. | ഡിമ്മർ LED-ക്ക് അനുയോജ്യമാണെന്ന് ഉറപ്പാക്കുക. വയറിംഗ് കണക്ഷനുകൾ പരിശോധിക്കുക (ആദ്യം പവർ ഓഫ് ചെയ്യുക). |
| തെറ്റായ വർണ്ണ താപനില. | കളർ ടെമ്പറേച്ചർ സ്വിച്ച് തെറ്റായി സജ്ജീകരിച്ചു. | Turn off power, carefully remove fixture, adjust 5CCT switch to desired setting, reinstall. |
7 സ്പെസിഫിക്കേഷനുകൾ
| ഫീച്ചർ | വിശദാംശങ്ങൾ |
|---|---|
| ബ്രാൻഡ് | യൂട്ടിലിടെക് |
| മോഡൽ നമ്പർ | LLEDR6XT/5CCT/6 |
| ഉൽപ്പന്ന അളവുകൾ | 7.1"L x 7.1"W x 1.3"H |
| നിറം | വെള്ള |
| പ്രകാശ സ്രോതസ്സ് തരം | സംയോജിത എൽഇഡി |
| വാട്ട്tage | 65 Watts (Equivalent) |
| തെളിച്ചം | 65 Lumens (Note: This seems low for 65W equivalent, usually 65W equivalent is around 800 lumens. User should verify actual lumen output from product packaging if available.) |
| വർണ്ണ താപനില (CCT) | 2700K - 6500K (5CCT Selectable) |
| മങ്ങിയത് | അതെ |
| ഇൻസ്റ്റലേഷൻ തരം | Flush Mount, Canless Recessed |
| ഇൻഡോർ/ഔട്ട്ഡോർ ഉപയോഗം | ഇൻഡോർ, ഔട്ട്ഡോർ |
| പവർ ഉറവിടം | ഹാർഡ് വയർഡ് |
| കാര്യക്ഷമത | എനർജി സ്റ്റാർ സർട്ടിഫൈഡ് |
| സർട്ടിഫിക്കേഷൻ | ETL |
| മെറ്റീരിയൽ | Plastic (Shade) |
| ഇനത്തിൻ്റെ ഭാരം | 6 പൗണ്ട് (പായ്ക്കിന്) |
8. വാറൻ്റിയും പിന്തുണയും
For warranty information or technical support, please refer to the documentation included with your purchase or contact Utilitech customer service. Keep your proof of purchase for warranty claims.