
1. ആമുഖം
This manual provides essential information for the safe and effective operation of your DEXTER 20V Cordless Impact Drill. Please read it thoroughly before first use and keep it for future reference.
The DEXTER cordless impact drill is designed for regular home use, enabling precise drilling and screwdriving, especially in hard materials. It comes equipped with two durable 2.5Ah batteries and a 3AMP charger for convenience.
2. സുരക്ഷാ നിർദ്ദേശങ്ങൾ
മുന്നറിയിപ്പ്: ഈ പവർ ടൂളിനൊപ്പം നൽകിയിരിക്കുന്ന എല്ലാ സുരക്ഷാ മുന്നറിയിപ്പുകളും നിർദ്ദേശങ്ങളും ചിത്രീകരണങ്ങളും സവിശേഷതകളും വായിക്കുക. ചുവടെ ലിസ്റ്റുചെയ്തിരിക്കുന്ന എല്ലാ നിർദ്ദേശങ്ങളും പാലിക്കുന്നതിൽ പരാജയപ്പെടുന്നത് വൈദ്യുതാഘാതം, തീ, കൂടാതെ/അല്ലെങ്കിൽ ഗുരുതരമായ പരിക്കിന് കാരണമായേക്കാം.
- ഉപകരണം പ്രവർത്തിപ്പിക്കുമ്പോൾ സുരക്ഷാ ഗ്ലാസുകൾ, ശ്രവണ സംരക്ഷണം, കയ്യുറകൾ എന്നിവ പോലുള്ള ഉചിതമായ വ്യക്തിഗത സംരക്ഷണ ഉപകരണങ്ങൾ (പിപിഇ) എല്ലായ്പ്പോഴും ധരിക്കുക.
- ജോലിസ്ഥലം നല്ല വെളിച്ചമുള്ളതും തടസ്സങ്ങളില്ലാത്തതുമാണെന്ന് ഉറപ്പാക്കുക.
- പവർ ടൂൾ പ്രവർത്തിപ്പിക്കുമ്പോൾ കുട്ടികളെയും കാഴ്ചക്കാരെയും അകറ്റി നിർത്തുക.
- തീപിടിക്കുന്ന ദ്രാവകങ്ങൾ, വാതകങ്ങൾ, പൊടി എന്നിവയുടെ സാന്നിധ്യം പോലെ സ്ഫോടനാത്മക അന്തരീക്ഷത്തിൽ പവർ ടൂളുകൾ പ്രവർത്തിപ്പിക്കരുത്.
- എന്തെങ്കിലും ക്രമീകരണങ്ങൾ വരുത്തുന്നതിനോ, ആക്സസറികൾ മാറ്റുന്നതിനോ, അല്ലെങ്കിൽ ഉപകരണം സൂക്ഷിക്കുന്നതിനോ മുമ്പ് എല്ലായ്പ്പോഴും ഉപകരണത്തിൽ നിന്ന് ബാറ്ററി പായ്ക്ക് വിച്ഛേദിക്കുക.
- Use only DEXTER recommended battery packs and chargers.
- Do not expose battery packs or tools to fire or excessive temperature.
- For more detailed safety information, refer to the general power tool safety guidelines provided with the product packaging.
3. പാക്കേജ് ഉള്ളടക്കം
Your DEXTER 20V Cordless Impact Drill package includes:
- 1 x DEXTER 20V Cordless Impact Drill
- 2 x Lithium-ion 2.5Ah Batteries
- 1 x Battery Charger (3AMP)
- 1 x Double-ended Bit (50 mm)
- 1 x പ്ലാസ്റ്റിക് സ്റ്റോറേജ് കേസ്
Note: Drill bits are not included and must be purchased separately.

4. ഉൽപ്പന്നം കഴിഞ്ഞുview
Familiarize yourself with the main components of your DEXTER impact drill for optimal use and safety.

5. സജ്ജീകരണം
5.1 ബാറ്ററി ചാർജ് ചെയ്യുന്നു
വാങ്ങുമ്പോൾ ബാറ്ററി പായ്ക്ക് പൂർണ്ണമായും ചാർജ് ചെയ്തിട്ടില്ല. ആദ്യ ഉപയോഗത്തിന് മുമ്പ് ബാറ്ററി പൂർണ്ണമായും ചാർജ് ചെയ്യാൻ ശുപാർശ ചെയ്യുന്നു.
- അനുയോജ്യമായ പവർ ഔട്ട്ലെറ്റിലേക്ക് ചാർജർ ബന്ധിപ്പിക്കുക.
- ബാറ്ററി പായ്ക്ക് ചാർജറിൽ ക്ലിക്ക് ചെയ്യുന്നത് വരെ സ്ലൈഡ് ചെയ്യുക.
- The charging indicator on the charger will show the charging status. A full charge typically takes 30 minutes for a 2.5Ah battery.
- പൂർണ്ണമായി ചാർജ് ചെയ്തുകഴിഞ്ഞാൽ, ചാർജറിൽ നിന്ന് ബാറ്ററി നീക്കം ചെയ്യുക.
5.2. ബാറ്ററി ഇൻസ്റ്റാൾ ചെയ്യൽ/നീക്കം ചെയ്യൽ
- To install: Align the battery pack with the base of the drill handle and slide it in until it locks securely.
- To remove: Press the battery release button (located on the battery pack) and slide the battery pack out.
5.3. Installing Drill Bits or Screwdriver Bits
- Ensure the drill is switched off and the battery is removed for safety.
- താടിയെല്ലുകൾ തുറക്കാൻ ചക്ക് എതിർ ഘടികാരദിശയിൽ തിരിക്കുക.
- Insert the desired drill bit or screwdriver bit into the chuck.
- താടിയെല്ലുകൾ ബിറ്റിന് ചുറ്റും സുരക്ഷിതമായി മുറുക്കാൻ ചക്ക് ഘടികാരദിശയിൽ തിരിക്കുക. ബിറ്റ് മധ്യഭാഗത്തും ദൃഢമായി പിടിച്ചിട്ടുണ്ടെന്നും ഉറപ്പാക്കുക.
6. പ്രവർത്തന നിർദ്ദേശങ്ങൾ
6.1. Selecting Operating Mode (Drilling/Screwdriving/Impact)
The DEXTER impact drill features multiple modes for various applications. The torque collar allows you to select the appropriate mode:
- സ്ക്രൂഡ്രൈവിംഗ് മോഡ്: Rotate the torque collar to the desired torque setting (1-21). Lower numbers are for smaller screws or softer materials, higher numbers for larger screws or harder materials. The clutch will disengage once the set torque is reached, preventing overtightening.
- ഡ്രില്ലിംഗ് മോഡ്: Rotate the torque collar to the drill symbol. This mode provides maximum torque without clutch disengagement, suitable for drilling into wood or metal.
- ഇംപാക്റ്റ് ഡ്രില്ലിംഗ് മോഡ്: Rotate the torque collar to the hammer symbol. This mode activates the impact mechanism, providing additional force for drilling into masonry or other hard materials.
6.2. സ്പീഡ് തിരഞ്ഞെടുക്കൽ
Use the speed selector switch (typically located on top of the drill housing) to choose between two speed ranges:
- Low Speed (Gear 1): 0-450 rpm. Ideal for high torque applications like screwdriving or drilling large diameter holes.
- High Speed (Gear 2): 0-1700 rpm. Suitable for faster drilling in softer materials or smaller diameter holes.
6.3. മുന്നോട്ട്/തിരിച്ചുനോക്കുക ഭ്രമണം
The forward/reverse switch, located above the trigger, controls the direction of rotation:
- Push left for forward rotation (for drilling and tightening screws).
- Push right for reverse rotation (for removing screws or freeing jammed bits).
- സംഭരണത്തിലോ ബിറ്റ് മാറ്റങ്ങളിലോ സുരക്ഷയ്ക്കായി മധ്യ സ്ഥാനം ട്രിഗറിനെ ലോക്ക് ചെയ്യുന്നു.
6.4. ഡ്രിൽ പ്രവർത്തിപ്പിക്കുക
- Hold the drill firmly with both hands if possible, especially during impact drilling or high torque applications. The ergonomic handle provides comfort and control.
- വർക്ക്പീസിൽ ബിറ്റ് സ്ഥാപിക്കുക.
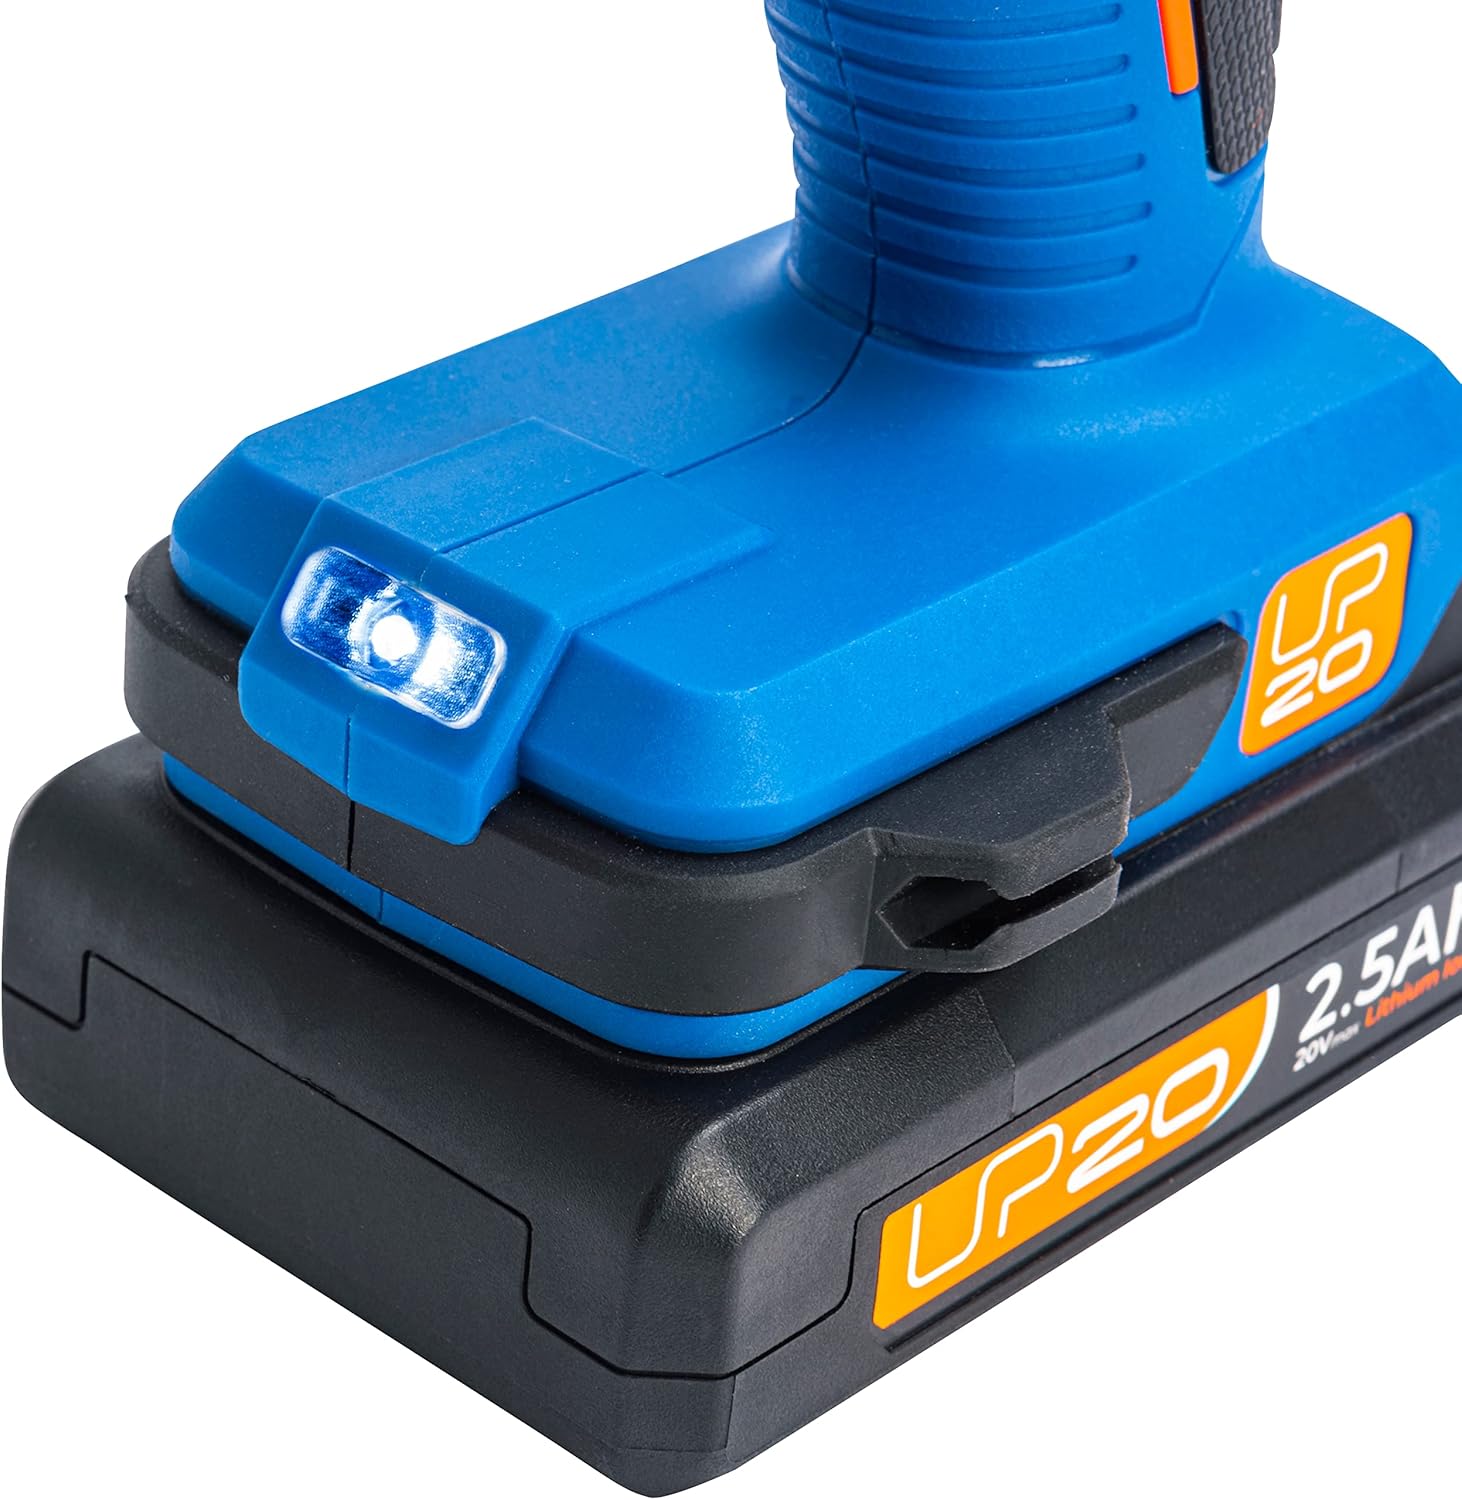
- Gently press the trigger to start the drill. The integrated LED light will illuminate the work area.
- Increase pressure on the trigger for higher speed.
- Maintain steady pressure and allow the tool to do the work. Avoid excessive force.


7. പരിപാലനം
7.1. വൃത്തിയാക്കൽ
- ചൂടാകുന്നത് തടയാൻ ഉപകരണത്തിന്റെ വെന്റിലേഷൻ സ്ലോട്ടുകൾ പതിവായി വൃത്തിയാക്കുക. മൃദുവായ ബ്രഷ് അല്ലെങ്കിൽ കംപ്രസ് ചെയ്ത വായു ഉപയോഗിക്കുക.
- പരസ്യം ഉപയോഗിച്ച് ടൂൾ ഹൗസിംഗ് തുടയ്ക്കുകamp തുണി. കഠിനമായ രാസവസ്തുക്കളോ ഉരച്ചിലുകളുള്ള ക്ലീനറുകളോ ഉപയോഗിക്കരുത്.
- Keep the chuck jaws clean and free of debris for optimal bit gripping.
7.2. ബാറ്ററി പരിചരണം
- ബാറ്ററികൾ തണുത്തതും വരണ്ടതുമായ സ്ഥലത്ത് സൂക്ഷിക്കുക, നേരിട്ടുള്ള സൂര്യപ്രകാശവും ഉയർന്ന താപനിലയും ഏൽക്കുന്നതിൽ നിന്ന് അകറ്റി നിർത്തുക.
- Do not store fully discharged batteries for extended periods. Charge them periodically if not in use to maintain battery health.
- If a battery pack is damaged, do not use it. Dispose of it properly according to local regulations.
7.3. സംഭരണം
- Store the tool and its accessories in the provided plastic storage case when not in use to protect them from dust and damage.
- Keep out of reach of children and unauthorized users.

8. പ്രശ്നപരിഹാരം
നിങ്ങൾ നേരിട്ടേക്കാവുന്ന സാധാരണ പ്രശ്നങ്ങളെ ഈ വിഭാഗം അഭിസംബോധന ചെയ്യുന്നു. ഇവിടെ പട്ടികപ്പെടുത്തിയിട്ടില്ലാത്ത പ്രശ്നങ്ങൾക്ക്, ദയവായി ഉപഭോക്തൃ പിന്തുണയുമായി ബന്ധപ്പെടുക.
Problem: Drill does not start.
- സാധ്യമായ കാരണം: ബാറ്ററി ചാർജ് ചെയ്തിട്ടില്ല. പരിഹാരം: ബാറ്ററി പൂർണ്ണമായും ചാർജ് ചെയ്യുക.
- സാധ്യമായ കാരണം: ബാറ്ററി ശരിയായി ചേർത്തിട്ടില്ല. പരിഹാരം: Reinsert the battery until it clicks into place.
- സാധ്യമായ കാരണം: Forward/reverse switch in center (locked) position. പരിഹാരം: Move the switch to forward or reverse.
Problem: Reduced power or performance.
- സാധ്യമായ കാരണം: ബാറ്ററി കുറവാണ്. പരിഹാരം: ബാറ്ററി റീചാർജ് ചെയ്യുക.
- സാധ്യമായ കാരണം: Incorrect mode or speed setting for the task. പരിഹാരം: Adjust torque collar and speed selector to suit the application.
Problem: Bit slips in chuck.
- സാധ്യമായ കാരണം: ചക്ക് വേണ്ടത്ര മുറുക്കിയിട്ടില്ല. പരിഹാരം: Tighten the chuck firmly by hand.
- സാധ്യമായ കാരണം: ബിറ്റ് ഷാങ്ക് വൃത്തികെട്ടതോ കേടായതോ ആണ്. പരിഹാരം: ബിറ്റ് വൃത്തിയാക്കുക അല്ലെങ്കിൽ മാറ്റി സ്ഥാപിക്കുക.
9 സാങ്കേതിക സവിശേഷതകൾ
| ഫീച്ചർ | സ്പെസിഫിക്കേഷൻ |
|---|---|
| ബ്രാൻഡ് | വിശദീകരണം |
| മോഡൽ നമ്പർ | 3276000713401 |
| പവർ ഉറവിടം | ബാറ്ററി പവർ |
| വാല്യംtage | 20 വോൾട്ട് (പരമാവധി) |
| ബാറ്ററി ശേഷി | 2.5 Ampere-hours (per battery) |
| പരമാവധി പവർ | 650 വാട്ട്സ് |
| നോ-ലോഡ് വേഗത (ഗിയർ 1) | 0-450 ആർപിഎം |
| നോ-ലോഡ് വേഗത (ഗിയർ 2) | 0-1700 ആർപിഎം |
| ആഘാത നിരക്ക് | 22100 bpm (beats per minute) |
| പരമാവധി ചക്ക് വലുപ്പം | 13 മി.മീ |
| Max Drilling Diameter (Metal) | 6.0 മി.മീ |
| പരമാവധി ഡ്രില്ലിംഗ് വ്യാസം (മരം) | 22.0 മി.മീ |
| Net Weight (Machine) | 1.3 കി.ഗ്രാം |
| അളവുകൾ (L x W x H) | 34.6 x 10.9 x 35 സെ.മീ |
| മെറ്റീരിയൽ | ലോഹം |
10. വാറൻ്റിയും പിന്തുണയും
This DEXTER impact drill comes with a 3-year warranty from the date of purchase. Please retain your proof of purchase for all warranty claims.
For technical support, spare parts, or warranty inquiries, please contact your retailer or visit the official DEXTER website. DEXTER is committed to providing quality tools that are efficient, ergonomic, and practical, ensuring maximum comfort, convenience, and safety for your work.