
Hinkley 1639BZ-LL
Hinkley Atlantis Extra Large Wall Mount Outdoor Lantern Instruction Manual
Model: 1639BZ-LL
ആമുഖം
വാങ്ങിയതിന് നന്ദി.asing the Hinkley Atlantis Extra Large Wall Mount Outdoor Lantern. This manual provides essential information for the safe installation, operation, and maintenance of your new lighting fixture. Please read all instructions carefully before beginning installation and retain this manual for future reference.
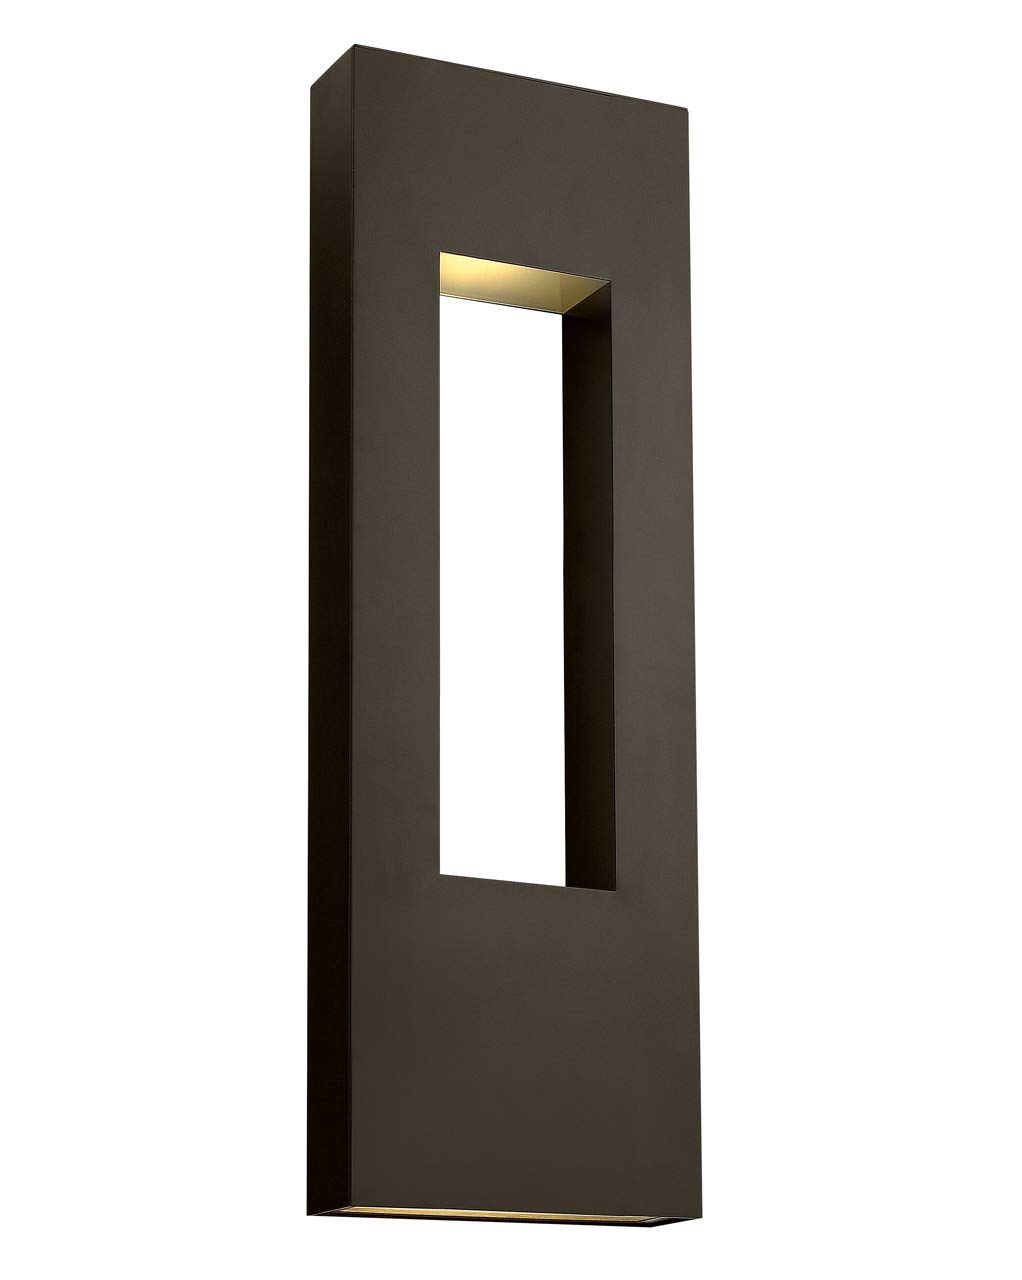
Image: Hinkley Atlantis Extra Large Wall Mount Outdoor Lantern (Model 1639BZ-LL).
സുരക്ഷാ വിവരങ്ങൾ
- മുന്നറിയിപ്പ്: വൈദ്യുതാഘാത സാധ്യത. ഫ്യൂസ് ബോക്സിലോ സർക്യൂട്ട് ബ്രേക്കറിലോ ഇൻസ്റ്റാൾ ചെയ്യുന്നതിനോ സർവീസ് ചെയ്യുന്നതിനോ മുമ്പ് വൈദ്യുതി വിച്ഛേദിക്കുക.
- All electrical connections must be in accordance with local codes, ordinances, or the National Electric Code (NEC) and Canadian Electrical Code (CEC). Consult a qualified electrician if you are unfamiliar with proper electrical wiring.
- This fixture is suitable for wet locations. Ensure all connections are properly sealed to prevent water intrusion.
- Do not install any fixture assembly closer than 6 inches from any combustible material.
- Always wear safety glasses and appropriate protective gear during installation.
- Handle the fixture and glass components with care to avoid breakage.
പാക്കേജ് ഉള്ളടക്കം
ഇൻസ്റ്റാളേഷൻ ആരംഭിക്കുന്നതിന് മുമ്പ് എല്ലാ ഘടകങ്ങളും നിലവിലുണ്ടെന്ന് ഉറപ്പാക്കുക:
- Hinkley Atlantis Extra Large Wall Mount Outdoor Lantern Fixture
- Mounting Hardware Kit (crossbar, mounting screws, wire nuts)
- (3) GU10 LED Bulbs
- നിർദ്ദേശ മാനുവൽ (ഈ പ്രമാണം)
സജ്ജീകരണവും ഇൻസ്റ്റാളേഷനും
പ്രൊഫഷണൽ ഇൻസ്റ്റാളേഷൻ ശുപാർശ ചെയ്യുന്നു. തുടരുന്നതിന് മുമ്പ് സർക്യൂട്ട് ബ്രേക്കറിൽ വൈദ്യുതി വിച്ഛേദിച്ചിട്ടുണ്ടെന്ന് ഉറപ്പാക്കുക.
- മൗണ്ടിംഗ് ഉപരിതലം തയ്യാറാക്കുക: Ensure the electrical box is securely mounted and capable of supporting the fixture's weight (16 lbs).
- Attach Mounting Crossbar: Secure the mounting crossbar to the electrical box using the provided screws.
- ഇലക്ട്രിക്കൽ കണക്ഷനുകൾ ഉണ്ടാക്കുക:
- ഫിക്ചറുകൾ ബന്ധിപ്പിക്കുക കറുപ്പ് സപ്ലൈ സർക്യൂട്ടിലേക്കുള്ള വയർ കറുപ്പ് (ചൂട്) വയർ.
- ഫിക്ചറുകൾ ബന്ധിപ്പിക്കുക വെള്ള സപ്ലൈ സർക്യൂട്ടിലേക്കുള്ള വയർ വെള്ള (neutral) wire.
- ഫിക്ചറുകൾ ബന്ധിപ്പിക്കുക നിലം സപ്ലൈ സർക്യൂട്ടിലേക്കുള്ള വയർ (നഗ്നമായ ചെമ്പ് അല്ലെങ്കിൽ പച്ച) നിലം wire and to the mounting crossbar.
- Secure all connections with approved wire nuts and wrap with electrical tape for added safety.
- ഫിക്സ്ചർ മൌണ്ട് ചെയ്യുക: Carefully align the fixture with the mounting screws on the crossbar. Secure the fixture to the mounting surface using the provided cap nuts or screws.
- ബൾബുകൾ സ്ഥാപിക്കുക: Insert the three (3) GU10 LED bulbs into their respective sockets. Ensure they are fully seated.
- പവർ പുന ore സ്ഥാപിക്കുക: ഇൻസ്റ്റാളേഷൻ പൂർത്തിയായി എല്ലാ കണക്ഷനുകളും സുരക്ഷിതമായിക്കഴിഞ്ഞാൽ, സർക്യൂട്ട് ബ്രേക്കറിൽ പവർ പുനഃസ്ഥാപിക്കുക.

ചിത്രം: ഇൻസ്റ്റലേഷൻ പ്ലാനിംഗിനായുള്ള ഉൽപ്പന്ന അളവുകൾ.

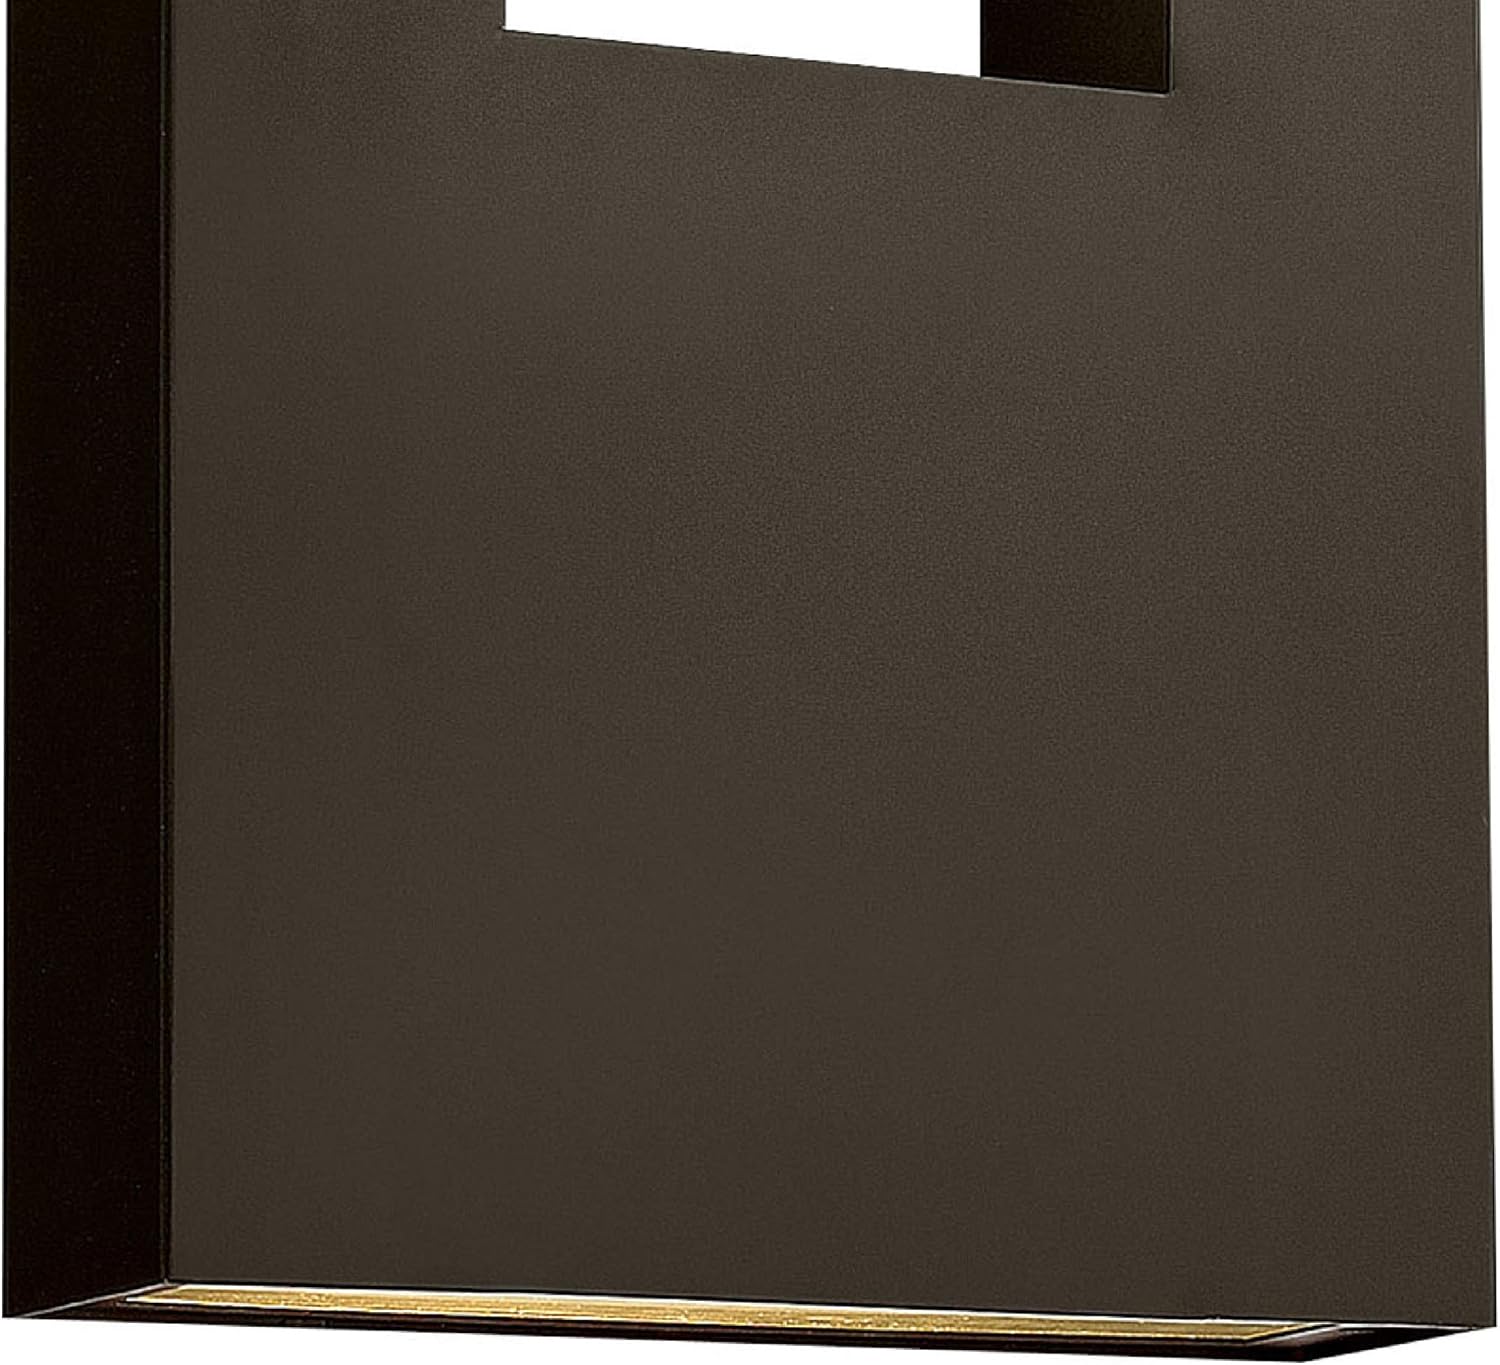
Images: Details of the light openings and etched glass lenses.
പ്രവർത്തന നിർദ്ദേശങ്ങൾ
This fixture is designed for standard wall switch operation. It is also dimmable when used with compatible dimming switches (sold separately).
- ഓൺ/ഓഫ് ചെയ്യുന്നു: ലൈറ്റ് ഓണാക്കാനോ ഓഫാക്കാനോ ഫിക്സ്ചറുമായി ബന്ധിപ്പിച്ചിരിക്കുന്ന വാൾ സ്വിച്ച് ഉപയോഗിക്കുക.
- മങ്ങിക്കൽ പ്രവർത്തനം: If a compatible dimmer switch is installed, adjust the dimmer to control the light intensity. Ensure the GU10 LED bulbs used are dimmable.
മെയിൻ്റനൻസ്
പതിവ് അറ്റകുറ്റപ്പണികൾ നിങ്ങളുടെ ഫിക്ചറിന്റെ രൂപവും പ്രവർത്തനക്ഷമതയും സംരക്ഷിക്കാൻ സഹായിക്കും.
- വൃത്തിയാക്കൽ: ഒരു സോഫ്റ്റ്, ഡി ക്ലീനർ ഉപയോഗിച്ച് ഫിക്സ്ചർ വൃത്തിയാക്കുക.amp cloth. Do not use abrasive cleaners or solvents, as these may damage the finish or etched glass.
- ബൾബ് മാറ്റിസ്ഥാപിക്കൽ:
- Disconnect power to the fixture at the circuit breaker.
- കൈകാര്യം ചെയ്യുന്നതിന് മുമ്പ് ബൾബുകൾ പൂർണ്ണമായും തണുക്കാൻ അനുവദിക്കുക.
- Carefully remove the old GU10 LED bulb by twisting it counter-clockwise.
- Insert a new 6.5W GU10 LED bulb by aligning the pins and twisting clockwise until secure.
- ഫിക്ചറിലേക്ക് പവർ പുനഃസ്ഥാപിക്കുക.
- പരിശോധന: Periodically inspect the wiring and connections for any signs of wear or damage.
ട്രബിൾഷൂട്ടിംഗ്
| പ്രശ്നം | സാധ്യമായ കാരണം | പരിഹാരം |
|---|---|---|
| ലൈറ്റ് ഓണാക്കില്ല. |
|
|
| ലൈറ്റ് മിന്നുന്നു. |
|
|
| ഫിക്ചറിനുള്ളിൽ വെള്ളം. |
|
|
സ്പെസിഫിക്കേഷനുകൾ
| മോഡൽ നമ്പർ | 1639BZ-LL |
| ബ്രാൻഡ് | ഹിങ്ക്ലി |
| അളവുകൾ (L x W x H) | 4" x 12" x 36" |
| ഭാരം | 16 പൗണ്ട് |
| മെറ്റീരിയൽ | അലുമിനിയം |
| പൂർത്തിയാക്കുക | വെങ്കലം |
| പ്രകാശ സ്രോതസ്സ് | (3) GU10 LED Bulbs (included) |
| വാട്ട്tage (ആകെ) | 22.5 വാട്ട്സ് (3 x 6.5W) |
| വാല്യംtage | 120 വോൾട്ട് |
| തെളിച്ചം | 1500 ല്യൂമെൻസ് |
| ഇൻഡോർ/ഔട്ട്ഡോർ ഉപയോഗം | ഔട്ട്ഡോർ (ആർദ്ര ലൊക്കേഷൻ റേറ്റുചെയ്തത്) |
| പ്രത്യേക സവിശേഷതകൾ | Dimmable, Hardwired, Water Resistant |
| സർട്ടിഫിക്കേഷനുകൾ | UL & CSA Product Safety Standards |
ഔദ്യോഗിക ഉൽപ്പന്ന വീഡിയോ
വീഡിയോ: ഒരു ഓവർview of Hinkley outdoor lighting, showcasing thoughtful design and quality craftsmanship. This video provides a general look at the brand's outdoor lighting philosophy.
വാറൻ്റിയും പിന്തുണയും
Hinkley products are manufactured to the highest standards and are backed by a limited warranty. For specific warranty details, please refer to the warranty card included with your purchase or visit the official Hinkley webസൈറ്റ്.
If you require technical assistance, replacement parts, or have questions regarding your Hinkley Atlantis fixture, please contact Hinkley Customer Support:
- Webസൈറ്റ്: www.hinkley.com
- ഫോൺ: Refer to the Hinkley webനിലവിലെ കോൺടാക്റ്റ് നമ്പറുകൾക്കായുള്ള സൈറ്റ്.
- ഇമെയിൽ: Refer to the Hinkley webനിലവിലെ കോൺടാക്റ്റ് ഇമെയിലിനായുള്ള സൈറ്റ്.
Please have your model number (1639BZ-LL) and purchase date available when contacting support.
Ask a question about this manual
Ask about setup, troubleshooting, compatibility, parts, safety, or missing instructions. Manuals+ will review the question and use this page’s manual context to help answer it.