Zero Breeze Mark 2
Zero Breeze Mark 2 Portable Air Conditioner User Manual
Model: Mark 2
Brand: Zero Breeze
1. ആമുഖം
This manual provides detailed instructions for the safe and efficient operation of your Zero Breeze Mark 2 Portable Air Conditioner. Please read this manual thoroughly before use and retain it for future reference. The Zero Breeze Mark 2 is designed to provide portable cooling for various environments such as RVs, trucks, teardrop trailers, tents, boats, small cabins, or rooms.

Image showing the Zero Breeze Mark 2 Portable Air Conditioner, highlighting its compact and portable design.
2. ഉൽപ്പന്ന സവിശേഷതകൾ
- തണുപ്പിക്കൽ ശേഷി: 2,300 BTU (650 Watts) for effective cooling.
- ദ്രുത തണുപ്പിക്കൽ: Lowers ambient air temperature by up to 30°F in approximately 10 minutes.
- ക്രമീകരിക്കാവുന്ന ഫാൻ വേഗത: Four fan speed settings for customized airflow.
- കൂളിംഗ് മോഡുകൾ: Three distinct cooling modes.
- ബഹുമുഖ ആപ്ലിക്കേഷൻ: Ideal for spaces up to 7 x 7 ft, including trucks, teardrop trailers, small rooms, cars, and tents.
- പവർ ഓപ്ഷനുകൾ: Operates via a 3-prong AC adapter (included) or compatible off-grid power sources like solar generators and battery packs.
- കോംപാക്റ്റ് ഡിസൈൻ: Weighs only 7.5 kg (16.5 lbs), making it highly portable.
- Dual Exhaust System: Features both cold air output and hot air exhaust for efficient temperature management.
3. സജ്ജീകരണം
- അൺപാക്ക് ചെയ്യുന്നു: Carefully remove all components from the packaging. Ensure all parts are present: the main unit, exhaust ducts, power adapter, and any optional accessories.
- സ്ഥാനനിർണ്ണയം: Place the Zero Breeze Mark 2 on a stable, flat surface. Ensure there is adequate space around the unit for proper airflow.
- Attaching Exhaust Ducts:
- Identify the cold air output and hot air exhaust ports on the unit.
- Attach the flexible exhaust ducts to the designated ports. Secure them firmly.
- Extend the ducts as needed. The ducts are designed to extend significantly.
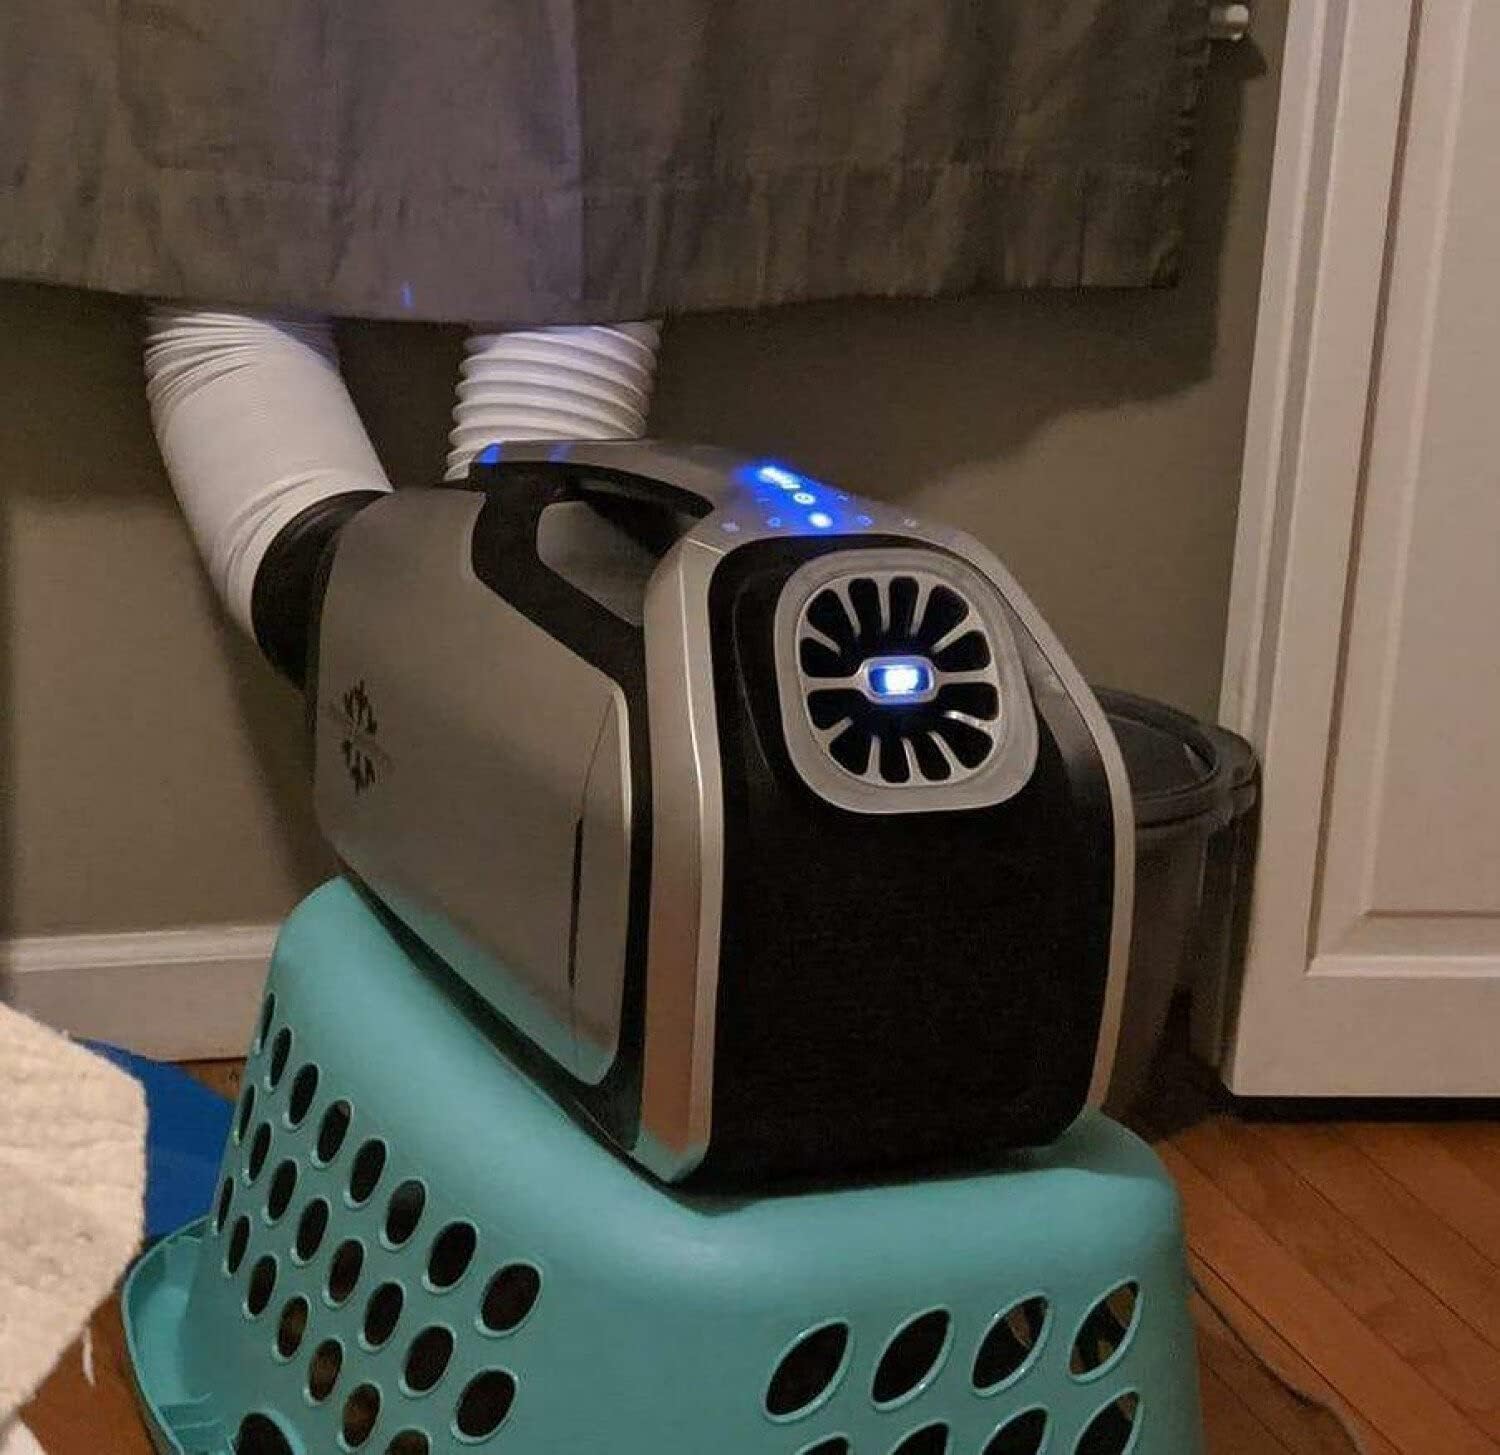
Image showing the Zero Breeze Mark 2 with its flexible exhaust ducts extended, ready for operation. One duct is for cold air output, and the other for hot air exhaust.
- പവർ കണക്ഷൻ:
- For AC power, connect the included 3-prong AC adapter to the unit and then to a standard electrical outlet.
- For off-grid power, connect the unit to a compatible solar generator or battery pack using the appropriate cables. (Note: Specific adapters for solar generators or car power may be sold separately).

Image illustrating the Zero Breeze Mark 2 connected to an external power source, demonstrating its off-grid capability.
- കണ്ടൻസേഷൻ ഡ്രെയിനേജ്: Connect the condensation drainage tube to the designated port if continuous drainage is required. Position the other end of the tube to drain water away from the unit and any electrical components.
4. പ്രവർത്തന നിർദ്ദേശങ്ങൾ
- പവർ ഓൺ/ഓഫ്: യൂണിറ്റ് ഓണാക്കാനോ ഓഫാക്കാനോ നിയന്ത്രണ പാനലിലെ പവർ ബട്ടൺ അമർത്തുക.
- താപനില ക്രമീകരിക്കൽ: Use the temperature control buttons to set your desired cooling temperature. The display will show the current output temperature.
- ഫാൻ സ്പീഡ് തിരഞ്ഞെടുക്കൽ: Cycle through the four available fan speeds using the fan speed button to adjust airflow intensity.
- കൂളിംഗ് മോഡുകൾ: Select from the three cooling modes to optimize performance for your environment.
- ഉറക്ക പ്രവർത്തനം: Activate the sleep function for quiet operation and automatic shut-off after a set period.
- നേരിയ പ്രവർത്തനം: The unit includes a light function for convenience in low-light conditions.

ക്ലോസ് അപ്പ് view of the Zero Breeze Mark 2 control panel, highlighting the digital display and various function buttons for temperature, fan speed, and mode selection.
5. പരിപാലനം
- ഫിൽട്ടർ വൃത്തിയാക്കൽ: Regularly check and clean the air filters to ensure optimal performance and airflow. Refer to the user manual for specific filter cleaning instructions.
- Condensation Management: Ensure the condensation drainage system is clear and functioning correctly to prevent water buildup.
- സംഭരണം: When not in use for extended periods, clean the unit, disconnect power, and store it in a dry, cool place.
6. പ്രശ്നപരിഹാരം
പൊതുവായ പ്രശ്നങ്ങളും പരിഹാരങ്ങളും
| പ്രശ്നം | സാധ്യമായ കാരണം | പരിഹാരം |
|---|---|---|
| യൂണിറ്റ് പവർ ഓണാക്കുന്നില്ല. | വൈദ്യുതി വിതരണമോ അയഞ്ഞ കണക്ഷനോ ഇല്ല. | Check power cable connection to the unit and outlet/power source. Ensure the power source is active. |
| അപര്യാപ്തമായ തണുപ്പിക്കൽ. | Blocked air intake/exhaust, dirty filter, or room size too large. | Ensure ducts are clear and extended. Clean air filters. Verify the unit is used within its recommended cooling area (7x7 ft). |
| വെള്ളം ചോർച്ച. | Condensation drain tube is blocked or improperly connected. | Check the condensation drain tube for kinks or blockages. Ensure it is securely connected and draining properly. |
| അസാധാരണമായ ശബ്ദം. | Obstruction in fan or loose component. | Turn off the unit and inspect for any foreign objects in the fan area. If noise persists, contact customer support. |
7 സ്പെസിഫിക്കേഷനുകൾ
| ഫീച്ചർ | വിശദാംശങ്ങൾ |
|---|---|
| ബ്രാൻഡ് നാമം | Zero Breeze |
| മോഡൽ വിവരം | 2300 BTU പോർട്ടബിൾ എയർകണ്ടീഷണർ |
| ഇനത്തിൻ്റെ ഭാരം | 16.5 പൗണ്ട് (7.5 കി.ഗ്രാം) |
| ഉൽപ്പന്ന അളവുകൾ | 1 x 1 x 1 inches (Note: These dimensions may be placeholder data and not reflect actual product size.) |
| തണുപ്പിക്കൽ ശേഷി | 2300 ബ്രിട്ടീഷ് തെർമൽ യൂണിറ്റുകൾ (BTU) |
| വാട്ട്tage | 605 വാട്ട്സ് |
| വാല്യംtage | 24 വോൾട്ട് (DC) |
| ശബ്ദ നില | 52 ഡെസിബെൽ |
| ഇൻസ്റ്റലേഷൻ തരം | പോർട്ടബിൾ |
| പ്രത്യേക ഫീച്ചർ | പോർട്ടബിൾ |
| Ideal Cooling Area | 7 x 7 അടി |
8. വാറൻ്റിയും പിന്തുണയും
For warranty information, technical support, or service inquiries, please refer to the official Zero Breeze webസൈറ്റിൽ ബന്ധപ്പെടുക അല്ലെങ്കിൽ അവരുടെ ഉപഭോക്തൃ സേവനവുമായി നേരിട്ട് ബന്ധപ്പെടുക. വാങ്ങിയതിന്റെ തെളിവായി നിങ്ങളുടെ വാങ്ങൽ രസീത് സൂക്ഷിക്കുക.
Return Policy Note: Please be aware that return policies may vary by retailer. Some retailers may require customers to cover return shipping costs. Review the specific return policy of your purchase location.
Ask a question about this manual
Ask about setup, troubleshooting, compatibility, parts, safety, or missing instructions. Manuals+ will review the question and use this page’s manual context to help answer it.