
ആമുഖം
This manual provides detailed instructions for the installation, operation, and maintenance of your NAVITEL AR250NV Full HD Dash Cam. Please read this manual carefully before using the device to ensure proper function and safety. Keep this manual for future reference.
ഉൽപ്പന്നം കഴിഞ്ഞുview
പ്രധാന സവിശേഷതകൾ
- Full HD 1080p Video Recording
- 2-inch Display Screen
- 140-ഡിഗ്രി വീതി Viewing ആംഗിൾ
- രാത്രി കാഴ്ച ശേഷി
- Parking Mode Support
- ലൂപ്പ് റെക്കോർഡിംഗ്
- G-Sensor for emergency recording
പാക്കേജ് ഉള്ളടക്കം
- NAVITEL AR250NV Dash Cam
- സക്ഷൻ കപ്പ് മ .ണ്ട്
- Car Charger (USB)
- ഉപയോക്തൃ മാനുവൽ
ഉപകരണ ലേഔട്ട്
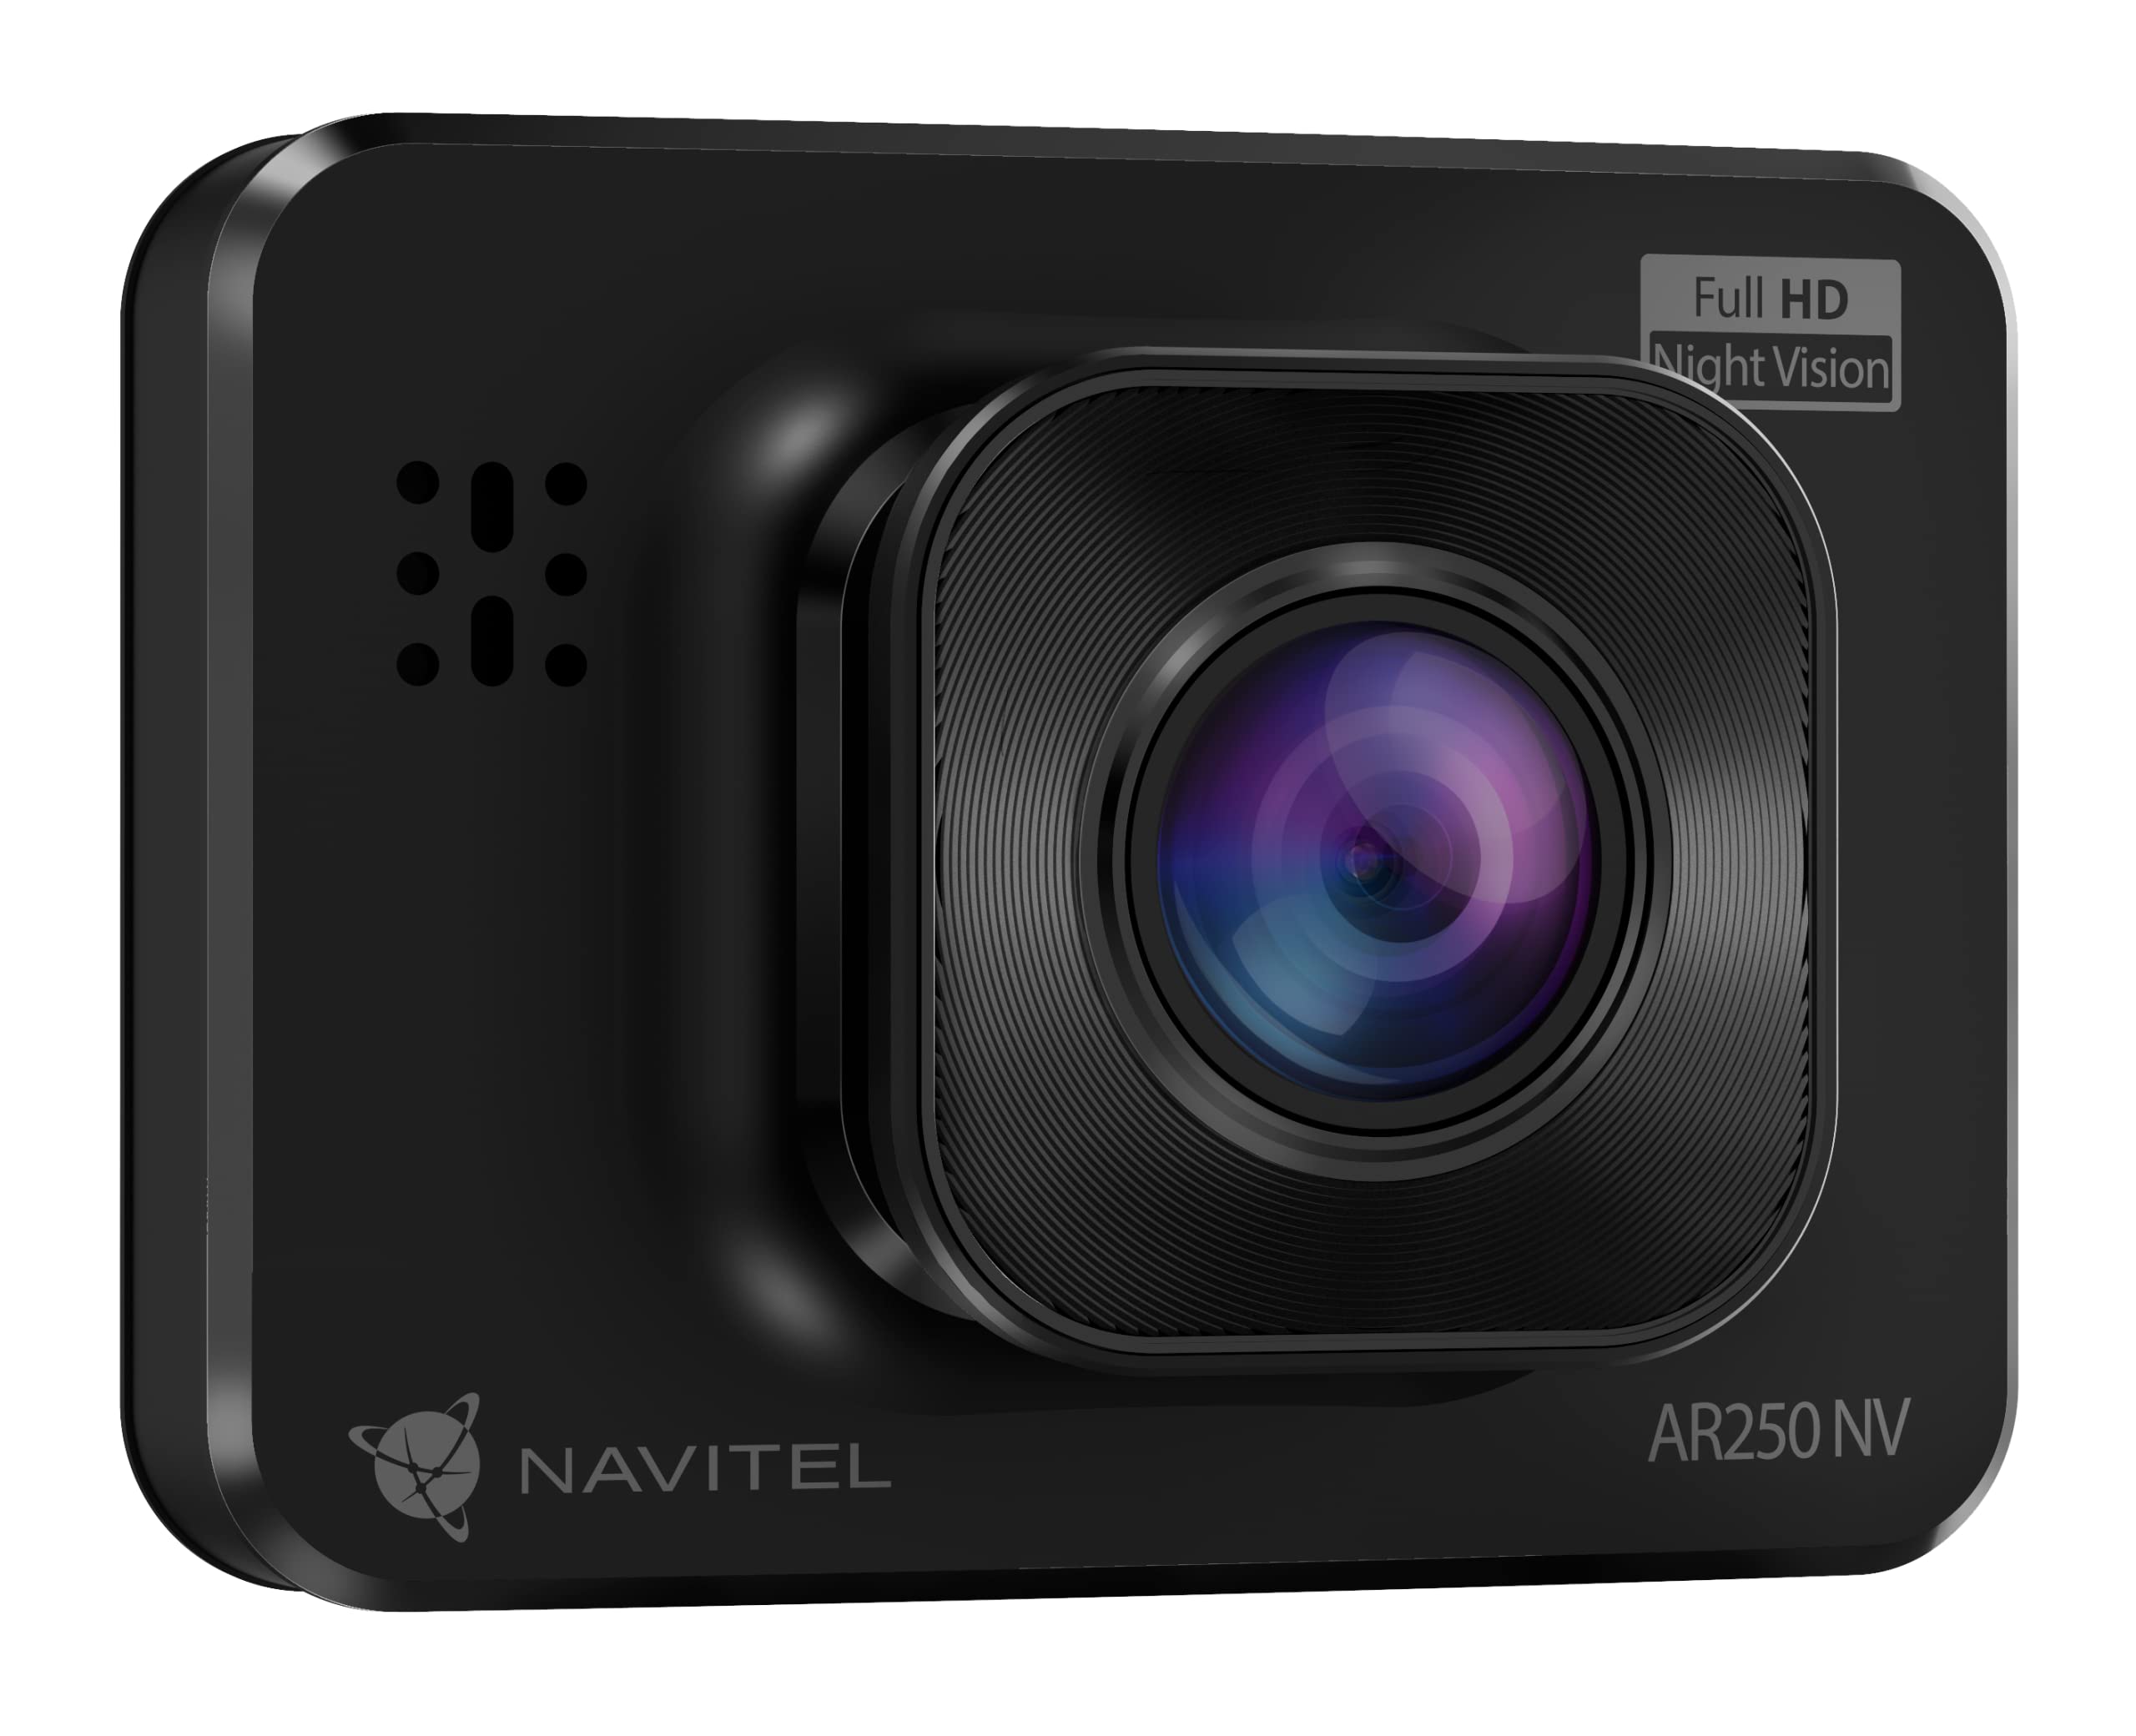
ചിത്രം: ഫ്രണ്ട് view of the NAVITEL AR250NV dash cam, showing the lens and "Full HD Night Vision" label.
ചിത്രം: പിൻഭാഗം view of the NAVITEL AR250NV dash cam, displaying the 2-inch screen showing a road scene, and control buttons on the right side.

ചിത്രം: വശം view of the NAVITEL AR250NV dash cam, illustrating its compact profile.
സജ്ജമാക്കുക
1. Install the Suction Cup Mount
- Clean the windshield surface where you intend to mount the dash cam.
- സക്ഷൻ കപ്പ് മൗണ്ട് ഡാഷ് കാമിൽ ഘടിപ്പിക്കുക.
- സക്ഷൻ കപ്പ് വിൻഡ്ഷീൽഡിനെതിരെ ശക്തമായി അമർത്തി ലിവർ ഫ്ലിപ്പുചെയ്ത് സുരക്ഷിതമാക്കുക. ക്യാമറയ്ക്ക് ക്ലിയർ ലൈൻ ഉണ്ടെന്ന് ഉറപ്പാക്കുക. view റോഡിൻ്റെ.

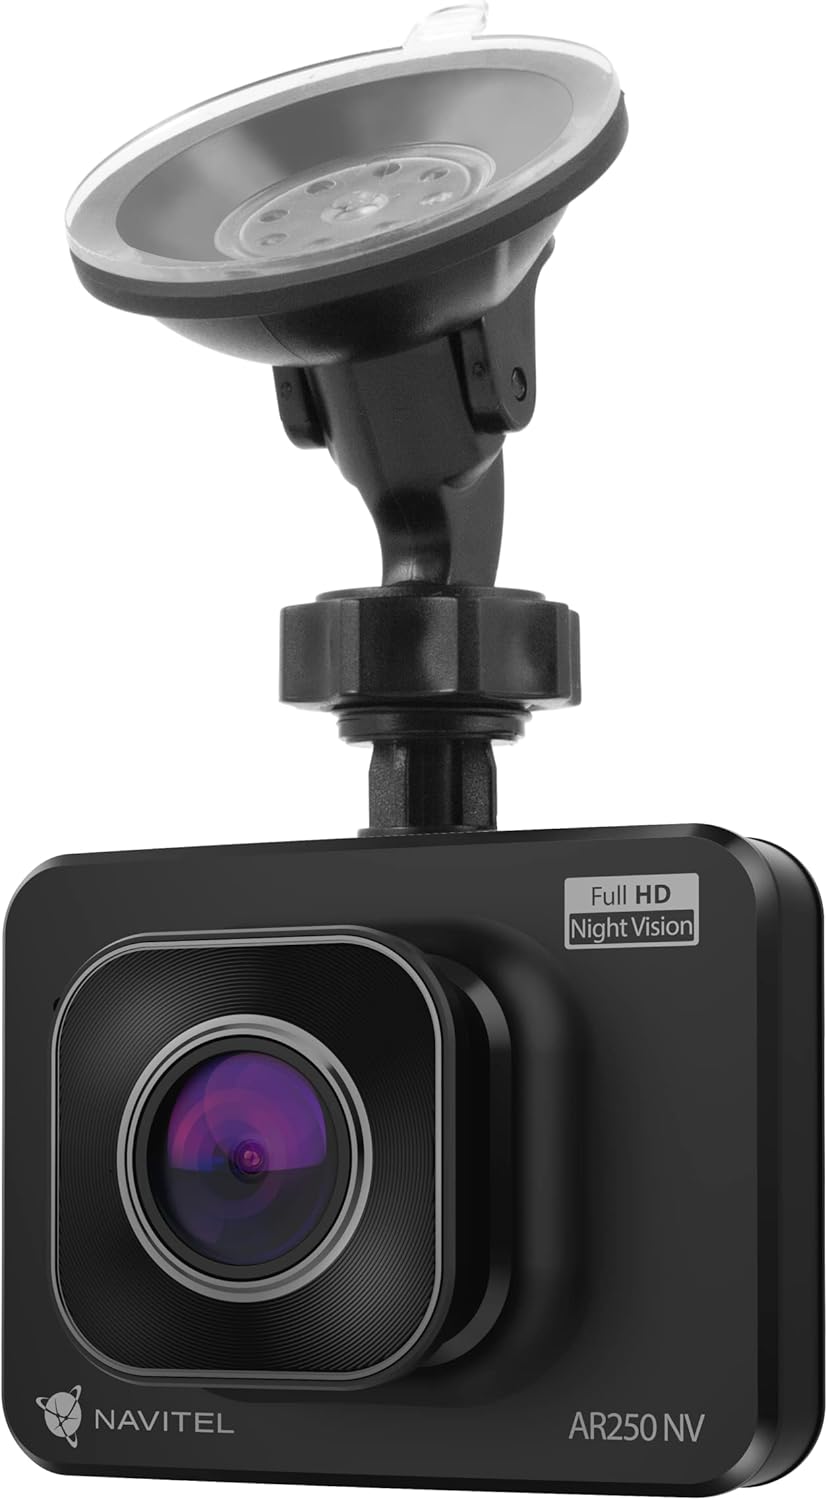
ചിത്രം: The NAVITEL AR250NV dash cam attached to its suction cup mount, ready for windshield installation.

ചിത്രം: Close-up of the suction cup mount, showing the clear suction pad and adjustable arm.
2. മൈക്രോ എസ്ഡി കാർഡ് ചേർക്കുക
Insert a high-speed MicroSD card (Class 10 or higher, up to 64GB, not included) into the designated slot on the dash cam. Ensure the card is inserted correctly until it clicks into place.
3. പവർ കണക്ഷൻ
- ഡാഷ് കാമിന്റെ യുഎസ്ബി പോർട്ടിലേക്ക് കാർ ചാർജർ ബന്ധിപ്പിക്കുക.
- കാർ ചാർജറിന്റെ മറ്റേ അറ്റം നിങ്ങളുടെ വാഹനത്തിന്റെ 12V പവർ ഔട്ട്ലെറ്റിലേക്ക് (സിഗരറ്റ് ലൈറ്റർ സോക്കറ്റ്) പ്ലഗ് ചെയ്യുക.
- Route the cable neatly to avoid obstructing your view or interfering with driving controls.

ചിത്രം: The NAVITEL car charger with its attached USB cable, used to power the dash cam.
The dash cam will automatically power on and begin recording when your vehicle's ignition is turned on (if the power outlet is ignition-switched).
പ്രവർത്തന നിർദ്ദേശങ്ങൾ
അടിസ്ഥാന പ്രവർത്തനം
- പവർ ഓൺ/ഓഫ്: The device typically powers on automatically with the car ignition. To manually power on/off, press and hold the Power button.
- റെക്കോർഡിംഗ്: Once powered on, the dash cam will automatically start loop recording. A red dot or similar indicator on the screen confirms recording is active.
- മെനു നാവിഗേഷൻ: Use the 'Menu' button to access settings. Use the Up/Down buttons to navigate and 'OK' to select.
വീഡിയോ റെക്കോർഡിംഗ്
The dash cam records video in Full HD (1080p) resolution. Recordings are saved in segments to the MicroSD card. When the card is full, the oldest unlocked fileകൾ ഓവർറൈറ്റ് ചെയ്യപ്പെടുന്നു (ലൂപ്പ് റെക്കോർഡിംഗ്).
- അടിയന്തര റെക്കോർഡിംഗ് (ജി-സെൻസർ): In case of a sudden impact or collision, the built-in G-sensor will automatically detect the event and lock the current recording segment, preventing it from being overwritten.
- മാനുവൽ ലോക്ക്: During recording, press a designated button (refer to device specific button layout) to manually lock the current video file.
നൈറ്റ് വിഷൻ
The NAVITEL AR250NV features night vision technology to enhance video clarity in low-light conditions. This feature activates automatically or can be configured in the settings menu.
പാർക്കിംഗ് മോഡ്
Parking mode provides surveillance when your vehicle is parked. If the dash cam detects motion or impact while parked, it will automatically start recording. This feature requires a continuous power supply (e.g., hardwire kit, not included) or the internal battery to be sufficiently charged.
- To enable/disable Parking Mode, navigate to the settings menu.
- Ensure the dash cam has a reliable power source for extended parking surveillance.
മെയിൻ്റനൻസ്
- വൃത്തിയാക്കൽ: Use a soft, dry cloth to clean the camera lens and screen. Do not use abrasive cleaners or solvents.
- മൈക്രോ എസ്ഡി കാർഡ്: Format the MicroSD card regularly (e.g., once a month) through the dash cam's menu to maintain optimal performance and prevent data corruption. Back up important fileഫോർമാറ്റ് ചെയ്യുന്നതിന് മുമ്പ് എസ്.
- താപനില: Avoid exposing the dash cam to extreme temperatures. Prolonged exposure to direct sunlight in a parked car can damage the device.
- ഫേംവെയർ അപ്ഡേറ്റുകൾ: Check the official Navitel website periodically for firmware updates. Updating the firmware can improve performance and add new features.
ട്രബിൾഷൂട്ടിംഗ്
| പ്രശ്നം | സാധ്യമായ കാരണം | പരിഹാരം |
|---|---|---|
| ഡാഷ് ക്യാം പവർ ഓൺ ചെയ്യുന്നില്ല. | വൈദ്യുതി ഇല്ല; കാർ ചാർജർ തകരാറിലായി; കണക്ഷൻ നഷ്ടപ്പെട്ടു. | Check car charger connection and vehicle's 12V outlet. Ensure the car's ignition is on. |
| റെക്കോർഡിംഗ് അപ്രതീക്ഷിതമായി നിലയ്ക്കുന്നു. | MicroSD card full or corrupted; low battery; faulty card. | Format the MicroSD card. Replace with a new, high-speed MicroSD card if issues persist. Ensure continuous power. |
| വീഡിയോ നിലവാരം മോശമാണ്. | വൃത്തികെട്ട ലെൻസ്; ലെൻസിൽ ഇപ്പോഴും സംരക്ഷണ ഫിലിം; തെറ്റായ റെസല്യൂഷൻ ക്രമീകരണങ്ങൾ. | ലെൻസ് വൃത്തിയാക്കുക. ഏതെങ്കിലും സംരക്ഷണ ഫിലിം നീക്കം ചെയ്യുക. മെനുവിൽ വീഡിയോ റെസല്യൂഷൻ ക്രമീകരണങ്ങൾ പരിശോധിക്കുക. |
| ഡാഷ് ക്യാം മരവിക്കുകയോ ക്രാഷ് ആകുകയോ ചെയ്യുന്നു. | Firmware issue; MicroSD card issue. | Perform a factory reset (refer to menu). Format or replace MicroSD card. Check for firmware updates. |
സ്പെസിഫിക്കേഷനുകൾ
| ഫീച്ചർ | വിശദാംശങ്ങൾ |
|---|---|
| മോഡലിൻ്റെ പേര് | AR250NV |
| വീഡിയോ റെക്കോർഡിംഗ് റെസല്യൂഷൻ | 1080p ഫുൾ എച്ച്ഡി |
| സ്ക്രീൻ വലിപ്പം | 2 ഇഞ്ച് |
| ഫീൽഡ് View | 140 ഡിഗ്രി |
| പ്രത്യേക സവിശേഷതകൾ | Night Vision, Parking Mode, G-Sensor |
| കണക്റ്റിവിറ്റി | USB |
| മൗണ്ടിംഗ് തരം | സക്ഷൻ മൗണ്ട് |
| ബാറ്ററി കോമ്പോസിഷൻ | ലിഥിയം-പോളിമർ |
| നിറം | കറുപ്പ് |
വാറൻ്റിയും പിന്തുണയും
For warranty information and technical support, please refer to the warranty card included with your product or visit the official Navitel webസൈറ്റ്. വാങ്ങിയതിന്റെ തെളിവായി നിങ്ങളുടെ വാങ്ങൽ രസീത് സൂക്ഷിക്കുക.
Official Navitel Webസൈറ്റ്: https://navitel.cz/en (ഉദാampലിങ്ക്, യഥാർത്ഥ ലിങ്ക് വ്യത്യാസപ്പെടാം)