
Vikeri A1 + B1
Vikeri (A1 + B1) Trail Camera User Manual
Model: A1 + B1
ആമുഖം
Thank you for choosing the Vikeri (A1 + B1) Trail Camera. This high-performance game camera is designed to capture stunning vibrant images and clear audible videos of wildlife, day or night. Featuring a 120° wide-angle motion sensor, 940nm no-glow infrared LEDs for discreet night vision, and an IP66 waterproof rating, it is built for reliable outdoor use in various environments. This manual provides detailed instructions to help you set up, operate, and maintain your camera for optimal performance.
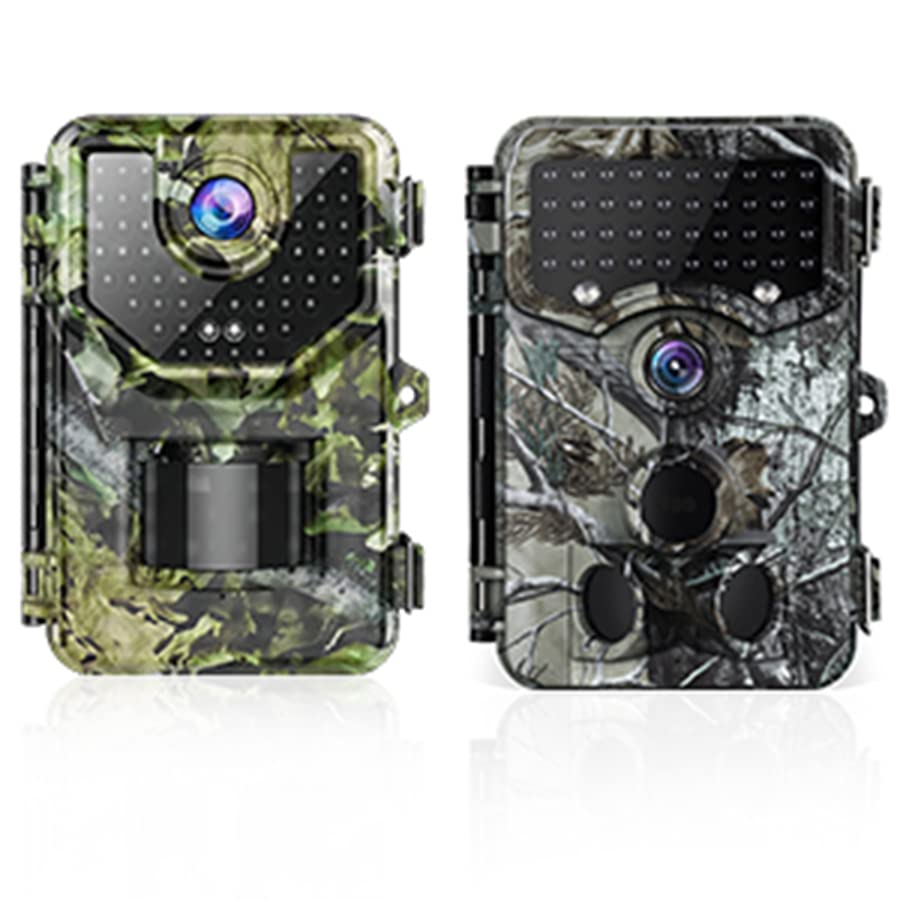
Image: The Vikeri A1 (green camo) and B1 (grey camo) Trail Cameras.
സുരക്ഷാ വിവരങ്ങൾ
- ക്യാമറ വേർപെടുത്താനോ പരിഷ്ക്കരിക്കാനോ ശ്രമിക്കരുത്. ഇത് കേടുപാടുകൾക്ക് കാരണമായേക്കാം, വാറന്റി അസാധുവാക്കിയേക്കാം.
- Use only recommended batteries. Incorrect battery types or improper installation can lead to malfunction or damage.
- Keep the camera away from extreme temperatures, direct sunlight for prolonged periods, and corrosive materials.
- Ensure the battery compartment is securely closed to maintain the IP66 waterproof rating.
- പ്രാദേശിക നിയന്ത്രണങ്ങൾ അനുസരിച്ച് ബാറ്ററികൾ ഉത്തരവാദിത്തത്തോടെ സംസ്കരിക്കുക.
പാക്കേജ് ഉള്ളടക്കം
Upon opening your Vikeri Trail Camera package, please verify that all the following items are included:
- Vikeri Trail Camera (A1 or B1 model)
- മൗണ്ടിംഗ് സ്ട്രാപ്പ്
- USB കേബിൾ
- ഉപയോക്തൃ മാനുവൽ
- SD Card (often included, check packaging)
- AA Batteries (often included, check packaging)

Image: Typical contents included with the Vikeri Trail Camera, such as an SD card and batteries.
ഉൽപ്പന്നം കഴിഞ്ഞുview
Familiarize yourself with the main components of your Vikeri Trail Camera:

Image: Labeled diagram of the Vikeri Trail Camera's external features.
- 20 MP HD Lens: Captures high-resolution images and videos.
- 40PCS No Glow IR-LEDs: Provides invisible illumination for clear night vision without disturbing wildlife.
- Motion Sensors (Center & Side): Detects movement within the camera's field of view to trigger recording.
- നീല LED സൂചകം: സ്റ്റാറ്റസ് ഇൻഡിക്കേറ്റർ.
- Red/Yellow LED Indicator: സ്റ്റാറ്റസ് ഇൻഡിക്കേറ്റർ.
- 2.4" LCD കളർ സ്ക്രീൻ: For menu navigation, settings adjustment, and playback review.
- ബാറ്ററി കമ്പാർട്ട്മെൻ്റ്: Located at the bottom, holds AA batteries.
- SD കാർഡ് സ്ലോട്ട്: മെമ്മറി കാർഡ് ഇടുന്നതിന്.
- USB പോർട്ട്: ഒരു കമ്പ്യൂട്ടറിലേക്ക് കണക്റ്റുചെയ്യുന്നതിന്.
സജ്ജമാക്കുക
1. ബാറ്ററി ഇൻസ്റ്റാളേഷൻ
Open the battery compartment cover. Insert 4 or 8 (depending on model) AA batteries, ensuring correct polarity (+/-). Close the cover securely to maintain the waterproof seal.
2. എസ്ഡി കാർഡ് ഇൻസ്റ്റാളേഷൻ
Locate the SD card slot. Insert a formatted SD card (up to 32GB recommended) with the metal contacts facing down until it clicks into place. To remove, push the card in slightly until it springs out.
3. ക്യാമറ ഘടിപ്പിക്കുന്നു
Use the provided mounting strap to secure the camera to a tree or pole. Ensure the camera is stable and pointed towards the desired monitoring area. The camera is designed for outdoor use and is IP66 waterproof, making it resistant to rain, dust, and fog.
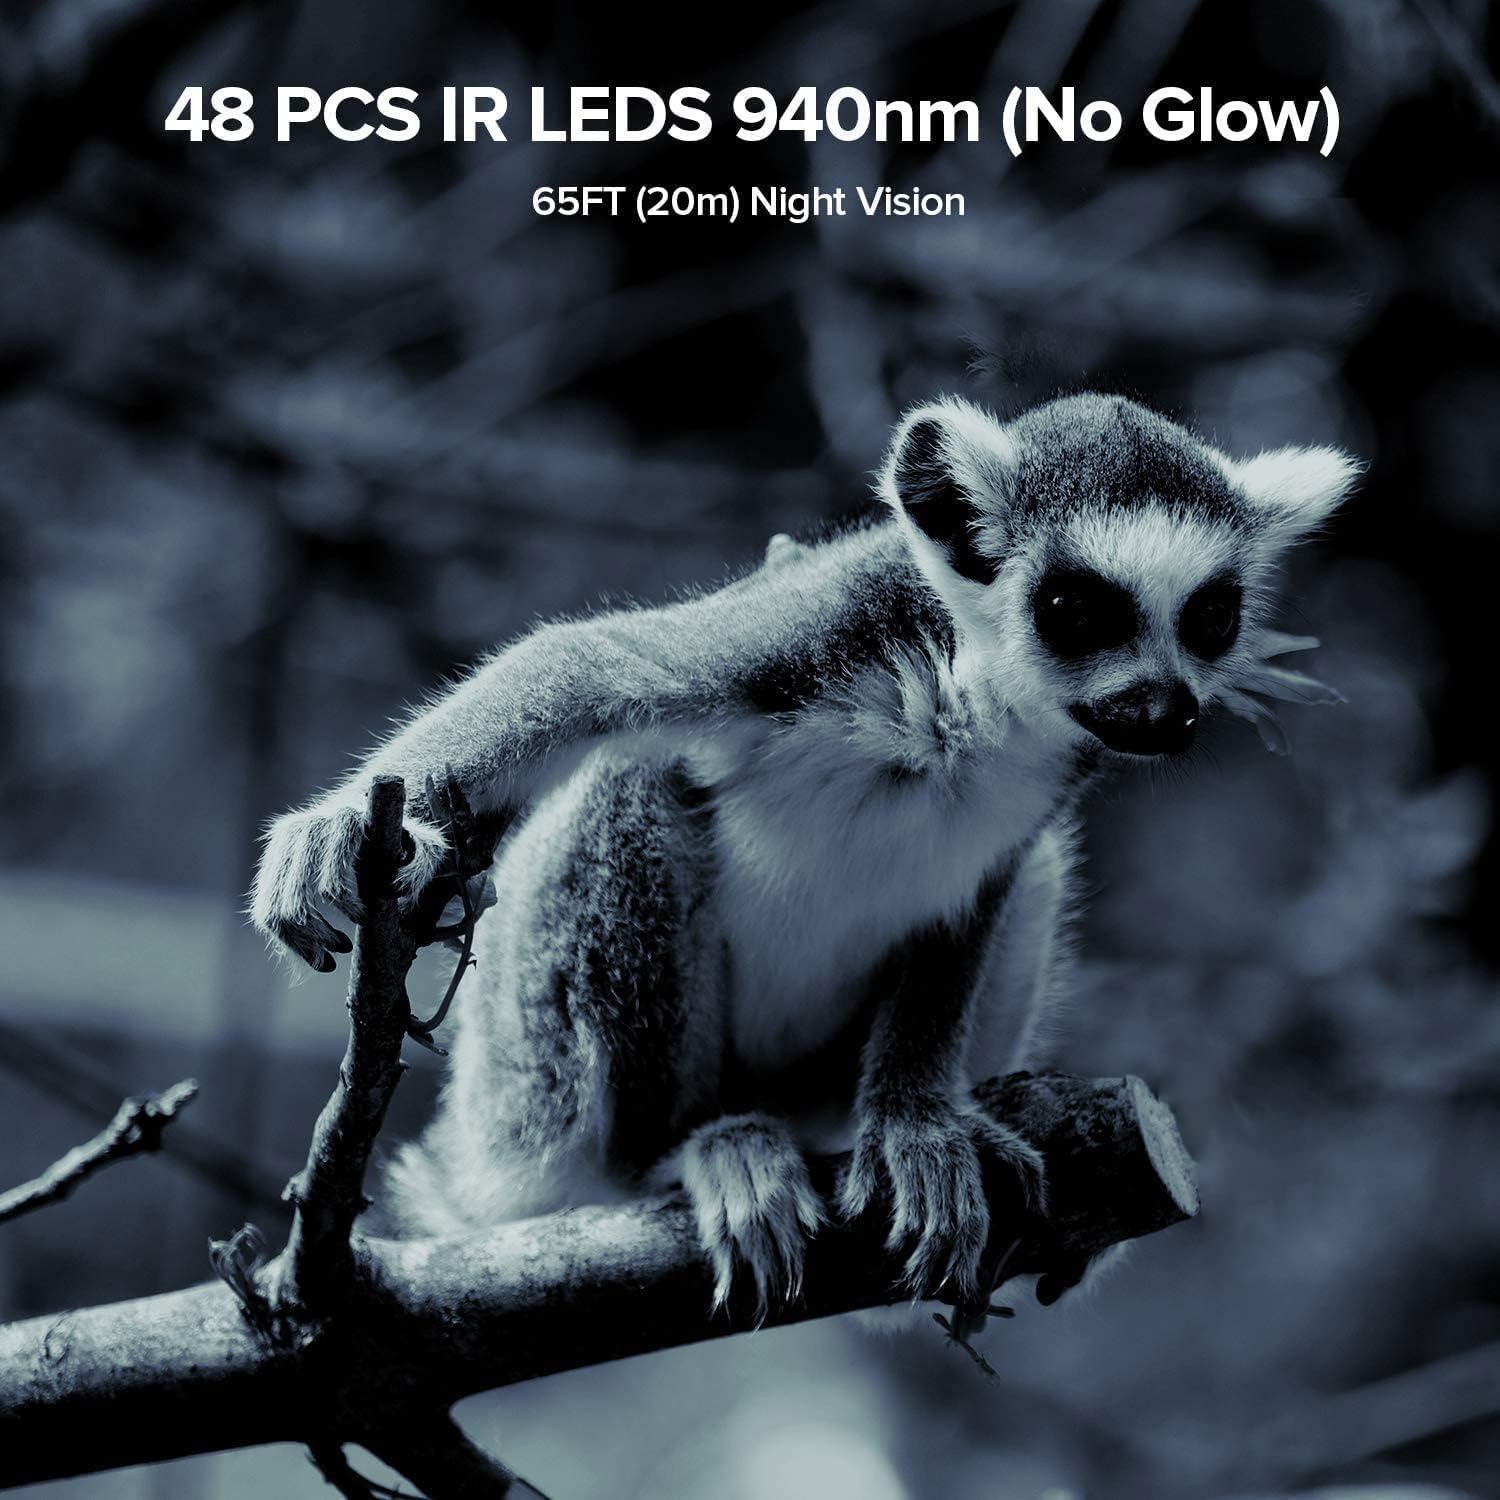
Image: The Vikeri Trail Camera mounted on a tree, demonstrating its IP66 waterproof and sturdy design.
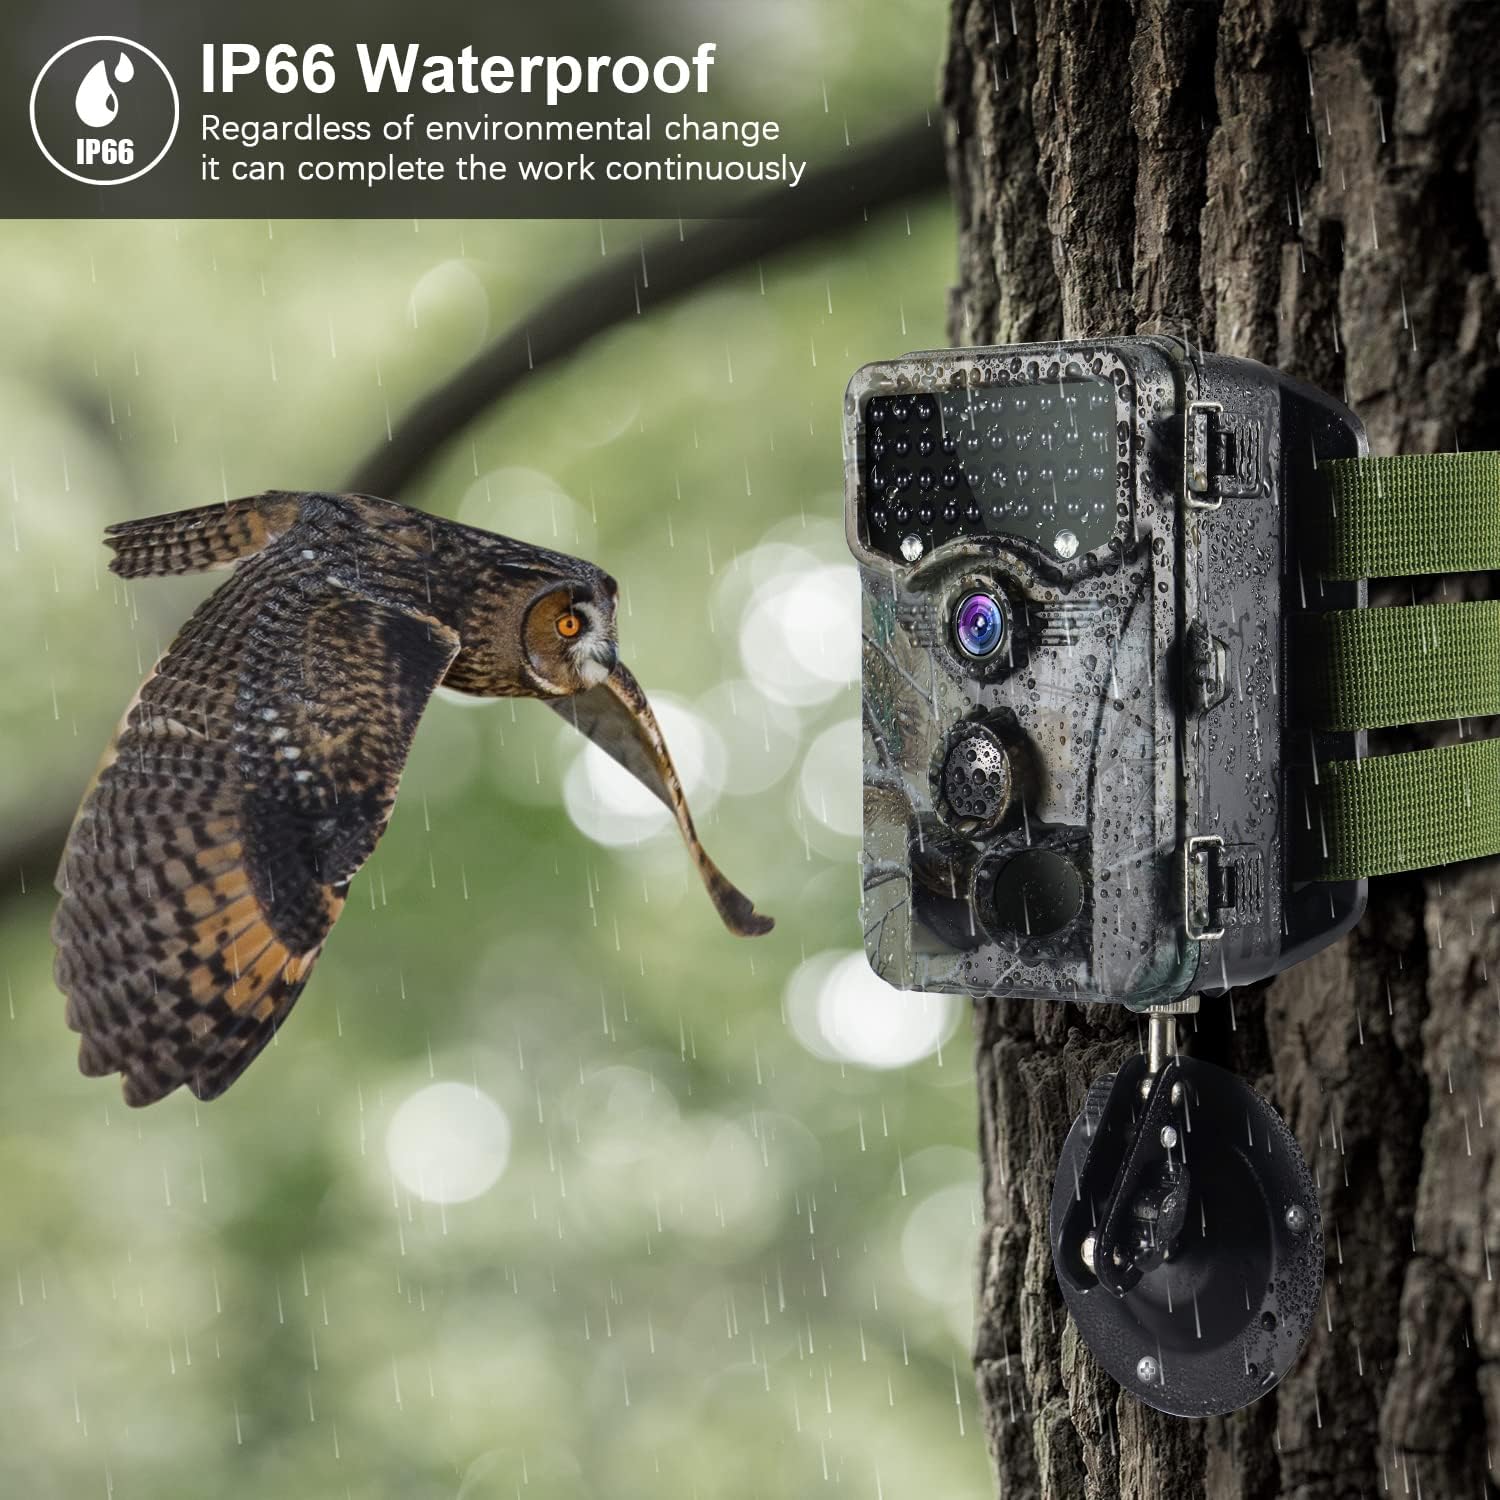
Image: The camera's IP66 waterproof design allows it to operate continuously in various environmental conditions, including rain.
പ്രവർത്തന നിർദ്ദേശങ്ങൾ
1. പവർ ഓൺ/ഓഫ്
Locate the power switch inside the camera. Slide it to the 'ON' position to power on the camera. To power off, slide it to the 'OFF' position.
2. മെനു നാവിഗേഷൻ
Once powered on, the 2.4" LCD screen will display the main menu. Use the navigation buttons (Up, Down, Left, Right, OK) to browse through options and confirm selections.
3 തീയതിയും സമയവും ക്രമീകരിക്കുന്നു
Navigate to the 'Date/Time' setting in the menu. Adjust the year, month, day, hour, and minute using the navigation buttons. Press 'OK' to save.
4. Photo/Video Mode Selection
Select your desired recording mode: 'Photo' for still images, 'Video' for video clips, or 'Photo+Video' for both. You can also set the resolution for each mode.

Image: The camera captures stunning 1520P video and 20MP photos, providing clear and detailed visuals.
5. Motion Sensor Settings
Adjust the PIR (Passive Infrared) sensitivity (Low, Medium, High) based on your environment to prevent false triggers. Set the 'PIR Interval' to determine the delay between detections.
6. നൈറ്റ് വിഷൻ
The camera is equipped with 940nm no-glow IR LEDs, providing clear night vision up to 65 feet (20 meters) without emitting a visible flash that could scare animals. The camera automatically switches to night mode in low-light conditions.

Image: The camera's 940nm no-glow IR LEDs provide clear night vision, capturing detailed images even in complete darkness.

Image: Comparison of daytime and nighttime capture capabilities, showcasing the camera's versatility.
7. Viewing Playback
In the menu, select 'Playback' to review captured photos and videos directly on the 2.4" LCD screen. Use the navigation buttons to scroll through files.
8. ഒരു കമ്പ്യൂട്ടറിലേക്ക് ബന്ധിപ്പിക്കുന്നു
Connect the camera to your computer using the provided USB cable. The camera will appear as a removable disk, allowing you to access and transfer files. Alternatively, you can remove the SD card and insert it into a card reader connected to your computer.
മെയിൻ്റനൻസ്
- വൃത്തിയാക്കൽ: Gently wipe the lens and camera housing with a soft, dry cloth. Avoid abrasive cleaners or solvents.
- ബാറ്ററി മാറ്റിസ്ഥാപിക്കൽ: ബാറ്ററി ചാർജ് കുറയുന്ന സൂചകം പ്രത്യക്ഷപ്പെടുമ്പോഴോ പ്രകടനം കുറയുമ്പോഴോ ബാറ്ററികൾ മാറ്റിസ്ഥാപിക്കുക. എല്ലായ്പ്പോഴും എല്ലാ ബാറ്ററികളും ഒരേ തരത്തിലുള്ള പുതിയവ ഉപയോഗിച്ച് ഒരേസമയം മാറ്റിസ്ഥാപിക്കുക.
- SD കാർഡ് മാനേജുമെന്റ്: Regularly format your SD card within the camera's menu to ensure optimal performance and prevent data corruption. Back up important fileഫോർമാറ്റ് ചെയ്യുന്നതിന് മുമ്പ് എസ്.
- സംഭരണം: ദീർഘനേരം ഉപയോഗിക്കാത്തപ്പോൾ, ബാറ്ററികൾ നീക്കം ചെയ്ത് തണുത്തതും വരണ്ടതുമായ സ്ഥലത്ത് ക്യാമറ സൂക്ഷിക്കുക.
- Waterproofing Care: Ensure the battery compartment and all ports are sealed tightly after opening to maintain the IP66 waterproof rating.

Image: The camera's IP66 rating ensures protection against water splashes and dust, making it suitable for various outdoor conditions.
ട്രബിൾഷൂട്ടിംഗ്
| പ്രശ്നം | സാധ്യമായ കാരണം | പരിഹാരം |
|---|---|---|
| ക്യാമറ ഓണാക്കുന്നില്ല | Low or dead batteries; Incorrect battery polarity; Power switch in OFF position. | Replace batteries with new ones, ensuring correct polarity. Check if the power switch is set to 'ON'. |
| മോശം ഇമേജ്/വീഡിയോ നിലവാരം | വൃത്തികെട്ട ലെൻസ്; കുറഞ്ഞ പ്രകാശ സാഹചര്യങ്ങൾ; തെറ്റായ റെസല്യൂഷൻ ക്രമീകരണങ്ങൾ. | Clean the lens. Ensure adequate lighting or rely on night vision. Adjust resolution settings in the menu. |
| മോഷൻ സെൻസർ പ്രവർത്തിക്കുന്നില്ല | PIR sensitivity too low; Obstructions in front of sensor; PIR interval too long. | Increase PIR sensitivity. Clear any obstructions. Reduce PIR interval. Ensure camera is positioned correctly. |
| Files corrupted or unreadable | SD card issue; Improper shutdown; File സിസ്റ്റം അഴിമതി. | Format the SD card in the camera. Try a different SD card. Ensure camera is powered off correctly before removing card. |
| ബുദ്ധിമുട്ട് viewing videos on computer | Incompatible video player; SD card formatting issues; USB connection problems. | Ensure your computer has a compatible video player for AVI/MPEG-4 files. Try using an SD card reader. Reformat the SD card in the camera. |
സ്പെസിഫിക്കേഷനുകൾ
| ഫീച്ചർ | വിശദാംശങ്ങൾ |
|---|---|
| ബ്രാൻഡ് | വികേരി |
| മോഡൽ | A1 + B1 |
| റെസലൂഷൻ | 1520P Video / 20MP Photo |
| ലെൻസ് | 20 MP HD Lens |
| IR LED- കൾ | 40/48 PCS 940nm No Glow IR-LEDs |
| നൈറ്റ് വിഷൻ റേഞ്ച് | Up to 65FT (20m) |
| മോഷൻ സെൻസർ ആംഗിൾ | 120° വൈഡ് ആംഗിൾ |
| ഡിസ്പ്ലേ സ്ക്രീൻ | 2.4" LCD കളർ സ്ക്രീൻ |
| വാട്ടർപ്രൂഫ് റേറ്റിംഗ് | IP66 |
| പവർ ഉറവിടം | ബാറ്ററി പവർ (AA ബാറ്ററികൾ) |
| കണക്റ്റിവിറ്റി ടെക്നോളജി | വയർലെസ് (വൈ-ഫൈ) |
| അനുയോജ്യമായ ഉപകരണങ്ങൾ | സ്മാർട്ട്ഫോൺ |
| മൗണ്ടിംഗ് തരം | മതിൽ മൗണ്ട് |
| വീഡിയോ ക്യാപ്ചർ ഫോർമാറ്റ് | MPEG-4 |
| ഇൻഡോർ/ഔട്ട്ഡോർ ഉപയോഗം | ഔട്ട്ഡോർ |
വാറൻ്റിയും പിന്തുണയും
Vikeri products are designed for reliability and performance. For warranty information, technical support, or any inquiries regarding your Vikeri Trail Camera, please refer to the contact details provided on the product packaging or visit the official Vikeri website. Our customer service team is available to assist you with any questions or issues you may encounter.
Ask a question about this manual
Ask about setup, troubleshooting, compatibility, parts, safety, or missing instructions. Manuals+ will review the question and use this page’s manual context to help answer it.