
Hiacinto ES550
Hiacinto ES550 Autofocus Endoscope User Manual
Industrial Borescope Inspection Camera with 5" IPS LCD Screen
1. ആമുഖം
The Hiacinto ES550 Autofocus Endoscope is a professional industrial inspection camera designed for detailed visual inspection in hard-to-reach areas. Featuring a 5.0 MP HD autofocus lens and a large 5-inch IPS LCD screen, it provides clear, high-resolution images and videos. Its durable, detachable gooseneck probe with adjustable LED lights and IP68 waterproof rating makes it suitable for various applications, including automotive repair, plumbing, HVAC, and general home maintenance.
2 സുരക്ഷാ വിവരങ്ങൾ
- Do not use the endoscope in environments with flammable or explosive gases.
- Ensure the device is fully charged before use to avoid interruptions during inspection.
- ഉപകരണം ഡിസ്അസംബ്ലിംഗ് ചെയ്യാനോ പരിഷ്ക്കരിക്കാനോ ശ്രമിക്കരുത്. എല്ലാ സേവനങ്ങളും യോഗ്യതയുള്ള ഉദ്യോഗസ്ഥരെ ഏൽപ്പിക്കുക.
- Keep the camera probe clean and free from debris to ensure optimal image quality.
- Avoid direct exposure of the camera lens to strong light sources to prevent damage.
- Store the device and accessories in the provided carrying case when not in use to prevent damage.
3. പാക്കേജ് ഉള്ളടക്കം
പാക്കേജ് തുറക്കുമ്പോൾ എല്ലാ ഇനങ്ങളും നിലവിലുണ്ടെന്നും നല്ല നിലയിലാണെന്നും ഉറപ്പാക്കുക:
- Hiacinto ES550 Endoscope Main Unit with 5-inch IPS Screen
- 5-meter (16.5 ft) Detachable Gooseneck Probe with 5.0 MP HD Autofocus Camera
- 32GB TF കാർഡ് (മുൻകൂട്ടി ഇൻസ്റ്റാൾ ചെയ്തതോ പ്രത്യേകം ഉൾപ്പെടുത്തിയതോ)
- യുഎസ്ബി ചാർജിംഗ് കേബിൾ
- Accessory Kit (includes magnet and hook attachments)
- ഈടുനിൽക്കുന്ന ചുമക്കുന്ന കേസ്
- ഉപയോക്തൃ മാനുവൽ

Image: The Hiacinto ES550 Endoscope main unit with its 5-inch screen, the coiled 5-meter gooseneck probe, and the included carrying case.
4. ഉൽപ്പന്നം കഴിഞ്ഞുview
4.1 പ്രധാന യൂണിറ്റ്
- 5-inch IPS LCD Screen: High-definition display for real-time viewing of inspection footage.
- നിയന്ത്രണ പാനൽ: Buttons for power, menu navigation, photo/video capture, LED light adjustment, and screen functions.
- പ്രോബ് കണക്റ്റർ: Port for attaching the detachable gooseneck probe.
- ചാർജിംഗ് പോർട്ട്: ആന്തരിക ബാറ്ററി ചാർജ് ചെയ്യുന്നതിനുള്ള യുഎസ്ബി പോർട്ട്.
- ടിഎഫ് കാർഡ് സ്ലോട്ട്: For inserting or removing the 32GB memory card.
4.2 Gooseneck Probe
- 5.0 MP HD Autofocus Camera: Provides clear images and automatically adjusts focus from 3 cm to 100 cm.
- ക്രമീകരിക്കാവുന്ന LED ലൈറ്റുകൾ: 10 integrated LED lights with 3 levels of brightness for illuminating dark inspection areas.
- IP68 വാട്ടർപ്രൂഫ് റേറ്റിംഗ്: Allows the probe to be submerged in water for inspection of pipes and drains.
- വേർപെടുത്താവുന്ന ഡിസൈൻ: The probe cable can be easily detached and replaced.

ചിത്രം: വിശദമായ ഒരു ചിത്രം view of the 5-inch IPS HD screen, highlighting its clarity and size.

Image: Illustration demonstrating the detachable cable design, allowing for easy replacement or repair.
5. സജ്ജീകരണം
5.1 ഉപകരണം ചാർജ് ചെയ്യുന്നു
- Connect the provided USB charging cable to the charging port on the main unit.
- USB കേബിളിന്റെ മറ്റേ അറ്റം ഒരു സാധാരണ USB പവർ അഡാപ്റ്ററിലേക്ക് (ഉൾപ്പെടുത്തിയിട്ടില്ല) അല്ലെങ്കിൽ ഒരു കമ്പ്യൂട്ടർ USB പോർട്ടിലേക്ക് പ്ലഗ് ചെയ്യുക.
- The charging indicator light will illuminate. A full charge typically takes approximately 3-4 hours and provides up to 4 hours of continuous operation.
- പൂർണ്ണമായി ചാർജ് ചെയ്തുകഴിഞ്ഞാൽ, ഇൻഡിക്കേറ്റർ ലൈറ്റ് മാറുകയോ ഓഫാകുകയോ ചെയ്യാം. ചാർജിംഗ് കേബിൾ വിച്ഛേദിക്കുക.
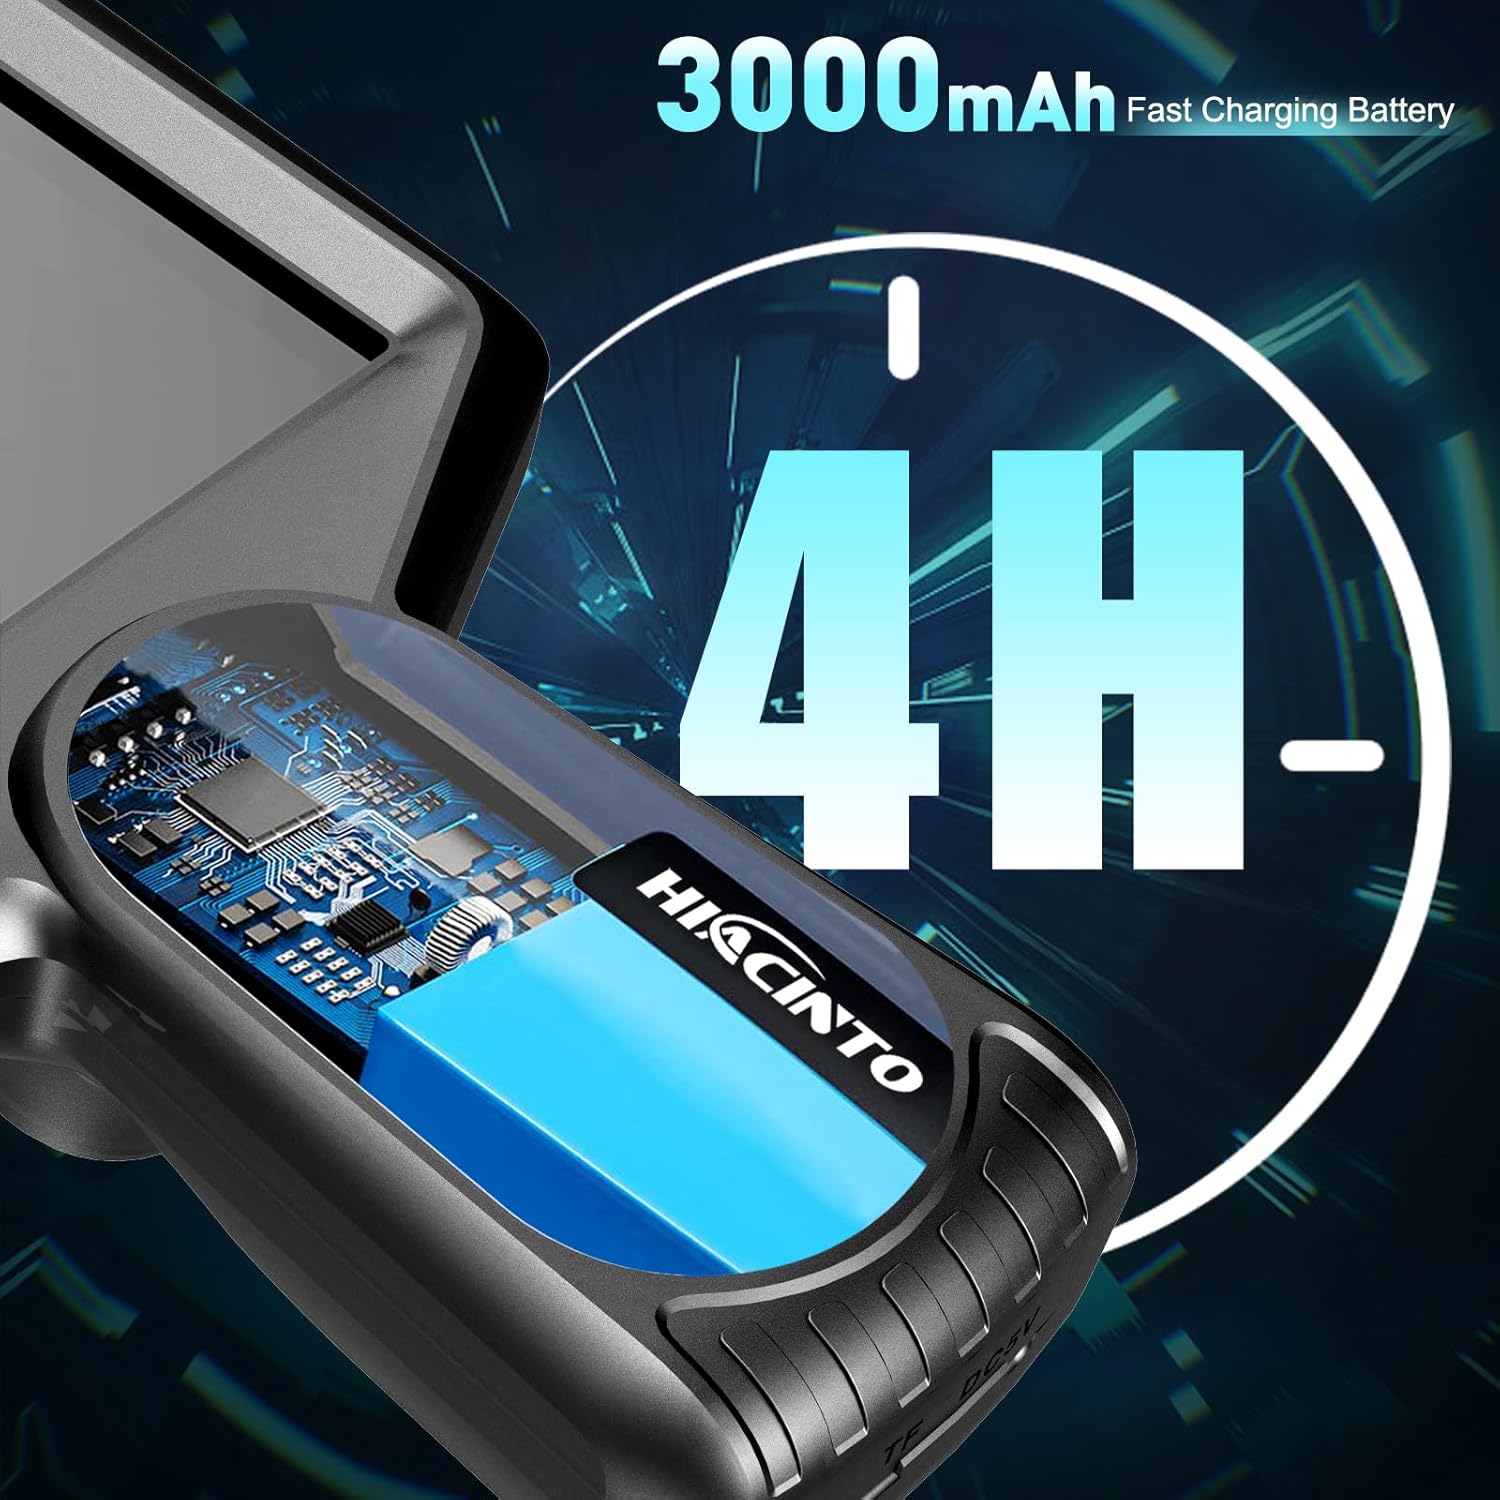
Image: Visual representation of the 3000mAh battery capacity, indicating up to 4 hours of continuous use.
5.2 പ്രോബ് അറ്റാച്ചുചെയ്യൽ
- Ensure the main unit is powered off.
- Align the connector of the gooseneck probe with the probe port on the main unit.
- Gently push the connector in until it clicks securely into place.
- To detach, press the release button (if present) or pull firmly but carefully on the connector.
5.3 TF കാർഡ് ചേർക്കൽ
The device comes with a 32GB TF card for storing photos and videos. If not pre-installed:
- Locate the TF card slot on the side of the main unit.
- Insert the TF card with the metal contacts facing down (or as indicated by a diagram near the slot) until it clicks into place.
- നീക്കം ചെയ്യാൻ, കാർഡ് പുറത്തേക്ക് വരുന്നത് വരെ സൌമ്യമായി അകത്തേക്ക് തള്ളുക.
6. പ്രവർത്തന നിർദ്ദേശങ്ങൾ
6.1 പവർ ഓൺ/ഓഫ്
- പവർ ഓൺ: പവർ ബട്ടൺ അമർത്തിപ്പിടിക്കുക (⏻) for a few seconds until the screen illuminates.
- പവർ ഓഫ്: പവർ ബട്ടൺ അമർത്തിപ്പിടിക്കുക (⏻) again until the screen turns off.
6.2 LED ലൈറ്റുകൾ ക്രമീകരിക്കൽ
The probe features 10 LED lights with adjustable brightness:
- ലൈറ്റ് ബട്ടൺ അമർത്തുക (☀) repeatedly to cycle through 3 levels of brightness (Low, Medium, High) and Off.
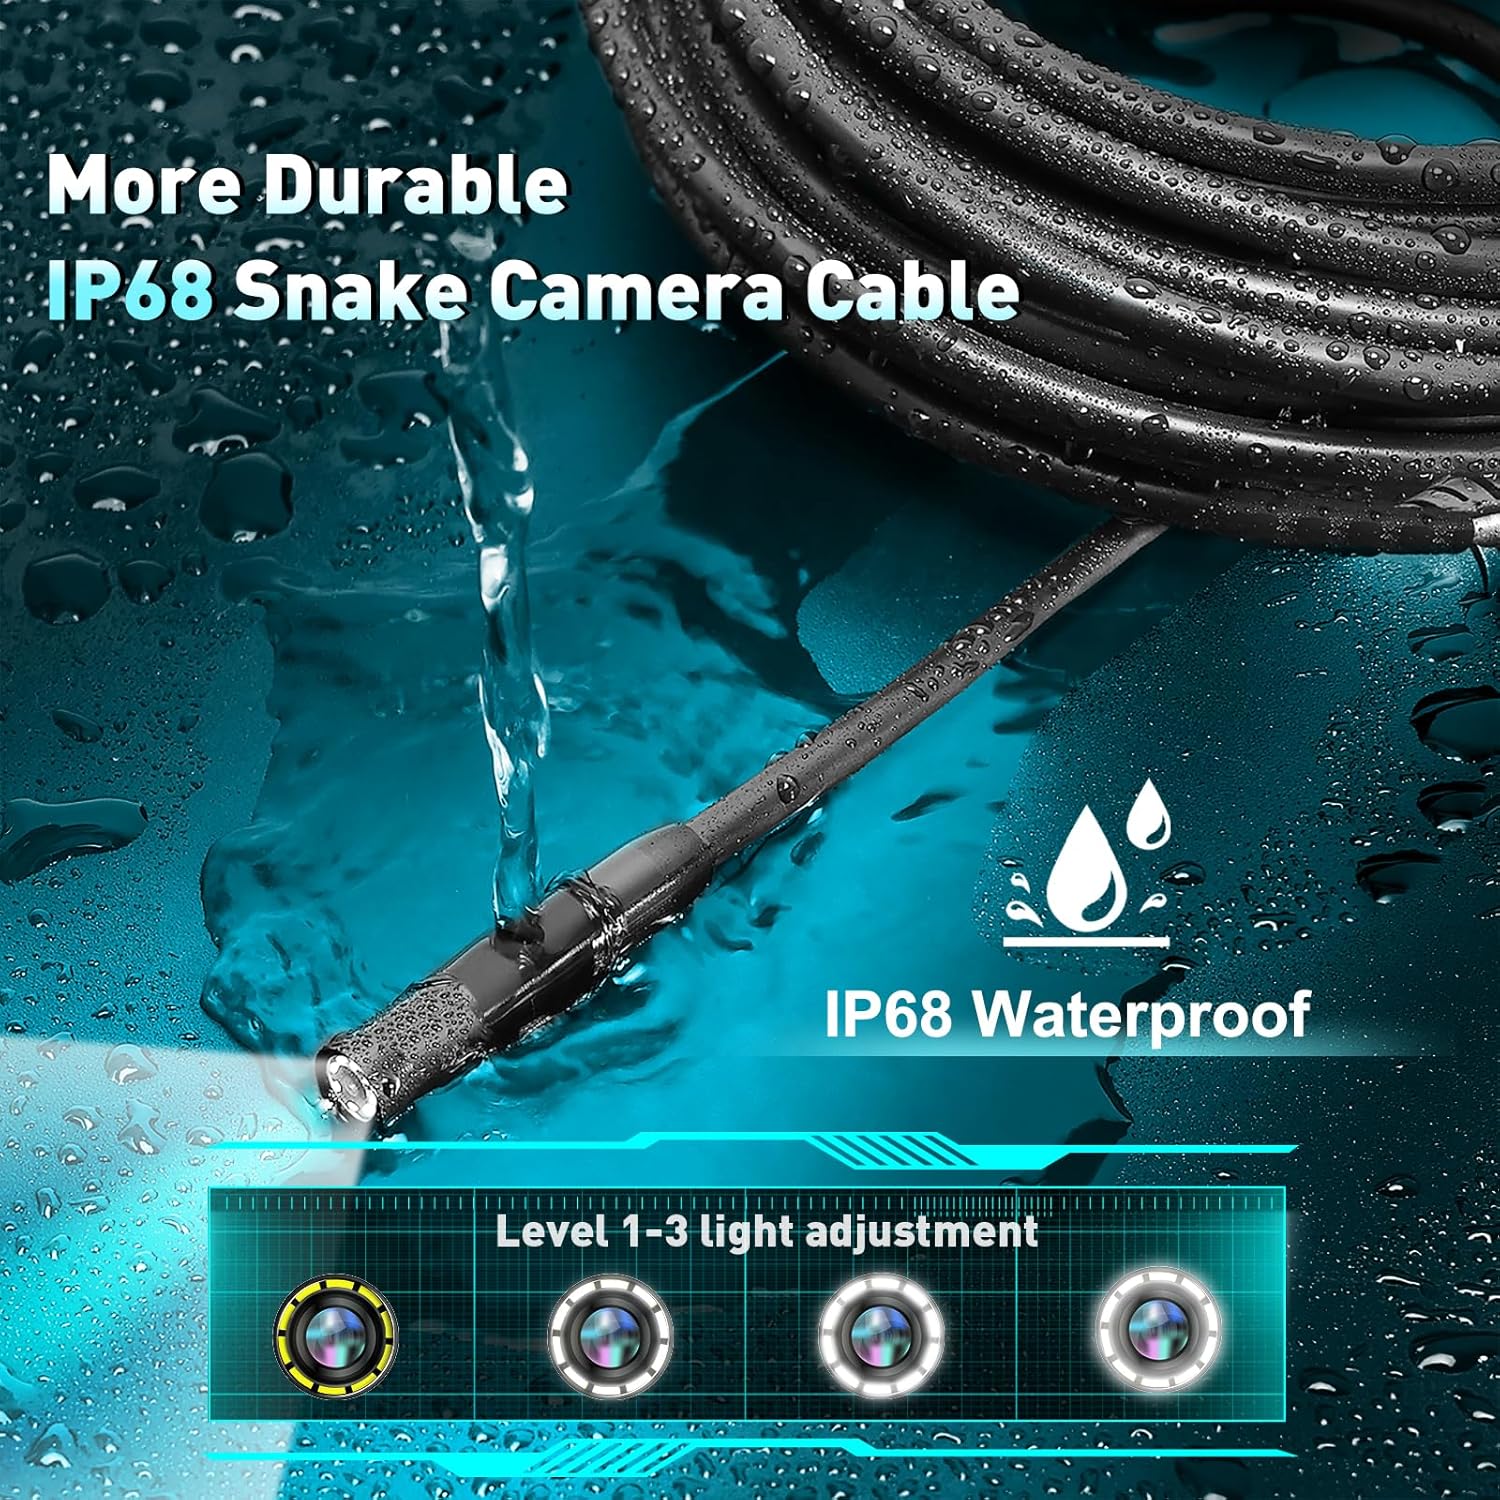
Image: The IP68 waterproof probe tip with its 10 LED lights, illustrating the three levels of light adjustment.
6.3 ഫോട്ടോകളും വീഡിയോകളും പകർത്തൽ
- ഫോട്ടോ എടുക്കുക: അതേസമയം viewലൈവ് ഫൂtage, press the Photo button (📷) once to capture an image. The image will be saved to the TF card.
- വീഡിയോ റെക്കോർഡ് ചെയ്യുക: Press the Video button (●) once to start recording. Press it again to stop recording. Videos are saved to the TF card.
6.4 Screen Functions
The ES550 offers several screen display options:
- സൂം: Use the Up/Down arrow buttons to zoom in or out (up to 3x magnification).
- Screen Reversal: Press the OK button to rotate the image 180 degrees, useful when the probe is inverted.
- ചിത്രം ഫ്രീസ്: Some models may have a dedicated button or a long press function to freeze the current image on screen. Consult the on-screen icons for specific controls.

Image: A technical diagram illustrating the 5.0 MP HD autofocus lens and its focal distance range of 3cm to 1 meter.
6.5 ആക്സസറികളുടെ ഉപയോഗം
The included magnet and hook attachments can be screwed onto the end of the probe for retrieving small objects:
- കാന്തം: Useful for picking up metallic items like dropped screws or keys.
- ഹുക്ക്: Can be used to retrieve non-magnetic items or to maneuver cables.
7. പരിപാലനം
7.1 വൃത്തിയാക്കൽ
- ക്യാമറ ലെൻസ്: Gently wipe the camera lens with a soft, lint-free cloth. For stubborn dirt, use a small amount of lens cleaning solution.
- പ്രോബ് കേബിൾ: Wipe the probe cable with a damp cloth after use, especially if it has been in dirty or wet environments.
- പ്രധാന യൂണിറ്റ്: Clean the main unit with a dry, soft cloth. Avoid using abrasive cleaners or solvents.
7.2 സംഭരണം
- Store the endoscope and all accessories in the provided durable carrying case.
- ഉപകരണം തണുത്തതും വരണ്ടതുമായ സ്ഥലത്ത് സൂക്ഷിക്കുക, നേരിട്ടുള്ള സൂര്യപ്രകാശത്തിൽ നിന്നും കടുത്ത താപനിലയിൽ നിന്നും അകറ്റി നിർത്തുക.
- If storing for an extended period, ensure the battery is partially charged (around 50%) to prolong its lifespan. Recharge every 3-6 months.
8. പ്രശ്നപരിഹാരം
| പ്രശ്നം | സാധ്യമായ കാരണം | പരിഹാരം |
|---|---|---|
| ഉപകരണം പവർ ഓണാക്കുന്നില്ല. | ബാറ്ററി തീർന്നു. | ഉപകരണം പൂർണ്ണമായും ചാർജ് ചെയ്യുക. |
| സ്ക്രീനിൽ ചിത്രമൊന്നുമില്ല. | അന്വേഷണം ശരിയായി ബന്ധിപ്പിച്ചിട്ടില്ല. | Ensure the probe is securely connected to the main unit. |
| ചിത്രം മങ്ങിയതാണ്. | Camera lens is dirty; Object is outside focal range. | Clean the camera lens. Reposition the probe to be within the 3cm-100cm autofocus range. |
| ഫോട്ടോകൾ/വീഡിയോകൾ സംരക്ഷിക്കാൻ കഴിയില്ല. | TF card is full or not inserted correctly; TF card is faulty. | Check TF card insertion. Delete old files or replace the TF card. |
| എൽഇഡി ലൈറ്റുകൾ പ്രവർത്തിക്കുന്നില്ല. | Lights are turned off or set to lowest brightness. | Press the Light button to cycle through brightness levels. |
9 സ്പെസിഫിക്കേഷനുകൾ
| ഫീച്ചർ | വിശദാംശങ്ങൾ |
|---|---|
| മോഡൽ നമ്പർ | ES550 |
| സ്ക്രീൻ വലിപ്പം | 5 ഇഞ്ച് ഐപിഎസ് എൽസിഡി |
| ക്യാമറ റെസല്യൂഷൻ | 5.0 Megapixels HD |
| ഫോക്കൽ റേഞ്ച് | 3 cm to 100 cm (Autofocus) |
| അന്വേഷണ ദൈർഘ്യം | 5 മീറ്റർ (16.5 അടി) |
| LED ലൈറ്റുകൾ | ക്രമീകരിക്കാവുന്ന 10 LED-കൾ |
| വാട്ടർപ്രൂഫ് റേറ്റിംഗ് | IP68 (പ്രോബ് മാത്രം) |
| ബാറ്ററി ശേഷി | 3000mAh ലിഥിയം പോളിമർ |
| പ്രവർത്തന സമയം | 4 മണിക്കൂർ വരെ |
| സംഭരണം | 32GB TF കാർഡ് (ഉൾപ്പെടുത്തിയിരിക്കുന്നു) |
| വീഡിയോ ക്യാപ്ചർ റെസല്യൂഷൻ | 1080p |
| ഉൽപ്പന്ന അളവുകൾ | 10 x 9 x 3 inches (Main Unit & Case) |
| ഇനത്തിൻ്റെ ഭാരം | 1.98 പൗണ്ട് |
10. വാറൻ്റിയും പിന്തുണയും
Hiacinto provides a 24-month return policy and helpful customer support for the ES550 Autofocus Endoscope.
- For technical assistance, troubleshooting, or warranty claims, please contact Hiacinto customer support.
- Refer to the product packaging or the official Hiacinto webഏറ്റവും പുതിയ ബന്ധപ്പെടാനുള്ള വിവരങ്ങൾക്കായി സൈറ്റ്.
Ask a question about this manual
Ask about setup, troubleshooting, compatibility, parts, safety, or missing instructions. Manuals+ will review the question and use this page’s manual context to help answer it.