
1. ആമുഖം
This manual provides detailed instructions for the installation, operation, and maintenance of your Real HD A-Series 16 Channel PoE IP Camera System. This system includes the ARN-1610S 4K H.265 NVR and 12 ANV-L7012R 4MP IP Dome Weatherproof Cameras. Please read this manual thoroughly before using the product to ensure proper setup and functionality.
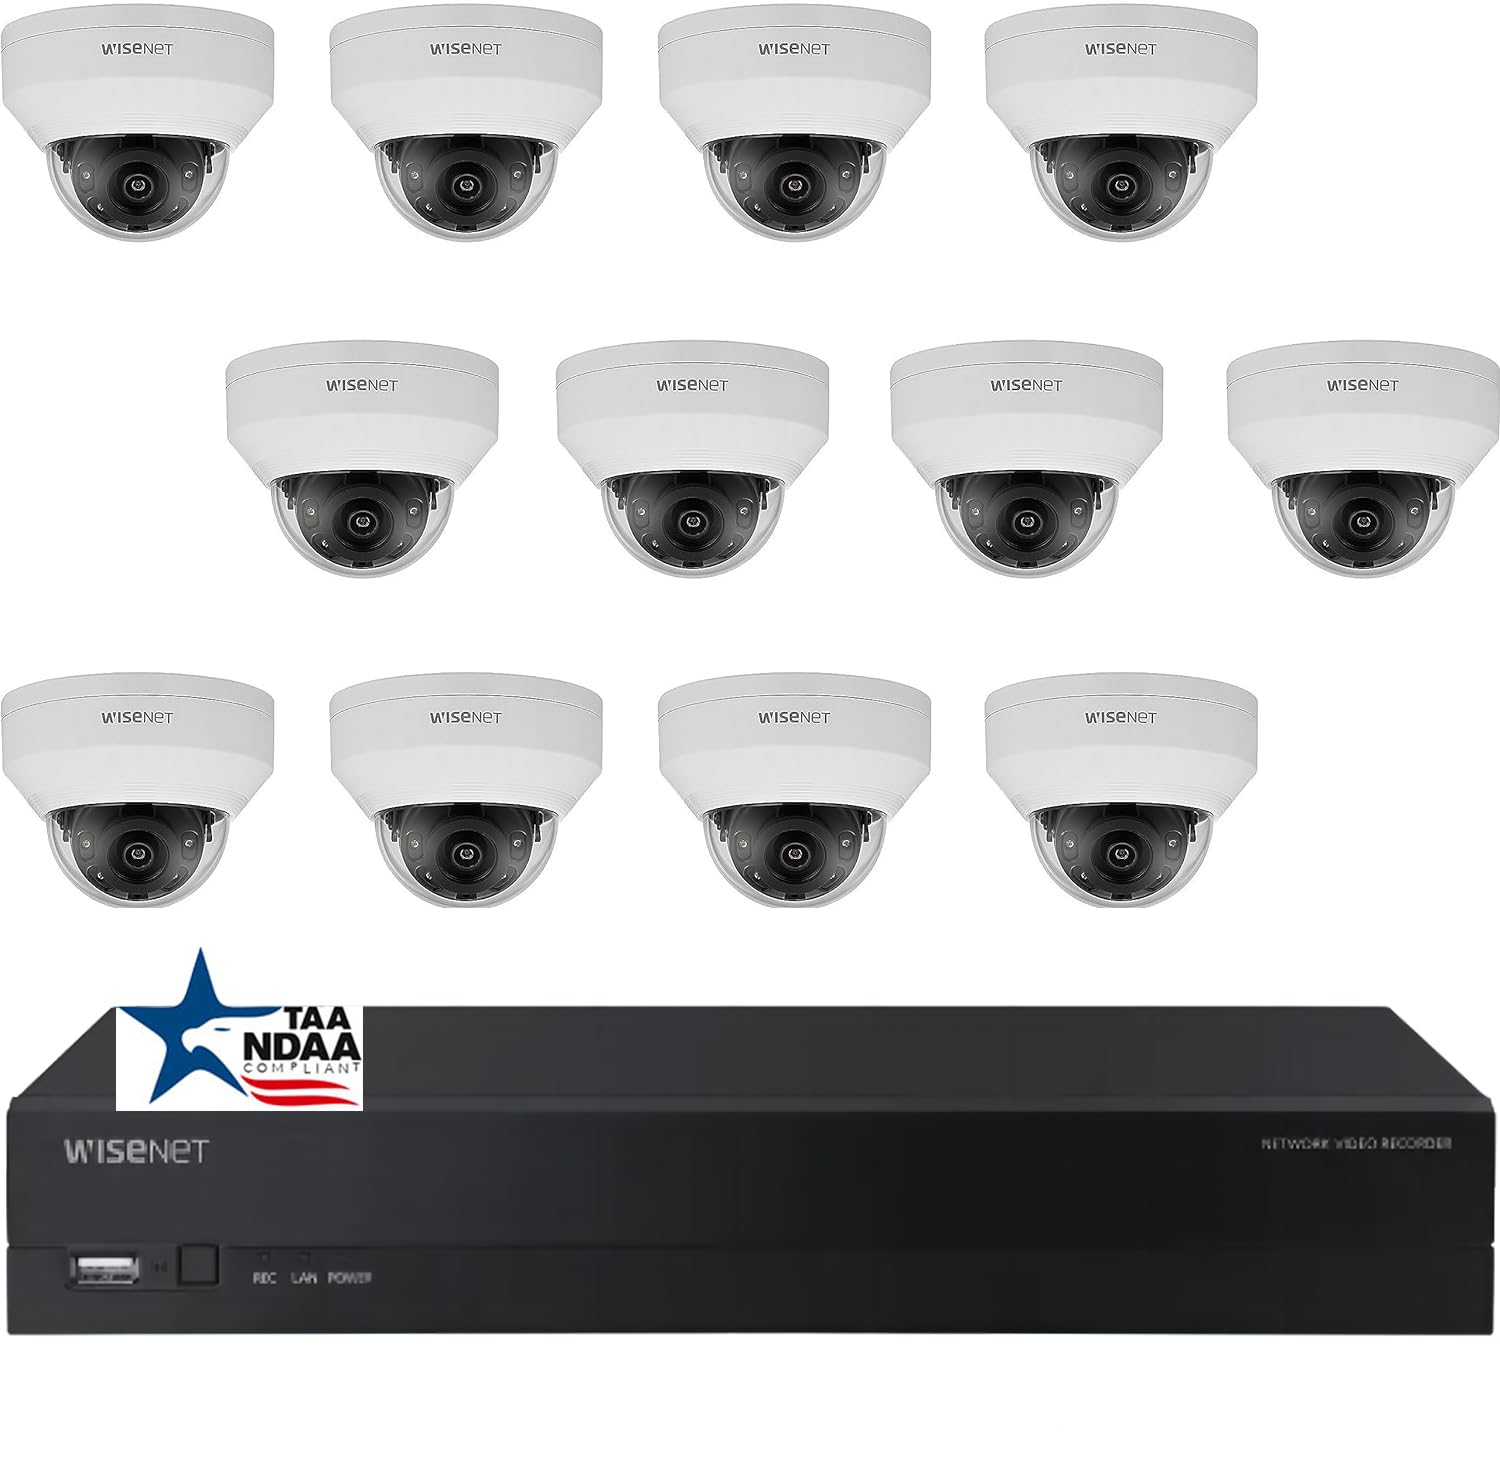
ചിത്രം: കഴിഞ്ഞുview of the Real HD A-Series 16 Channel PoE IP Camera System, showing the NVR and dome cameras.
2 സുരക്ഷാ വിവരങ്ങൾ
തീപിടുത്തം, വൈദ്യുതാഘാതം, വ്യക്തികൾക്കുണ്ടാകുന്ന പരിക്കുകൾ എന്നിവ കുറയ്ക്കുന്നതിന് ഈ ഉൽപ്പന്നം ഉപയോഗിക്കുമ്പോൾ എല്ലായ്പ്പോഴും അടിസ്ഥാന സുരക്ഷാ മുൻകരുതലുകൾ പാലിക്കുക. ഭാവിയിലെ റഫറൻസിനായി ഈ മാനുവൽ സൂക്ഷിക്കുക.
- Use only the power adapter specified for this device.
- മഴയിലോ ഈർപ്പത്തിലോ NVR തുറന്നുകാട്ടരുത്.
- അമിതമായി ചൂടാകുന്നത് തടയാൻ NVR-ന് ശരിയായ വായുസഞ്ചാരം ഉറപ്പാക്കുക.
- ഉൽപ്പന്നം ഡിസ്അസംബ്ലിംഗ് ചെയ്യാനോ പരിഷ്ക്കരിക്കാനോ ശ്രമിക്കരുത്.
- ഏതെങ്കിലും ഘട്ടങ്ങളെക്കുറിച്ച് നിങ്ങൾക്ക് ഉറപ്പില്ലെങ്കിൽ, യോഗ്യതയുള്ള ഉദ്യോഗസ്ഥർ ഇൻസ്റ്റാളേഷൻ നടത്തണം.
3. പാക്കേജ് ഉള്ളടക്കം
താഴെ ലിസ്റ്റ് ചെയ്തിരിക്കുന്ന എല്ലാ ഇനങ്ങളും നിങ്ങളുടെ പാക്കേജിൽ ഉൾപ്പെടുത്തിയിട്ടുണ്ടെന്ന് ഉറപ്പാക്കുക. ഏതെങ്കിലും ഇനങ്ങൾ നഷ്ടപ്പെട്ടിട്ടുണ്ടെങ്കിലോ കേടായിട്ടുണ്ടെങ്കിലോ, നിങ്ങളുടെ റീട്ടെയിലറെ ബന്ധപ്പെടുക.
- 1 x ARN-1610S 16 Channel PoE NVR with 4TB HDD
- 12 x ANV-L7012R 4MP IP Dome Weatherproof Cameras
- എൻവിആറിനുള്ള പവർ അഡാപ്റ്റർ
- യുഎസ്ബി മൗസ്
- ദ്രുത ആരംഭ ഗൈഡ്
- Mounting Screws and Plugs for Cameras
കുറിപ്പ്: Ethernet cables for connecting cameras to the NVR are not included and must be purchased separately.
4. സജ്ജീകരണം
4.1 എൻവിആർ ഓവർview

ചിത്രം: മുൻഭാഗം view of the ARN-1610S NVR, showing LED indicators and USB ports.

ചിത്രം: പിൻഭാഗം view of the ARN-1610S NVR, displaying PoE ports, VGA, HDMI, LAN, and power input.
4.2 ക്യാമറ കഴിഞ്ഞുview

ചിത്രം: മുൻഭാഗം view of the ANV-L7012R 4MP IP Dome Camera.
4.3 സിസ്റ്റം കണക്ഷൻ
Follow these steps to connect your NVR and cameras:
- Connect Monitor/TV: Connect a monitor or TV to the NVR's HDMI or VGA port. For optimal performance, a 1080P monitor/TV is recommended.
- മൗസ് ബന്ധിപ്പിക്കുക: Plug the included USB mouse into one of the NVR's USB ports.
- ക്യാമറകൾ ബന്ധിപ്പിക്കുക: Connect the IP cameras to the NVR's PoE ports using Ethernet cables. The NVR provides power and data through these ports.
- Connect Router (Optional for Remote Access): Connect the NVR's LAN port to your network router using an Ethernet cable for remote viewകഴിവുകൾ.
- പവർ ബന്ധിപ്പിക്കുക: Plug the NVR's power adapter into the NVR and then into a power outlet.

Image: Connection diagram illustrating how to connect the NVR to a monitor, mouse, cameras, router, and power source.
4.4 Mobile App Setup (Wisenet Mobile)
To access your surveillance system remotely, download the Wisenet Mobile app:
- നിങ്ങളുടെ സ്മാർട്ട്ഫോണോ ടാബ്ലെറ്റോ ഉപയോഗിച്ച് താഴെയുള്ള QR കോഡ് സ്കാൻ ചെയ്യുക.
- Download and install the Wisenet Mobile app from Google Play Store or Apple App Store.
- Follow the in-app instructions to add your NVR by scanning the QR code displayed on the NVR's monitor interface.

Image: QR codes for downloading the Wisenet Mobile app from ഗൂഗിൾ പ്ലേ ഒപ്പം ആപ്പിൾ ആപ്പ് സ്റ്റോർ.
5. പ്രവർത്തന നിർദ്ദേശങ്ങൾ
5.1 NVR Interface Basics
Upon powering on, the NVR will boot up and display the live view from connected cameras. Use the USB mouse to navigate the on-screen menus. Right-click to access the main menu, which includes options for live view, playback, recording settings, system configuration, and more.
5.2 റെക്കോർഡിംഗ് മോഡുകൾ
NVR വിവിധ റെക്കോർഡിംഗ് മോഡുകളെ പിന്തുണയ്ക്കുന്നു:
- തുടർച്ചയായ റെക്കോർഡിംഗ്: റെക്കോർഡുകൾ 24/7.
- മോഷൻ ഡിറ്റക്ഷൻ റെക്കോർഡിംഗ്: ക്യാമറകളിൽ ചലനം കണ്ടെത്തുമ്പോൾ മാത്രം റെക്കോർഡ് ചെയ്യുന്നു view.
- ഷെഡ്യൂൾഡ് റെക്കോർഡിംഗ്: Records during specific times of the day or week.
- അലാറം റെക്കോർഡിംഗ്: Records when an alarm event (e.g., sensor trigger) occurs.
Configure these settings in the NVR's menu under Record > Schedule or Event > Motion Detection.
5.3 Advanced Image Features
Your cameras are equipped with advanced image processing features to enhance video quality:
- WDR (വൈഡ് ഡൈനാമിക് റേഞ്ച്): Balances extremely bright and dark areas in the same scene to provide clear images.
- 3DNR (3D Digital Noise Reduction): Reduces image noise, especially in low-light conditions, for clearer video.
- ബിഎൽസി (ബാക്ക്ലൈറ്റ് കോമ്പൻസേഷൻ): Improves the visibility of objects in front of a strong backlight.
- സ്മാർട്ട് ഐആർ: Automatically adjusts the intensity of the infrared LEDs to prevent overexposure of objects close to the camera, ensuring clear night vision.

Image: Visual comparison demonstrating the effects of WDR, 3DNR, and BLC on video quality.

Image: Comparison illustrating the improved clarity and balanced illumination provided by Smart IR compared to ordinary IR night vision.
6. പരിപാലനം
6.1 വൃത്തിയാക്കൽ
- ക്യാമറകൾ: ക്യാമറ ലെൻസ് ഇടയ്ക്കിടെ മൃദുവായ, ഡി-ടച്ച് ഉപയോഗിച്ച് വൃത്തിയാക്കുക.amp തുണി. ഉരച്ചിലുകൾ ഉള്ള ക്ലീനറുകൾ ഒഴിവാക്കുക.
- എൻവിആർ: Keep the NVR free from dust. Ensure ventilation openings are not blocked.
6.2 ഫേംവെയർ അപ്ഡേറ്റുകൾ
നിർമ്മാതാവ് പരിശോധിക്കുക website periodically for firmware updates. Firmware updates can improve performance, add new features, or fix bugs. Follow the instructions provided with the firmware update carefully.
6.3 ഹാർഡ് ഡ്രൈവ് മാനേജ്മെന്റ്
The NVR is equipped with a 4TB surveillance-grade hard drive. The system is configured to overwrite the oldest recordings when the hard drive is full. You can adjust recording retention settings in the NVR menu.
7. പ്രശ്നപരിഹാരം
| പ്രശ്നം | സാധ്യമായ കാരണം | പരിഹാരം |
|---|---|---|
| മോണിറ്ററിൽ വീഡിയോ ഡിസ്പ്ലേ ഇല്ല. | Loose cable connection, incorrect input source, NVR not powered on. | Check HDMI/VGA cable, ensure monitor is on correct input, verify NVR power. |
| Camera not showing video | Ethernet cable issue, camera not powered, camera fault. | Check Ethernet cable connection to NVR PoE port, try a different port/cable. |
| NVR വിദൂരമായി ആക്സസ് ചെയ്യാൻ കഴിയില്ല | NVR not connected to router, network configuration issues, app setup error. | Ensure NVR is connected to router, check network settings on NVR, re-add NVR to mobile app. |
| മോശം രാത്രി കാഴ്ച | Dirty lens, IR obstruction, camera placement. | Clean camera lens, ensure no objects are blocking the IR illuminators, adjust camera angle. |
8 സ്പെസിഫിക്കേഷനുകൾ
ARN-1610S NVR
- ചാനലുകൾ: 16 Channel PoE
- വീഡിയോ കംപ്രഷൻ: H.265
- വീഡിയോ ഔട്ട്പുട്ട്: 4K (3840 x 2160 പിക്സലുകൾ)
- സംഭരണം: 4TB Surveillance Hard Drive (Pre-installed)
- USB പോർട്ടുകൾ: 2
- ഹാർഡ്വെയർ ഇന്റർഫേസ്: ഇഥർനെറ്റ്
- ഓപ്പറേറ്റിംഗ് സിസ്റ്റം: Hanwha A Series NVR OS
- ഊർജ്ജ സ്രോതസ്സ്: കോർഡഡ് ഇലക്ട്രിക്
- അളവുകൾ: 18 x 20 x 16 ഇഞ്ച്
ANV-L7012R IP Dome Camera
- റെസലൂഷൻ: 4MP (2560 x 1440 പിക്സലുകൾ)
- ലെൻസ്: 2.8 മിമി ഫിക്സഡ് ലെൻസ്
- ഫീൽഡ് View: 100° Horizontal Field of View (HFoV), 108° Viewing ആംഗിൾ
- നൈറ്റ് വിഷൻ ശ്രേണി: 65 അടി വരെ
- വെതർപ്രൂഫ് റേറ്റിംഗ്: IP67
- പ്രത്യേക സവിശേഷതകൾ: Night Vision, Built-in Microphone, WDR, 3DNR, BLC, Smart IR
- പ്രവർത്തന താപനില: -30 °C മുതൽ 60 °C വരെ (-22 °F മുതൽ 140 °F വരെ)
- ഒപ്റ്റിക്കൽ സെൻസർ ടെക്നോളജി: CMOS
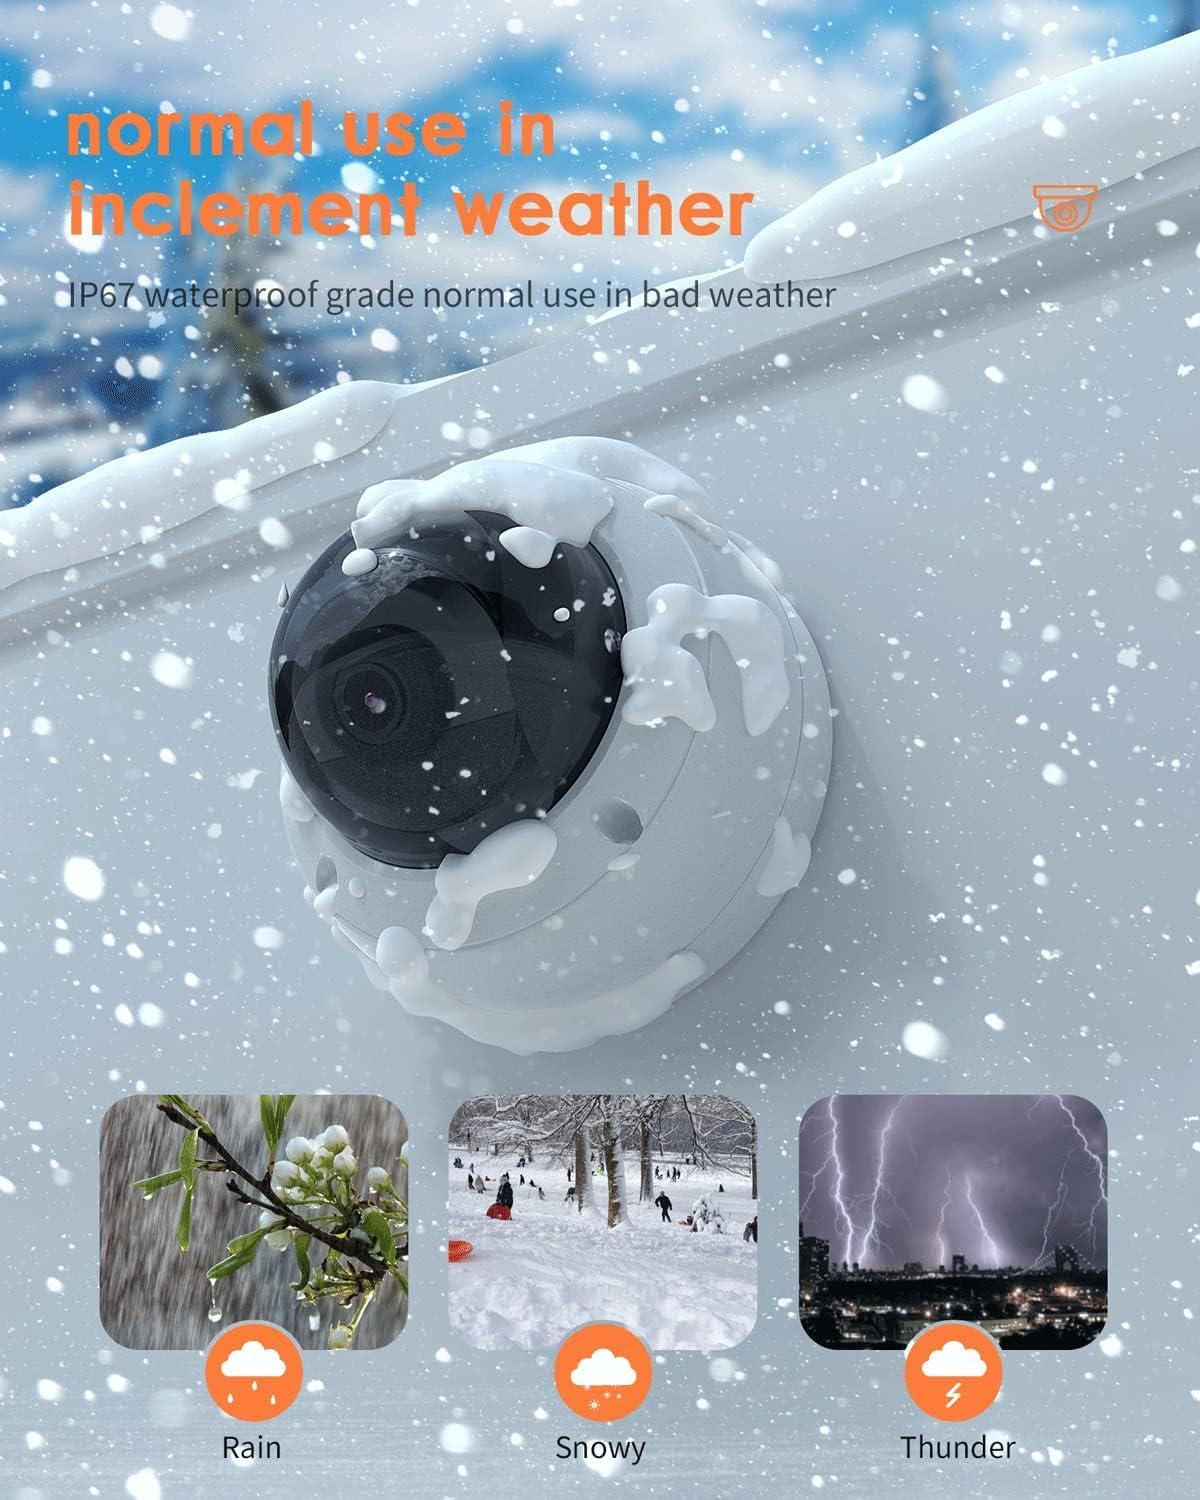
Image: The ANV-L7012R camera demonstrating its IP67 weatherproof capability in various conditions including rain, snow, and thunder.
9. വാറൻ്റിയും പിന്തുണയും
9.1 വാറൻ്റി വിവരങ്ങൾ
This product comes with a standard manufacturer's warranty. Please refer to the warranty card included in your package or visit the Real HD official webവിശദമായ വാറന്റി നിബന്ധനകൾക്കും വ്യവസ്ഥകൾക്കും സൈറ്റ് സന്ദർശിക്കുക. വാറന്റി ക്ലെയിമുകൾക്കുള്ള വാങ്ങലിന്റെ തെളിവായി നിങ്ങളുടെ വാങ്ങൽ രസീത് സൂക്ഷിക്കുക.
9.2 സാങ്കേതിക പിന്തുണ
If you encounter any issues that cannot be resolved using the troubleshooting guide, please contact Real HD customer support. Contact information can be found on the Real HD webസൈറ്റിലോ നിങ്ങളുടെ ഉൽപ്പന്ന പാക്കേജിംഗിലോ.