
Zenwire E520h
Zenwire E520h Projector User Manual
Model: E520h | Brand: Zenwire
1. ആമുഖം
This manual provides detailed instructions for the setup, operation, and maintenance of your Zenwire E520h projector. Please read this manual thoroughly before using the device to ensure proper functionality and to maximize your viewഅനുഭവം.
The Zenwire E520h is a Full HD 1080p projector with 4K support, featuring Android 9.0, dual-band WiFi (2.4/5 GHz), and Bluetooth 5.0 for versatile home theater entertainment.
2. പാക്കേജ് ഉള്ളടക്കം
പാക്കേജിൽ എല്ലാ ഇനങ്ങളും ഉണ്ടെന്ന് ഉറപ്പാക്കുക:
- Zenwire E520h Projector
- റിമോട്ട് കൺട്രോൾ (ബാറ്ററികൾ ഉൾപ്പെടുത്തിയിട്ടില്ല)
- പവർ കേബിൾ
- HDMI കേബിൾ
- AV Cable (stereo)
- ഉപയോക്തൃ മാനുവൽ

The image above displays the Zenwire E520h projector along with its standard accessories: a remote control, power cable, HDMI cable, and AV cable. These components are essential for setting up and operating your projector.
3. ഉൽപ്പന്നം കഴിഞ്ഞുview
Familiarize yourself with the various parts and connections of your Zenwire E520h projector.

ഈ ചിത്രം സമഗ്രമായ ഒരു view of the projector from different angles, highlighting the lens, control panel, ventilation grilles, and various input/output ports located on the sides and rear of the device.

The Zenwire E520h projector supports a wide range of multimedia devices, including streaming sticks (Roku, Fire TV, Chromecast), external audio systems, USB storage, gaming consoles (Xbox, PlayStation), mobile devices (phones, tablets), DVD players, and computers (laptops, desktops) via its various input ports.
4. സജ്ജീകരണം
4.1 പ്ലേസ്മെൻ്റ്
Position the projector on a stable, flat surface. Ensure adequate ventilation around the device. The optimal projection distance ranges from 1.2 to 6 meters, allowing for screen sizes from 36 to 200 inches.

This image demonstrates how varying the distance between the projector and the screen affects the projected image size, showing examples for 45, 120, and 200-inch displays.
4.2 പവർ കണക്ഷൻ
Connect the power cable to the projector's power input and then plug it into a suitable electrical outlet.
4.3 പ്രാരംഭ പവർ ഓൺ
Press the power button on the projector or the remote control to turn on the device. The projector will boot into the Android 9.0 operating system.
5. പ്രവർത്തന നിർദ്ദേശങ്ങൾ
5.1 ഫോക്കസും കീസ്റ്റോൺ തിരുത്തലും
Adjust the focus ring around the lens until the image is clear. Use the 4D keystone correction feature to adjust the image shape if the projector is not perfectly perpendicular to the screen. This can be done via the remote control or on-screen settings.

This image illustrates the process of adjusting the focus ring on the projector lens and demonstrates the effect of keystone correction on the projected image, ensuring a rectangular display even when the projector is angled.
5.2 ആൻഡ്രോയിഡ് 9.0 സ്മാർട്ട് സിസ്റ്റം
The projector runs on Android 9.0, allowing direct access to streaming applications like YouTube, Netflix, HBO, and Spotify. Navigate the interface using the remote control.

The image above shows the projector's smart interface, featuring a grid of popular streaming applications, demonstrating the integrated Android 9.0 system's capability to run apps directly.
5.3 Wireless Connectivity (WiFi & Bluetooth)
വൈഫൈ: Connect to your home network using the integrated 2.4/5 GHz WiFi. This enables Miracast and Airplay for wireless screen mirroring from iOS, Android, and Windows devices.

This image illustrates the projector's wireless connectivity, showing it mirroring content from a smartphone and tablet, and highlighting its compatibility with iOS, Android, and Windows 10 devices for screen sharing.
ബ്ലൂടൂത്ത് 5.0: Pair with external Bluetooth speakers, soundbars, or headphones for enhanced audio. Go to the settings menu to manage Bluetooth devices.
5.4 വയർഡ് കണക്റ്റിവിറ്റി
The projector features multiple ports for wired connections:
- എച്ച്ഡിഎംഐ (x2): Connect laptops, gaming consoles, Blu-ray players, or streaming devices.
- USB: Play media directly from USB drives.
- ഓഫ്: ഉൾപ്പെടുത്തിയിരിക്കുന്ന AV കേബിൾ ഉപയോഗിച്ച് പഴയ ഉപകരണങ്ങൾ ബന്ധിപ്പിക്കുക.
- Mini-Jack: ബാഹ്യ ഓഡിയോ ഔട്ട്പുട്ടിനായി.
- Micro-SD/TF Card Reader: For playing media from memory cards.
6. പരിപാലനം
6.1 ലെൻസ് വൃത്തിയാക്കൽ
ഒപ്റ്റിക്കൽ പ്രതലങ്ങൾക്കായി പ്രത്യേകം രൂപകൽപ്പന ചെയ്ത മൃദുവായ, ലിന്റ് രഹിത തുണി ഉപയോഗിച്ച് പ്രൊജക്ടർ ലെൻസ് സൌമ്യമായി തുടയ്ക്കുക. അബ്രാസീവ് ക്ലീനറുകളോ അമിതമായ ബലപ്രയോഗമോ ഉപയോഗിക്കരുത്.
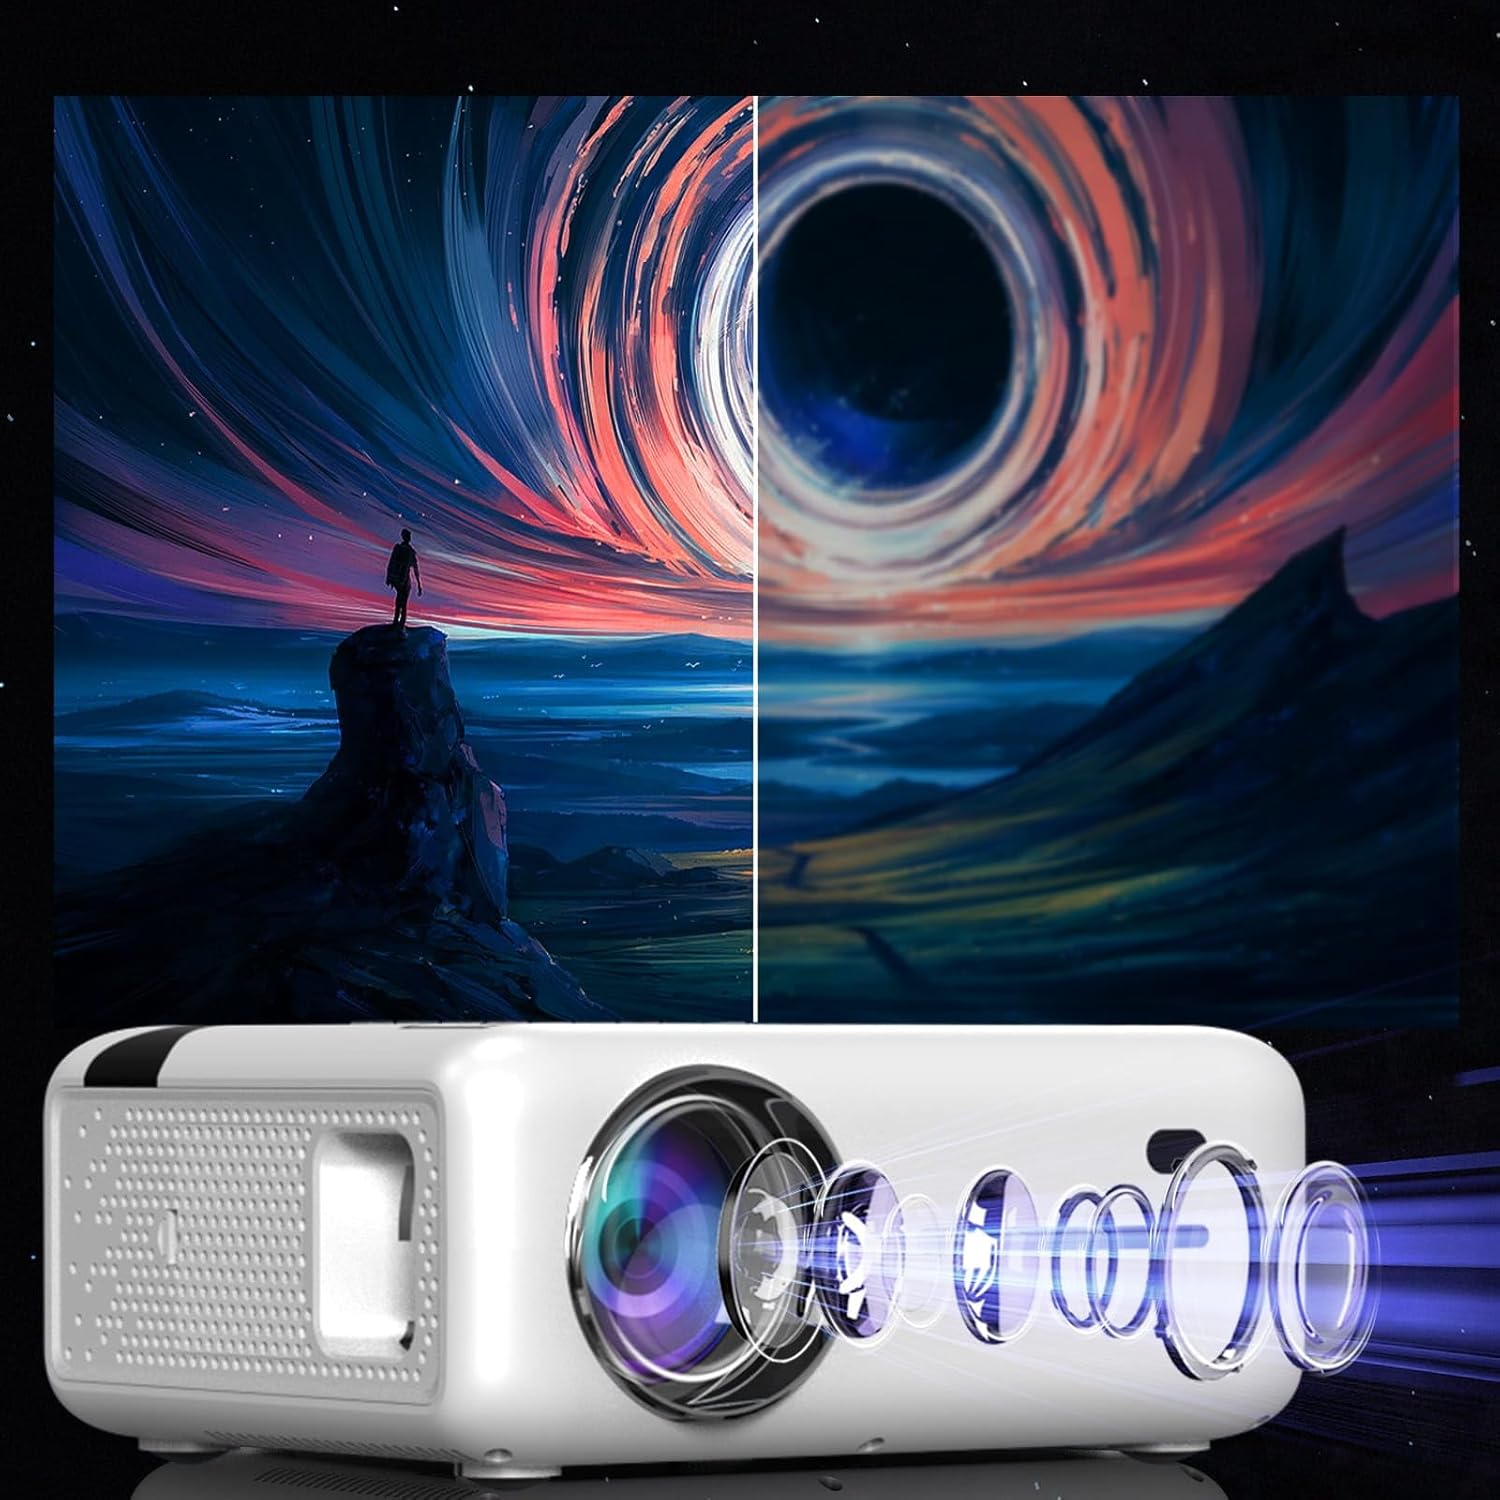
This diagram illustrates the multi-element lens system of the projector, highlighting the precision optics that require careful handling during cleaning to maintain image quality.
6.2 വെന്റിലേഷൻ
Ensure that the projector's ventilation openings are not blocked to prevent overheating. Regularly check for dust accumulation and clean if necessary using compressed air.
6.3 സംഭരണം
When not in use for extended periods, store the projector in a cool, dry place, away from direct sunlight and excessive dust. Use the original packaging or a protective case.
7. പ്രശ്നപരിഹാരം
| പ്രശ്നം | സാധ്യമായ കാരണം | പരിഹാരം |
|---|---|---|
| ചിത്രമൊന്നും പ്രദർശിപ്പിച്ചിട്ടില്ല | പവർ കേബിൾ വിച്ഛേദിക്കപ്പെട്ടു, തെറ്റായ ഇൻപുട്ട് ഉറവിടം, ലെൻസ് ക്യാപ്പ് ഓണാണ്. | Check power connection, select correct input source (HDMI, USB, etc.), remove lens cap. |
| മങ്ങിയ ചിത്രം | Focus not adjusted, keystone incorrect. | ഫോക്കസ് റിംഗ് ക്രമീകരിക്കുക, കീസ്റ്റോൺ തിരുത്തൽ ഉപയോഗിക്കുക. |
| ശബ്ദമില്ല | Volume too low, incorrect audio output selected, external device muted. | Increase projector volume, check audio settings, ensure external device is not muted. |
| വൈഫൈ കണക്ഷൻ പ്രശ്നങ്ങൾ | Incorrect password, router too far, interference. | Verify WiFi password, move projector closer to router, check for other wireless devices. |
8 സ്പെസിഫിക്കേഷനുകൾ
| ഫീച്ചർ | വിശദാംശങ്ങൾ |
|---|---|
| മോഡൽ | Zenwire E520h |
| നേറ്റീവ് റെസല്യൂഷൻ | 1920 x 1080p (Full HD) |
| പിന്തുണയുള്ള റെസല്യൂഷൻ | 4K വരെ |
| തെളിച്ചം | 9000 lumens (300 ANSI) |
| കോൺട്രാസ്റ്റ് റേഷ്യോ | 2000:1 |
| ഓപ്പറേറ്റിംഗ് സിസ്റ്റം | ആൻഡ്രോയിഡ് 9.0 |
| വൈഫൈ | 2.4/5 GHz (Miracast, Airplay support) |
| ബ്ലൂടൂത്ത് | 5.0 |
| കണക്റ്റിവിറ്റി | 2x HDMI, USB, AV, Mini-Jack, Micro-SD/TF |
| പ്രൊജക്ഷൻ വലിപ്പം | 36 - 200 ഇഞ്ച് |
| പ്രൊജക്ഷൻ ദൂരം | 1.2 - 6 മീറ്റർ |
| കീസ്റ്റോൺ തിരുത്തൽ | 4D (manual and auto) |
| വാല്യംtage | 230 വോൾട്ട് |
| അളവുകൾ (പാക്കേജ്) | 23 x 18.5 x 10.5 സെ.മീ |
| ഭാരം (പാക്കേജ്) | 1.2 കി.ഗ്രാം |
9. വാറൻ്റിയും പിന്തുണയും
For warranty information and technical support, please refer to the contact details provided with your purchase documentation or visit the official Zenwire webസൈറ്റ്. വാറന്റി ക്ലെയിമുകൾക്കായി നിങ്ങളുടെ വാങ്ങലിന്റെ തെളിവ് സൂക്ഷിക്കുക.
Ask a question about this manual
Ask about setup, troubleshooting, compatibility, parts, safety, or missing instructions. Manuals+ will review the question and use this page’s manual context to help answer it.