1. ആമുഖം
The TYT MD-UV390 Plus is an advanced digital two-way radio designed for reliable and secure communication. This upgraded model features dual-band VHF/UHF capabilities, a rugged IP67 waterproof and dustproof rating, and supports both Digital Mobile Radio (DMR) and traditional analog modes. With AES256 encryption, high output power, and extensive channel capacity, it is suitable for various professional and amateur applications.
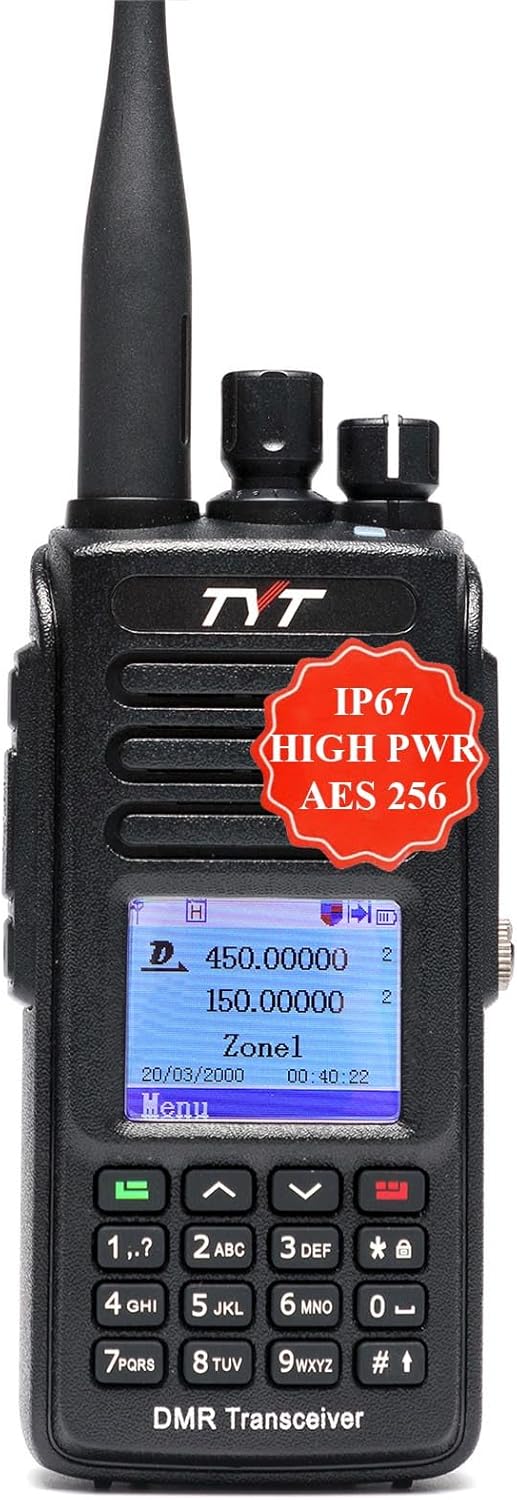
Figure 1: TYT MD-UV390 Plus Digital Two-Way Radio
2. പാക്കേജ് ഉള്ളടക്കം
പായ്ക്ക് ചെയ്യുമ്പോൾ, ഇനിപ്പറയുന്ന എല്ലാ ഇനങ്ങളും നിങ്ങളുടെ പാക്കേജിൽ ഉൾപ്പെടുത്തിയിട്ടുണ്ടെന്ന് ദയവായി പരിശോധിക്കുക:
- TYT MD-UV390 Plus Handheld Radio
- 7.4V 2800mAh Li-ion Battery Pack
- ബെൽറ്റ് ക്ലിപ്പ്
- അഡാപ്റ്റർ
- ഡെസ്ക്ടോപ്പ് ചാർജർ
- Driver & Software CD
- പ്രോഗ്രാമിംഗ് കേബിൾ
- ഉപയോക്തൃ മാനുവൽ

Figure 2: Included accessories with the radio
3 പ്രധാന സവിശേഷതകൾ
The MD-UV390 Plus offers a robust set of features for enhanced communication:
- AES256 Encryption: Provides secure communication. Note: This feature requires special software activation.
- ഡ്യുവൽ ബാൻഡ് പ്രവർത്തനം: VHF, UHF ഫ്രീക്വൻസികളെ പിന്തുണയ്ക്കുന്നു.
- Rugged IP67 Rating: Waterproof and dustproof for reliable use in harsh environments.
- ഡ്യുവൽ മോഡ്: Operates in both Digital (DMR) and Analog modes.
- ഉയർന്ന ഔട്ട്പുട്ട് പവർ: Capable of 10W output for extended range.
- വിപുലമായ ചാനൽ ശേഷി: 3000 വരെ പ്രോഗ്രാമബിൾ ചാനലുകൾ.
- Advanced Digital Functions: Includes Remote Kill/Stun/Activate, Voice Prompt, Built-in CTCSS/DCS, Priority Scan, DTMF decoding/encoding, Private Call, Group Call, All Call, and Text Messaging.
- MotoTRBO Compatibility: Complies with ETSI TS 102 361-1, -2, -3 digital protocol and is compatible with MotoTRBO Tier 1 & 2.
- യുഎസ്ബി ടൈപ്പ്-സി ചാർജിംഗ്: Convenient charging option directly on the battery.

ചിത്രം 3: ഓവർview of MD-UV390 Plus features
Video 1: TYT MD-UV390 Plus DMR Radio Overview. This video demonstrates the radio's physical features, menu navigation, and key functionalities.
4 സാങ്കേതിക സവിശേഷതകൾ
| സ്പെസിഫിക്കേഷൻ | മൂല്യം |
|---|---|
| മോഡൽ നമ്പർ | MD-UV390 Plus (AES UV390) |
| ഫ്രീക്വൻസി റേഞ്ച് | വിഎച്ച്എഫ്/യുഎച്ച്എഫ് |
| ചാനലുകളുടെ എണ്ണം | 3000 |
| ഔട്ട്പുട്ട് പവർ | High Power (up to 10W) |
| ജല പ്രതിരോധ നില | IP67 (Waterproof/Dustproof) |
| ബാറ്ററി തരം | 7.4 വി 2800 എംഎഎച്ച് ലി-അയൺ |
| പരമാവധി സംസാര ശ്രേണി | 4 കിലോമീറ്റർ (ഏകദേശം 2.5 മൈൽ) |
| ഇനത്തിൻ്റെ ഭാരം | 1.5 പൗണ്ട് |
| പാക്കേജ് അളവുകൾ | 7.87 x 6.22 x 3.35 ഇഞ്ച് |
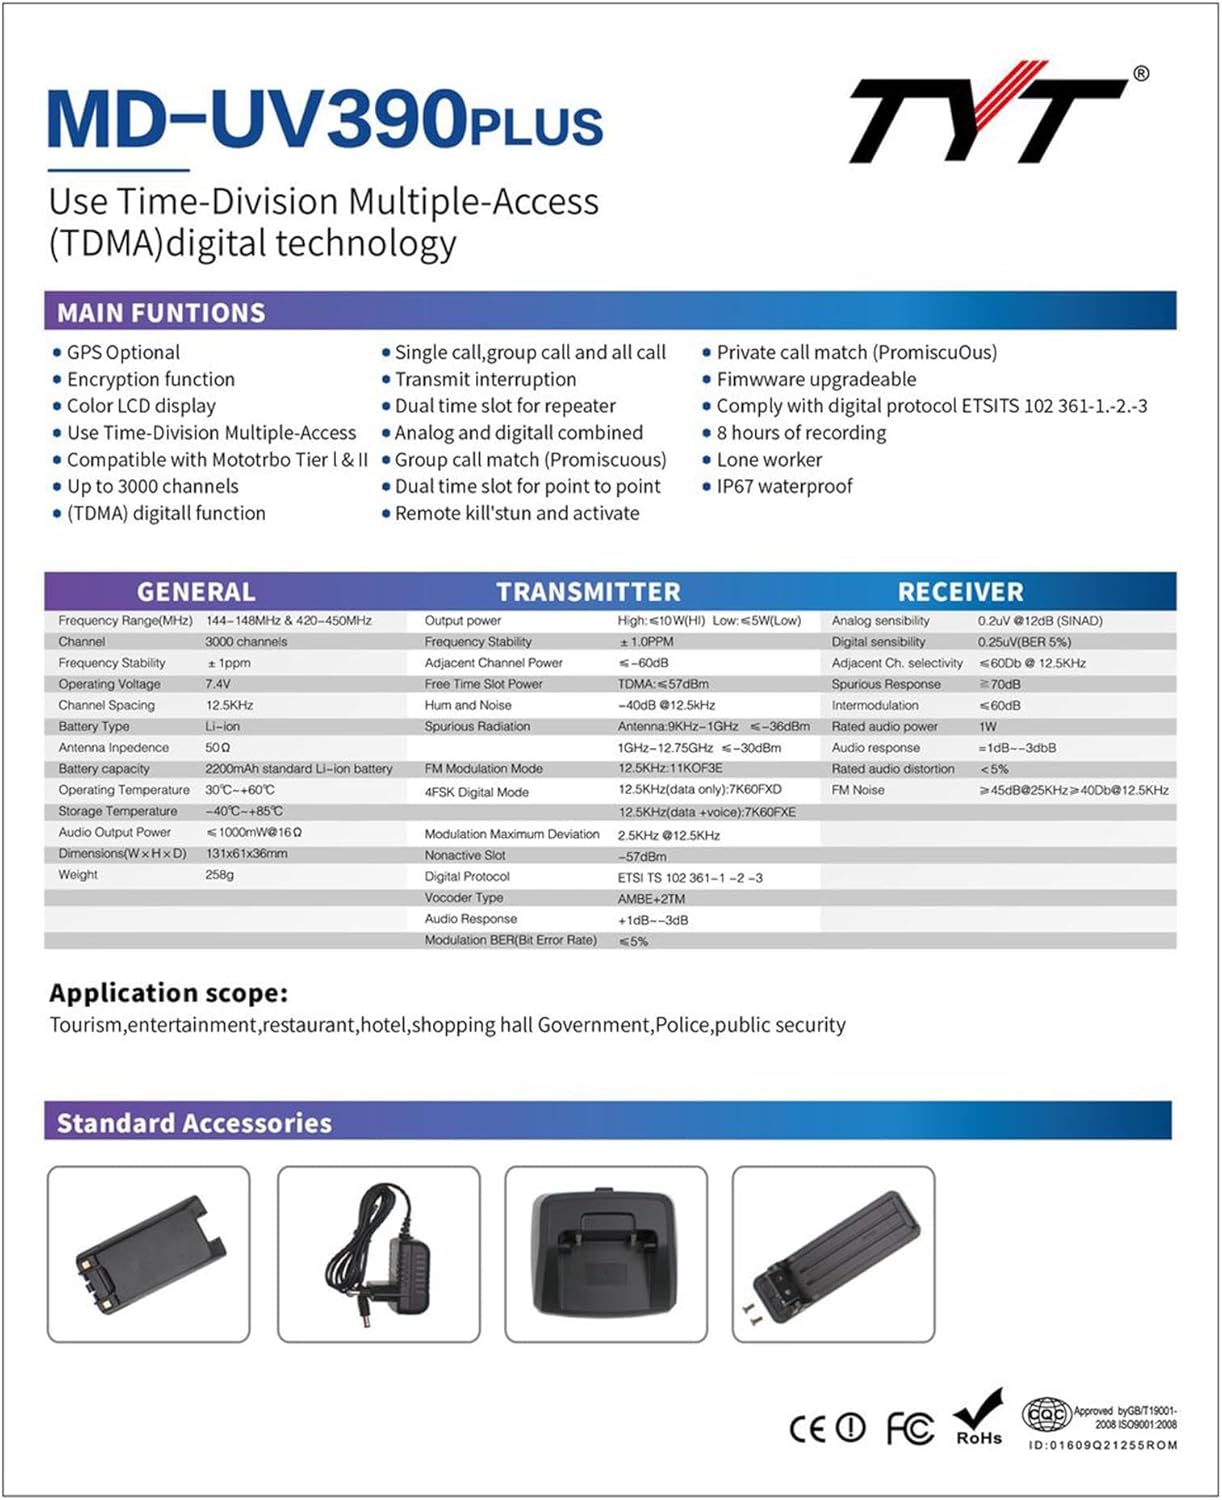
Figure 4: Detailed specifications of the MD-UV390 Plus
5. പ്രാരംഭ സജ്ജീകരണം
- ബാറ്ററി ഇൻസ്റ്റാൾ ചെയ്യുക: Align the 7.4V 2800mAh Li-ion battery pack with the back of the radio and slide it into place until it clicks securely.
- ആന്റിന ഘടിപ്പിക്കുക: റേഡിയോയുടെ മുകളിലുള്ള കണക്ടറിൽ ആന്റിന ഘടികാരദിശയിൽ സ്ക്രൂ ചെയ്ത് വിരൽ കൊണ്ട് മുറുക്കുന്നത് വരെ ഉറപ്പിക്കുക. അധികം മുറുക്കരുത്.
- ബാറ്ററി ചാർജ് ചെയ്യുക: Connect the desktop charger to a power outlet using the provided adapter. Place the radio (with battery installed) into the desktop charger. The charging indicator will show the charging status. Alternatively, the battery pack supports direct USB Type-C charging. Open the protective cover on the battery to access the USB-C port and connect a compatible cable.
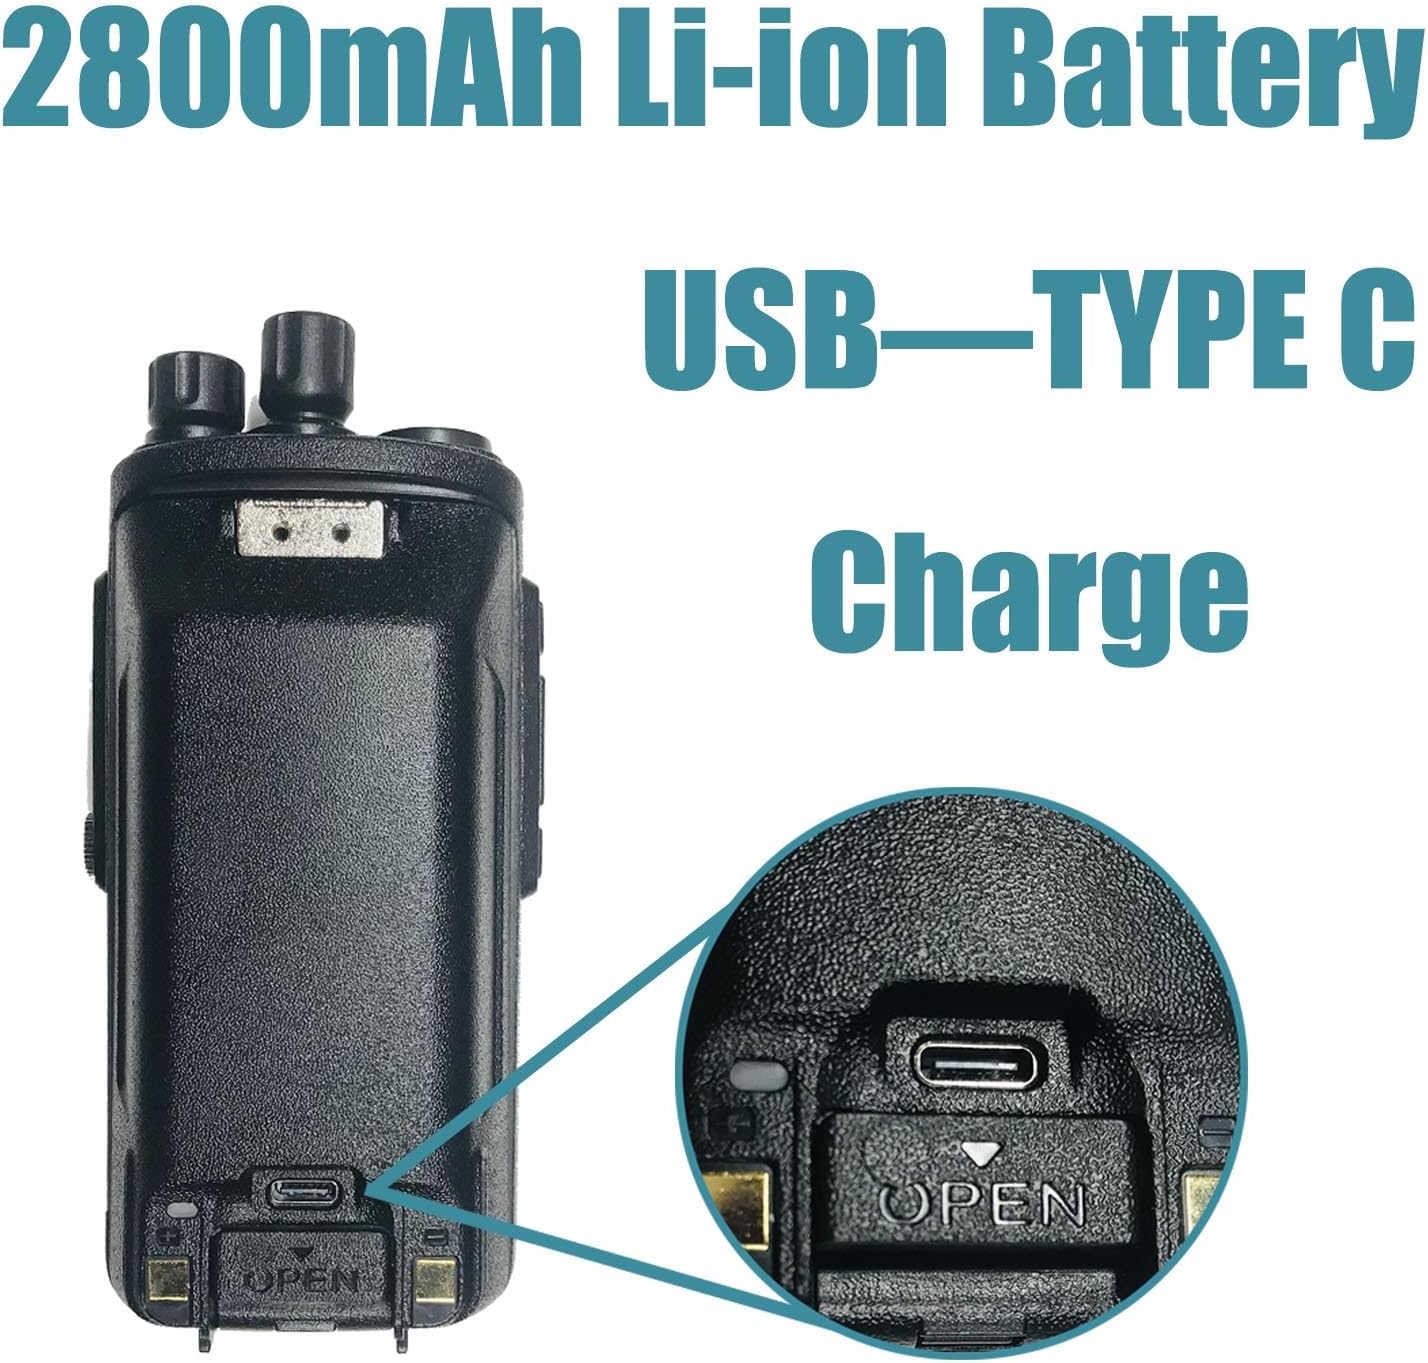
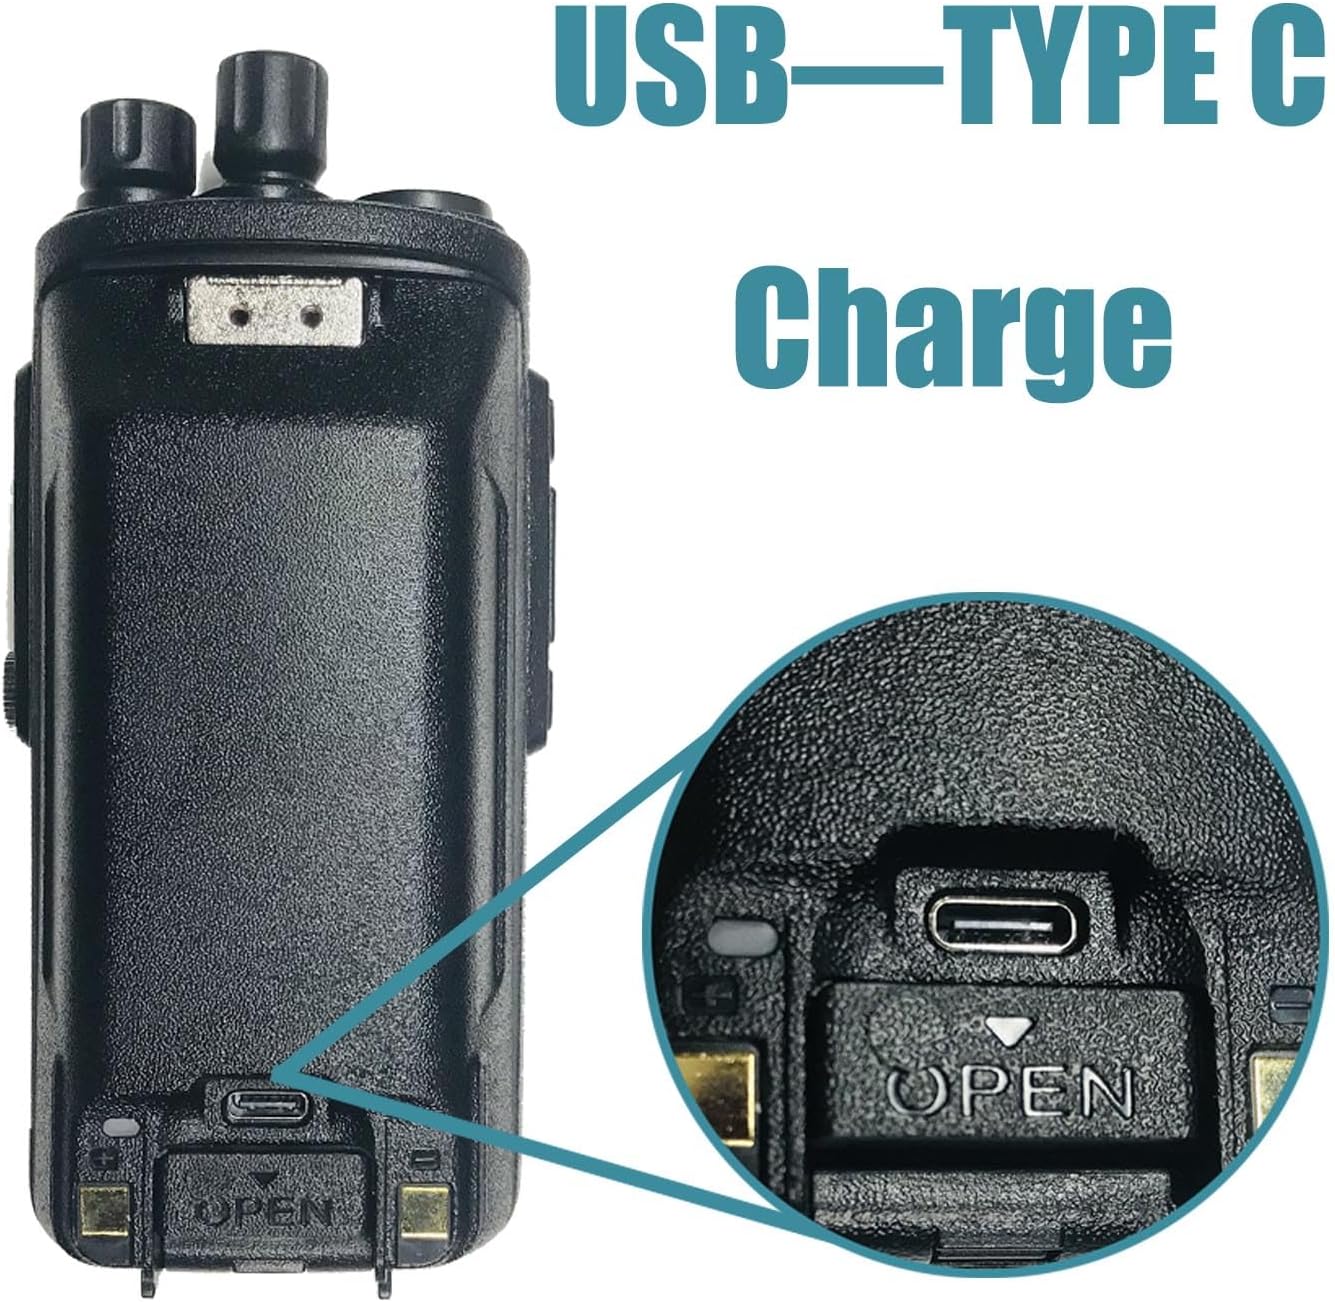
Figure 5: Battery installation and USB Type-C charging port
6. അടിസ്ഥാന പ്രവർത്തനം
- പവർ ഓൺ/ഓഫ്: Rotate the top-left knob clockwise to power on the radio. Rotate counter-clockwise until a click is heard to power off.
- വോളിയം ക്രമീകരണം: Continue rotating the power knob clockwise to increase volume, and counter-clockwise to decrease.
- ചാനൽ തിരഞ്ഞെടുക്കൽ: Use the channel knob (top-right) to select desired channels. The display will show the current channel.
- പുഷ്-ടു-ടോക്ക് (PTT): Press and hold the large button on the left side of the radio to transmit. Release to receive.
- മെനു നാവിഗേഷൻ: Use the keypad and navigation buttons (up/down arrows, Menu/OK, Back) to access and adjust radio settings.
Video 2: TYT MD-UV390 Plus DMR Radio Operation. This video demonstrates basic operations including power, channel selection, and menu navigation.
7. റേഡിയോ പ്രോഗ്രാമിംഗ്
The TYT MD-UV390 Plus is programmable via a computer using dedicated software and the included programming cable. This allows for customization of channels, contacts, and various radio settings.
7.1 സോഫ്റ്റ്വെയറും ഡ്രൈവറും ഇൻസ്റ്റാൾ ചെയ്യൽ
- Obtain Software: The necessary programming software and drivers are typically provided on the included CD or can be downloaded from the official TYT Electronics website. Ensure you download the correct software version for your MD-UV390 Plus model and your operating system (Windows only; Mac is not supported).
- ഡ്രൈവറുകൾ ഇൻസ്റ്റാൾ ചെയ്യുക: Before connecting the radio, install the USB programming cable drivers. Follow the on-screen instructions during installation.
- പ്രോഗ്രാമിംഗ് സോഫ്റ്റ്വെയർ ഇൻസ്റ്റാൾ ചെയ്യുക: Install the CPS (Customer Programming Software) by following the setup wizard.
7.2 Connecting and Programming
- Connect Radio: Ensure the radio is powered on. Connect the programming cable to the radio's accessory port (usually covered by a rubber flap on the side) and then to a USB port on your Windows PC.
- സോഫ്റ്റ്വെയർ സമാരംഭിക്കുക: Open the installed CPS software.
- COM പോർട്ട് തിരഞ്ഞെടുക്കുക: In the software, navigate to the 'Communication' or 'Port' settings and select the correct COM port assigned to your programming cable. You may need to check Device Manager in Windows to identify the correct port.
- റേഡിയോയിൽ നിന്ന് വായിച്ചത്: Use the software's 'Read from Radio' function to download the current configuration from your MD-UV390 Plus. This creates a baseline for your modifications.
- Edit Settings: Modify channels, contacts, zones, and other parameters as needed within the software interface.
- റേഡിയോയിൽ എഴുതുക: After making all desired changes, use the 'Write to Radio' function to upload the new configuration to your device.
8. പരിപാലനവും പരിചരണവും
- വൃത്തിയാക്കൽ: ഒരു സോഫ്റ്റ് ഉപയോഗിക്കുക, ഡിamp റേഡിയോയുടെ പുറംഭാഗം വൃത്തിയാക്കാൻ തുണി ഉപയോഗിക്കുക. കഠിനമായ രാസവസ്തുക്കളോ ലായകങ്ങളോ ഉപയോഗിക്കരുത്.
- വാട്ടർപ്രൂഫ് റേറ്റിംഗ് (IP67): The radio is designed to withstand immersion in up to 1 meter of water for 30 minutes. Ensure all port covers (e.g., earpiece port, USB-C port on battery) are securely closed to maintain its waterproof integrity.
- ബാറ്ററി കെയർ: Avoid overcharging or completely draining the Li-ion battery. Store the battery in a cool, dry place when not in use.
- ആൻ്റിന: Always ensure the antenna is properly attached before transmitting to prevent damage to the radio.

Figure 6: The radio demonstrating its IP67 waterproof capability
9. പ്രശ്നപരിഹാരം
If you encounter issues with your TYT MD-UV390 Plus, consider the following common solutions:
- റേഡിയോ ഓണാക്കുന്നില്ല: Check if the battery is fully charged and properly installed. Ensure the power knob is rotated fully clockwise.
- No Transmission/Reception: Verify that the antenna is securely attached. Check the selected channel and ensure it is within the radio's frequency range. Confirm that the radio is in the correct mode (Digital/Analog) for the intended communication.
- പ്രോഗ്രാമിംഗ് പ്രശ്നങ്ങൾ: Ensure the correct drivers and programming software are installed. Verify the programming cable is properly connected and the correct COM port is selected in the software.
- മോശം ഓഡിയോ നിലവാരം: Check the volume level. Ensure the microphone and speaker are clear of obstructions.
- Encryption Not Working: Confirm that AES256 encryption is enabled and correctly configured in the programming software for both transmitting and receiving radios. Remember that this feature may require special software activation.
10. വാറൻ്റിയും പിന്തുണയും
The TYT MD-UV390 Plus comes with a 90 ദിവസത്തെ വാറൻ്റി വാങ്ങിയ തീയതി മുതൽ. സാധാരണ ഉപയോഗത്തിലുള്ള നിർമ്മാണ വൈകല്യങ്ങൾ ഈ വാറന്റി ഉൾക്കൊള്ളുന്നു. വാറന്റി ക്ലെയിമുകൾക്കായി നിങ്ങളുടെ വാങ്ങിയതിന്റെ തെളിവ് സൂക്ഷിക്കുക.
For technical support, updated firmware, drivers, or programming software, please visit the official TYT Electronics website. You may also contact the seller, HESENATE, for assistance.