
1. ആമുഖം
The TechniSat TECHNIRADIO 50 is a compact digital alarm clock radio designed to provide a pleasant start to your day. It features DAB+ and FM radio reception, a large backlit LCD display, dual alarm functions, a headphone jack, and a USB-C power supply. This manual provides detailed instructions for setting up, operating, and maintaining your device.
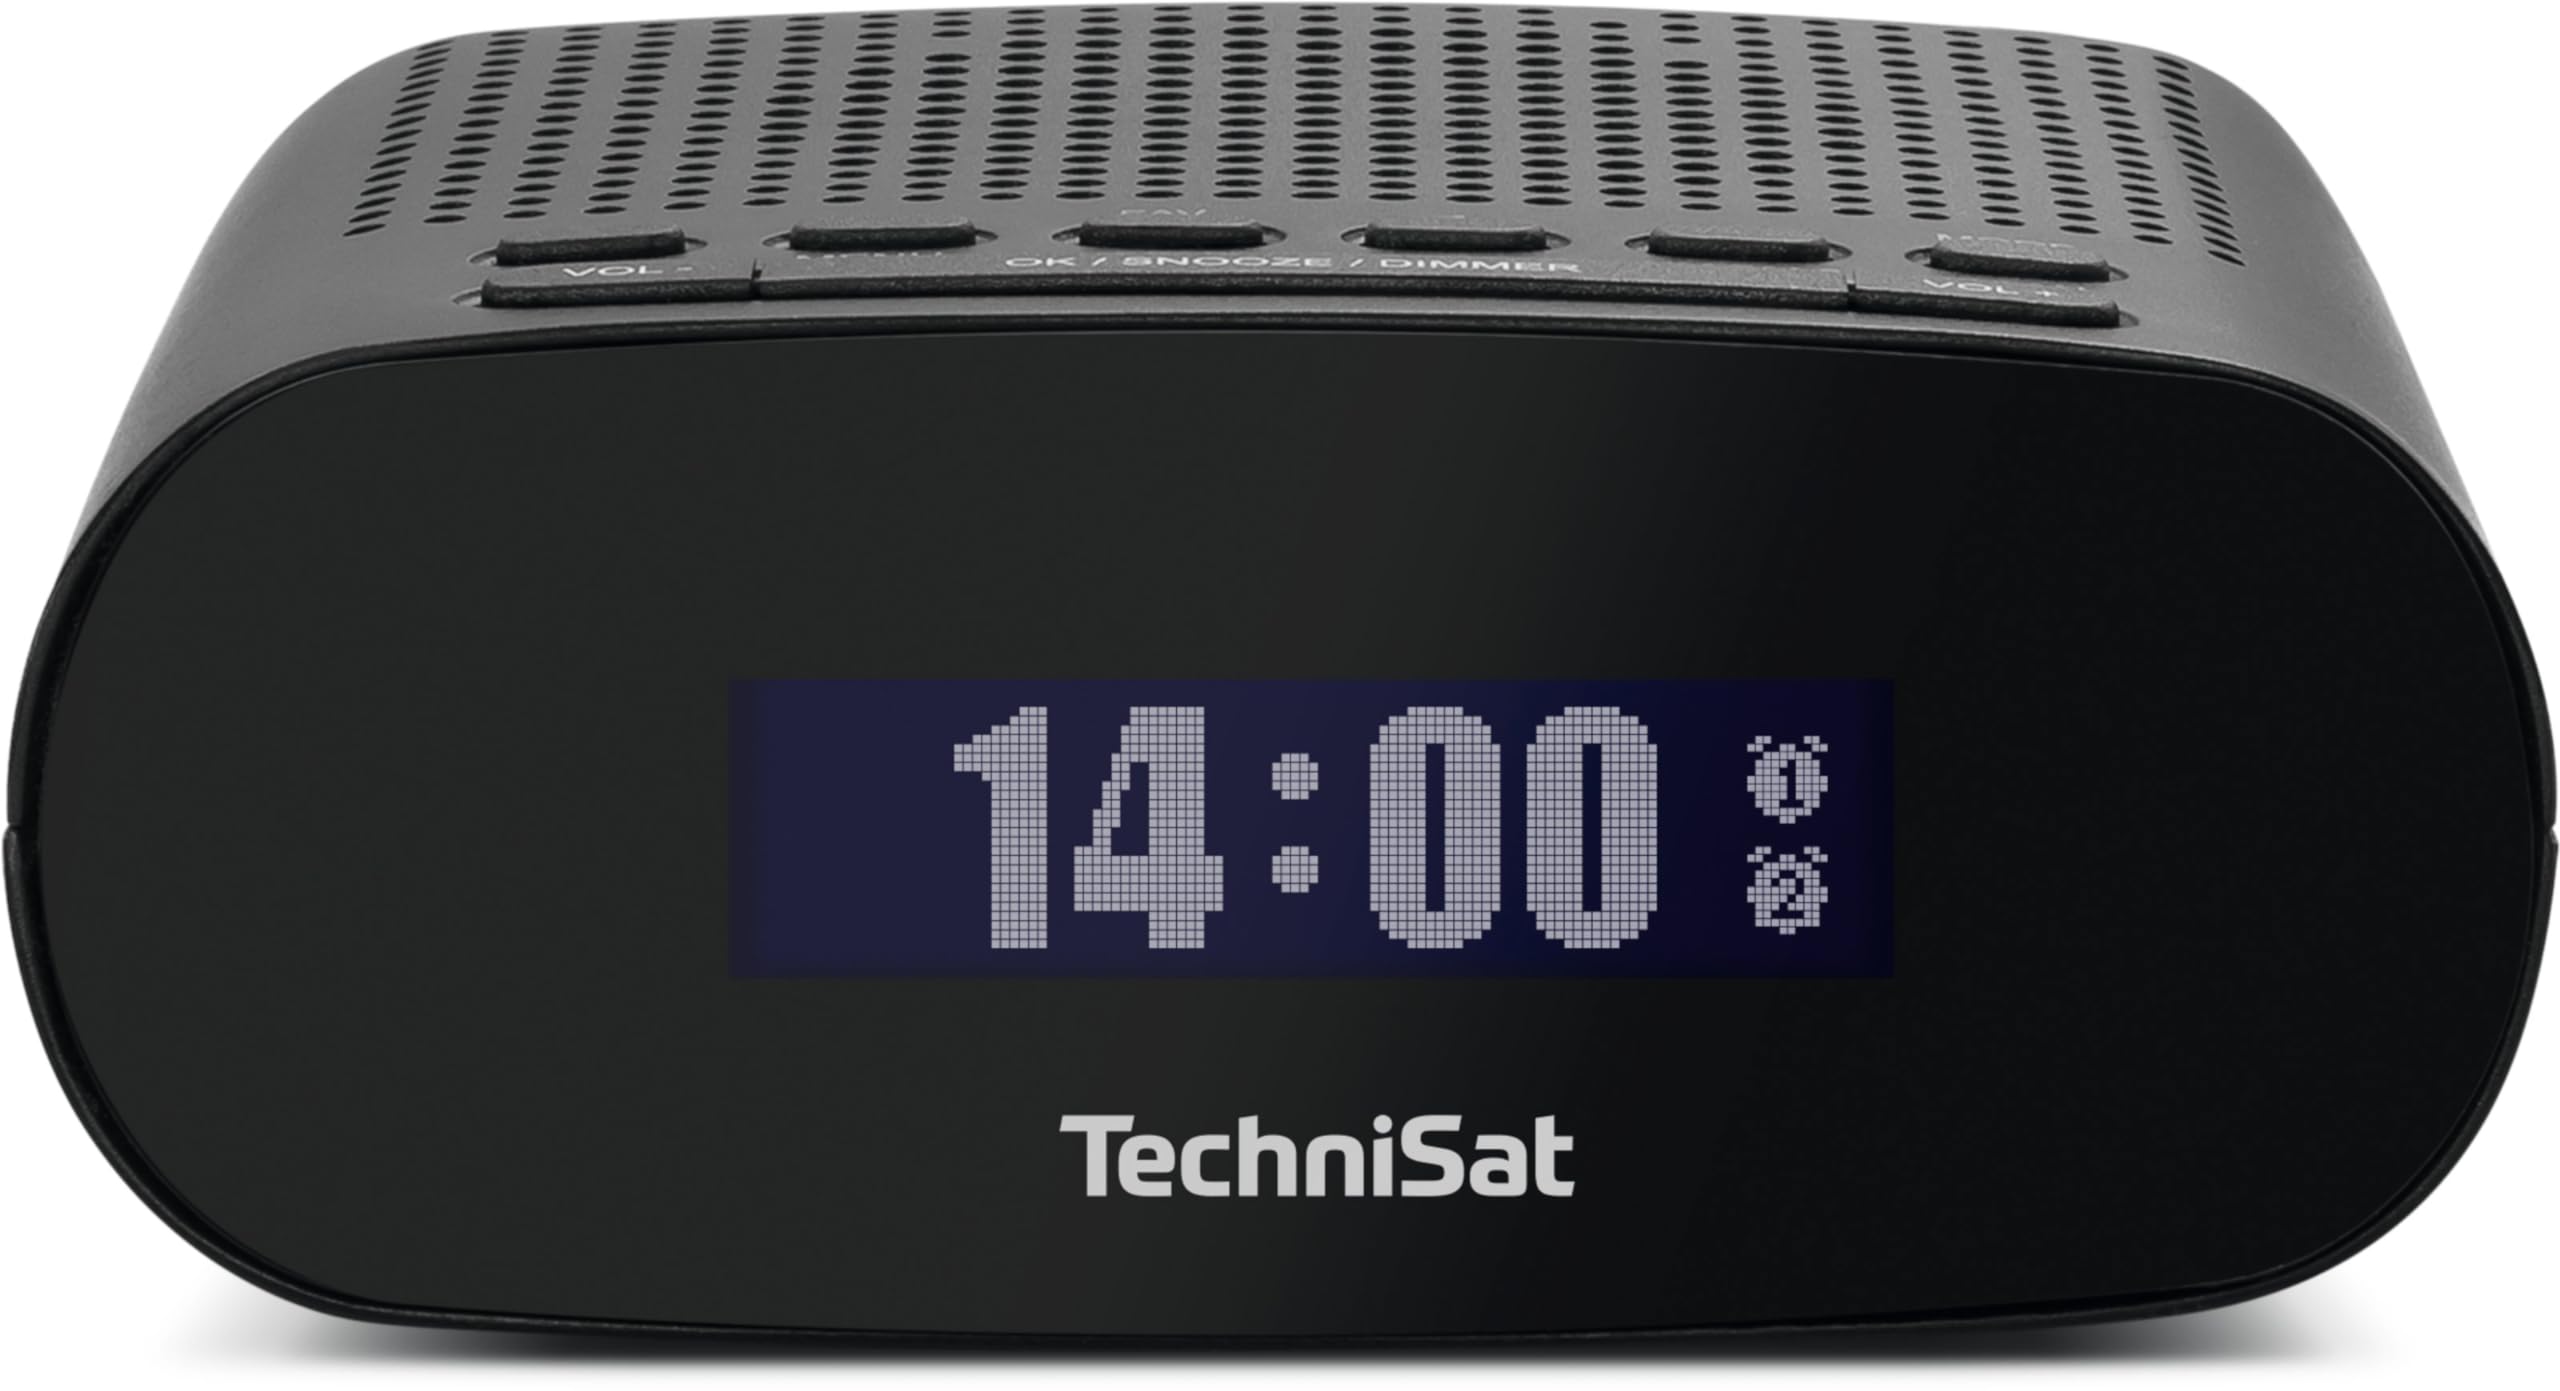
ചിത്രം 1: മുൻഭാഗം view of the TechniSat TECHNIRADIO 50.
2 സുരക്ഷാ വിവരങ്ങൾ
- വൈദ്യുതി വിതരണം: Use only the provided USB Type-C 5V - 1A power supply or a compatible certified adapter.
- വാട്ടർ എക്സ്പോഷർ: Do not expose the device to water, moisture, or high humidity. This device is for indoor use only.
- വെൻ്റിലേഷൻ: Ensure adequate ventilation around the device. Do not cover ventilation openings.
- വൃത്തിയാക്കൽ: വൃത്തിയാക്കുന്നതിന് മുമ്പ് വൈദ്യുതി വിച്ഛേദിക്കുക. മൃദുവായതും ഉണങ്ങിയതുമായ തുണി ഉപയോഗിക്കുക. ലിക്വിഡ് അല്ലെങ്കിൽ എയറോസോൾ ക്ലീനറുകൾ ഉപയോഗിക്കരുത്.
- താപനില: Avoid extreme temperatures. Do not place near heat sources or in direct sunlight.
- സേവനം: ഉപകരണം സ്വയം നന്നാക്കാൻ ശ്രമിക്കരുത്. എല്ലാ സേവനങ്ങളും യോഗ്യതയുള്ള ഉദ്യോഗസ്ഥരെ ഏൽപ്പിക്കുക.
3. പാക്കേജ് ഉള്ളടക്കം
പാക്കേജിംഗിൽ എല്ലാ ഇനങ്ങളും ഉണ്ടെന്ന് ദയവായി പരിശോധിക്കുക:
- TechniSat TECHNIRADIO 50 Alarm Clock Radio
- DAB/FM ആന്റിന
- USB Type-C 5V - 1A Power Supply
- ഉപയോക്തൃ മാനുവൽ
4. ഉൽപ്പന്നം കഴിഞ്ഞുview
4.1. നിയന്ത്രണങ്ങളും പ്രദർശനവും
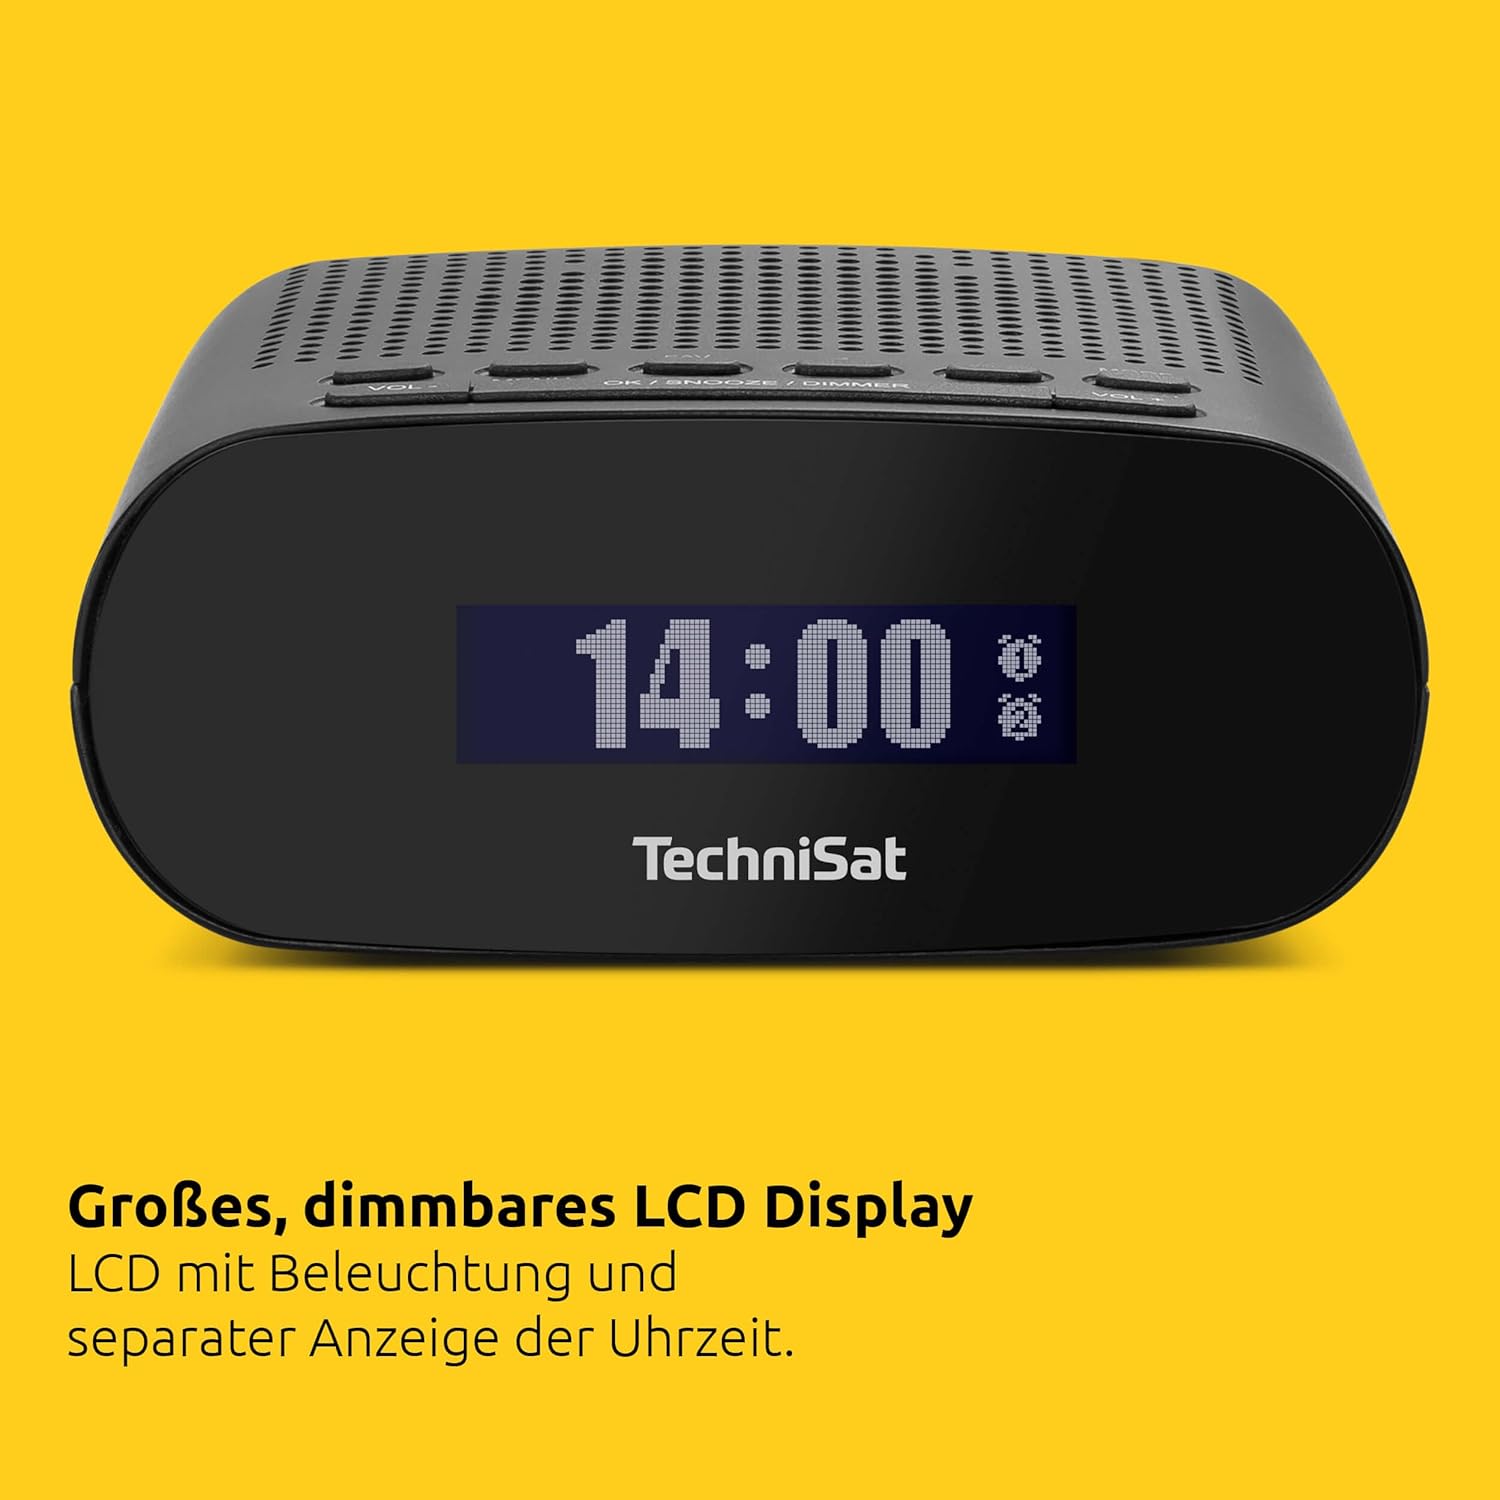
Figure 2: Top controls of the TechniSat TECHNIRADIO 50.
The TECHNIRADIO 50 features an intuitive layout of buttons on its top panel and a clear LCD display on the front.
- പവർ ബട്ടൺ: ഉപകരണം ഓൺ/ഓഫ് ചെയ്യുന്നു.
- വോള്യ- / വോള്യ+: വോളിയം ലെവൽ ക്രമീകരിക്കുന്നു.
- മെനു: ക്രമീകരണങ്ങൾക്കായി പ്രധാന മെനുവിലേക്ക് പ്രവേശിക്കുന്നു.
- വിവരം: Displays information about the current station or settings.
- FAV: പ്രിയപ്പെട്ട സ്റ്റേഷൻ പ്രീസെറ്റുകൾ ആക്സസ് ചെയ്യുന്നു.
- OK / SNOOZE / DIMMER: Confirms selections, activates snooze during an alarm, or adjusts display brightness.
- അലാറം 1 / അലാറം 2: Sets or activates/deactivates Alarm 1 and Alarm 2.
- വഴികൾ: Switches between DAB+ and FM radio modes.
- സ്കാൻ: റേഡിയോ സ്റ്റേഷനുകൾക്കായി ഒരു സ്കാൻ ആരംഭിക്കുന്നു.
4.2. തുറമുഖങ്ങൾ
- യുഎസ്ബി-സി പോർട്ട്: വൈദ്യുതി വിതരണം ബന്ധിപ്പിക്കുന്നതിന്.
- ഹെഡ്ഫോൺ ജാക്ക്: സ്വകാര്യ ശ്രവണത്തിനായി.
- ആന്റിന ഇൻപുട്ട്: For connecting the DAB/FM antenna.
5. സജ്ജീകരണം
- ആന്റിന ബന്ധിപ്പിക്കുക: Connect the provided DAB/FM antenna to the antenna input on the device. Extend the antenna fully for optimal reception.
- പവർ ബന്ധിപ്പിക്കുക: Plug the USB Type-C power supply into the USB-C port on the back of the radio, then plug the adapter into a wall outlet.
- പ്രാരംഭ പവർ ഓൺ: അമർത്തുക ശക്തി button. The device will power on and may automatically begin scanning for DAB+ stations.
- ഭാഷ തിരഞ്ഞെടുക്കൽ: If prompted, use the navigation buttons (often VOL+/- or dedicated arrow buttons, if present, otherwise OK/SNOOZE/DIMMER to confirm) to select your preferred language (e.g., English). Confirm your selection.
- യാന്ത്രിക സമയ സമന്വയം: The radio will automatically synchronize the time and date via DAB+ or FM RDS signals once stations are found.
6. പ്രവർത്തന നിർദ്ദേശങ്ങൾ
6.1. Radio Operation (DAB+ / FM)
- സ്വിച്ചിംഗ് മോഡുകൾ: അമർത്തുക മോഡ് button to switch between DAB+ and FM radio modes.
- സ്റ്റേഷനുകൾക്കായി സ്കാൻ ചെയ്യുന്നു:
- In DAB+ mode, press സ്കാൻ ചെയ്യുക to perform a full scan for available digital stations.
- എഫ്എം മോഡിൽ, അമർത്തുക സ്കാൻ ചെയ്യുക to automatically tune to the next available station.
- മാനുവൽ ട്യൂണിംഗ് (FM): In FM mode, use the VOL+/- buttons to fine-tune the frequency manually.
- വോളിയം ക്രമീകരിക്കുന്നു: ഉപയോഗിക്കുക വോൾ- ഒപ്പം VOL+ buttons to increase or decrease the audio volume.
- Saving Favorite Stations:
- ആവശ്യമുള്ള സ്റ്റേഷനിലേക്ക് ട്യൂൺ ചെയ്യുക.
- അമർത്തിപ്പിടിക്കുക FAV ബട്ടൺ.
- Use the navigation buttons to select a preset number (1-20 for DAB+, 1-20 for FM).
- അമർത്തുക OK സ്റ്റേഷൻ സ്ഥിരീകരിക്കാനും സംരക്ഷിക്കാനും.
- Recalling Favorite Stations: അമർത്തുക FAV button briefly, then use the navigation buttons to select and recall a saved station.
- ഹെഡ്ഫോൺ ഉപയോഗം: Plug standard 3.5mm headphones into the headphone jack for private listening. The internal speaker will be muted automatically.
6.2. അലാറം പ്രവർത്തനങ്ങൾ
The TECHNIRADIO 50 features two independent alarms (Alarm 1 and Alarm 2).
- ഒരു അലാറം സജ്ജീകരിക്കുന്നു:
- അമർത്തുക അലാറം 1 or അലാറം 2 ബട്ടൺ.
- Use the navigation buttons to set the alarm time (hours and minutes). Press OK ഓരോ ക്രമീകരണവും സ്ഥിരീകരിക്കാൻ.
- അലാറം ഉറവിടം തിരഞ്ഞെടുക്കുക: റേഡിയോ (wakes you to a preset station) or ബസർ.
- Choose the alarm frequency: ദിവസേന, പ്രവൃത്തിദിനങ്ങൾ (Mon-Fri), വാരാന്ത്യങ്ങൾ (Sat-Sun), or ഒരിക്കൽ.
- ആവശ്യമുള്ള അലാറം വോളിയം സജ്ജമാക്കുക.
- Confirm all settings to activate the alarm. An alarm icon will appear on the display.
- അലാറങ്ങൾ സജീവമാക്കൽ/നിർജ്ജീവമാക്കൽ: ചുരുക്കത്തിൽ അമർത്തുക അലാറം 1 or അലാറം 2 അലാറം ഓണാക്കാനോ ഓഫാക്കാനോ ഉള്ള ബട്ടൺ.
- സ്നൂസ് പ്രവർത്തനം: അലാറം മുഴങ്ങുമ്പോൾ, അമർത്തുക OK / SNOOZE / DIMMER button to activate snooze. The alarm will pause for a set period (e.g., 9 minutes) and sound again.
- ഒരു അലാറം നിർത്തൽ: To stop an alarm completely, press the ശക്തി button or the corresponding അലാറം ബട്ടൺ.
- സ്ലീപ്പ് ടൈമർ:
- അമർത്തുക മെനു ബട്ടൺ.
- Navigate to the "Sleep Timer" option.
- Select the desired duration (e.g., 15, 30, 60, 90 minutes). The radio will play for the selected duration and then automatically turn off.
6.3. ഡിസ്പ്ലേ ക്രമീകരണങ്ങൾ

Figure 3: The large LCD display showing the time.
The large LCD display shows the time, date, and radio information.
- Brightness Adjustment (Dimmer): അമർത്തുക OK / SNOOZE / DIMMER button repeatedly (when no alarm is active) to cycle through different brightness levels for the display. This allows for optimal visibility in various lighting conditions, including dimming for sleep comfort.
7. പരിപാലനം
- വൃത്തിയാക്കൽ: To clean the device, unplug it from the power source. Use a soft, dry, lint-free cloth to wipe the surfaces. Do not use abrasive cleaners, waxes, or solvents.
- സംഭരണം: If storing the radio for an extended period, ensure it is clean and dry. Store it in a cool, dry place away from direct sunlight and extreme temperatures.
8. പ്രശ്നപരിഹാരം
| പ്രശ്നം | സാധ്യമായ കാരണം | പരിഹാരം |
|---|---|---|
| ശക്തിയില്ല | പവർ കേബിൾ ശരിയായി ബന്ധിപ്പിച്ചിട്ടില്ല; പവർ ഔട്ട്ലെറ്റ് പ്രവർത്തിക്കുന്നില്ല. | പവർ കേബിൾ കണക്ഷൻ പരിശോധിക്കുക; മറ്റൊരു പവർ ഔട്ട്ലെറ്റ് പരീക്ഷിക്കുക. |
| മോശം റേഡിയോ സ്വീകരണം | ആന്റിന നീട്ടിയിട്ടില്ല; ദുർബലമായ സിഗ്നൽ ഏരിയ; ഇടപെടൽ. | Extend the antenna fully; Reposition the radio; Perform a full scan for stations. |
| അലാറം മുഴങ്ങുന്നില്ല | Alarm is not activated; Alarm volume is too low; Incorrect alarm time/frequency. | Ensure alarm is activated (icon visible); Increase alarm volume; Verify alarm settings. |
| Display is too dim/bright | Display brightness setting. | അമർത്തുക OK / SNOOZE / DIMMER തെളിച്ചം ക്രമീകരിക്കാനുള്ള ബട്ടൺ. |
| സ്പീക്കറിൽ നിന്ന് ശബ്ദമില്ല | Volume is too low; Headphones are connected. | Increase volume; Disconnect headphones. |
9 സ്പെസിഫിക്കേഷനുകൾ
| ഫീച്ചർ | സ്പെസിഫിക്കേഷൻ |
|---|---|
| ബ്രാൻഡ് | ടെക്നിസാറ്റ് |
| മോഡൽ നമ്പർ | 0000/3997 |
| നിറം | കറുപ്പ് |
| ഡിസ്പ്ലേ തരം | ഡിജിറ്റൽ എൽസിഡി |
| സ്ക്രീൻ വലിപ്പം | 22 മില്ലിമീറ്റർ |
| റേഡിയോ ട്യൂണർ | DAB+, FM (with RDS and PLL) |
| പ്രീസെറ്റുകൾ | 20 DAB+, 20 FM |
| ഓഡിയോ ഔട്ട്പുട്ട് | 1 വാട്ട് |
| കണക്ഷനുകൾ | USB-C (Power), Headphone Jack |
| പ്രത്യേക സവിശേഷതകൾ | Time and Date Display, Dual Alarm Timers, Radio/Buzzer Wake-up, Adjustable Alarm Rhythm, Snooze Function, Sleep Timer, Dimmable Display |
| പവർ ഉറവിടം | Electric Cable (USB Type-C 5V - 1A) |
| റീചാർജ് ചെയ്യാവുന്ന ബാറ്ററി | ഇല്ല |
| ഉൽപ്പന്ന അളവുകൾ (L x H) | 12.5 x 5 സെ.മീ |
| മെറ്റീരിയൽ | പ്ലാസ്റ്റിക് |
10. വാറൻ്റിയും പിന്തുണയും
For warranty information and customer support, please refer to the documentation provided with your purchase or visit the official TechniSat website. The availability of spare parts is typically guaranteed for 1 year from the date of purchase. For specific inquiries or technical assistance, please contact TechniSat customer service directly.