1. ആമുഖം
This manual provides essential instructions for the installation, operation, and maintenance of your new Generic Laptop Keyboard. This replacement keyboard is designed for Jumper EZBook 3 SE and EZBook 3 SL 13.3-inch models and features an Italian (IT) layout. Please read this manual thoroughly before proceeding with installation to ensure proper function and to prevent damage.
2 സുരക്ഷാ വിവരങ്ങൾ
- Always disconnect the laptop's power adapter and battery before performing any installation or maintenance.
- Use appropriate tools for installation to avoid damaging the keyboard or laptop components.
- Handle the keyboard by its edges to prevent damage to the keys or internal circuitry.
- കീബോർഡ് ദ്രാവകങ്ങളിൽ നിന്നും ഉയർന്ന താപനിലയിൽ നിന്നും അകറ്റി നിർത്തുക.
- ഏതെങ്കിലും ഘട്ടത്തെക്കുറിച്ച് നിങ്ങൾക്ക് ഉറപ്പില്ലെങ്കിൽ, പ്രൊഫഷണൽ സഹായം തേടുക.
3. പാക്കേജ് ഉള്ളടക്കം
നിങ്ങളുടെ പാക്കേജിൽ ഇനിപ്പറയുന്ന ഇനങ്ങൾ അടങ്ങിയിട്ടുണ്ടെന്ന് ദയവായി പരിശോധിക്കുക:
- 1 x Generic Laptop Keyboard (Italian Layout)
- (Additional tools or documentation may vary by seller)
4. സജ്ജീകരണവും ഇൻസ്റ്റാളേഷനും
Replacing a laptop keyboard typically involves disassembling parts of the laptop. Proceed with caution.
4.1. ഇൻസ്റ്റാളേഷന് മുമ്പുള്ള പരിശോധനകൾ
- Ensure the laptop is powered off and disconnected from all power sources.
- Remove the laptop battery if it is external.
- വൃത്തിയുള്ളതും സ്റ്റാറ്റിക് രഹിതവുമായ ഒരു വർക്ക്സ്പെയ്സ് തയ്യാറാക്കുക.
- Gather necessary tools, such as small screwdrivers and a plastic prying tool.
4.2. ഇൻസ്റ്റലേഷൻ ഘട്ടങ്ങൾ (പൊതു ഗൈഡ്)
- Access the old keyboard: Depending on your Jumper EZBook model, this may involve removing the bottom cover, battery, or other components to access the keyboard's retaining screws or clips. Some models require removing the top case.
- Disconnect the old keyboard: Carefully detach the ribbon cable(s) connecting the old keyboard to the motherboard. These usually have small latches that need to be gently flipped up.
- Remove the old keyboard: Once disconnected and all retaining mechanisms are released, carefully lift out the old keyboard.
- Install the new keyboard: Position the new Generic Laptop Keyboard into the keyboard bay. Ensure it sits flush.
- Connect the new keyboard: Carefully re-attach the ribbon cable(s) of the new keyboard to the motherboard connectors, ensuring the latches are securely closed.
- Reassemble the laptop: Reinstall any components, screws, or covers that were removed during disassembly.
- പവർ ഓണാക്കി ടെസ്റ്റ് ചെയ്യുക: Reconnect the battery and power adapter, then power on the laptop to test the new keyboard's functionality.
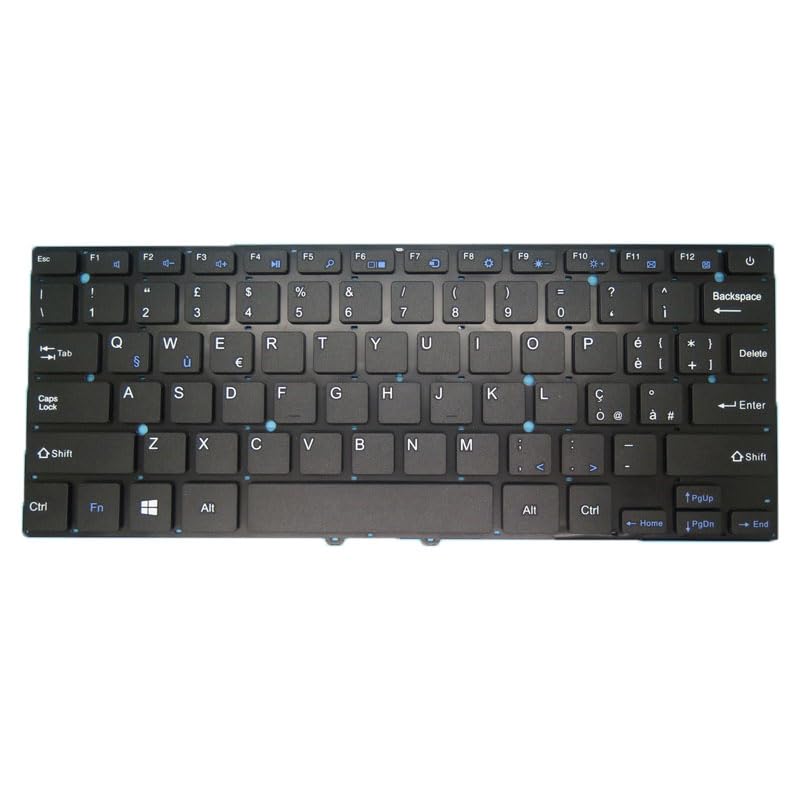
Image 1: Generic Laptop Keyboard (Italian Layout). This image shows the overall appearance of the replacement keyboard, highlighting its layout and key structure.
5. പ്രവർത്തന നിർദ്ദേശങ്ങൾ
Once installed, your new keyboard functions like the original. Below are general operating tips:
- സ്റ്റാൻഡേർഡ് ടൈപ്പിംഗ്: ടെക്സ്റ്റ് ഇൻപുട്ടിനായി ആൽഫാന്യൂമെറിക് കീകൾ ഉപയോഗിക്കുക.
- ഫംഗ്ഷൻ കീകൾ (Fn): The 'Fn' key, usually located near the bottom left, can be combined with the F1-F12 keys (and sometimes other keys) to activate special functions like volume control, screen brightness, Wi-Fi toggle, etc. Refer to your laptop's original manual for specific Fn key combinations.
- ഇറ്റാലിയൻ ലേഔട്ട്: This keyboard features an Italian (IT) layout, which includes specific characters and key placements for the Italian language. Ensure your operating system's keyboard language setting is configured to "Italian" for correct character input.
6. പരിപാലനം
Proper maintenance can extend the life of your keyboard.
- വൃത്തിയാക്കൽ: മൃദുവായ, ലിൻ്റ് രഹിത തുണി ഉപയോഗിക്കുകampened with water or a mild cleaning solution to wipe the keycaps. For dust and debris between keys, use compressed air. Avoid spraying liquids directly onto the keyboard.
- ചോർച്ച: In case of a liquid spill, immediately power off the laptop, disconnect it from power, and remove the battery. Turn the laptop upside down to drain liquid and allow it to dry completely before attempting to power it on again. Professional inspection is recommended after a significant spill.
- സംഭരണം: If the keyboard is not installed immediately, store it in its original packaging in a cool, dry place away from direct sunlight and extreme temperatures.
7. പ്രശ്നപരിഹാരം
If you encounter issues with your new keyboard, try the following troubleshooting steps:
- കീബോർഡ് പ്രതികരിക്കുന്നില്ല:
- Ensure the ribbon cable(s) are securely connected to the motherboard.
- നിങ്ങളുടെ ലാപ്ടോപ്പ് പുനരാരംഭിക്കുക.
- Check device manager in your operating system for keyboard drivers. Reinstall or update if necessary.
- Incorrect characters appearing:
- Verify that your operating system's keyboard language setting is set to "Italian (Italy)".
- Ensure no sticky keys or filter keys accessibility options are accidentally enabled.
- Certain keys not working:
- Gently press the non-functional key several times to dislodge any debris.
- If the issue persists, it might indicate a faulty connection or a defective key. Recheck the ribbon cable connection.
If these steps do not resolve the issue, contact customer support or a qualified technician.
8 സ്പെസിഫിക്കേഷനുകൾ
| ഫീച്ചർ | വിശദാംശങ്ങൾ |
|---|---|
| ഉൽപ്പന്ന തരം | Laptop Replacement Keyboard |
| അനുയോജ്യത | Jumper EZBook 3 SE, Jumper EZBook 3 SL (13.3 inch models) |
| ലേഔട്ട് | ഇറ്റാലിയൻ (ഐടി) |
| നിറം | കറുപ്പ് |
| മോഡൽ നമ്പർ | Laptop Parts-24-1-22-25 |
| ഉൽപ്പന്ന അളവുകൾ | 11.81 x 7.87 x 3.94 ഇഞ്ച് |
| ഇനത്തിൻ്റെ ഭാരം | 1.76 പൗണ്ട് |
| നിർമ്മാതാവ് | ജനറിക് |
9. വാറൻ്റിയും പിന്തുണയും
9.1. വാറൻ്റി വിവരങ്ങൾ
ഈ ഉൽപ്പന്നം എ 90 ദിവസത്തെ വാറൻ്റി from the date of purchase. This warranty covers manufacturing defects. It does not cover damage caused by improper installation, misuse, accidents, or unauthorized modifications.
വാറൻ്റി ക്ലെയിമുകൾക്കായി നിങ്ങളുടെ വാങ്ങിയതിൻ്റെ തെളിവ് സൂക്ഷിക്കുക.
9.2. ഉപഭോക്തൃ പിന്തുണ
For technical assistance, warranty claims, or any questions regarding your Generic Laptop Keyboard, please contact the seller or retailer from whom you purchased the product. They will be able to provide specific support and guidance.


