
1. ആമുഖം
This manual provides essential information for the proper use and maintenance of your Andoer Mini Digital Video Camera. Please read it thoroughly before operating the device to ensure optimal performance and longevity.
2. പാക്കേജ് ഉള്ളടക്കം
താഴെ ലിസ്റ്റ് ചെയ്തിരിക്കുന്ന എല്ലാ ഇനങ്ങളും നിങ്ങളുടെ പാക്കേജിൽ ഉൾപ്പെടുത്തിയിട്ടുണ്ടെന്ന് ഉറപ്പാക്കുക:
- Andoer Mini Digital Video Camera
- യുഎസ്ബി ചാർജിംഗ് കേബിൾ
- ഉപയോക്തൃ മാനുവൽ (ഈ പ്രമാണം)
Note: A Micro SD card is required for operation and is not included in the package.
3. ഉൽപ്പന്നം കഴിഞ്ഞുview
The Andoer Mini Digital Video Camera is a compact and lightweight device designed for capturing photos and 1080P videos. It features a built-in LCD screen for direct viewing and a flash for improved low-light performance.

Image: The Andoer Mini Digital Video Camera, demonstrating its small form factor when held in hand.
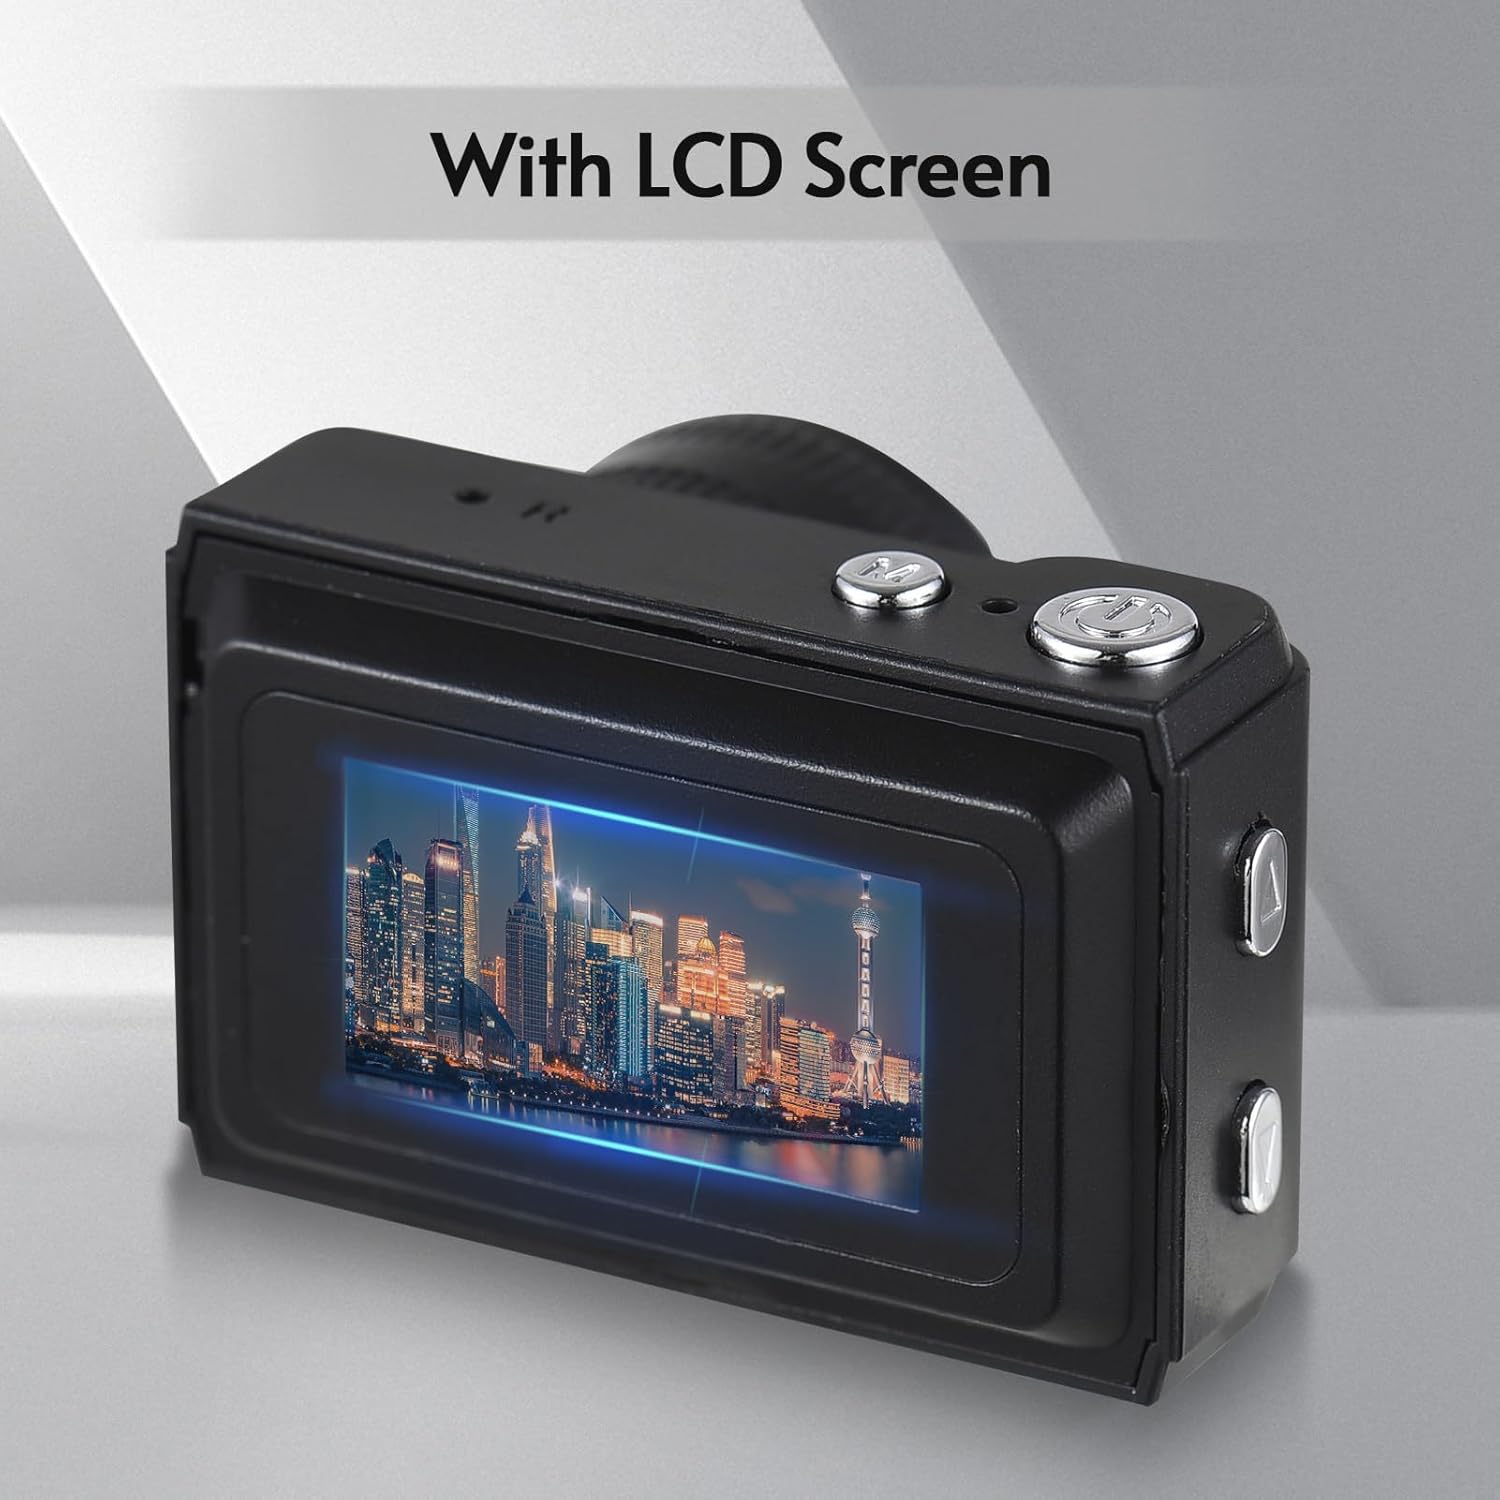
ചിത്രം: പിൻഭാഗം view of the camera, highlighting the integrated LCD screen displaying an image.

ചിത്രം: വശം view of the camera with approximate dimensions indicated, showing its compact design.
4. സജ്ജീകരണം
4.1 ബാറ്ററി ചാർജ് ചെയ്യുന്നു
The camera features a built-in rechargeable battery. Before first use, fully charge the camera using the provided USB charging cable.
- Connect the small end of the USB cable to the camera's USB port.
- USB കേബിളിന്റെ വലിയ അറ്റം ഒരു USB പവർ അഡാപ്റ്ററുമായി (ഉൾപ്പെടുത്തിയിട്ടില്ല) അല്ലെങ്കിൽ ഒരു കമ്പ്യൂട്ടറിന്റെ USB പോർട്ടുമായി ബന്ധിപ്പിക്കുക.
- ചാർജിംഗ് ഇൻഡിക്കേറ്റർ ലൈറ്റ് പ്രകാശിക്കും. പൂർണ്ണമായി ചാർജ് ചെയ്തുകഴിഞ്ഞാൽ, ലൈറ്റ് നിറം മാറുകയോ ഓഫാകുകയോ ചെയ്യാം.

Image: Illustration of the camera's built-in rechargeable battery and its USB charging interface.
4.2. ഒരു മൈക്രോ എസ്ഡി കാർഡ് ചേർക്കൽ
A Micro SD card (not included) is required to store photos and videos. The camera supports Micro SD cards up to a certain capacity (refer to specifications for details).
- ക്യാമറയിൽ മൈക്രോ എസ്ഡി കാർഡ് സ്ലോട്ട് കണ്ടെത്തുക.
- Insert the Micro SD card with the metal contacts facing down until it clicks into place.
- നീക്കം ചെയ്യാൻ, കാർഡ് പുറത്തേക്ക് വരുന്നത് വരെ സൌമ്യമായി അകത്തേക്ക് തള്ളുക.
5. പ്രവർത്തന നിർദ്ദേശങ്ങൾ
5.1. പവർ ഓൺ/ഓഫ്
Press and hold the Power button (usually located on the top or side) for a few seconds to turn the camera on or off.
5.2. ഫോട്ടോ എടുക്കൽ
The camera can capture still images with 1080P resolution.
- Ensure the camera is in photo mode (indicated on the LCD screen).
- എൽസിഡി സ്ക്രീൻ ഉപയോഗിച്ച് നിങ്ങളുടെ ഷോട്ട് ഫ്രെയിം ചെയ്യുക.
- Press the Shutter button (typically on top) to take a photo.
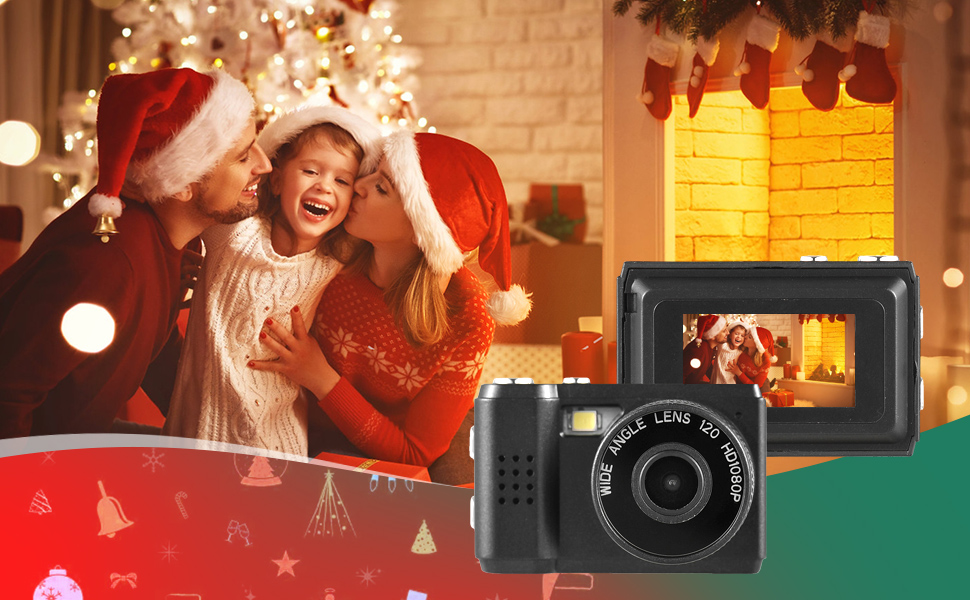
ചിത്രം: ഉദാamples of scenes that can be captured with the camera's photo and video functions.
5.3. വീഡിയോകൾ റെക്കോർഡുചെയ്യുന്നു
Record videos in 1080P resolution.
- Switch the camera to video recording mode.
- Press the Record button (often the same as the Shutter button, or a dedicated button) to start recording.
- റെക്കോർഡിംഗ് നിർത്താൻ വീണ്ടും റെക്കോർഡ് ബട്ടൺ അമർത്തുക.
5.4. ബിൽറ്റ്-ഇൻ ഫ്ലാഷ് ഉപയോഗിക്കുന്നു
The camera includes a built-in flash for illuminating subjects in low-light conditions.
- Access the flash settings through the camera's menu.
- Select the desired flash mode (e.g., Auto, On, Off).
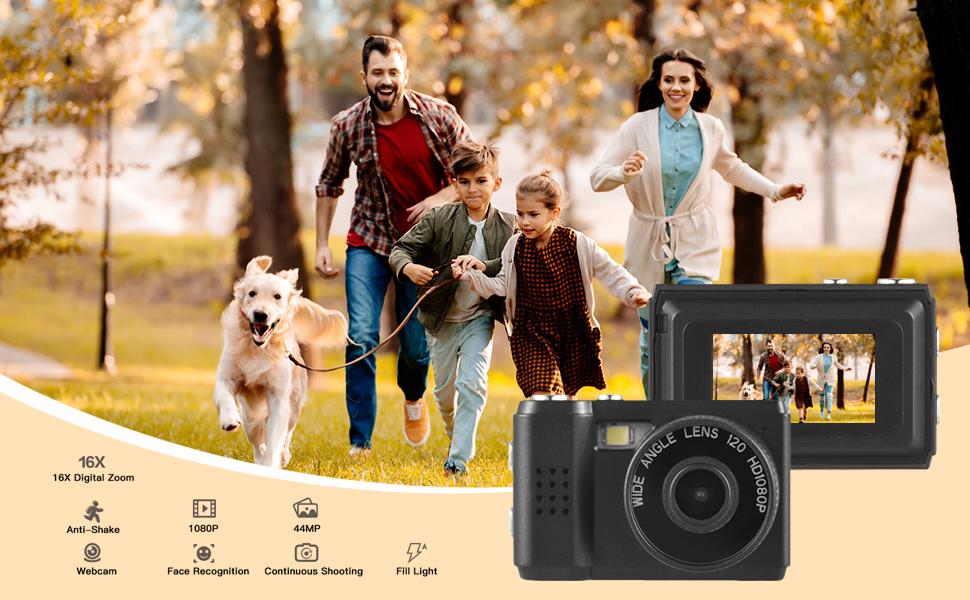
Image: The camera's built-in flash in operation, providing illumination for a photo.
5.5. Applying Filter Effects
The camera offers various filter effects to enhance your photos.
- In photo mode, navigate to the filter settings in the menu.
- Select from the available filter options to apply them to your images.
5.6. ഒരു കമ്പ്യൂട്ടറിലേക്ക് ബന്ധിപ്പിക്കുന്നു
You can transfer photos and videos to your computer using the USB cable.
- ക്യാമറ ഓണാണെന്ന് ഉറപ്പാക്കുക.
- യുഎസ്ബി കേബിൾ ഉപയോഗിച്ച് നിങ്ങളുടെ കമ്പ്യൂട്ടറിലേക്ക് ക്യാമറ ബന്ധിപ്പിക്കുക.
- The camera should appear as a removable disk drive on your computer.
- സംഭരിച്ചവ ആക്സസ് ചെയ്യുക files and copy them to your computer.
6. പരിപാലനം
- വൃത്തിയാക്കൽ: Use a soft, dry cloth to clean the camera body. For the lens and LCD screen, use a specialized lens cleaning cloth. Avoid abrasive materials or harsh chemicals.
- സംഭരണം: Store the camera in a cool, dry place away from direct sunlight and extreme temperatures. Remove the Micro SD card if storing for extended periods.
- ബാറ്ററി കെയർ: To maintain battery health, avoid fully discharging the battery frequently. Charge it regularly, even if not in use.
7. പ്രശ്നപരിഹാരം
- ക്യാമറ ഓണാക്കുന്നില്ല: Ensure the battery is charged. If the issue persists, try charging for a longer period.
- "No SD Card" error: Verify that a Micro SD card is properly inserted and that it is not full or corrupted. Try reinserting the card or using a different one.
- മോശം ഇമേജ്/വീഡിയോ ഗുണമേന്മ: Ensure adequate lighting. Check lens for smudges or dirt. Note that image quality may vary based on environmental conditions and the camera's compact sensor.
- ക്യാമറ മരവിക്കുന്നു: If the camera becomes unresponsive, try pressing and holding the Power button for an extended period (e.g., 10-15 seconds) to force a shutdown.
8 സ്പെസിഫിക്കേഷനുകൾ
| ഫീച്ചർ | സ്പെസിഫിക്കേഷൻ |
|---|---|
| ബ്രാൻഡ് | അൻഡോയർ |
| മോഡൽ നമ്പർ | d26ed34e-1e4d-4f4c-8a08-ff20d919aeaa |
| വീഡിയോ റെസല്യൂഷൻ | 1080p |
| ഫലപ്രദമായ സ്റ്റിൽ റെസല്യൂഷൻ | 1.92 എം.പി |
| ഫോട്ടോ സെൻസർ ടെക്നോളജി | CMOS |
| സ്ക്രീൻ വലിപ്പം | 4.2 Centimeters (LCD) |
| ഇമേജ് സ്റ്റെബിലൈസേഷൻ | ഒപ്റ്റിക്കൽ |
| ഫ്ലാഷ് മെമ്മറി തരം | മൈക്രോ എസ്.ഡി |
| റെക്കോർഡിംഗ് ശേഷി | 330 മിനിറ്റ് |
| കണക്റ്റിവിറ്റി ടെക്നോളജി | USB |
| ഇനത്തിൻ്റെ ഭാരം | 0.05 കിലോഗ്രാം |
| ബാറ്ററികൾ ഉൾപ്പെടുത്തിയിട്ടുണ്ട് | അതെ (ബിൽറ്റ്-ഇൻ) |
| നിറം | കറുപ്പ് |
9. വാറൻ്റിയും പിന്തുണയും
For warranty information and technical support, please refer to the documentation provided with your purchase or contact Andoer customer service through their official webസൈറ്റ്. വാറന്റി ക്ലെയിമുകൾക്കായി നിങ്ങളുടെ വാങ്ങലിന്റെ തെളിവ് സൂക്ഷിക്കുക.