
1. ആമുഖം
The EZVIZ H9C Dual-Lens Pan & Tilt Wi-Fi Camera is an advanced outdoor security solution designed to provide comprehensive surveillance with its innovative dual-lens technology. This manual provides detailed instructions for setting up, operating, and maintaining your camera to ensure optimal performance and security.

Figure 1: EZVIZ H9C Dual-Lens Pan & Tilt Wi-Fi Camera Overview
2. ബോക്സിൽ എന്താണുള്ളത്?
Carefully unpack the contents and ensure all items are present and in good condition. If any items are missing or damaged, please contact EZVIZ customer support.
- H9c ക്യാമറ
- ഡ്രിൽ ടെംപ്ലേറ്റ്
- സ്ക്രീൻ കിറ്റ്
- വാട്ടർപ്രൂഫ് കിറ്റ്
- പവർ അഡാപ്റ്റർ
- ദ്രുത ആരംഭ ഗൈഡ്
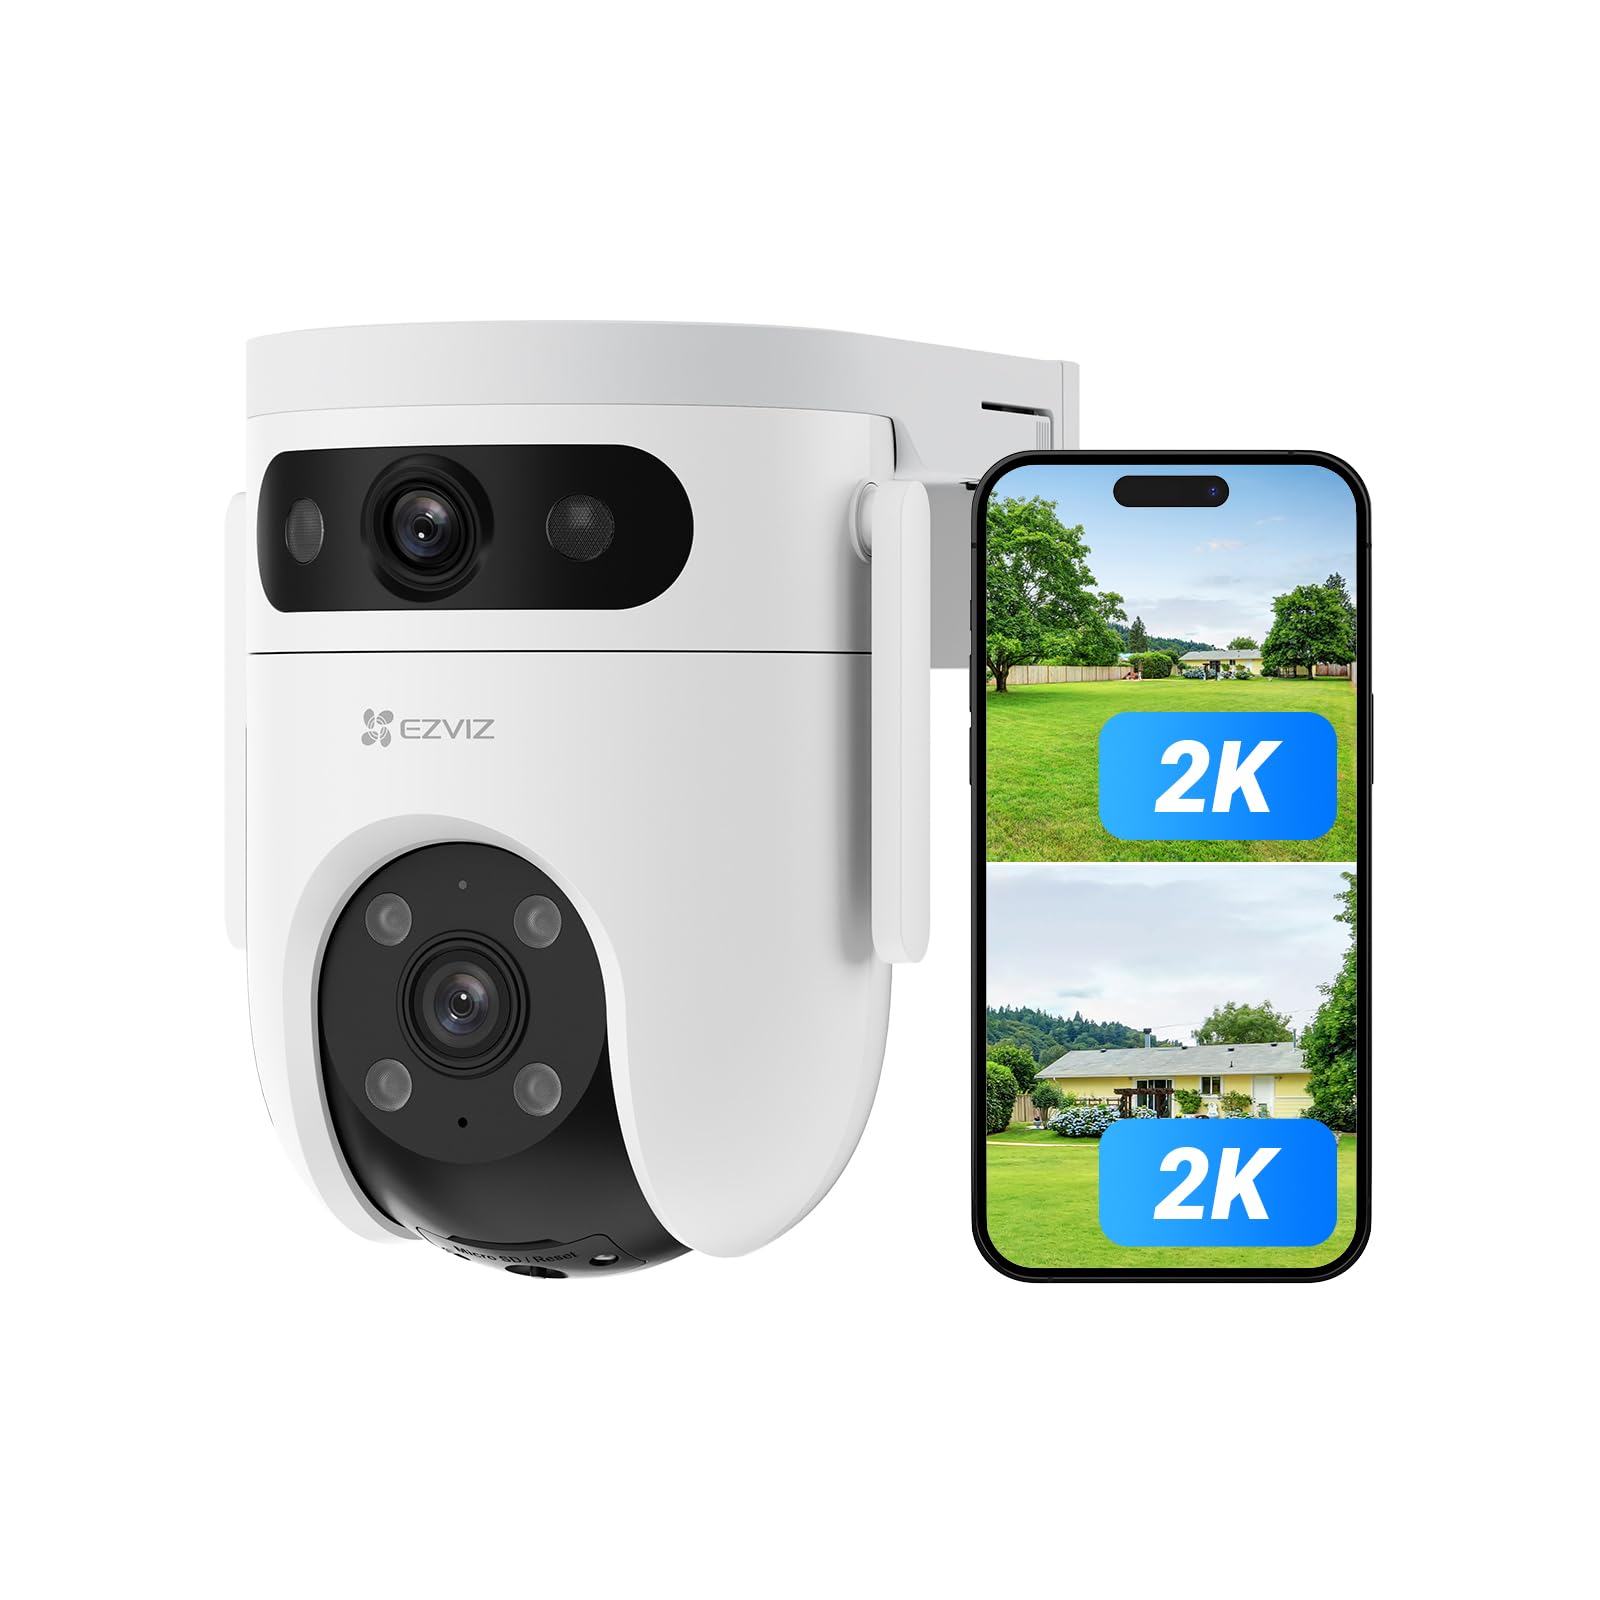
Figure 2: H9c Camera Unit

Figure 3: Weatherproof Kit

ചിത്രം 4: പവർ അഡാപ്റ്റർ

ചിത്രം 5: ക്വിക്ക് സ്റ്റാർട്ട് ഗൈഡ്
3. സജ്ജീകരണം
3.1 Initial Power-On and App Download
- പവർ അഡാപ്റ്റർ ക്യാമറയുമായി ബന്ധിപ്പിച്ച് ഒരു പവർ ഔട്ട്ലെറ്റിൽ പ്ലഗ് ചെയ്യുക.
- Wait for the camera's indicator light to flash blue, indicating it's ready for setup.
- Download the EZVIZ app from the App Store (iOS) or Google Play (Android).
3.2 Adding the Camera to the EZVIZ App
- Open the EZVIZ app and create an account or log in.
- Tap the '+' icon on the home screen to add a device.
- Scan the QR code located on the camera or on the Quick Start Guide.
- Follow the in-app instructions to connect the camera to your Wi-Fi network. Ensure your Wi-Fi signal is strong at the camera's installation location.

Figure 6: Ensuring stable Wi-Fi connection
3.3 മൈക്രോ എസ്ഡി കാർഡ് ഇൻസ്റ്റാളേഷൻ (ഓപ്ഷണൽ)
The H9C supports a microSD card up to 512GB for local storage.
- Rotate the camera lens upwards to reveal the microSD card slot and reset button.
- Insert the microSD card into the slot with the gold contacts facing down until it clicks into place.
- In the EZVIZ app, navigate to the camera settings and format the microSD card.

Figure 7: MicroSD card slot and reset button location
4. പ്രവർത്തന നിർദ്ദേശങ്ങൾ
4.1 Dual-Lens Operation and Linked View
The H9C features a wide-angle lens and a pan-and-tilt (PT) lens. These can operate independently or in a linked view.
- വൈഡ് ആംഗിൾ ലെൻസ്: വിശാലമായ ഒരു ഓവർ നൽകുന്നുview നിരീക്ഷിക്കപ്പെടുന്ന പ്രദേശത്തിന്റെ.
- പിടി ലെൻസ്: Offers detailed views and can pan and tilt to track movement.
- ലിങ്ക് ചെയ്തു View: When the wide-angle lens detects movement, the PT lens can automatically zoom in and track the subject. You can switch between views with a single tap in the app.

Figure 8: Dual-Lens Linked View in action

Figure 9: Switching between wide and close-up views
4.2 AI-Powered Human/Vehicle Detection
The camera utilizes AI to distinguish between human and vehicle shapes, reducing false alarms from environmental factors like falling leaves or insects.
- Receive smarter alerts directly to your mobile device.
- Customize detection zones and sensitivity settings within the EZVIZ app.

Figure 10: AI detection differentiating humans and vehicles
4.3 നൈറ്റ് വിഷൻ മോഡുകൾ
The H9C offers three night vision modes for clear visibility in low-light conditions:
- വർണ്ണ മോഡ്: Provides full-color night vision up to 40 meters using built-in spotlights.
- സ്മാർട്ട് മോഡ്: Automatically switches from black and white to color vision upon detection of human movement.
- Black & White Mode: Standard infrared night vision for discreet monitoring.

Figure 11: Night vision capabilities and modes
4.4 ടു-വേ ടോക്ക്
Communicate with visitors or deter intruders using the built-in microphone and speaker. Access this feature through the live view in the EZVIZ app.

Figure 12: Interacting via two-way talk
4.5 സജീവ പ്രതിരോധം
Upon detection of suspicious activity, the H9C can activate a loud siren and strobe lights to actively deter intruders. This feature can be configured in the app.

Figure 13: Active defense mechanism
5 മൗണ്ടിംഗ് ഓപ്ഷനുകൾ
The EZVIZ H9C camera offers versatile mounting options to suit various outdoor environments.
- വാൾ മൗണ്ട്: ക്യാമറ ഒരു ലംബ ഭിത്തി പ്രതലത്തിൽ സുരക്ഷിതമായി ഘടിപ്പിക്കുക.
- സീലിംഗ് മൗണ്ട്: Install the camera on a horizontal ceiling or overhang.
- പോൾ മൗണ്ട്: Utilize a separate pole mount accessory for installation on poles.
Always use the provided drill template and screw kit for secure installation. Ensure the camera is positioned to cover the desired area and has a clear line of sight to your Wi-Fi router.

Figure 14: Flexible mounting for different locations
6 സ്പെസിഫിക്കേഷനുകൾ
| ഫീച്ചർ | സ്പെസിഫിക്കേഷൻ |
|---|---|
| മോഡലിൻ്റെ പേര് | CS-H9c |
| റെസലൂഷൻ | Dual 3MP (1296P) |
| കണക്റ്റിവിറ്റി | വയർലെസ് (വൈ-ഫൈ) |
| ഇൻഡോർ/ഔട്ട്ഡോർ ഉപയോഗം | ഔട്ട്ഡോർ |
| പ്രത്യേക സവിശേഷതകൾ | Built-in Light, HD Resolution, Motion Sensor, Night Vision, PTZ Technology, Weatherproof |
| നൈറ്റ് വിഷൻ റേഞ്ച് | 40 മീറ്റർ വരെ (കളർ നൈറ്റ് വിഷൻ) |
| സംഭരണം | MicroSD Card (up to 512GB), CloudPlay Storage |
| ടു-വേ ടോക്ക് | അതെ |
| AI കണ്ടെത്തൽ | Human/Vehicle Shape Detection |
| കാലാവസ്ഥ പ്രതിരോധം | IP65 വാട്ടർപ്രൂഫ് റേറ്റിംഗ് |
| പവർ ഉറവിടം | കോർഡഡ് ഇലക്ട്രിക് (6 വാട്ട്സ്) |
| അളവുകൾ | 14.5 x 11.6 x 14.2 സെൻ്റീമീറ്റർ |
| ഭാരം | 668 ഗ്രാം |
| Viewing ആംഗിൾ | 360 ഡിഗ്രി (പാൻ & ടിൽറ്റ്) |
| ഒപ്റ്റിക്കൽ സൂം | 8x |
7. പ്രശ്നപരിഹാരം
7.1 ക്യാമറ ഓഫ്ലൈൻ
- ക്യാമറ ഓണാക്കിയിട്ടുണ്ടോ എന്നും പവർ അഡാപ്റ്റർ സുരക്ഷിതമായി ബന്ധിപ്പിച്ചിട്ടുണ്ടോ എന്നും പരിശോധിക്കുക.
- Verify your Wi-Fi network is active and the signal strength at the camera's location is adequate.
- നിങ്ങളുടെ വൈഫൈ റൂട്ടറും ക്യാമറയും പുനരാരംഭിക്കുക.
- If the issue persists, try resetting the camera using the reset button and re-adding it to the EZVIZ app.
7.2 മോശം വീഡിയോ നിലവാരം
- Ensure your internet connection speed meets the requirements for streaming HD video.
- ക്യാമറ ലെൻസുകൾ മൃദുവായതും ഉണങ്ങിയതുമായ തുണി ഉപയോഗിച്ച് വൃത്തിയാക്കുക.
- Adjust the video quality settings in the EZVIZ app if your network bandwidth is limited.
7.3 മോഷൻ ഡിറ്റക്ഷൻ പ്രവർത്തിക്കുന്നില്ല
- Check the motion detection settings in the EZVIZ app to ensure it's enabled and configured correctly.
- Verify that detection zones are properly set and sensitivity levels are appropriate for your environment.
- ക്യാമറകൾക്ക് തടസ്സങ്ങളൊന്നുമില്ലെന്ന് ഉറപ്പാക്കുക. view.
7.4 Pan/Tilt Functionality Issues
- Ensure the camera is securely mounted and there are no physical obstructions preventing movement.
- Check for any firmware updates for the camera in the EZVIZ app.
- If the camera makes unusual sounds during rotation, contact customer support.
8. വാറൻ്റിയും പിന്തുണയും
Your EZVIZ H9C camera comes with a standard manufacturer's warranty. For specific warranty terms and conditions, please refer to the warranty card included with your product or visit the official EZVIZ webസൈറ്റ്.
8.1 ഉപഭോക്തൃ പിന്തുണ
For technical assistance, troubleshooting, or warranty claims, please contact EZVIZ customer support:
- നിർമ്മാതാവ്: EZVIZ, Hangzhou Ezviz Network Co. Ltd., Hangzhou, Zhejiang, China
- Importer/Service Contact (India): Prama Hikvision India Pvt. Ltd.; rma@pramahikvision.com
- Visit the official EZVIZ webപതിവുചോദ്യങ്ങൾക്കും അധിക ഉറവിടങ്ങൾക്കുമുള്ള സൈറ്റ്.