
1. ആമുഖം
This manual provides essential instructions for the safe and effective operation, setup, and maintenance of your ARCCAPTAIN 185A 3-in-1 Welding Machine. This versatile unit supports Flux Core MIG, Lift TIG, and Stick (MMA) welding processes, operating on a 110V power supply. Please read this manual thoroughly before using the welder to ensure proper function and safety.
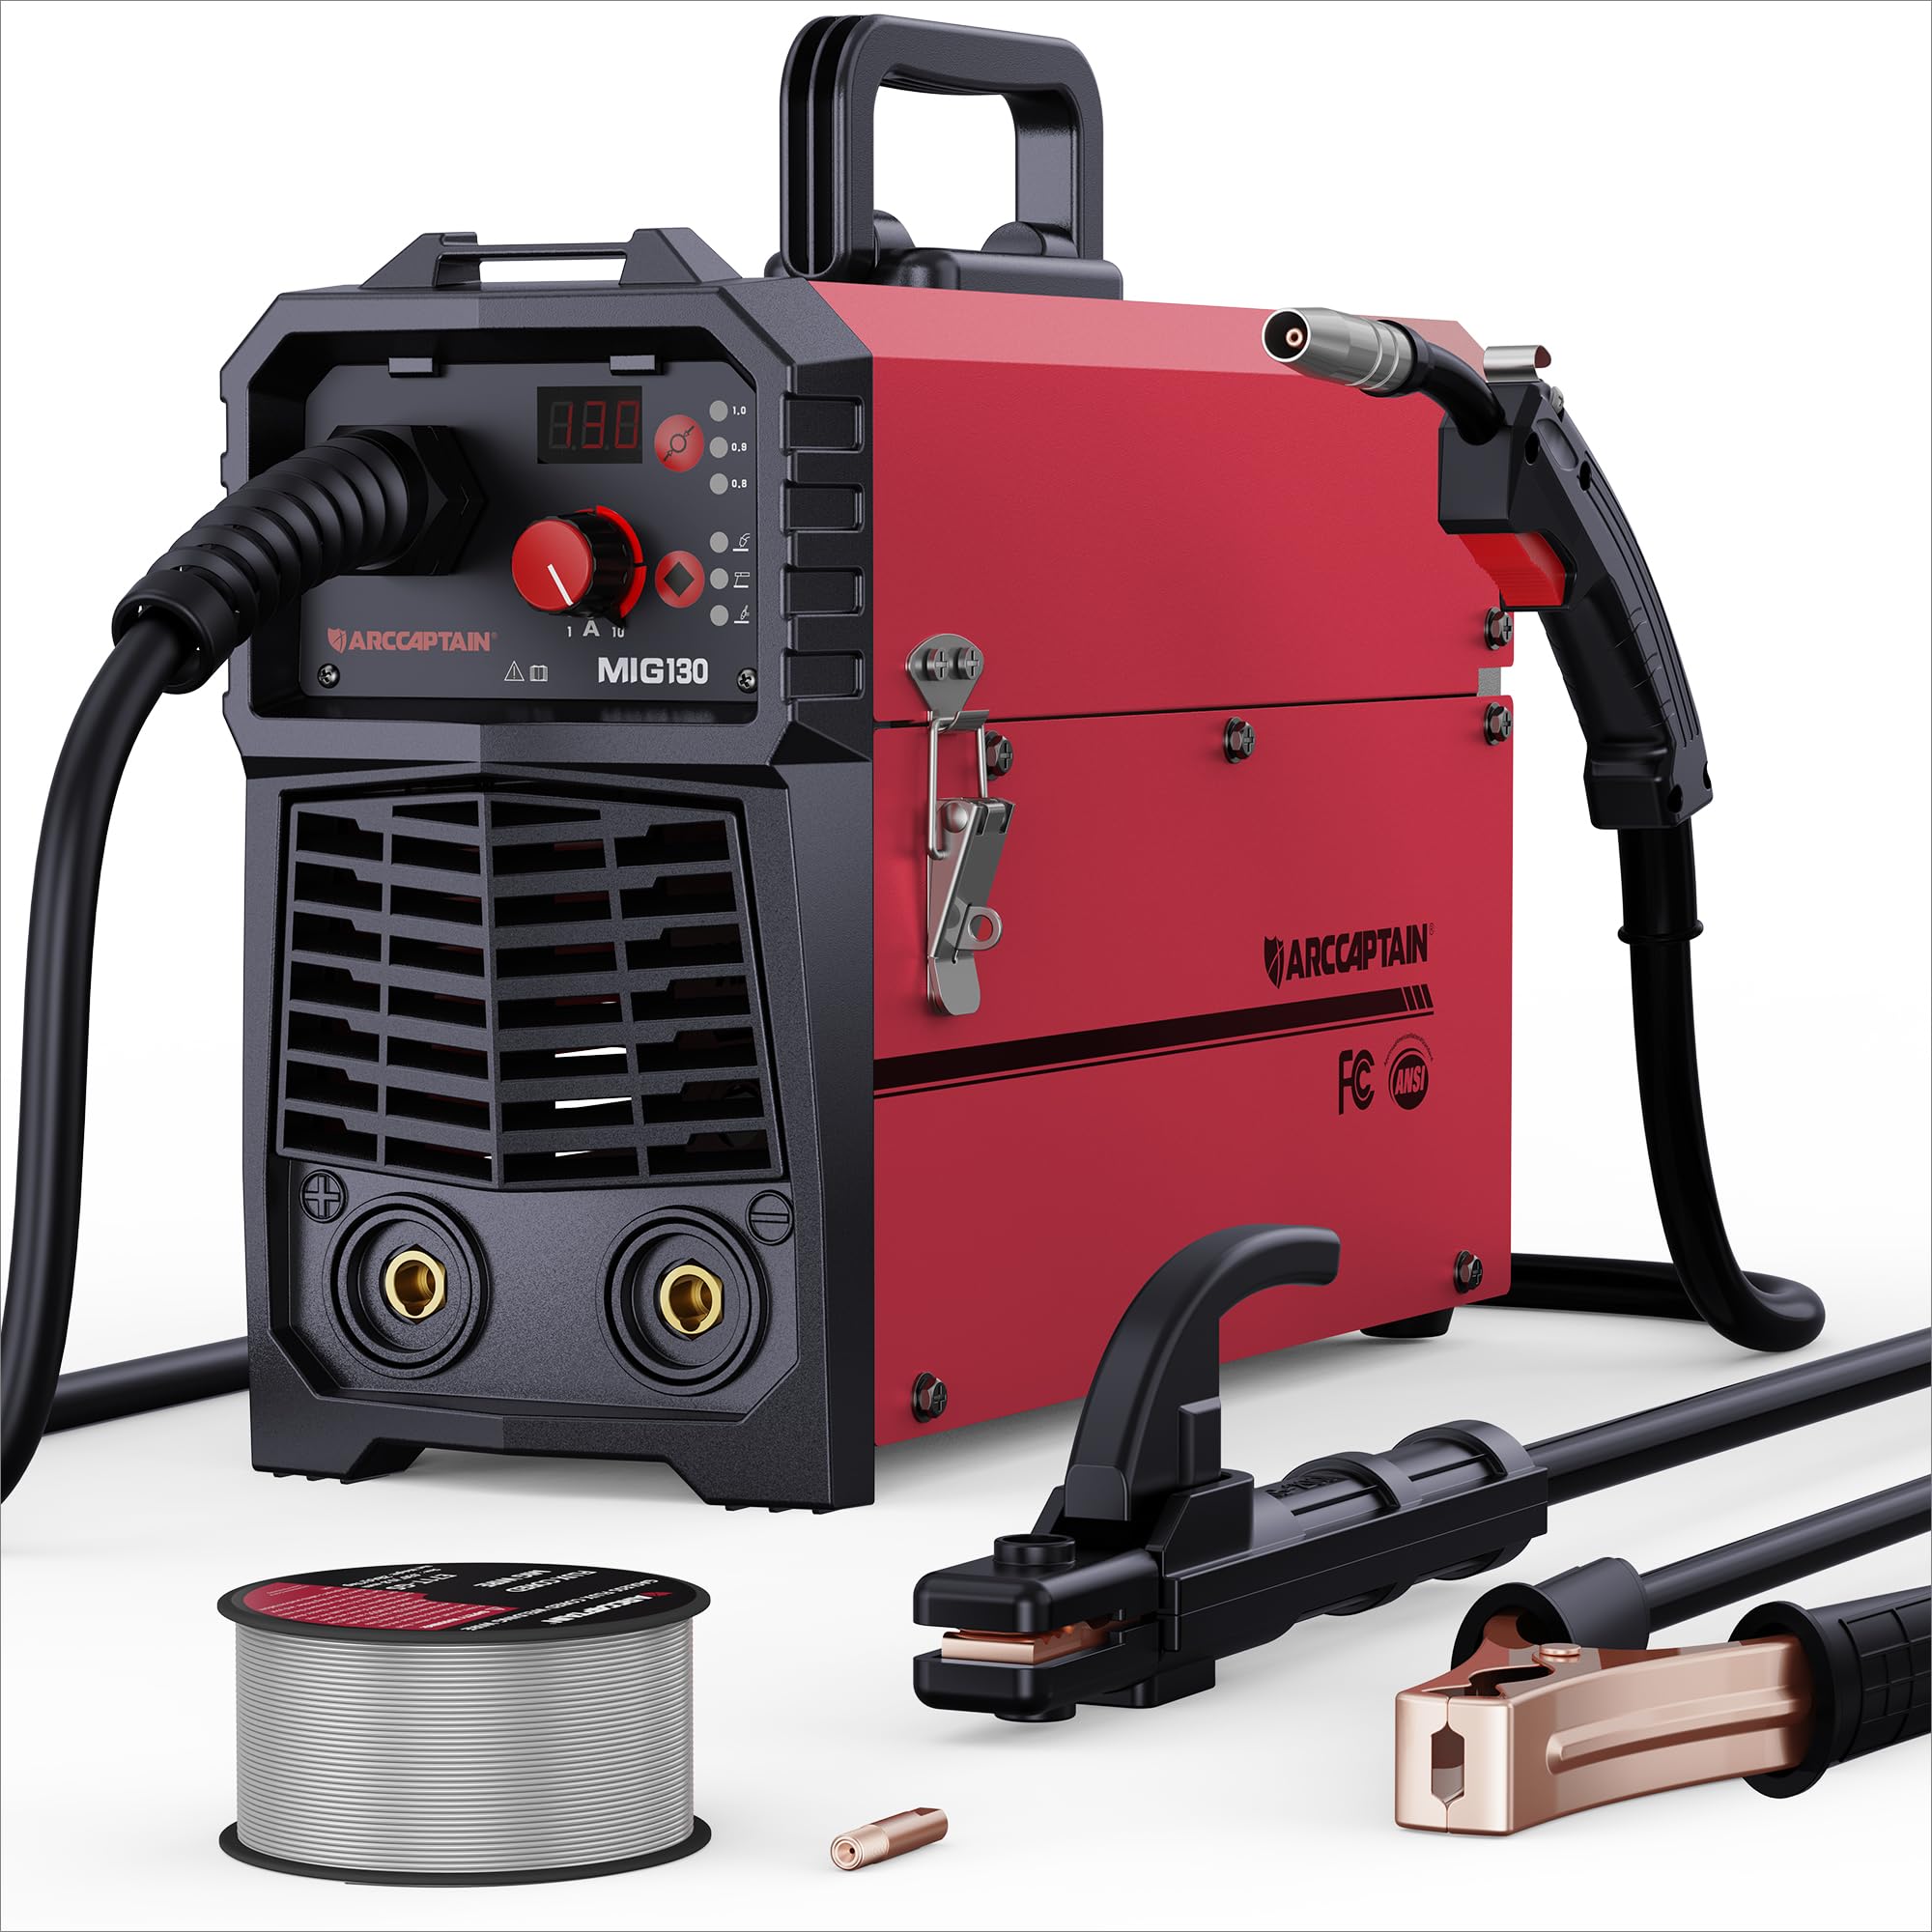
Figure 1: ARCCAPTAIN 185A 3-in-1 Welding Machine. This image displays the compact design of the welder, highlighting its control panel and connection points.
2 സുരക്ഷാ വിവരങ്ങൾ
Welding operations involve significant risks. Always adhere to the following safety precautions to prevent injury or damage.
- വൈദ്യുതാഘാതം: Welding current can cause fatal electric shock. Ensure proper grounding, wear dry gloves, and inspect cables for damage. Never touch live electrical parts.
- പുകയും വാതകങ്ങളും: Welding fumes and gases can be hazardous to your health. Work in a well-ventilated area or use an approved respirator. Keep your head out of the fumes.
- ആർക്ക് കിരണങ്ങൾ: Arc rays can burn eyes and skin. Always wear a welding helmet with appropriate shade, safety glasses, and protective clothing (long sleeves, heavy gloves).
- തീയും സ്ഫോടനവും: വെൽഡിംഗ് സ്പാർക്കുകൾ, ചൂടുള്ള ലോഹം എന്നിവ തീപിടുത്തത്തിന് കാരണമാകും. വെൽഡിംഗ് സ്ഥലത്ത് നിന്ന് കത്തുന്ന വസ്തുക്കൾ മാറ്റി വയ്ക്കുക. ഒരു അഗ്നിശമന ഉപകരണം എപ്പോഴും ലഭ്യമാക്കുക.
- ചൂടുള്ള ഭാഗങ്ങൾ: Welded materials and equipment can remain hot for extended periods. Use insulated gloves and allow parts to cool before handling.
- ശബ്ദം: Excessive noise can damage hearing. Wear ear protection if noise levels are high.
- Pace Makers: Magnetic fields from high currents can affect pacemakers. Consult your doctor before welding.
3. പാക്കേജ് ഉള്ളടക്കം
താഴെ കൊടുത്തിരിക്കുന്ന എല്ലാ ഇനങ്ങളും നിങ്ങളുടെ പാക്കേജിൽ ഉണ്ടെന്ന് ഉറപ്പാക്കുക:
- ARCCAPTAIN 185A Welding Machine
- MIG ടോർച്ച്
- ഗ്രൗണ്ട് Clamp കേബിൾ ഉപയോഗിച്ച്
- Electrode Holder (Stick) with Cable
- Flux Core Wire Spool (e.g., 2 lb .030" flux core wire)
- Contact Tips (e.g., spare .030" and .035" tips)
- ഷോൾഡർ സ്ട്രാപ്പ്
- ഉപയോക്തൃ മാനുവൽ (ഈ പ്രമാണം)
4. സജ്ജീകരണം
4.1 പവർ കണക്ഷൻ
Connect the welder to a dedicated 110V AC power outlet. Ensure the circuit can handle the machine's maximum amperage (185A). Use an appropriate extension cord if necessary, ensuring it is rated for the required current and voltage.
4.2 Wire Installation (MIG/Flux Core)
- വയർ ഫീഡർ കമ്പാർട്ട്മെന്റ് തുറക്കുക.
- വയർ സ്പൂൾ സ്പൂൾ ഹോൾഡറിൽ വയ്ക്കുക, അത് സ്വതന്ത്രമായി കറങ്ങുന്നുവെന്ന് ഉറപ്പാക്കുക.
- Feed the wire through the guide tube and into the drive roller mechanism.
- Close the drive roller tension arm, adjusting tension as needed (too loose will cause slipping, too tight will deform wire).
- Remove the contact tip from the MIG torch.
- With the welder powered on and in MIG mode, press the wire feed button (or trigger the torch) to feed the wire through the torch liner until it exits the torch nozzle.
- Reinstall the correct size contact tip for your wire diameter.
4.3 ഗ്രൗണ്ട് Clamp കണക്ഷൻ
ഗ്രൗണ്ട് cl കണക്ട് ചെയ്യുകamp cable to the appropriate terminal on the welder (usually marked with a ground symbol or "-"). Securely attach the ground clamp to the workpiece or a clean, bare metal portion of the work table. A good ground connection is critical for stable arc and weld quality.
4.4 Torch/Electrode Holder Connection
- MIG ടോർച്ച്: Connect the MIG torch cable to the designated MIG connector on the front panel. Ensure it is securely tightened.
- Stick Electrode Holder: For Stick welding, connect the electrode holder cable to the positive (+) terminal and the ground clamp to the negative (-) terminal for most common electrodes (DCEN). Consult electrode manufacturer specifications for polarity.
- Lift TIG Torch: For Lift TIG, a separate TIG torch (not included) is required. Connect the TIG torch to the negative (-) terminal and the ground clamp to the positive (+) terminal (DCEP) for most applications.
5. ഓപ്പറേഷൻ
Before operating, ensure all safety precautions are followed and appropriate personal protective equipment (PPE) is worn.
5.1 കൺട്രോൾ പാനൽ ഓവർview
The control panel typically features a mode selection button, current/voltage adjustment knobs, and a digital display. Refer to the specific layout on your machine for exact button functions.
5.2 MIG Welding (Flux Core)
- Select MIG mode on the control panel.
- Set the wire diameter and material type if your machine has this feature. The welder may automatically suggest initial settings.
- വോളിയം ക്രമീകരിക്കുകtage and wire feed speed according to the material thickness and wire type. Start with recommended settings and fine-tune as needed.
- Position the MIG torch at the start of the weld joint, maintaining a consistent stick-out.
- Press the torch trigger to initiate the arc and begin welding. Maintain a steady travel speed and torch angle.
- വെൽഡിംഗ് നിർത്താൻ ട്രിഗർ റിലീസ് ചെയ്യുക.
5.3 ലിഫ്റ്റ് ടിഐജി വെൽഡിംഗ്
Note: A TIG torch and appropriate consumables (tungsten electrode, gas lens, collet) are required and sold separately.
- ലിഫ്റ്റ് ടിഐജി മോഡ് തിരഞ്ഞെടുക്കുക.
- TIG ടോർച്ചും ഗ്രൗണ്ട് cl ഉം ബന്ധിപ്പിക്കുകamp ശരിയായ ധ്രുവതയോടെ.
- ആവശ്യമുള്ളത് സജ്ജമാക്കുക amperage for your material thickness.
- Gently touch the tungsten electrode to the workpiece to establish a circuit, then lift it slightly to initiate the arc.
- സ്ഥിരമായ ഒരു ആർക്ക് നീളവും യാത്രാ വേഗതയും നിലനിർത്തുക.
5.4 സ്റ്റിക്ക് (എംഎംഎ) വെൽഡിംഗ്
- Select Stick (MMA) mode.
- Connect the electrode holder and ground clamp with correct polarity for your chosen electrode type.
- Insert the electrode into the holder.
- സജ്ജമാക്കുക amperage based on the electrode diameter and material thickness.
- Strike the electrode against the workpiece to initiate the arc, then maintain a consistent arc length and travel speed.
6. പരിപാലനം
Regular maintenance ensures optimal performance and extends the lifespan of your welding machine.
- വൃത്തിയാക്കൽ: Periodically clean the interior of the machine using dry compressed air to remove dust and metal particles. Ensure the machine is unplugged before cleaning.
- കേബിൾ പരിശോധന: Regularly inspect all welding cables, torch, and ground clamp for cuts, fraying, or loose connections. Replace damaged components immediately.
- ഉപഭോഗവസ്തുക്കൾ: Replace MIG contact tips, nozzles, and TIG tungstens/collets as they wear out. Ensure the correct size and type are used.
- വയർ ഫീഡർ: Clean the drive rollers and wire guide tubes to prevent wire feeding issues. Check drive roller tension.
- സംഭരണം: Store the welder in a clean, dry environment, protected from dust and moisture.
7. പ്രശ്നപരിഹാരം
പൊതുവായ പ്രശ്നങ്ങളും അവയുടെ സാധ്യമായ പരിഹാരങ്ങളും അറിയാൻ താഴെയുള്ള പട്ടിക കാണുക.
| പ്രശ്നം | സാധ്യമായ കാരണം | പരിഹാരം |
|---|---|---|
| യന്ത്രത്തിന് വൈദ്യുതിയില്ല | Power switch off, circuit breaker tripped, loose power cord | Turn on switch, reset breaker, check power cord connection |
| ആർക്ക് ഇല്ല | Poor ground connection, incorrect settings, damaged torch/electrode holder, wrong polarity | Ensure clean ground connection, verify settings, inspect cables, check polarity |
| Poor weld quality (porosity, spatter) | Incorrect settings (voltage/WFS/amperage), dirty workpiece, worn consumables, improper technique | Adjust settings, clean workpiece, replace consumables, refine welding technique |
| വയർ ഫീഡിംഗ് പ്രശ്നങ്ങൾ (MIG) | Incorrect drive roller tension, clogged liner, wrong contact tip size, tangled wire spool | Adjust tension, clean/replace liner, use correct tip, untangle wire |
| Overheating/Thermal overload | Exceeding duty cycle, insufficient ventilation | Allow machine to cool, ensure adequate airflow around the unit |
8 സ്പെസിഫിക്കേഷനുകൾ
Key technical specifications for the ARCCAPTAIN 185A Welding Machine:
- മോഡൽ: മിഗ് വെൽഡർ
- ഇൻപുട്ട് വോളിയംtage: 110V എസി
- ഔട്ട്പുട്ട് കറൻ്റ്: 185A (പരമാവധി)
- വെൽഡിംഗ് പ്രക്രിയകൾ: Flux Core MIG, Lift TIG, Stick (MMA)
- നിർമ്മാതാവ്: ARCCAPTAIN
- പാഴ്സൽ അളവുകൾ: 52.83 x 31.62 x 22.86 സെ.മീ
- ഇനത്തിൻ്റെ ഭാരം: 3.18 കി.ഗ്രാം
- ASIN: B0DF7XT858
9. വാറൻ്റിയും പിന്തുണയും
For warranty information, technical support, or service inquiries, please contact ARCCAPTAIN customer service. Details can typically be found on the official ARCCAPTAIN website or through your purchase documentation. Please have your model number (Mig Welder) and ASIN (B0DF7XT858) ready when contacting support.
You can visit the ARCCAPTAIN store for more information: ARCCAPTAIN Store