
ആമുഖം
Thank you for choosing the WELLFOR NK Faucet Bathroom Waterfall Faucet. This manual provides essential information for the safe installation, operation, and maintenance of your new faucet. Please read these instructions thoroughly before installation and keep them for future reference.
സുരക്ഷാ വിവരങ്ങൾ
- ടാപ്പ് സ്ഥാപിക്കുന്നതിനോ അറ്റകുറ്റപ്പണികൾ നടത്തുന്നതിനോ മുമ്പ് എല്ലായ്പ്പോഴും പ്രധാന ജലവിതരണം ഓഫ് ചെയ്യുക.
- ഇൻസ്റ്റാളേഷൻ സമയത്ത് സുരക്ഷാ ഗ്ലാസുകൾ പോലുള്ള ഉചിതമായ വ്യക്തിഗത സംരക്ഷണ ഉപകരണങ്ങൾ ധരിക്കുക.
- ചോർച്ച തടയാൻ എല്ലാ കണക്ഷനുകളും സുരക്ഷിതമാണെന്ന് ഉറപ്പാക്കുക.
- ഇൻസ്റ്റലേഷൻ പ്രക്രിയയുടെ ഏതെങ്കിലും ഭാഗത്തെക്കുറിച്ച് നിങ്ങൾക്ക് ഉറപ്പില്ലെങ്കിൽ, യോഗ്യതയുള്ള ഒരു പ്ലംബറെ സമീപിക്കുക.
- This product is designed for bathroom sink use only.
പാക്കേജ് ഉള്ളടക്കം
ഇൻസ്റ്റാളേഷൻ ആരംഭിക്കുന്നതിന് മുമ്പ് എല്ലാ ഘടകങ്ങളും നിലവിലുണ്ടെന്ന് ഉറപ്പാക്കുക:
- WELLFOR NK Faucet (Main Body)
- സിംഗിൾ ഹാൻഡിൽ
- ഡെക്ക് പ്ലേറ്റ്
- പോപ്പ്-അപ്പ് ഡ്രെയിൻ അസംബ്ലി
- മൌണ്ടിംഗ് ഹാർഡ്വെയർ
- Hot and Cold Water Supply Lines
സജ്ജീകരണവും ഇൻസ്റ്റാളേഷനും
The WELLFOR NK Faucet is designed for easy deck-mount, vessel installation. Follow these general steps for installation. Specific details may vary based on your sink and plumbing setup.
- സിങ്ക് തയ്യാറാക്കുക: Ensure the sink hole is clean and appropriately sized for the faucet. If using a deck plate, place it over the sink hole.
- ഫൗസെറ്റ് മൌണ്ട് ചെയ്യുക: Insert the faucet body through the sink hole (and deck plate, if used). From underneath the sink, secure the faucet with the provided washer and mounting nut. Tighten firmly but do not overtighten.
- ജലവിതരണ ലൈനുകൾ ബന്ധിപ്പിക്കുക: Attach the hot and cold water supply lines to the corresponding inlets on the faucet body. Connect the other ends to your hot and cold water supply valves. Ensure all connections are hand-tight, then use a wrench for a final quarter-turn.
- പോപ്പ്-അപ്പ് ഡ്രെയിൻ ഇൻസ്റ്റാൾ ചെയ്യുക: Follow the instructions provided with the pop-up drain assembly to install it into your sink's drain opening. Connect the drain linkage (if applicable) to the faucet.
- ചോർച്ചയ്ക്കുള്ള പരിശോധന: Slowly turn on the main water supply. Check all connections for leaks. If leaks occur, tighten the connections further.

ചിത്രം 1: Technical diagram showing the dimensions of the WELLFOR NK Faucet, including spout height (10.03 inches), spout reach (4.92 inches), and base measurements. This diagram is essential for planning installation and ensuring compatibility with your sink.
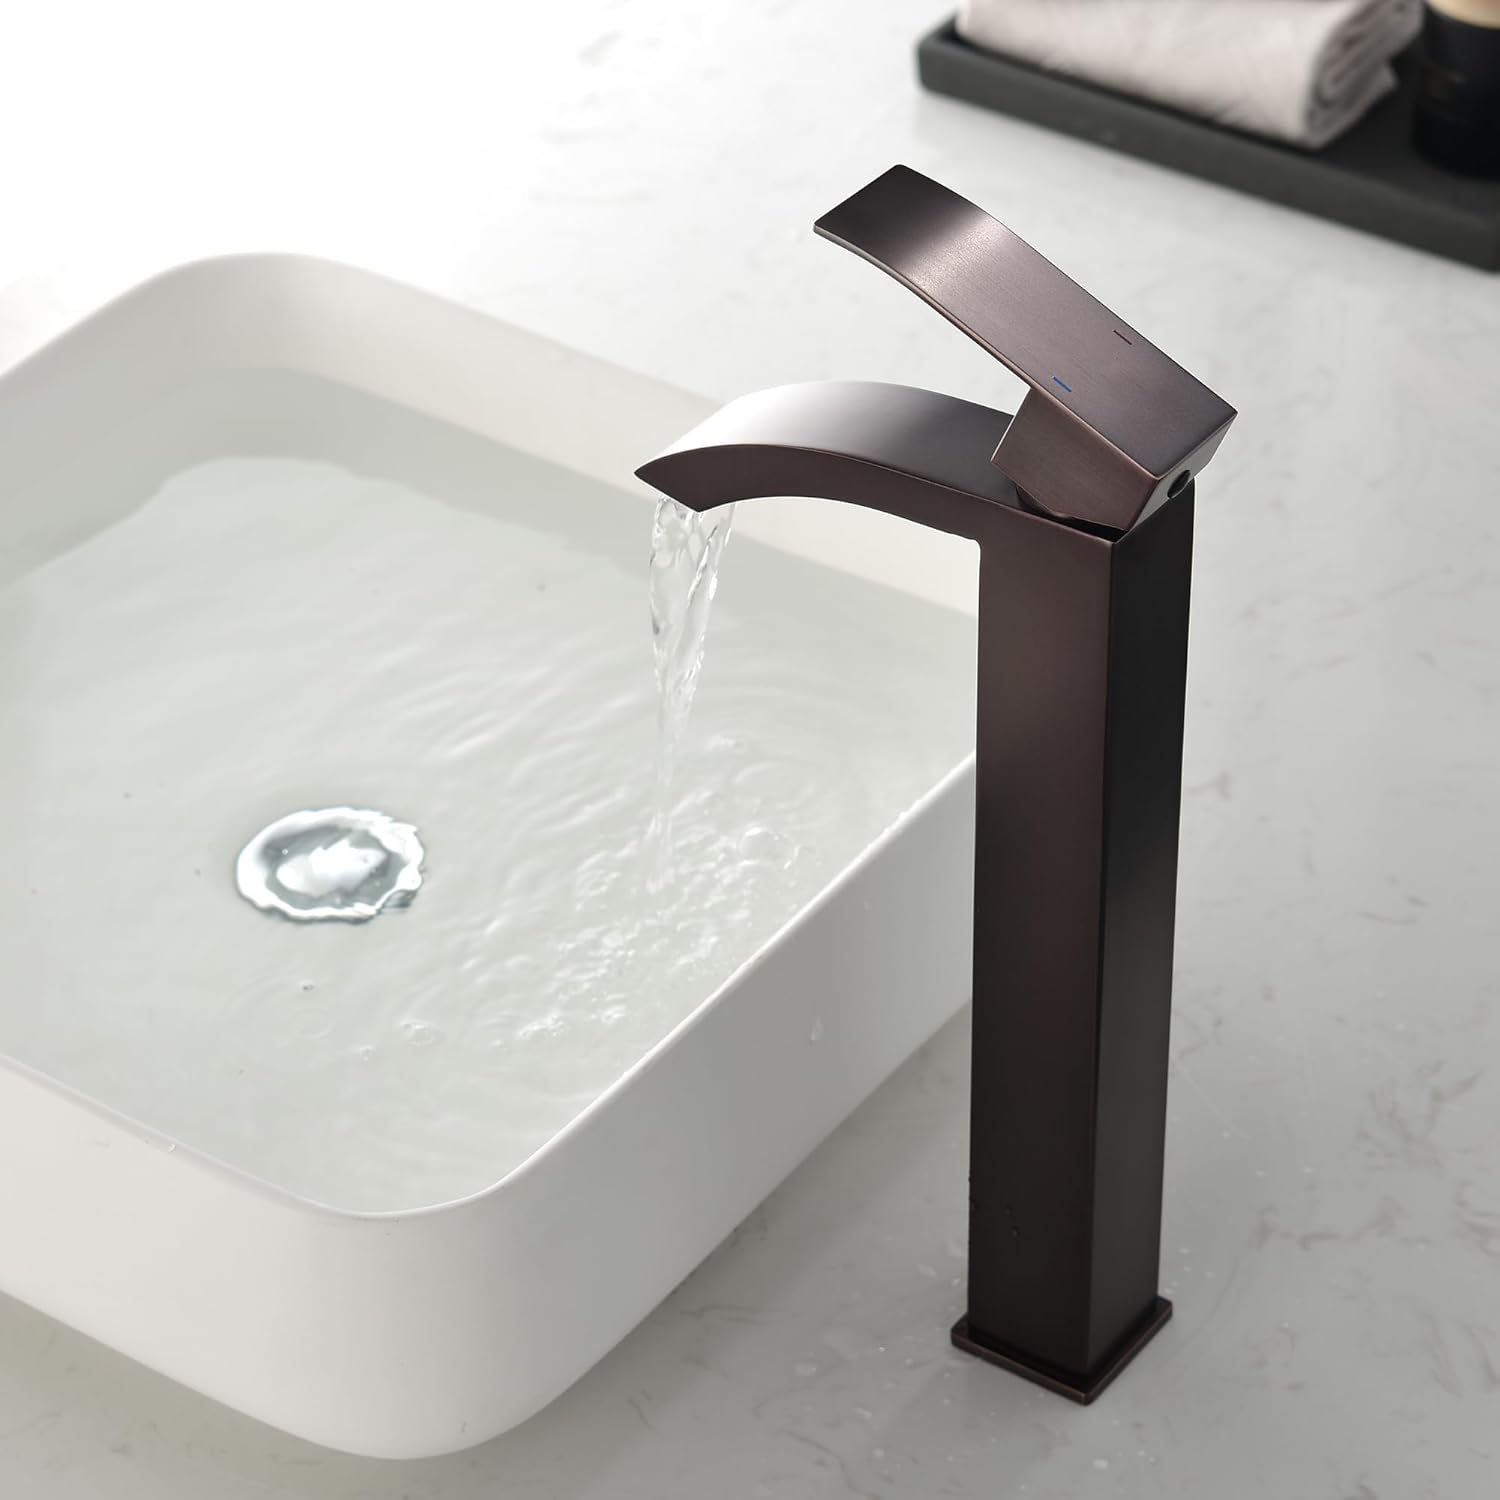
ചിത്രം 2: Image of the WELLFOR waterfall faucet installed on a bathroom sink, with water flowing into the basin. This illustrates the faucet's appearance and water delivery in a typical setup.
പ്രവർത്തന നിർദ്ദേശങ്ങൾ
The WELLFOR NK Faucet features a single handle for controlling both water temperature and flow.
- ജലപ്രവാഹം: Lift the handle upwards to turn on the water and increase flow. Push the handle downwards to decrease flow and turn off the water.
- ജലത്തിൻ്റെ താപനില: ചൂടുവെള്ളത്തിന് ഹാൻഡിൽ ഇടത്തോട്ടും തണുത്ത വെള്ളത്തിന് വലത്തോട്ടും നീക്കുക. ആവശ്യമുള്ള ജല താപനില കൈവരിക്കുന്നതിന് ഹാൻഡിൽ സ്ഥാനം ഇടത്തോട്ടും വലത്തോട്ടും ക്രമീകരിക്കുക.
- Waterfall Spout: The faucet delivers a clear and steady laminar waterfall stream, enhancing the aesthetic and user experience.

ചിത്രം 3: A hand adjusting the single handle of the WELLFOR faucet, demonstrating how to control water flow and temperature.

ചിത്രം 4: Hands placed under the flowing waterfall stream from the faucet, illustrating the water delivery pattern.
മെയിൻ്റനൻസ്
Regular cleaning and maintenance will ensure the longevity and optimal performance of your WELLFOR faucet.
- വൃത്തിയാക്കൽ: Clean the faucet regularly with a soft cloth and mild soap. Avoid abrasive cleaners, harsh chemicals, or scouring pads, as these can damage the oil rubbed bronze finish.
- ജലാശയങ്ങൾ: To prevent water spots, wipe the faucet dry after each use.
- Aerator (if applicable): Periodically check and clean the aerator (if present) to remove any mineral buildup that might affect water flow.
ട്രബിൾഷൂട്ടിംഗ്
നിങ്ങളുടെ പൈപ്പിൽ പ്രശ്നങ്ങൾ നേരിടുകയാണെങ്കിൽ, താഴെ പറയുന്ന പൊതുവായ പ്രശ്നങ്ങളും പരിഹാരങ്ങളും പരിശോധിക്കുക:
- കുറഞ്ഞ ജലപ്രവാഹം:
- ജലവിതരണ വാൽവുകൾ പൂർണ്ണമായും തുറന്നിട്ടുണ്ടോയെന്ന് പരിശോധിക്കുക.
- Inspect the supply lines for kinks or obstructions.
- Clean the aerator (if applicable) for mineral buildup.
- Leaks from Faucet Base:
- Ensure the mounting nut under the sink is securely tightened.
- Check the O-rings and gaskets for proper seating and damage.
- Leaks from Handle:
- This may indicate an issue with the internal cartridge. Contact customer support for assistance.
- ചൂടുവെള്ളമോ തണുത്ത വെള്ളമോ വേണ്ട:
- Verify that the hot/cold water supply valves are open.
- Check if the hot/cold supply lines are correctly connected to the faucet.
സ്പെസിഫിക്കേഷനുകൾ
| ഫീച്ചർ | വിശദാംശങ്ങൾ |
|---|---|
| ബ്രാൻഡ് | വെൽഫോർ |
| മോഡലിൻ്റെ പേര് | NK faucet |
| മൗണ്ടിംഗ് തരം | ഡെക്ക് മ .ണ്ട് |
| ഇൻസ്റ്റലേഷൻ തരം | പാത്രം |
| ഫിനിഷ് തരം | എണ്ണ തേച്ച വെങ്കലം |
| മെറ്റീരിയൽ | Brass, Ceramic (Handle) |
| ഹാൻഡിലുകളുടെ എണ്ണം | 1 |
| പരമാവധി ഒഴുക്ക് നിരക്ക് | മിനിറ്റിന് 1.2 ഗാലൻ |
| സ്പ out ട്ട് ഉയരം | 10.03 ഇഞ്ച് |
| സ്പൗട്ട് റീച്ച് | 4.92 ഇഞ്ച് |
| ഉൽപ്പന്ന അളവുകൾ | 4.56"D x 4.56"W x 6.61"H |
| ഇനത്തിൻ്റെ ഭാരം | 2.6 പൗണ്ട് |
| പ്രത്യേക സവിശേഷതകൾ | Lead Free, Lightweight, Pop Up Drain |
| യു.പി.സി | 769047275092 |
വാറൻ്റിയും പിന്തുണയും
WELLFOR products are manufactured to high-quality standards and are backed by a manufacturer's warranty. For specific warranty details, claims, or technical support, please refer to the warranty card included with your product or visit the official WELLFOR website. Please have your model number (NK faucet) and purchase information ready when contacting support.