
ആമുഖം
This manual provides detailed instructions for the setup, operation, maintenance, and troubleshooting of your KOORUI S2721XO 27-inch QD-OLED Gaming Monitor. Please read this manual thoroughly before using the product to ensure proper functionality and to prevent damage.

Image: KOORUI S2721XO 27-inch QD-OLED Gaming Monitor showcasing its main features like 240Hz refresh rate, 0.03ms response time, QHD resolution, QD-OLED panel, VESA compatibility, 99% DCI-P3 color gamut, Eye Care, and Adaptive Sync.
പാക്കേജ് ഉള്ളടക്കം
പാക്കേജിൽ എല്ലാ ഘടകങ്ങളും ഉണ്ടെന്ന് ഉറപ്പാക്കുക:
- KOORUI S2721XO 27-inch QD-OLED Gaming Monitor
- മോണിറ്റർ സ്റ്റാൻഡ് (ബേസും കഴുത്തും)
- പവർ കേബിൾ
- HDMI കേബിൾ
- ഡിസ്പ്ലേ പോർട്ട് കേബിൾ
- ഉപയോക്തൃ മാനുവൽ (ഈ പ്രമാണം)
- വാറൻ്റി കാർഡ് (ബാധകമെങ്കിൽ)
സജ്ജീകരണ നിർദ്ദേശങ്ങൾ
1. സ്റ്റാൻഡ് അസംബ്ലിംഗ്
- മോണിറ്ററിന്റെയും സ്റ്റാൻഡിന്റെയും ഘടകങ്ങൾ പാക്കേജിംഗിൽ നിന്ന് ശ്രദ്ധാപൂർവ്വം നീക്കം ചെയ്യുക.
- സ്റ്റാൻഡ് നെക്ക് മോണിറ്റർ പാനലിൽ ഘടിപ്പിക്കുക. അത് സുരക്ഷിതമായി സ്ഥലത്ത് ക്ലിക്ക് ചെയ്യുന്നുണ്ടെന്ന് ഉറപ്പാക്കുക അല്ലെങ്കിൽ ക്വിക്ക് സ്റ്റാർട്ട് ഗൈഡിൽ സൂചിപ്പിച്ചിരിക്കുന്നതുപോലെ സ്ക്രൂകൾ ഉപയോഗിച്ച് ഉറപ്പിച്ചിട്ടുണ്ടെന്ന് ഉറപ്പാക്കുക.
- നൽകിയിരിക്കുന്ന സ്ക്രൂ ഉപയോഗിച്ച് സ്റ്റാൻഡ് ബേസ് സ്റ്റാൻഡ് നെക്കിൽ ഘടിപ്പിക്കുക, ഉറപ്പിക്കുക.
- കൂട്ടിച്ചേർത്ത മോണിറ്റർ ഒരു സ്ഥിരതയുള്ളതും പരന്നതുമായ പ്രതലത്തിൽ സ്ഥാപിക്കുക.
Alternatively, the monitor supports VESA 75mm x 75mm mounting for wall mounts or monitor arms. Ensure the VESA mount is rated for the monitor's weight (3 kg).

Image: Illustrations showing the monitor's ergonomic adjustments including height adjustment (110mm), tilt (-20° to 20°), 90° pivot for vertical viewing, and swivel (-5° to 20°).
2. കേബിളുകൾ ബന്ധിപ്പിക്കുന്നു
Identify the ports on the back of your monitor and connect the necessary cables.

ചിത്രം: പിൻഭാഗം view of the KOORUI S2721XO monitor showing the connectivity ports: 1. Power cable input, 2. HDMI 2.1, 3. HDMI 2.1, 4. DisplayPort 1.4, 5. Audio output interface. Also shows VESA 100x100mm mounting points.
- പവർ കേബിൾ: പവർ കേബിളിന്റെ ഒരറ്റം മോണിറ്ററിന്റെ പവർ ഇൻപുട്ടിലേക്കും മറ്റേ അറ്റം ഒരു പവർ ഔട്ട്ലെറ്റിലേക്കും ബന്ധിപ്പിക്കുക.
- വീഡിയോ ഇൻപുട്ട്:
- For HDMI connection, use the provided HDMI cable to connect your computer's HDMI output to one of the monitor's HDMI 2.1 ports.
- For DisplayPort connection, use the provided DisplayPort cable to connect your computer's DisplayPort output to the monitor's DisplayPort 1.4 port.
- ഓഡിയോ ഔട്ട്പുട്ട്: If desired, connect external speakers or headphones to the audio output jack.
3. പ്രാരംഭ പവർ ഓൺ
- മോണിറ്ററിലെ പവർ ബട്ടൺ അമർത്തുക.
- നിങ്ങളുടെ കമ്പ്യൂട്ടർ ഓണാക്കുക. മോണിറ്റർ ഇൻപുട്ട് സിഗ്നൽ സ്വയമേവ കണ്ടെത്തണം. അല്ലെങ്കിൽ, OSD മെനു ഉപയോഗിച്ച് നിങ്ങൾ ഇൻപുട്ട് ഉറവിടം സ്വമേധയാ തിരഞ്ഞെടുക്കേണ്ടി വന്നേക്കാം.
പ്രവർത്തന നിർദ്ദേശങ്ങൾ
ഓൺ-സ്ക്രീൻ ഡിസ്പ്ലേ (OSD) മെനു
The OSD menu allows you to adjust various monitor settings. Typically, a joystick or a set of buttons located on the back or bottom of the monitor is used to navigate the OSD.
- Press the OSD button/joystick to open the menu.
- Use the navigation controls to move through options.
- Press the select button to confirm a selection.
- OSD മെനു അടയ്ക്കാൻ എക്സിറ്റ് ബട്ടൺ അമർത്തുക.
ചിത്ര ക്രമീകരണങ്ങൾ
- തെളിച്ചം/തീവ്രത: നിങ്ങളുടെ ഇഷ്ടത്തിനനുസരിച്ച് ഈ ക്രമീകരണങ്ങൾ ക്രമീകരിക്കുക viewപരിസ്ഥിതി.
- വർണ്ണ താപനില: Select from preset modes (e.g., Warm, Cool, User) or customize RGB values.
- HDR (ഹൈ ഡൈനാമിക് റേഞ്ച്): The monitor supports HDR 400. Enable HDR in your operating system and monitor settings for enhanced contrast and color detail.
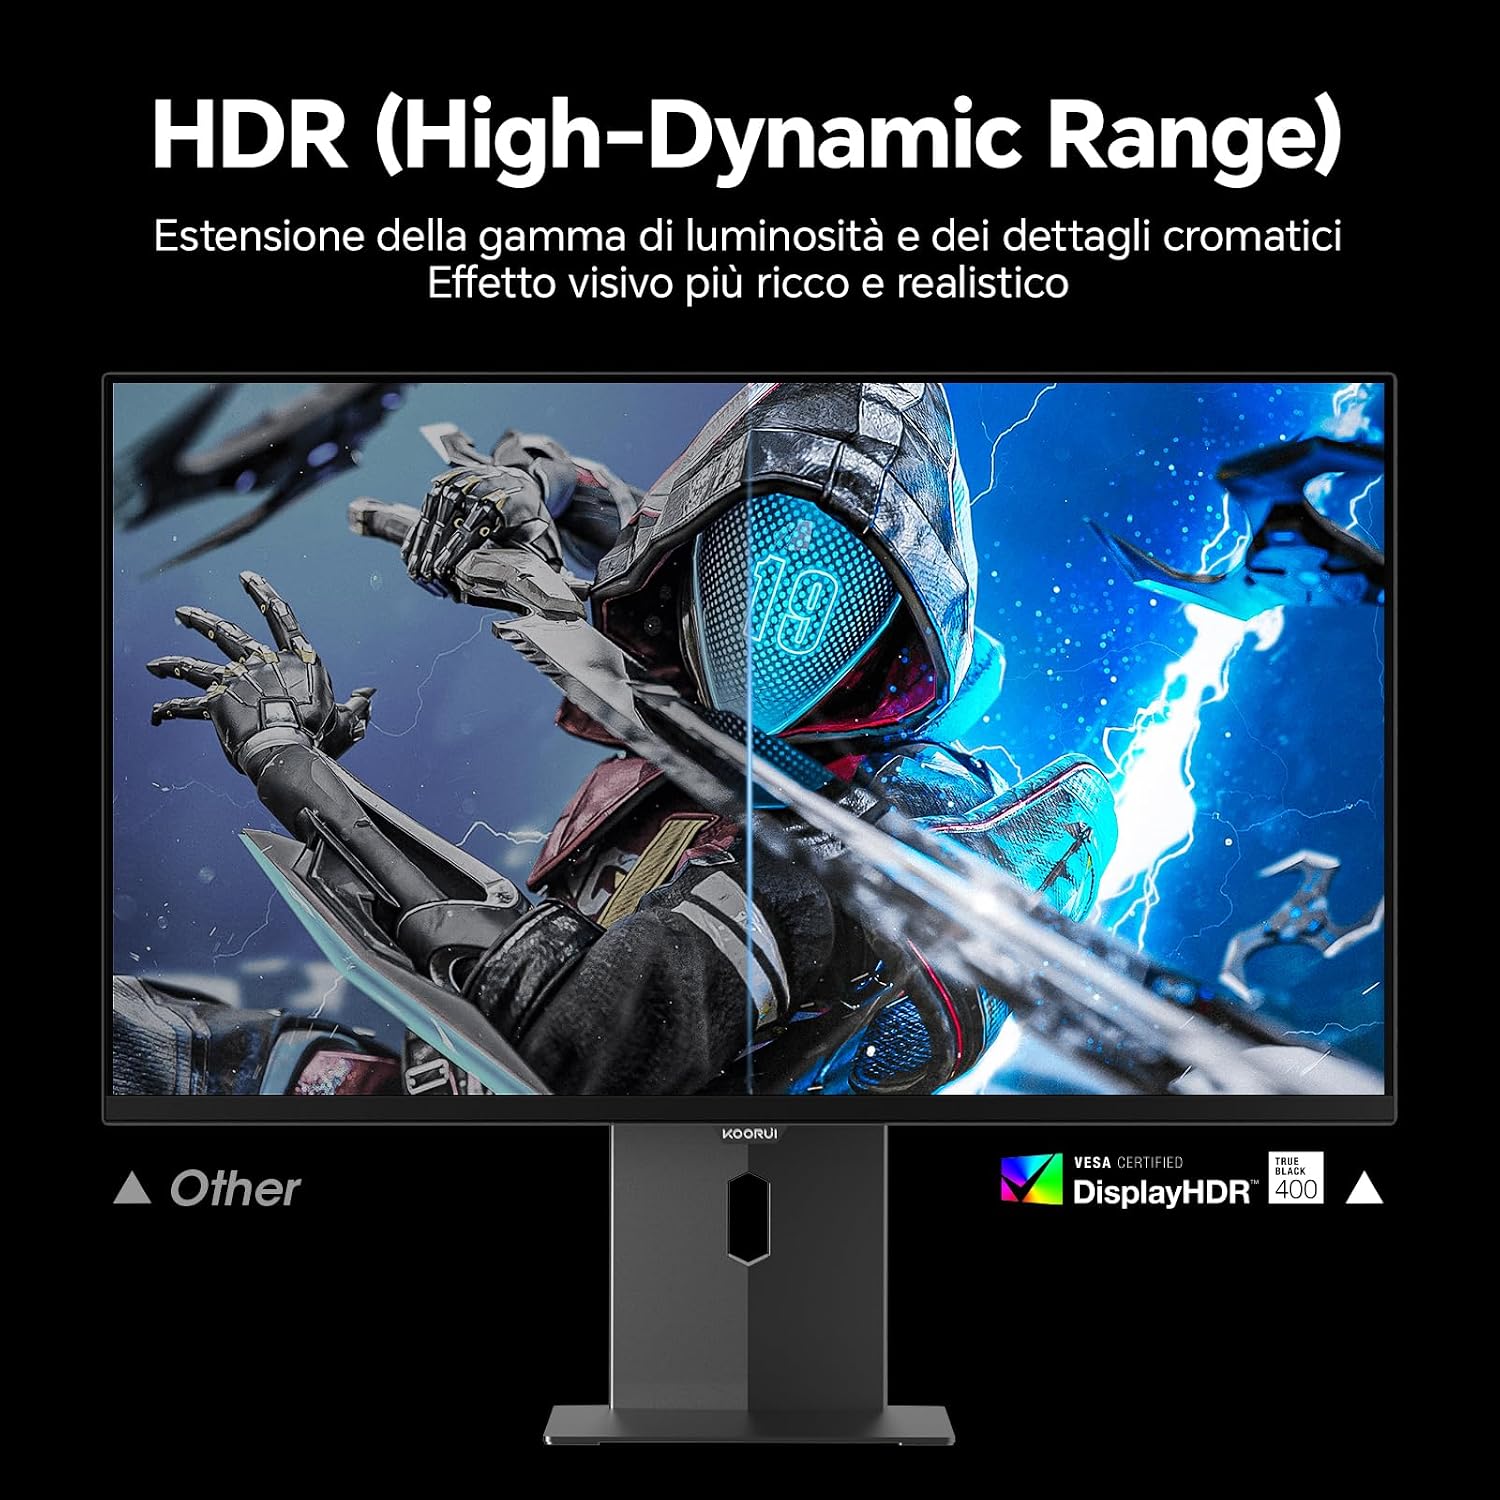
Image: Comparison of a standard display versus the KOORUI S2721XO monitor with HDR (High-Dynamic Range) enabled, showing richer visual effects and realistic details.
ഗെയിമിംഗ് സവിശേഷതകൾ
- പുതുക്കൽ നിരക്ക്: The monitor supports up to 240Hz. Ensure your graphics card and system settings are configured to utilize this refresh rate for smooth gameplay.
- പ്രതികരണ സമയം: With a 0.03ms response time, motion blur is significantly reduced.
- അഡാപ്റ്റീവ് സമന്വയം: This technology synchronizes the monitor's refresh rate with your GPU's frame rate, eliminating screen tearing and stuttering. Enable Adaptive Sync in the OSD menu and your graphics card control panel.
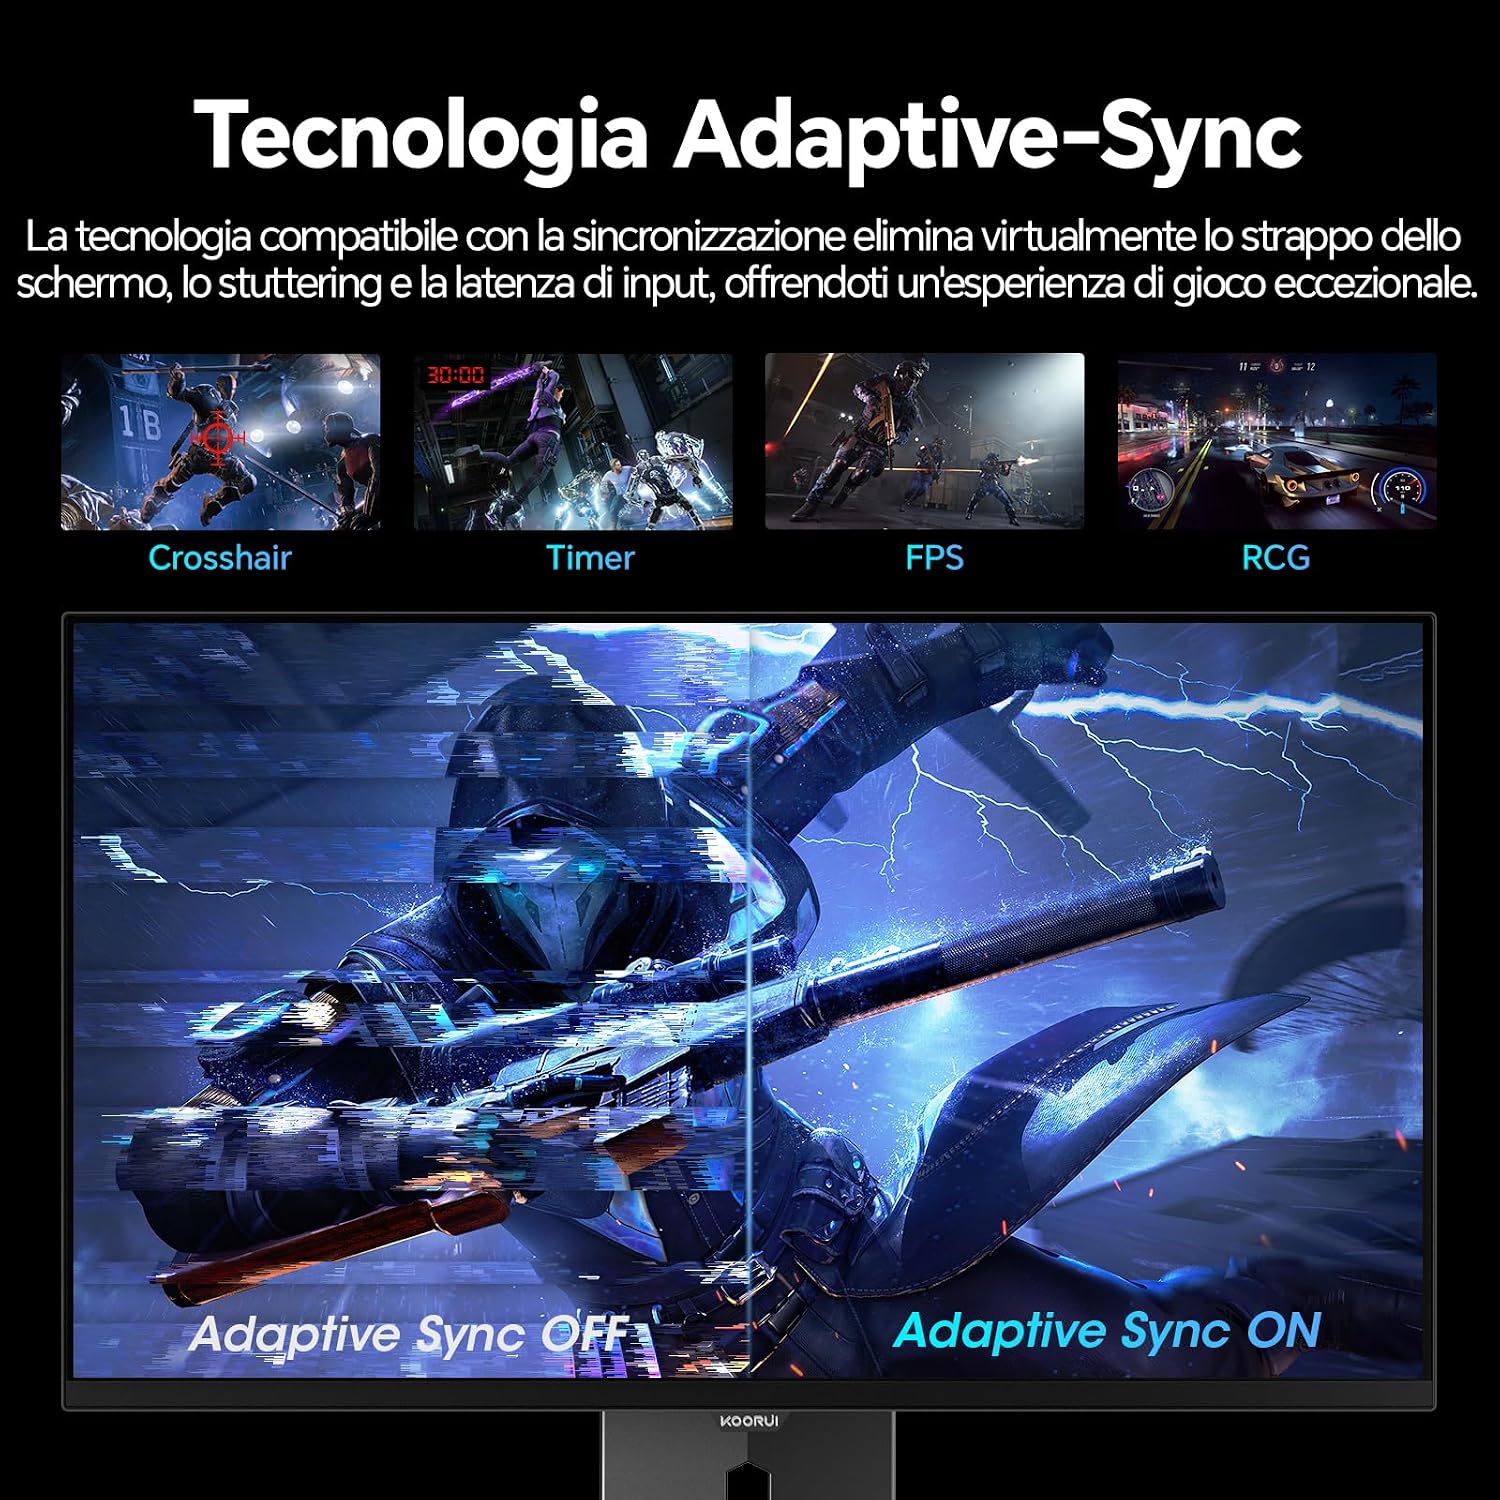
Image: A visual demonstration of Adaptive Sync technology, showing the difference between Adaptive Sync OFF (with screen tearing and stuttering) and Adaptive Sync ON (with smooth, tear-free visuals).

Image: A visual comparison illustrating the ultra-high refresh rate of 240Hz and 0.03ms response time, contrasting it with a 100Hz 5ms display to show the improved fluidity and reduced ghosting.
നേത്ര സംരക്ഷണ മോഡ്
The monitor includes features designed to reduce eye strain during extended use. Access the Eye Care settings in the OSD menu to enable modes that reduce blue light emission or adjust flicker-free settings.
മെയിൻ്റനൻസ്
മോണിറ്റർ വൃത്തിയാക്കൽ
- വൃത്തിയാക്കുന്നതിന് മുമ്പ് എല്ലായ്പ്പോഴും മോണിറ്റർ ഓഫ് ചെയ്ത് പവർ കേബിൾ അഴിക്കുക.
- മൃദുവായ, ലിൻ്റ് രഹിത തുണി ഉപയോഗിക്കുകampവെള്ളം അല്ലെങ്കിൽ ഒരു പ്രത്യേക സ്ക്രീൻ ക്ലീനർ ഉപയോഗിച്ച് നനയ്ക്കുക.
- ക്ലീനർ നേരിട്ട് സ്ക്രീനിൽ സ്പ്രേ ചെയ്യരുത്.
- സ്ക്രീൻ പ്രതലത്തിന് കേടുവരുത്തുമെന്നതിനാൽ അബ്രാസീവ് ക്ലീനറുകൾ, മെഴുക് അല്ലെങ്കിൽ ലായകങ്ങൾ ഉപയോഗിക്കുന്നത് ഒഴിവാക്കുക.
- മോണിറ്റർ തുടയ്ക്കുക casinമൃദുവായതും ഉണങ്ങിയതുമായ തുണി ഉപയോഗിച്ച് ഗ്രാം.
സംഭരണം
When storing the monitor for an extended period, ensure it is powered off, unplugged, and stored in a cool, dry place away from direct sunlight and extreme temperatures. Use original packaging if available for best protection.
ട്രബിൾഷൂട്ടിംഗ്
| പ്രശ്നം | സാധ്യമായ കാരണം | പരിഹാരം |
|---|---|---|
| ശക്തിയില്ല | Power cable not connected; Power outlet not working; Monitor power button off. | Ensure power cable is securely connected. Test power outlet with another device. Press the monitor's power button. |
| സിഗ്നൽ ഇല്ല | വീഡിയോ കേബിൾ ബന്ധിപ്പിച്ചിട്ടില്ല; തെറ്റായ ഇൻപുട്ട് ഉറവിടം തിരഞ്ഞെടുത്തിരിക്കുന്നു; കമ്പ്യൂട്ടർ ഓണാക്കിയിട്ടില്ല. | Check video cable connections (HDMI/DisplayPort). Select the correct input source via the OSD menu. Ensure your computer is powered on and outputting a signal. |
| മിന്നുന്ന സ്ക്രീൻ | Incorrect refresh rate; Faulty cable; Graphics card driver issues. | Adjust refresh rate in display settings. Try a different video cable. Update graphics card drivers. |
| മോശം ചിത്ര നിലവാരം | Incorrect resolution; Picture settings misconfigured; Dirty screen. | Set display resolution to 2560x1440. Adjust brightness, contrast, and color settings in the OSD. Clean the screen as per maintenance instructions. |
സ്പെസിഫിക്കേഷനുകൾ
| ബ്രാൻഡ് | കൂറുയി |
| മോഡൽ നമ്പർ | എസ്2721എക്സ്ഒ |
| സ്ക്രീൻ വലിപ്പം | 27 ഇഞ്ച് |
| പാനൽ തരം | QD-OLED |
| റെസലൂഷൻ | QHD Wide 1440p (2560 x 1440) |
| വീക്ഷണാനുപാതം | 16:9 |
| പുതുക്കിയ നിരക്ക് | 240 Hz |
| പ്രതികരണ സമയം | 0.03 എം.എസ് |
| കോൺട്രാസ്റ്റ് റേഷ്യോ | 1,500,000:1 |
| തെളിച്ചം | 280 cd/m² |
| Viewing ആംഗിൾ | 178 ഡിഗ്രി |
| കളർ ഗാമറ്റ് മൂല്യം | 99% DCI-P3 (100% sRGB) |
| കണക്റ്റിവിറ്റി | 2x HDMI 2.1, 1x DisplayPort 1.4, Audio Out |
| അഡാപ്റ്റീവ് സമന്വയം | FreeSync compatible |
| പ്രത്യേക സവിശേഷതകൾ | HDR 400, Eye Care, Height Adjustment, Tilt Adjustment, Swivel Adjustment, Pivot Adjustment |
| VESA അനുയോജ്യത | 75 മിമി x 75 മിമി |
| അളവുകൾ (W x H x D) | 610.11 mm x 521.84 mm x 215.82 mm (24.02 in x 20.54 in x 8.50 in) |
| ഭാരം | 3 കിലോഗ്രാം |
വാറൻ്റി വിവരങ്ങൾ
The KOORUI S2721XO monitor comes with a 2 വർഷത്തെ വാറൻ്റി from the date of purchase. This warranty covers manufacturing defects and malfunctions under normal use. Please retain your proof of purchase for warranty claims. For detailed terms and conditions, refer to the warranty card included in your package or visit the official KOORUI webസൈറ്റ്.
പിന്തുണയും കോൺടാക്റ്റും
For further assistance, technical support, or customer service inquiries, please visit the official KOORUI website or contact their customer support team. You can also refer to the official PDF instructions for use: