1. ആമുഖം
This manual provides essential information for the installation, operation, and maintenance of your ENERMAX Revolution III 650W ATX 3.1 Power Supply. Please read this manual thoroughly before installation and keep it for future reference.
1.1 സുരക്ഷാ വിവരങ്ങൾ
- Always disconnect the power supply from the AC outlet before installation or maintenance.
- പവർ സപ്ലൈ യൂണിറ്റ് തുറക്കരുത്. ഉയർന്ന വോളിയംtages are present inside, and it contains no user-serviceable parts.
- വൈദ്യുത അപകടങ്ങൾ തടയുന്നതിന് ശരിയായ ഗ്രൗണ്ടിംഗ് ഉറപ്പാക്കുക.
- നന്നായി വായുസഞ്ചാരമുള്ള സ്ഥലത്ത് വൈദ്യുതി വിതരണം സ്ഥാപിക്കുക.
- ഈ പവർ സപ്ലൈയിൽ നൽകിയിരിക്കുന്ന മോഡുലാർ കേബിളുകൾ മാത്രം ഉപയോഗിക്കുക. പൊരുത്തപ്പെടാത്ത കേബിളുകൾ ഉപയോഗിക്കുന്നത് യൂണിറ്റിനോ ബന്ധിപ്പിച്ചിരിക്കുന്ന ഘടകങ്ങൾക്കോ കേടുവരുത്തിയേക്കാം.
- This product is designed for use in personal computer systems. Do not use it for any other purpose.
1.2 പാക്കേജ് ഉള്ളടക്കം
- ENERMAX Revolution III 650W Power Supply
- Modular Cable Set (including 12V-2x6 cable for PCIe 5.1)
- എസി പവർ കോർഡ്
- മൗണ്ടിംഗ് സ്ക്രൂകൾ
- Cable Combs (16 pieces for 650W model)
- ഉപയോക്തൃ മാനുവൽ

Image 1.1: The ENERMAX Revolution III 650W power supply, showcasing its compact design and fan grille.
2. സജ്ജീകരണവും ഇൻസ്റ്റാളേഷനും
Follow these steps to properly install your ENERMAX Revolution III 650W power supply into your computer system.
2.1 പ്രീ-ഇൻസ്റ്റലേഷൻ പരിശോധനകൾ
- നിങ്ങളുടെ കമ്പ്യൂട്ടർ കേസ് ATX ഫോം ഫാക്ടർ പവർ സപ്ലൈകളുമായി പൊരുത്തപ്പെടുന്നുണ്ടെന്ന് ഉറപ്പാക്കുക.
- Verify that your motherboard and other components are compatible with the power requirements of a 650W power supply.
- Unpack the power supply and all modular cables.
2.2 ഫിസിക്കൽ ഇൻസ്റ്റലേഷൻ
- Mount the power supply into the designated bay in your computer case using the provided screws. Ensure the fan is oriented correctly for optimal airflow (typically facing downwards if there's a bottom vent, or upwards if not).
- Connect the necessary modular cables to the power supply unit. The Revolution III is fully modular, allowing you to connect only the cables you need. Refer to the labels on the power supply for correct port identification.
ചിത്രം 2.1: പിൻഭാഗം view of the power supply showing the clearly labeled modular cable ports for motherboard, CPU/PCIe, and SATA/Molex connections.
2.3 കേബിൾ കണക്ഷനുകൾ
Connect the modular cables from the power supply to your system components:
- മദർബോർഡ്: 24-പിൻ ATX കേബിൾ നിങ്ങളുടെ മദർബോർഡിലേക്ക് ബന്ധിപ്പിക്കുക.
- സിപിയു: Connect the 4+4-pin or 8-pin EPS/CPU cable to your motherboard's CPU power connector.
- ഗ്രാഫിക്സ് കാർഡ് (GPU): For modern GPUs, use the dedicated 12V-2x6 cable (PCIe 5.1) for high-power graphics cards. For other GPUs, use the 6+2-pin PCIe cables. The Revolution III supports PCIe 5.1, providing a 450W 12V-2x6 cable for demanding GPUs.
- സംഭരണ ഉപകരണങ്ങൾ: SATA പവർ കേബിളുകൾ SSD-കൾ, HDD-കൾ, ഒപ്റ്റിക്കൽ ഡ്രൈവുകൾ എന്നിവയുമായി ബന്ധിപ്പിക്കുക.
- പെരിഫറലുകൾ: Connect Molex cables for any other peripherals requiring power.

Image 2.2: The power supply highlighting the native PCIe 5.1 12V-2x6 connector, designed for high-performance graphics cards.
2.4 കേബിൾ മാനേജ്മെന്റ്
Utilize the included cable combs to organize the premium mesh-sleeved cables for a clean and efficient build. Proper cable management improves airflow and aesthetics within your PC case.

Image 2.3: Modular cables with mesh sleeving and cable combs, demonstrating organized cable routing.
3. പ്രവർത്തന നിർദ്ദേശങ്ങൾ
Once all connections are secure, you can power on your system.
3.1 പവർ ചെയ്യുന്നു
- Ensure the power switch on the back of the power supply is in the 'OFF' (0) position.
- എസി പവർ കോർഡ് പവർ സപ്ലൈയിലേക്കും പിന്നീട് ഒരു വാൾ ഔട്ട്ലെറ്റിലേക്കും ബന്ധിപ്പിക്കുക.
- Flip the power switch on the power supply to the 'ON' (I) position.
- സിസ്റ്റം ആരംഭിക്കാൻ നിങ്ങളുടെ കമ്പ്യൂട്ടർ കേസിലെ പവർ ബട്ടൺ അമർത്തുക.
3.2 ഫാൻ പ്രവർത്തനം
The Revolution III 650W features a whisper-quiet 120mm FDB (Fluid Dynamic Bearing) fan. This fan is designed for silent operation under typical loads and will adjust its speed based on the power supply's temperature to maintain optimal cooling and noise levels.
3.3 കാര്യക്ഷമത
This power supply is 80 PLUS Gold certified, indicating an efficiency of over 90% at standard load conditions. This means less energy is wasted as heat, contributing to lower operating temperatures and reduced energy consumption.
4. പരിപാലനം
നിങ്ങളുടെ പവർ സപ്ലൈയുടെ ദീർഘായുസ്സും ഒപ്റ്റിമൽ പ്രകടനവും ഉറപ്പാക്കാൻ പതിവ് അറ്റകുറ്റപ്പണികൾ സഹായിക്കുന്നു.
4.1 വൃത്തിയാക്കൽ
- Periodically clean the exterior of the power supply and its fan grille to prevent dust buildup.
- Use compressed air to gently remove dust from the fan and internal components (without opening the unit).
- Ensure the power supply is disconnected from the AC outlet before cleaning.
4.2 പരിസ്ഥിതി വ്യവസ്ഥകൾ
Operate the power supply within recommended temperature and humidity ranges. Avoid exposing the unit to extreme temperatures or moisture.
5. പ്രശ്നപരിഹാരം
നിങ്ങളുടെ വൈദ്യുതി വിതരണത്തിൽ പ്രശ്നങ്ങൾ നേരിടുകയാണെങ്കിൽ, ഇനിപ്പറയുന്ന പൊതുവായ ട്രബിൾഷൂട്ടിംഗ് ഘട്ടങ്ങൾ പരിശോധിക്കുക:
- ശക്തിയില്ല:
- എസി പവർ കോർഡ് പവർ സപ്ലൈയിലേക്കും വാൾ ഔട്ട്ലെറ്റിലേക്കും സുരക്ഷിതമായി ബന്ധിപ്പിച്ചിട്ടുണ്ടോയെന്ന് പരിശോധിക്കുക.
- പവർ സപ്ലൈയുടെ പിൻഭാഗത്തുള്ള പവർ സ്വിച്ച് 'ഓൺ' (I) സ്ഥാനത്താണെന്ന് ഉറപ്പാക്കുക.
- Verify that the 24-pin ATX and CPU power cables are correctly seated in the motherboard.
- വാൾ ഔട്ട്ലെറ്റിന് പവർ ഉണ്ടെന്ന് ഉറപ്പാക്കാൻ മറ്റൊരു ഉപകരണം ഉപയോഗിച്ച് അത് പരിശോധിക്കുക.
- സിസ്റ്റം അസ്ഥിരത/ക്രാഷുകൾ:
- Ensure all modular cables are fully inserted into both the power supply and the components.
- നിങ്ങളുടെ സിസ്റ്റത്തിന്റെ വൈദ്യുതി ആവശ്യകതകൾ വൈദ്യുതി വിതരണത്തിന്റെ 650W ശേഷിയിൽ കവിയുന്നില്ലെന്ന് ഉറപ്പാക്കുക.
- The Revolution III features a 6-way protection circuit (OVP, UVP, OPP, SCP, OCP, OTP) to safeguard against various electrical issues. If the system is unstable, these protections might be activating due to an underlying component issue or excessive load.
- ഫാൻ ശബ്ദം:
- While designed for quiet operation, ensure the power supply fan grille is not obstructed.
- Clean any dust buildup from the fan.
If problems persist after following these steps, please contact ENERMAX customer support.
6 സ്പെസിഫിക്കേഷനുകൾ
| ഫീച്ചർ | വിവരണം |
|---|---|
| മോഡലിൻ്റെ പേര് | വിപ്ലവം III |
| ഇനം മോഡൽ നമ്പർ | ERV650G-AHG-MAC പോർട്ടബിൾ |
| ഔട്ട്പുട്ട് വാട്ട്tage | 650 വാട്ട്സ് |
| ഫോം ഫാക്ടർ | ATX |
| കാര്യക്ഷമതാ സർട്ടിഫിക്കേഷൻ | 80 PLUS Gold (over 90% efficiency at standard load) |
| ATX സ്റ്റാൻഡേർഡ് | ATX 3.1 |
| PCIe കണക്റ്റർ | Native PCIe 5.1 (12V-2x6 cable) |
| കപ്പാസിറ്ററുകൾ | 105°C Japanese Capacitors |
| തണുപ്പിക്കൽ രീതി | Air (120mm FDB fan) |
| ഉൽപ്പന്ന അളവുകൾ (L x W x H) | 5.51 x 5.91 x 3.39 ഇഞ്ച് (140 x 150 x 86 മിമി) |
| ഇനത്തിൻ്റെ ഭാരം | 3.41 പൗണ്ട് (1.55 കിലോഗ്രാം) |
| സംരക്ഷണ സർക്യൂട്ട് | 6-way (OVP, UVP, OPP, SCP, OCP, OTP) |
7. വാറൻ്റിയും പിന്തുണയും
ENERMAX products are manufactured under strict quality control standards. For warranty information and technical support, please refer to the official ENERMAX webസൈറ്റ് അല്ലെങ്കിൽ നിങ്ങളുടെ പ്രാദേശിക വിതരണക്കാരനെ ബന്ധപ്പെടുക.
7.1 നിർമ്മാതാവിന്റെ വിവരങ്ങൾ
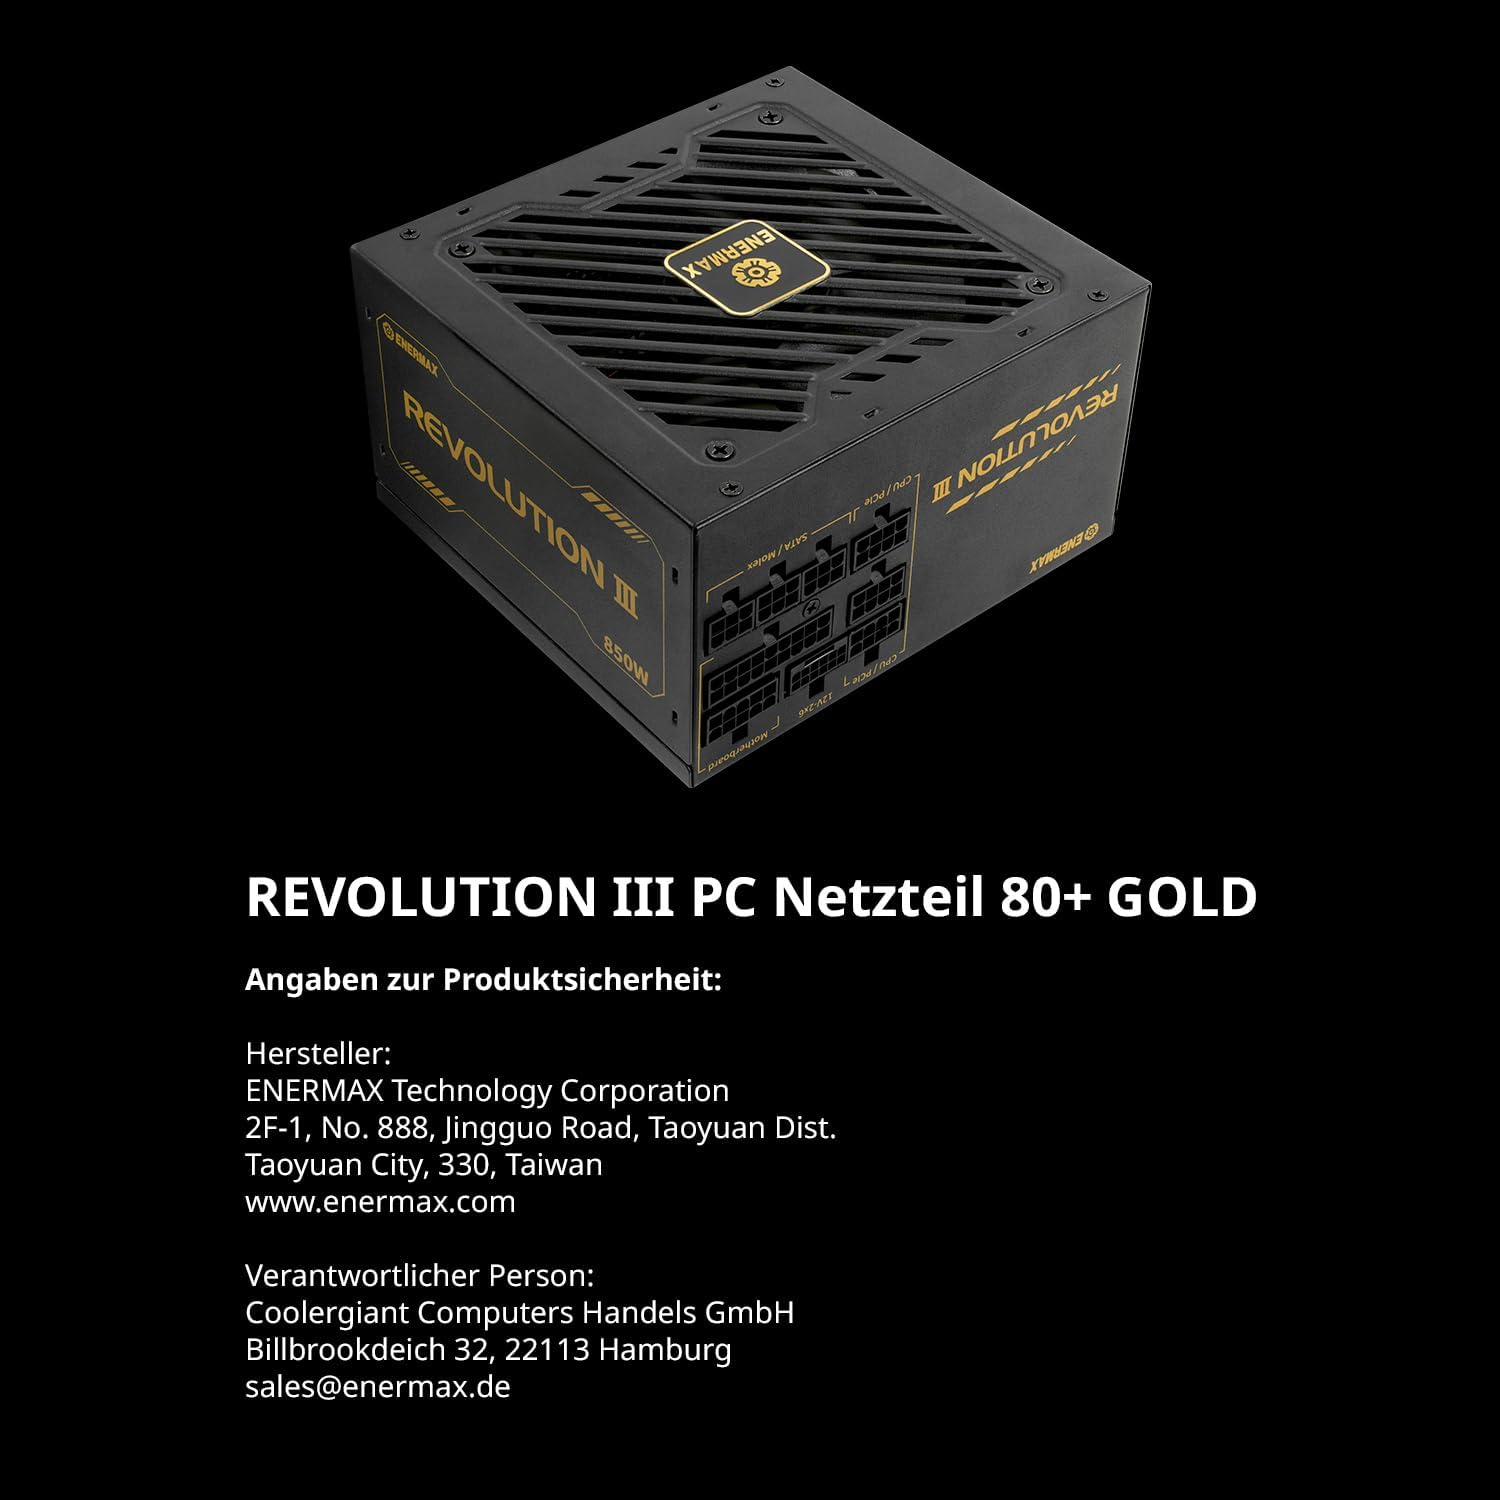
നിർമ്മാതാവ്: ENERMAX ടെക്നോളജി കോർപ്പറേഷൻ
2F-1, No. 888, Jingguo Road, Taoyuan Dist.
Taoyuan City, 330, Taiwan
www.enermax.com
Responsible Person (Germany):
Coolergiant Computers Handels GmbH
Billbrookdeich 32, 22113 Hamburg
sales@enermax.de

Image 7.1: Manufacturer and responsible party contact details, as well as 80 PLUS Gold certification information.