ആമുഖം
Thank you for choosing the CRUA 27-inch 4K UHD 144Hz IPS Gaming Monitor. This monitor is designed to deliver an immersive visual experience with its high resolution, fast refresh rate, and vibrant color reproduction. This manual provides essential information for the proper installation, operation, and maintenance of your new monitor. Please read it thoroughly before use and retain it for future reference.
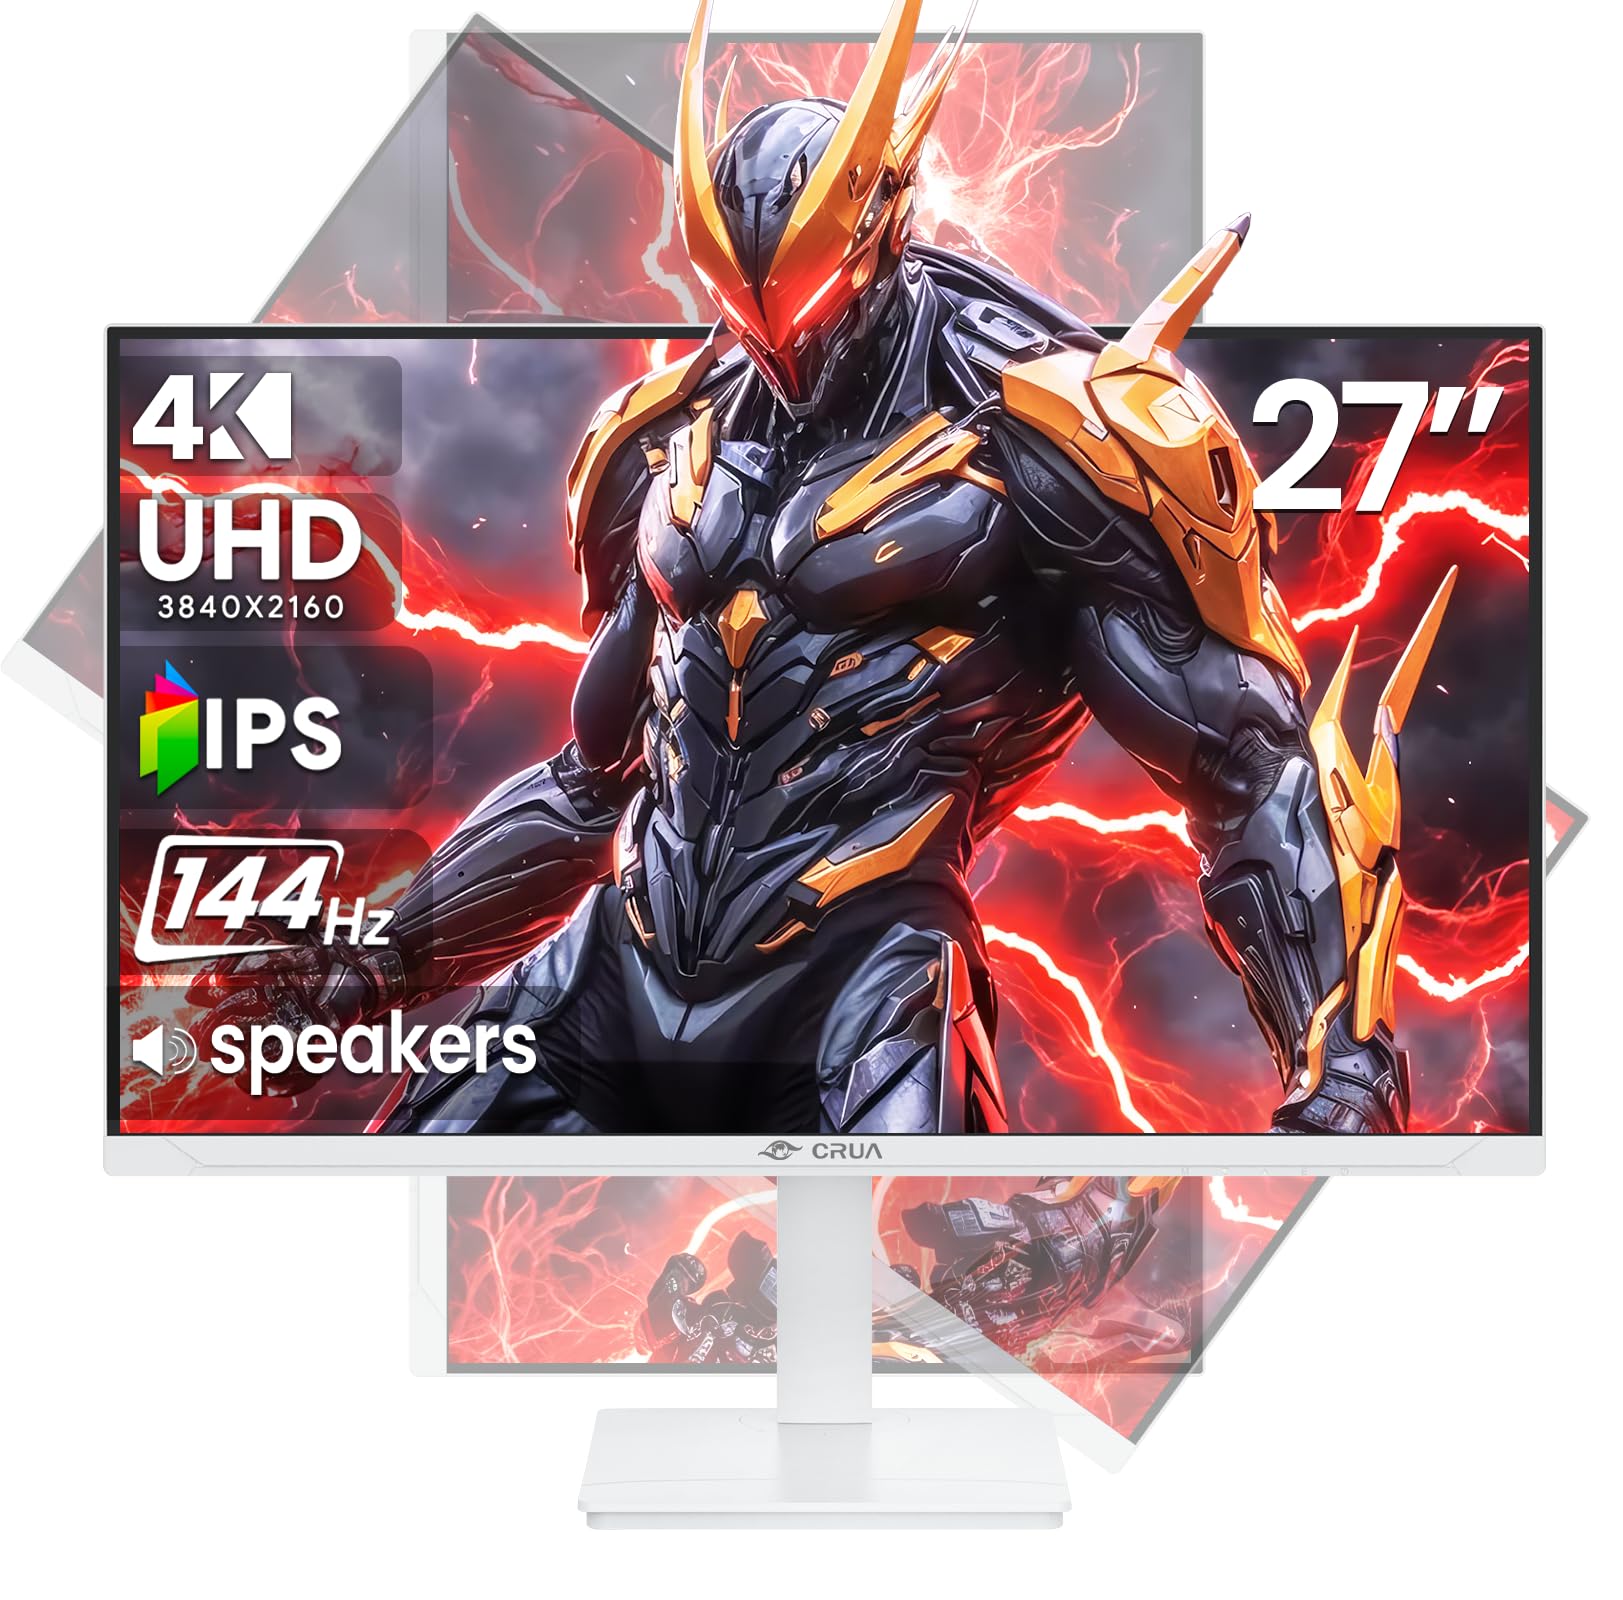
ചിത്രം: മുൻഭാഗം view of the CRUA 27-inch 4K UHD 144Hz IPS Gaming Monitor.
ബോക്സിൽ എന്താണുള്ളത്
നിങ്ങളുടെ പാക്കേജിലെ ഉള്ളടക്കങ്ങൾ പരിശോധിക്കുക. ഏതെങ്കിലും ഇനങ്ങൾ നഷ്ടപ്പെട്ടിട്ടുണ്ടെങ്കിലോ കേടായിട്ടുണ്ടെങ്കിലോ, നിങ്ങളുടെ റീട്ടെയിലറെ ബന്ധപ്പെടുക.
- 27 ഇഞ്ച് മോണിറ്റർ
- ഡിപി കേബിൾ
- Base and Support
- ഉപയോക്തൃ മാനുവൽ
- വൈദ്യുതി വിതരണം
ഉൽപ്പന്ന സവിശേഷതകൾ
- 27" 4K Display with IPS Panel: Experience ultra-clear visuals with a 3840x2160P resolution.
- 144Hz പുതുക്കൽ നിരക്ക്: Enjoy fluid and sharp motion, ideal for competitive gaming and fast-paced content.
- 120% sRGB Color Accuracy: Delivers rich and accurate tones with 350cd/m² brightness and 1000:1 high-contrast.
- ബിൽറ്റ്-ഇൻ സ്പീക്കറുകൾ: Provides clear audio for daily use.
- Full Ergonomic Adjustment: Features height, pivot, tilt, and rotation adjustments for optimal viewകോണുകൾ.
- ഒന്നിലധികം കണക്റ്റിവിറ്റി ഓപ്ഷനുകൾ: Equipped with 2x HDMI 2.1 and 2x DP 1.4 ports.
- AMD FreeSync Support: Synchronizes the monitor's refresh rate with your GPU for tear-free gaming.
- വാൾ മൗണ്ടബിൾ: Supports VESA 75mm x 75mm wall mounts for flexible installation.
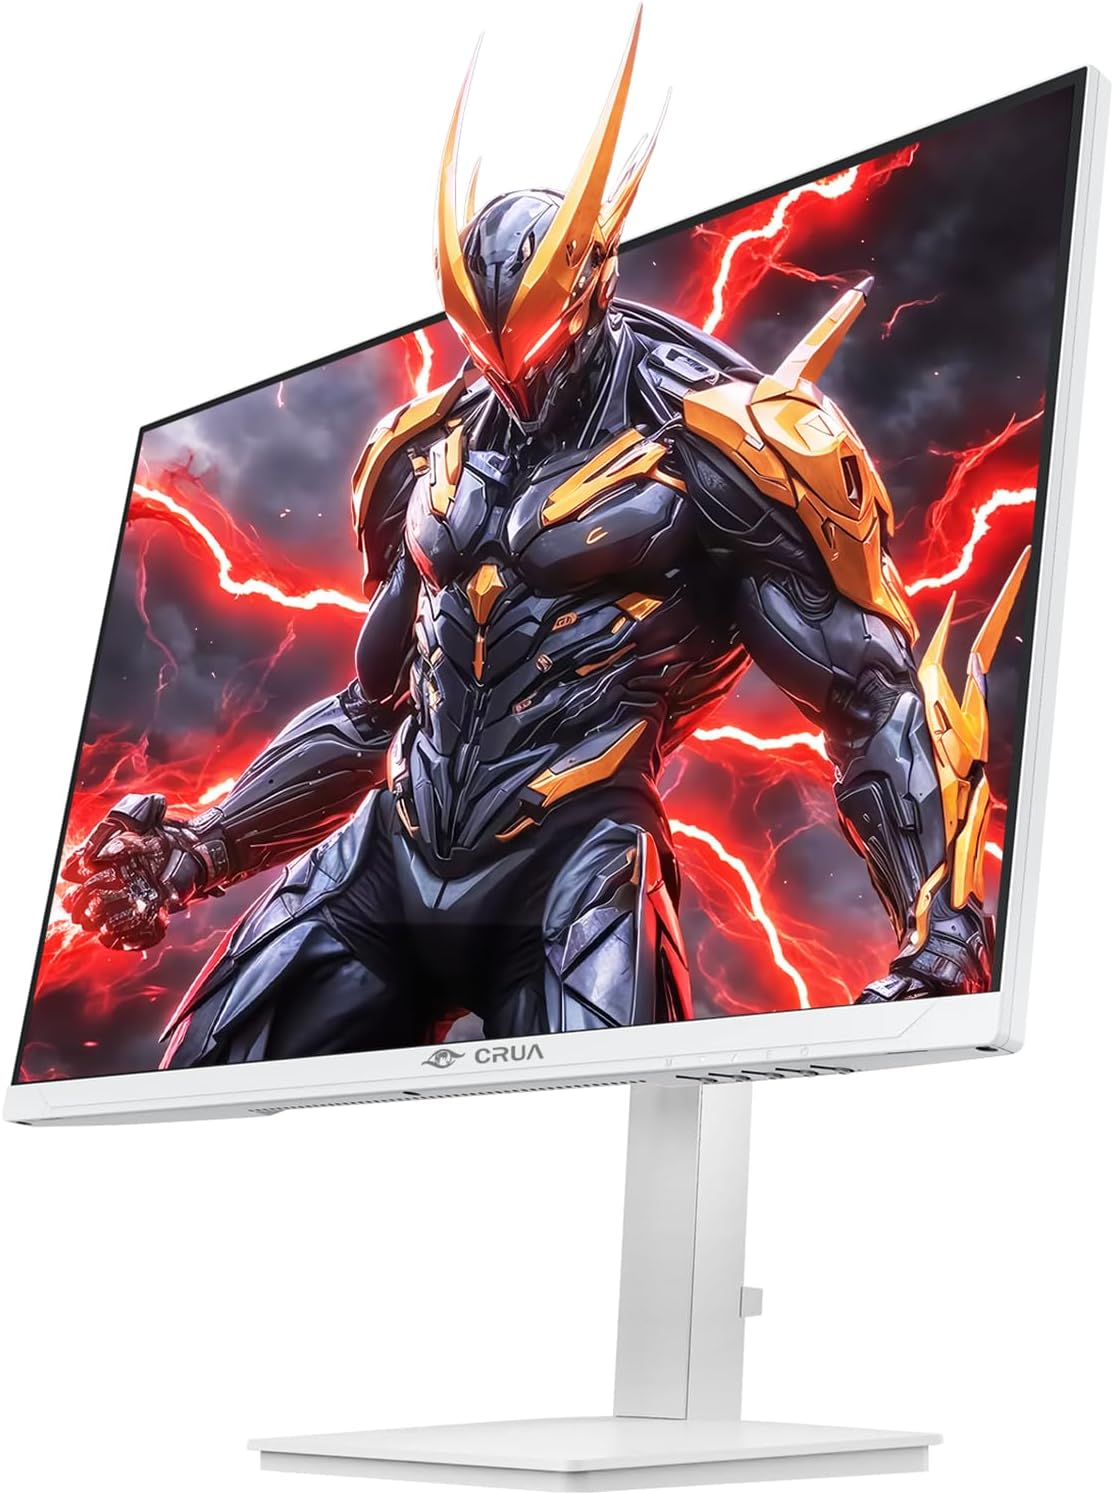
ചിത്രം: മുൻഭാഗം view of the CRUA 27-inch 4K UHD 144Hz IPS Gaming Monitor displaying a game scene.

ചിത്രം: പിൻഭാഗം view of the CRUA 27-inch 4K UHD 144Hz IPS Gaming Monitor showing the stand and RGB lighting.

ചിത്രം: പിൻഭാഗം view of the CRUA 27-inch 4K UHD 144Hz IPS Gaming Monitor highlighting the input ports (2x DP 1.4, 2x HDMI 2.1, and 3.5mm Audio Port).

Image: Diagram illustrating the adjustable height (110mm), tilt (-5° to +15°), swivel (±30°), and pivot (90°) features of the CRUA 27-inch 4K UHD 144Hz IPS Gaming Monitor.
സജ്ജീകരണ നിർദ്ദേശങ്ങൾ
1. സ്റ്റാൻഡ് അസംബ്ലിംഗ്
- മോണിറ്ററിന്റെയും സ്റ്റാൻഡിന്റെയും ഘടകങ്ങൾ പാക്കേജിംഗിൽ നിന്ന് ശ്രദ്ധാപൂർവ്വം നീക്കം ചെയ്യുക.
- സ്റ്റാൻഡ് നെക്ക് മോണിറ്റർ പാനലിൽ ഘടിപ്പിക്കുക. അത് സുരക്ഷിതമായി സ്ഥലത്ത് ക്ലിക്കു ചെയ്യുന്നുണ്ടെന്ന് ഉറപ്പാക്കുക അല്ലെങ്കിൽ സ്ക്രൂകൾ നൽകിയിട്ടുണ്ടെങ്കിൽ അത് ഉപയോഗിച്ച് ഉറപ്പിച്ചിട്ടുണ്ടെന്ന് ഉറപ്പാക്കുക.
- Attach the base to the stand neck, securing it with the thumb screw or other fasteners.
- കൂട്ടിച്ചേർത്ത മോണിറ്റർ ഒരു സ്ഥിരതയുള്ളതും പരന്നതുമായ പ്രതലത്തിൽ സ്ഥാപിക്കുക.
2. വാൾ മൗണ്ടിംഗ് (ഓപ്ഷണൽ)
The monitor supports VESA 75mm x 75mm wall mounts. Remove the stand before attaching a compatible wall mount bracket (not included). Follow the instructions provided with your wall mount.
3. കേബിളുകൾ ബന്ധിപ്പിക്കുന്നു
- ശക്തി: Connect the power supply to the monitor's power input and then to a power outlet.
- വീഡിയോ ഇൻപുട്ട്: Connect one end of the provided DP cable (or an HDMI cable) to the corresponding port on your computer's graphics card and the other end to a DP 1.4 or HDMI 2.1 port on the monitor.
- ഓഡിയോ ഔട്ട്പുട്ട് (ഓപ്ഷണൽ): If using external speakers or headphones, connect them to the 3.5mm audio jack on the monitor.
4. പ്രാരംഭ പവർ-ഓൺ
Press the power button on the monitor. The monitor should automatically detect the input signal. If not, you may need to manually select the input source using the OSD menu.
പ്രവർത്തന നിർദ്ദേശങ്ങൾ
1. പവർ ഓൺ/ഓഫ്
മോണിറ്റർ ഓൺ അല്ലെങ്കിൽ ഓഫ് ചെയ്യുന്നതിന് അതിൽ സ്ഥിതിചെയ്യുന്ന പവർ ബട്ടൺ അമർത്തുക.
2. OSD മെനു നാവിഗേഷൻ
The On-Screen Display (OSD) menu allows you to adjust various monitor settings. Navigate the menu using the joystick or buttons typically located on the back or bottom of the monitor.
- OSD മെനു തുറക്കാൻ ജോയ്സ്റ്റിക്ക്/ബട്ടൺ അമർത്തുക.
- Move the joystick up/down or use corresponding buttons to navigate through menu options.
- ജോയിസ്റ്റിക്ക് ഇടത്തോട്ടോ വലത്തോട്ടോ നീക്കുക അല്ലെങ്കിൽ മൂല്യങ്ങൾ ക്രമീകരിക്കുന്നതിന് അനുബന്ധ ബട്ടണുകൾ ഉപയോഗിക്കുക അല്ലെങ്കിൽ ഉപ-മെനുകൾ നൽകുക.
- തിരഞ്ഞെടുപ്പുകൾ സ്ഥിരീകരിക്കുന്നതിനോ ഉപമെനുകളിൽ നിന്ന് പുറത്തുകടക്കുന്നതിനോ ജോയ്സ്റ്റിക്ക്/ബട്ടൺ വീണ്ടും അമർത്തുക.
3. ഇൻപുട്ട് ഉറവിട തിരഞ്ഞെടുപ്പ്
If the monitor does not automatically detect the correct input, open the OSD menu, navigate to "Input Source," and select the active input (e.g., HDMI1, HDMI2, DP1, DP2).
4. ഡിസ്പ്ലേ ക്രമീകരണങ്ങൾ ക്രമീകരിക്കുന്നു
OSD മെനുവിൽ, നിങ്ങൾക്ക് ഇതുപോലുള്ള ക്രമീകരണങ്ങൾ ഇഷ്ടാനുസൃതമാക്കാൻ കഴിയും:
- തെളിച്ചം/തീവ്രത: മൊത്തത്തിലുള്ള പ്രകാശത്തിന്റെയും ദൃശ്യതീവ്രതയുടെയും അളവ് ക്രമീകരിക്കുക.
- വർണ്ണ ക്രമീകരണങ്ങൾ: വർണ്ണ താപനില, ഗാമ, വ്യക്തിഗത RGB മൂല്യങ്ങൾ എന്നിവ സൂക്ഷ്മമായി ക്രമീകരിക്കുക.
- ചിത്രത്തിന്റെ ഗുണനിലവാരം: Select preset modes (e.g., Standard, Game, Movie) or customize sharpness and dynamic contrast.
- റെസല്യൂഷനും പുതുക്കൽ നിരക്കും: Ensure your computer's display settings match the monitor's native 4K UHD (3840x2160P) resolution and 144Hz refresh rate for optimal performance.
- എഎംഡി ഫ്രീസിങ്ക്: Enable FreeSync in the OSD menu and your graphics card control panel for adaptive synchronization.
5. ഓഡിയോ ക്രമീകരണങ്ങൾ
Adjust the volume of the built-in speakers or connected external audio devices through the OSD menu's audio section. You can also mute the audio if desired.
6. എർഗണോമിക് ക്രമീകരണങ്ങൾ
മോണിറ്റർ നിങ്ങളുടെ ഇഷ്ടത്തിനനുസരിച്ച് ക്രമീകരിക്കുക viewസ്ഥാനം:
- ഉയരം: Gently push or pull the monitor up or down along the stand.
- ടിൽറ്റ്: സ്ക്രീൻ മുന്നോട്ടോ പിന്നോട്ടോ ചരിക്കുക.
- സ്വിവൽ: മോണിറ്റർ അതിന്റെ അടിഭാഗത്ത് ഇടത്തോട്ടോ വലത്തോട്ടോ തിരിക്കുക.
- പിവറ്റ്: Rotate the screen 90 degrees for vertical orientation.
മെയിൻ്റനൻസ്
സ്ക്രീൻ വൃത്തിയാക്കുന്നു
- വൃത്തിയാക്കുന്നതിന് മുമ്പ് എല്ലായ്പ്പോഴും മോണിറ്റർ ഓഫ് ചെയ്ത് പവർ കോർഡ് ഊരിവയ്ക്കുക.
- നനവില്ലാത്തതും ലിനില്ലാത്തതുമായ തുണി ചെറുതായി ഉപയോഗിക്കുകampവെള്ളം അല്ലെങ്കിൽ ഒരു പ്രത്യേക സ്ക്രീൻ ക്ലീനർ ഉപയോഗിച്ച് നനയ്ക്കുക.
- ക്ലീനർ നേരിട്ട് സ്ക്രീനിൽ സ്പ്രേ ചെയ്യരുത്.
- Avoid using abrasive cleaners, alcohol, or ammonia-based solutions, as they can damage the screen surface.
ജനറൽ കെയർ
- നേരിട്ടുള്ള സൂര്യപ്രകാശം, താപ സ്രോതസ്സുകൾ, അമിതമായ പൊടി എന്നിവയിൽ നിന്ന് മോണിറ്ററിനെ അകറ്റി നിർത്തുക.
- അമിതമായി ചൂടാകുന്നത് തടയാൻ മോണിറ്ററിന് ചുറ്റും മതിയായ വായുസഞ്ചാരം ഉറപ്പാക്കുക.
- മോണിറ്ററിലോ അതിന്റെ കേബിളുകളിലോ ഭാരമുള്ള വസ്തുക്കൾ വയ്ക്കരുത്.
- മൂർച്ചയുള്ള വസ്തുക്കൾ ഉപയോഗിച്ച് സ്ക്രീനിൽ തൊടുന്നത് ഒഴിവാക്കുക.
ട്രബിൾഷൂട്ടിംഗ്
| പ്രശ്നം | സാധ്യമായ പരിഹാരം |
|---|---|
| സ്ക്രീനിൽ ചിത്രമൊന്നുമില്ല |
|
| സ്പീക്കറുകളിൽ നിന്ന് ശബ്ദമില്ല |
|
| Image flickering or distortion |
|
| ബട്ടണുകൾ പ്രതികരിക്കുന്നില്ല |
|
For further assistance, please refer to the CRUA support webസൈറ്റ് അല്ലെങ്കിൽ ഉപഭോക്തൃ സേവനവുമായി ബന്ധപ്പെടുക.
സ്പെസിഫിക്കേഷനുകൾ
| ഫീച്ചർ | വിശദാംശങ്ങൾ |
|---|---|
| മോഡൽ നമ്പർ | CR270E |
| സ്ക്രീൻ വലിപ്പം | 27 ഇഞ്ച് |
| റെസലൂഷൻ | 4K UHD (3840 x 2160 പിക്സലുകൾ) |
| പുതുക്കിയ നിരക്ക് | 144Hz |
| പാനൽ തരം | ഐ.പി.എസ് |
| വീക്ഷണാനുപാതം | 16:9 |
| വർണ്ണ ഗാമറ്റ് | 120% sRGB |
| തെളിച്ചം | 350 കാൻഡെല (cd/m²) |
| കോൺട്രാസ്റ്റ് റേഷ്യോ | 1000:1 |
| കണക്റ്റിവിറ്റി | 2x DP 1.4, 2x HDMI 2.1, 1x 3.5mm Audio Jack |
| അഡാപ്റ്റീവ് സമന്വയം | എഎംഡി ഫ്രീസിങ്ക് |
| എർഗണോമിക്സ് | Height, Pivot, Tilt, Rotate Adjustable |
| മതിൽ മൗണ്ട് | വെസ 75 മിമി x 75 മിമി |
| ബിൽറ്റ്-ഇൻ സ്പീക്കറുകൾ | അതെ |
| ഉൽപ്പന്ന അളവുകൾ | 2.5 x 24 x 14 ഇഞ്ച് |
| ഇനത്തിൻ്റെ ഭാരം | 11.38 പൗണ്ട് |
വാറൻ്റിയും പിന്തുണയും
CRUA provides high-quality computer monitors and premium services. For warranty information, technical support, or any questions regarding your monitor, please visit the official CRUA website or contact their customer service team. Details can typically be found on the product packaging or the CRUA brand store on Amazon.
ബന്ധപ്പെടാനുള്ള വിവരങ്ങൾ: Refer to your purchase documentation or the CRUA official webഏറ്റവും കാലികമായ പിന്തുണാ കോൺടാക്റ്റ് വിശദാംശങ്ങൾക്കായി സൈറ്റ്.