
1. ആമുഖം
The ATTACK SHARK X1 is an ultralight wireless gaming mouse designed for high-performance use. It features a magnetic RGB charging dock, a PixArt PAW3395 Pro sensor, and offers tri-mode connectivity (Wired, 2.4GHz Wireless, Bluetooth). This manual provides detailed instructions for setting up, operating, and maintaining your X1 gaming mouse.

Image 1.1: ATTACK SHARK X1 Gaming Mouse with its Magnetic RGB Charging Dock.
2. പാക്കേജ് ഉള്ളടക്കം
നിങ്ങളുടെ പാക്കേജിൽ എല്ലാ ഇനങ്ങളും ഉണ്ടെന്ന് ഉറപ്പാക്കുക:
- ATTACK SHARK X1 Ultralight Wireless Gaming Mouse
- മാഗ്നറ്റിക് RGB ചാർജിംഗ് ഡോക്ക്
- യുഎസ്ബി ടൈപ്പ്-സി ചാർജിംഗ് കേബിൾ
- 2.4GHz യുഎസ്ബി റിസീവർ
- ആന്റി-സ്ലിപ്പ് ഗ്രിപ്പ് ടേപ്പ്
- ഉപയോക്തൃ മാനുവൽ (ഈ പ്രമാണം)
3. ഉൽപ്പന്നം കഴിഞ്ഞുview
Familiarize yourself with the components of your ATTACK SHARK X1 mouse and charging dock.
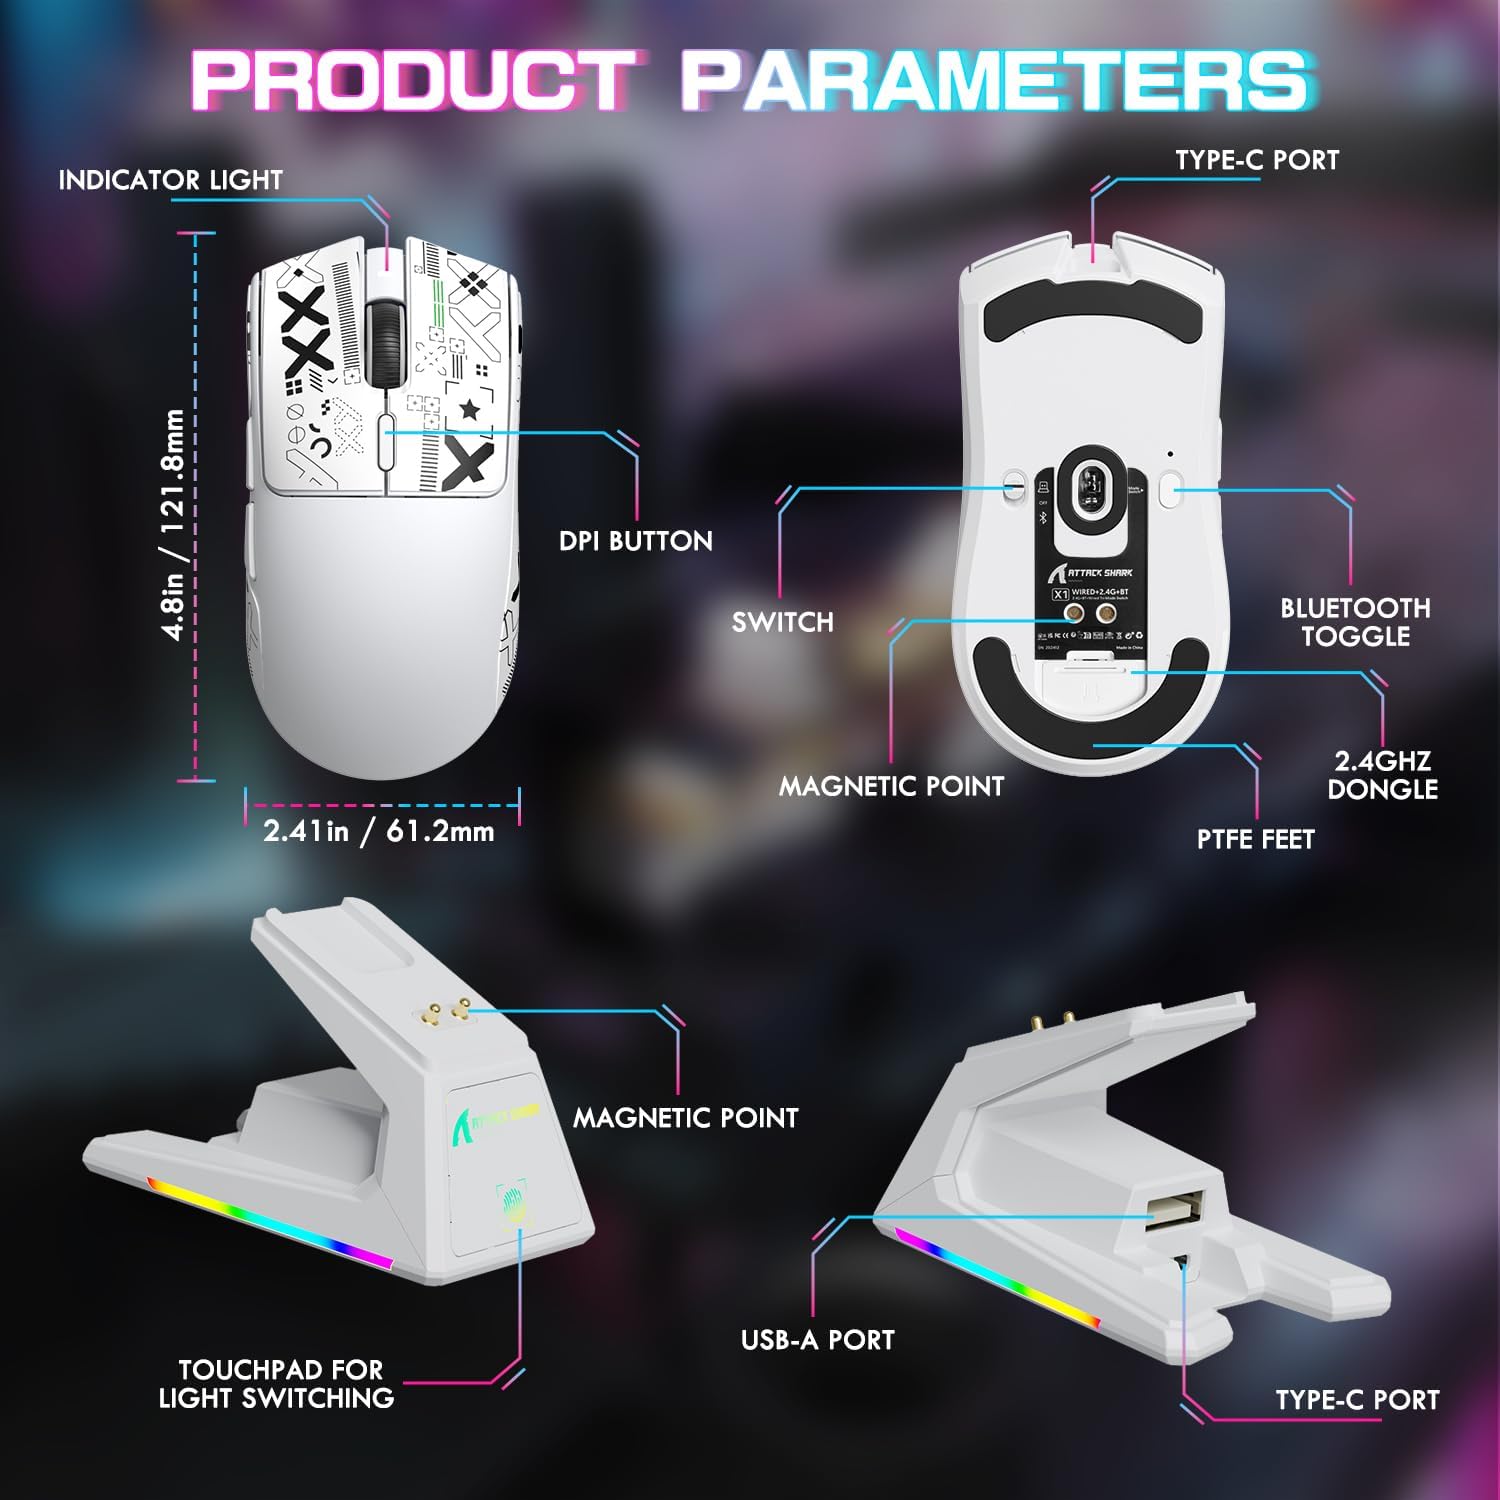
Image 3.1: Detailed diagram of the mouse and charging dock components.
Mouse Components:
- ഇൻഡിക്കേറ്റർ ലൈറ്റ്: ബാറ്ററി നിലയും കണക്ഷൻ മോഡും പ്രദർശിപ്പിക്കുന്നു.
- DPI ബട്ടൺ: പ്രീസെറ്റ് DPI ലെവലുകളിലൂടെ കടന്നുപോകുന്നു.
- മാറുക: Power and connection mode selector (OFF, 2.4G, BT).
- Magnetic Point: For secure attachment to the charging dock.
- PTFE അടി: Low-friction glides for smooth movement.
- ടൈപ്പ്-സി പോർട്ട്: വയർഡ് കണക്ഷനും ചാർജിംഗിനും.
- ബ്ലൂടൂത്ത് ടോഗിൾ: ബ്ലൂടൂത്ത് ജോടിയാക്കൽ സജീവമാക്കുന്നു.
- 2.4GHz Dongle Storage: Compartment for the USB receiver.
Charging Dock Components:
- Magnetic Point: Connects with the mouse for charging.
- USB-A പോർട്ട്: For connecting the 2.4GHz USB receiver.
- ടൈപ്പ്-സി പോർട്ട്: For connecting the dock to a power source.
- Touchpad for Light Switching: Controls the RGB lighting effects on the dock.
4. സജ്ജീകരണം
4.1 മൗസ് ചാർജ് ചെയ്യുന്നു
Before first use, it is recommended to fully charge the mouse. The mouse can be charged via the magnetic charging dock or directly via the Type-C cable.
- Connect the magnetic RGB charging dock to a power source using the provided Type-C cable.
- Place the mouse onto the charging dock. The magnetic points will align, and the mouse will begin charging. The dock's RGB lighting will indicate charging status.
- Alternatively, connect the Type-C cable directly to the mouse's Type-C port and a power source.
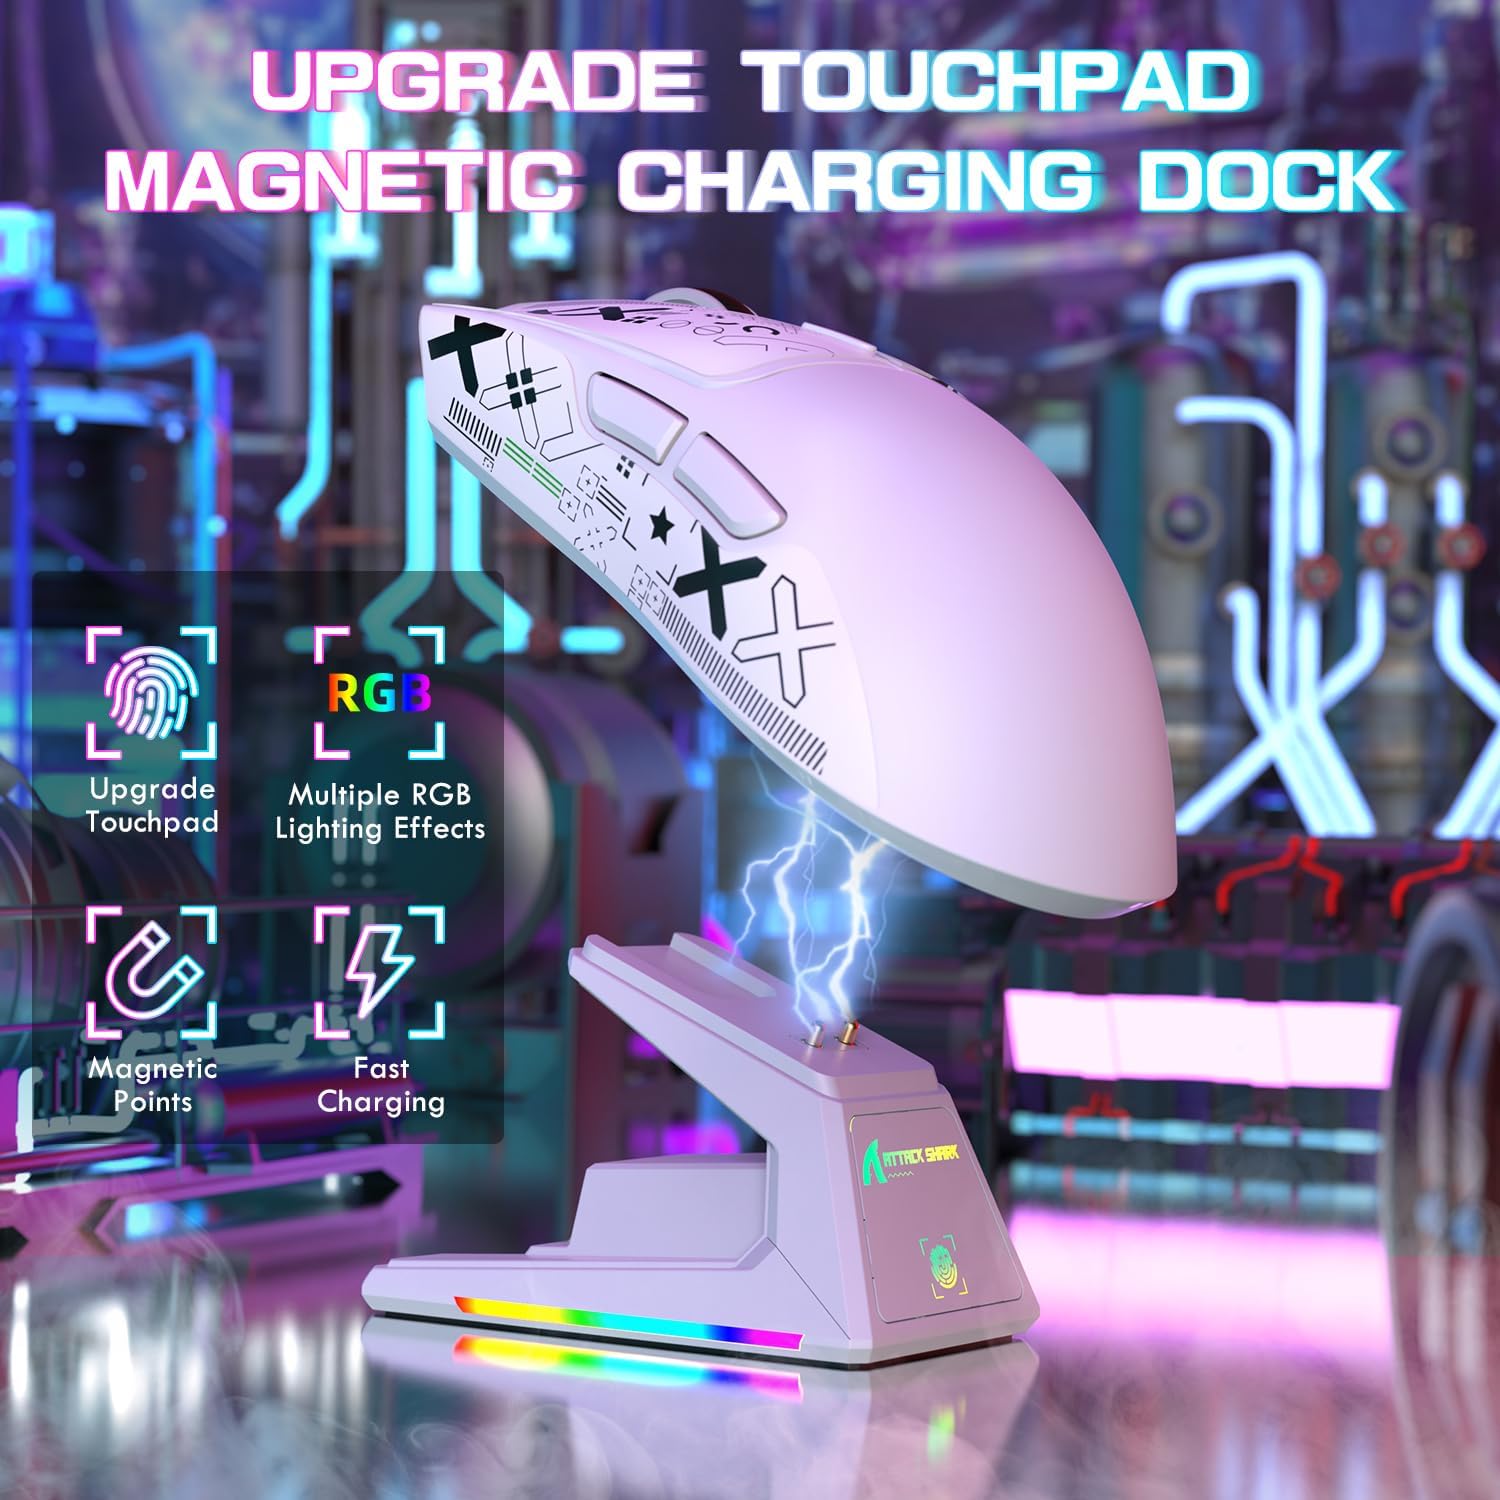
Image 4.1: Charging the X1 mouse using the magnetic dock.
4.2 Applying Anti-Slip Grip Tape
The included anti-slip grip tape can be applied to the mouse for enhanced grip and comfort. Carefully peel the backing and adhere the tape to the desired areas on the mouse body.
4.3 മൗസ് ബന്ധിപ്പിക്കൽ
The ATTACK SHARK X1 supports three connection modes: Wired, 2.4GHz Wireless, and Bluetooth.
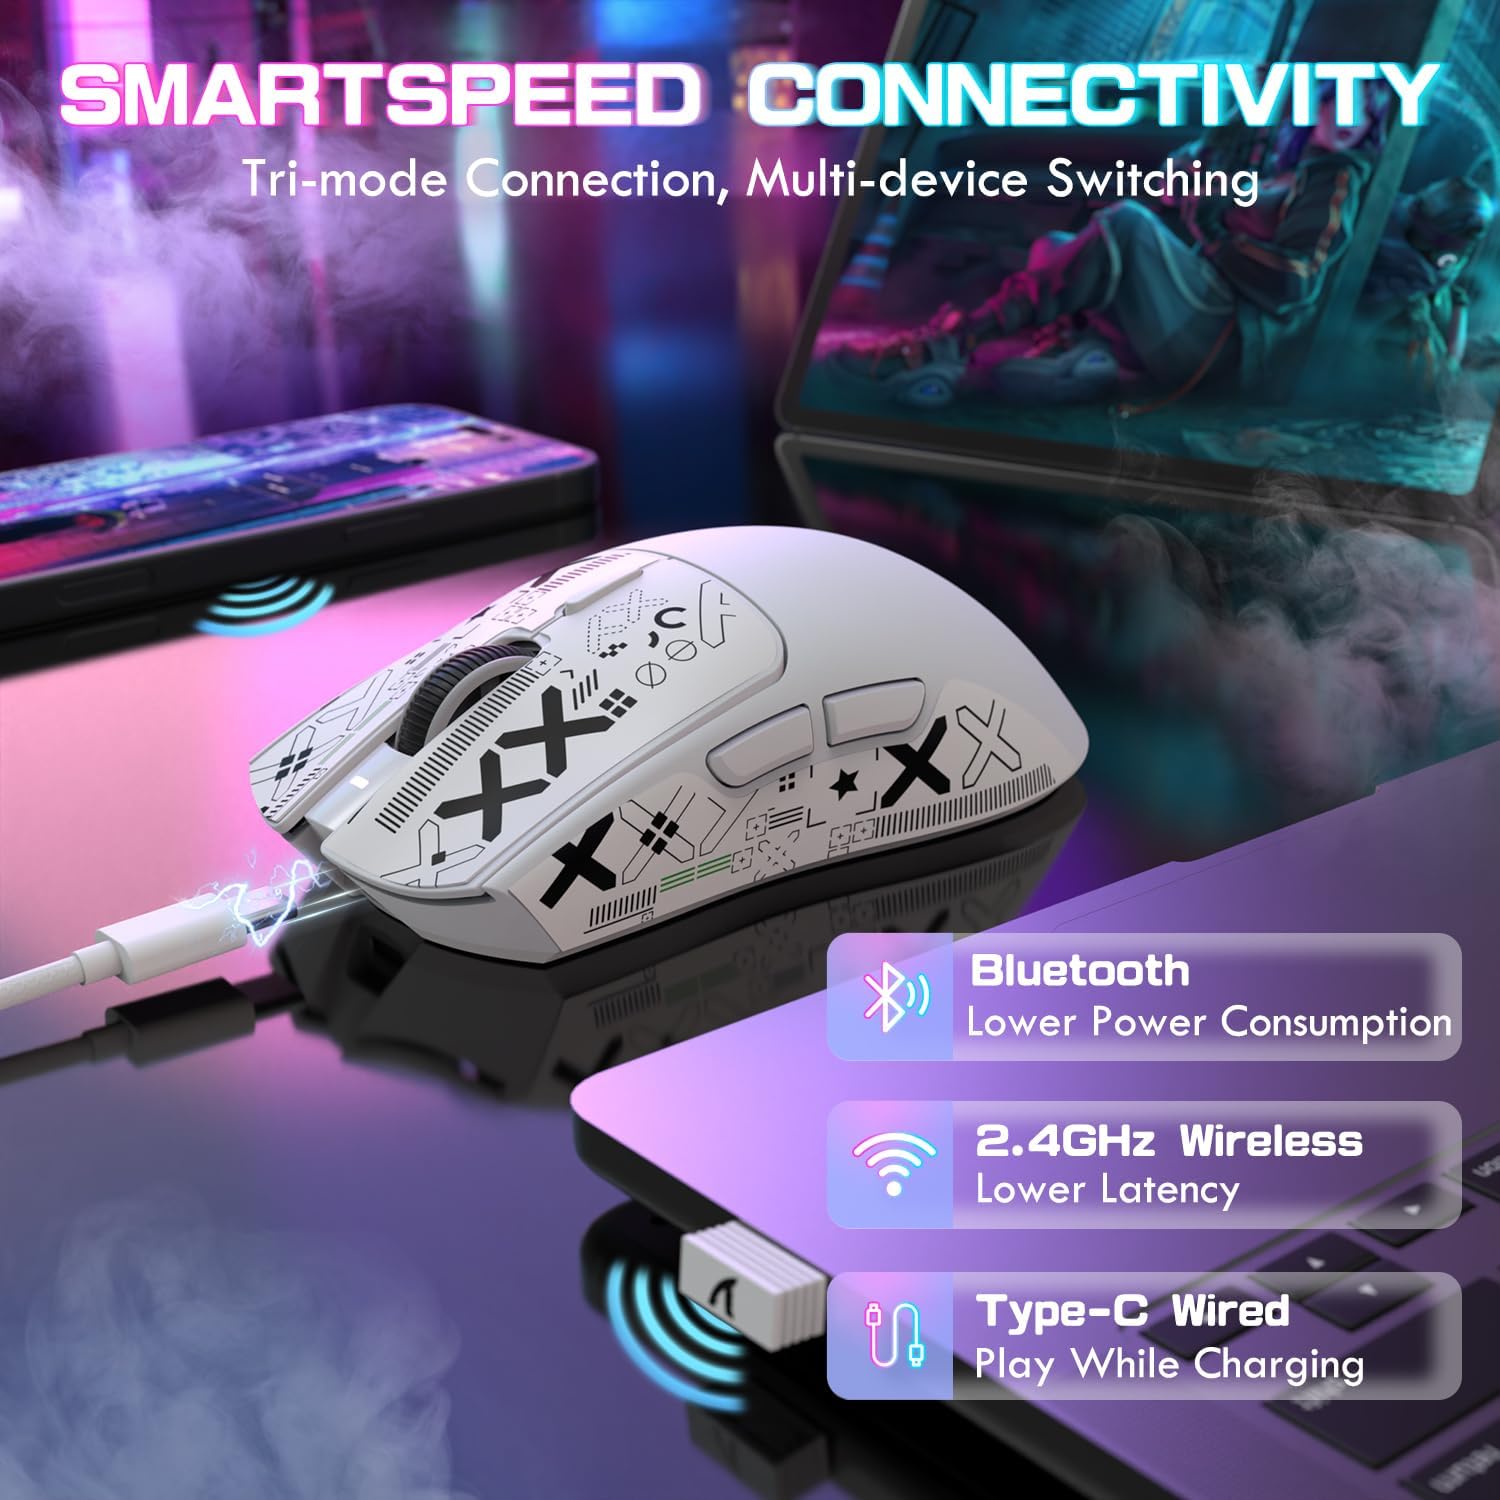
ചിത്രം 4.2: കഴിഞ്ഞുview ട്രൈ-മോഡ് കണക്റ്റിവിറ്റി ഓപ്ഷനുകളിൽ.
വയർഡ് കണക്ഷൻ:
- Ensure the mouse power switch (located on the bottom) is set to the 'OFF' position.
- Connect the Type-C cable directly from the mouse to your computer's USB port. The mouse will function immediately and charge simultaneously.
2.4GHz വയർലെസ് കണക്ഷൻ:
- Remove the 2.4GHz USB receiver from its storage compartment on the bottom of the mouse.
- Plug the USB receiver into an available USB-A port on your computer or into the USB-A port on the charging dock.
- Set the mouse power switch to the '2.4G' position. The mouse will automatically connect to the receiver.
ബ്ലൂടൂത്ത് കണക്ഷൻ:
- Set the mouse power switch to the 'BT' position.
- Press and hold the Bluetooth toggle button (located on the bottom of the mouse) for 3 seconds until the indicator light flashes rapidly, indicating pairing mode.
- നിങ്ങളുടെ കമ്പ്യൂട്ടറിലോ ഉപകരണത്തിലോ, ബ്ലൂടൂത്ത് ക്രമീകരണങ്ങളിലേക്ക് നാവിഗേറ്റ് ചെയ്ത് പുതിയ ഉപകരണങ്ങൾക്കായി തിരയുക.
- Select 'ATTACK SHARK X1' from the list of available devices to pair. The indicator light will become solid once connected.
- The mouse can connect to up to three Bluetooth devices (BT1, BT2, BT3). Switch between them by briefly pressing the Bluetooth toggle button.
5. പ്രവർത്തന നിർദ്ദേശങ്ങൾ
5.1 ഡിപിഐ അഡ്ജസ്റ്റ്മെന്റ്
The mouse features a dedicated DPI button on its top surface. Press this button to cycle through preset DPI levels. For fine-tuning and custom DPI settings (50-unit increments up to 40000 DPI), use the programmable web ഡ്രൈവർ സോഫ്റ്റ്വെയർ.
5.2 RGB ലൈറ്റിംഗ് നിയന്ത്രണം
The magnetic charging dock features dynamic RGB lighting effects. These can be adjusted by tapping the touchpad control located on the front of the dock.
5.3 Web ഡ്രൈവർ സോഫ്റ്റ്വെയർ
The ATTACK SHARK X1 gaming mouse supports full customization through its web-based driver software. This software allows you to:
- മാക്രോകൾ സൃഷ്ടിച്ച് നിയോഗിക്കുക.
- Re-assign mouse keys.
- Fine-tune DPI settings.
- Adjust polling rate (up to 1000Hz).
- Configure other performance parameters.
ആക്സസ് ചെയ്യുക web driver software at: bit.ly/4mqcdwo
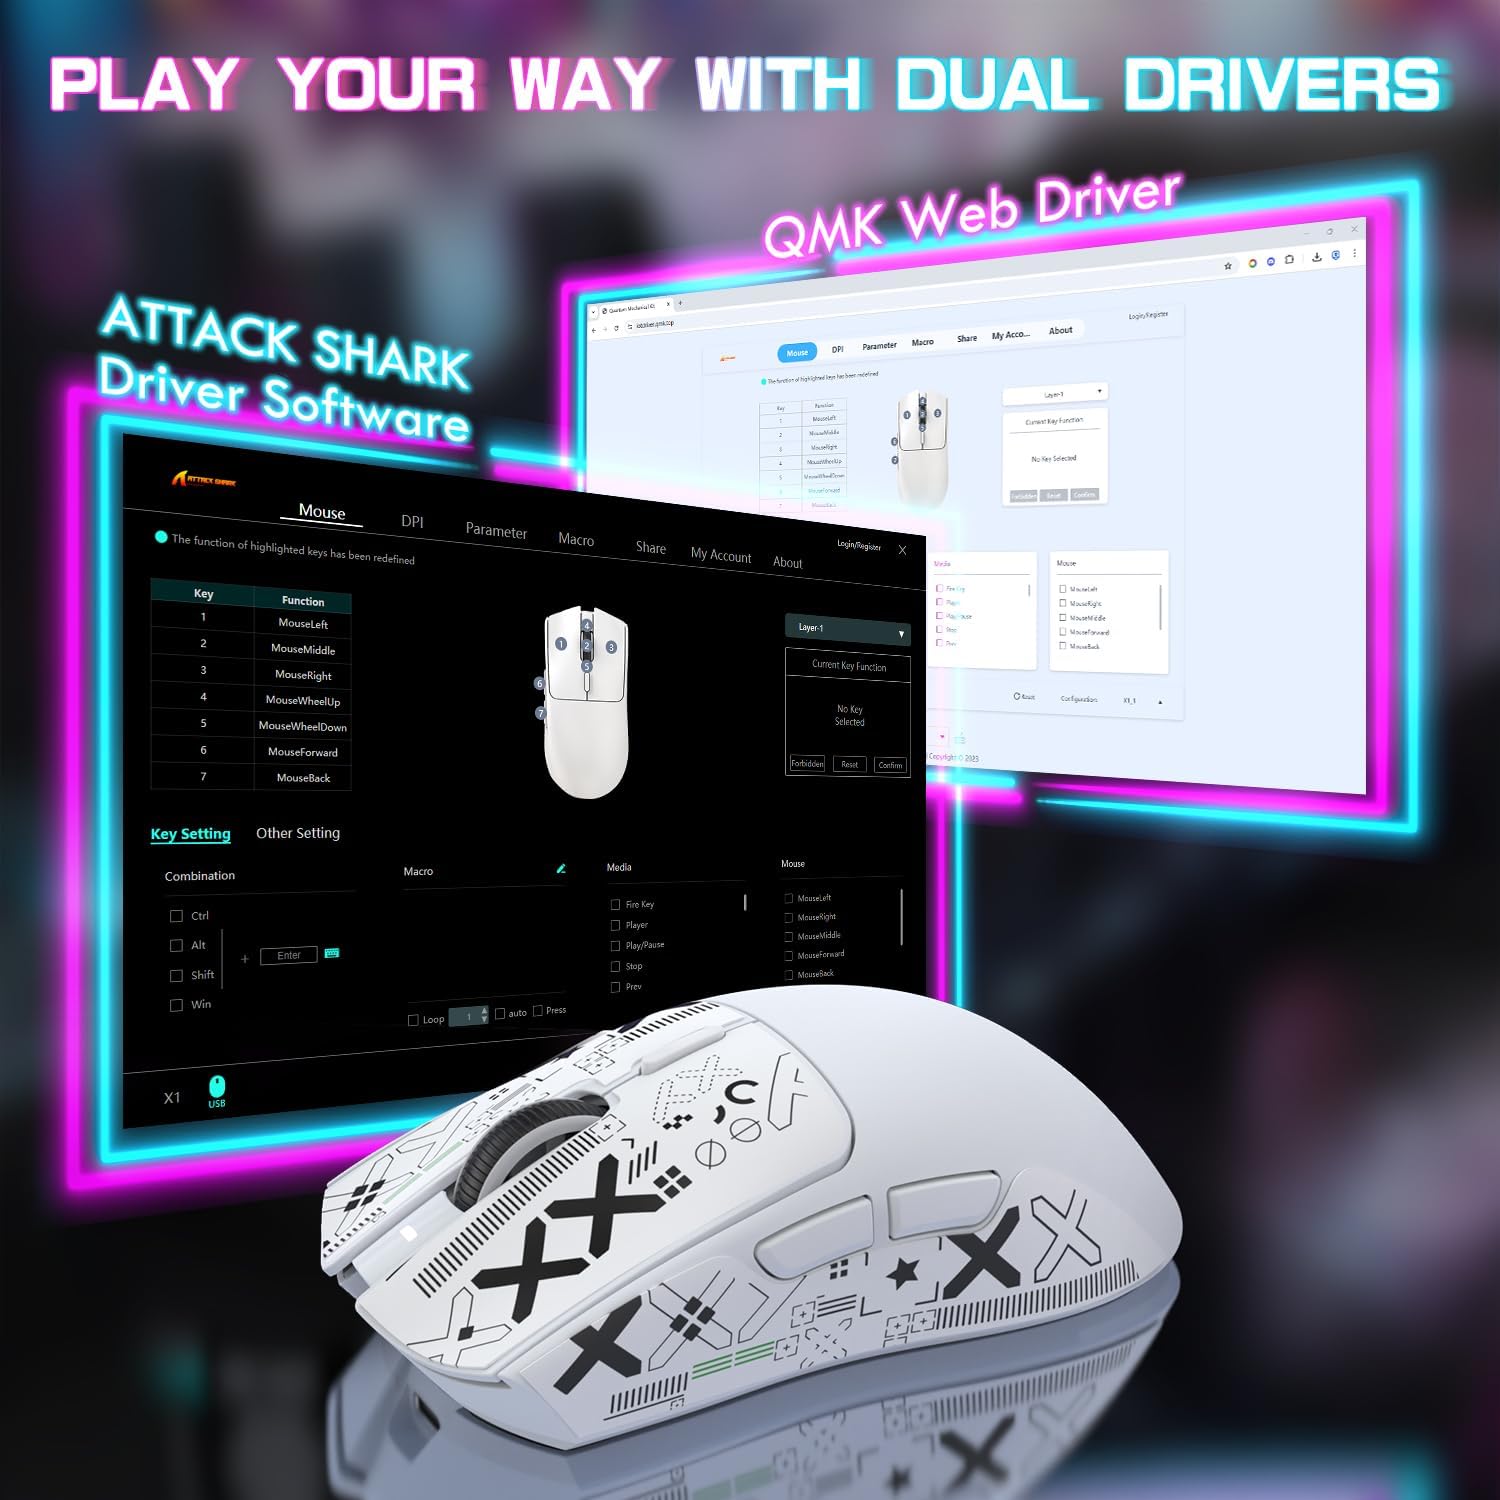
Image 5.1: The ATTACK SHARK X1 web driver software interface.
5.4 കണക്ഷൻ മോഡുകൾ മാറൽ
To switch between wired, 2.4GHz wireless, and Bluetooth modes, use the physical switch located on the bottom of the mouse. For Bluetooth, briefly press the Bluetooth toggle button to cycle between paired devices (BT1, BT2, BT3).
6. പരിപാലനം
6.1 വൃത്തിയാക്കൽ
Regularly clean your mouse to ensure optimal performance and longevity.
- Use a soft, dry cloth to wipe the surface of the mouse and charging dock.
- കഠിനമായ അഴുക്കിന്, ചെറുതായി dampതുണിയിൽ വെള്ളം അല്ലെങ്കിൽ നേരിയ ക്ലീനിംഗ് ലായനി ഉപയോഗിക്കുക. കഠിനമായ രാസവസ്തുക്കൾ ഒഴിവാക്കുക.
- Use a soft brush or compressed air to clean dust from crevices, buttons, and the optical sensor.
6.2 ബാറ്ററി കെയർ
ബാറ്ററി ലൈഫ് വർദ്ധിപ്പിക്കാൻ:
- ബാറ്ററി ഇടയ്ക്കിടെ പൂർണ്ണമായും ഡിസ്ചാർജ് ചെയ്യുന്നത് ഒഴിവാക്കുക.
- ദീർഘനേരം ഉപയോഗിക്കാത്തപ്പോൾ തണുത്തതും വരണ്ടതുമായ സ്ഥലത്ത് മൗസ് സൂക്ഷിക്കുക.
- The mouse features a smart sleep mode to conserve power during inactivity.
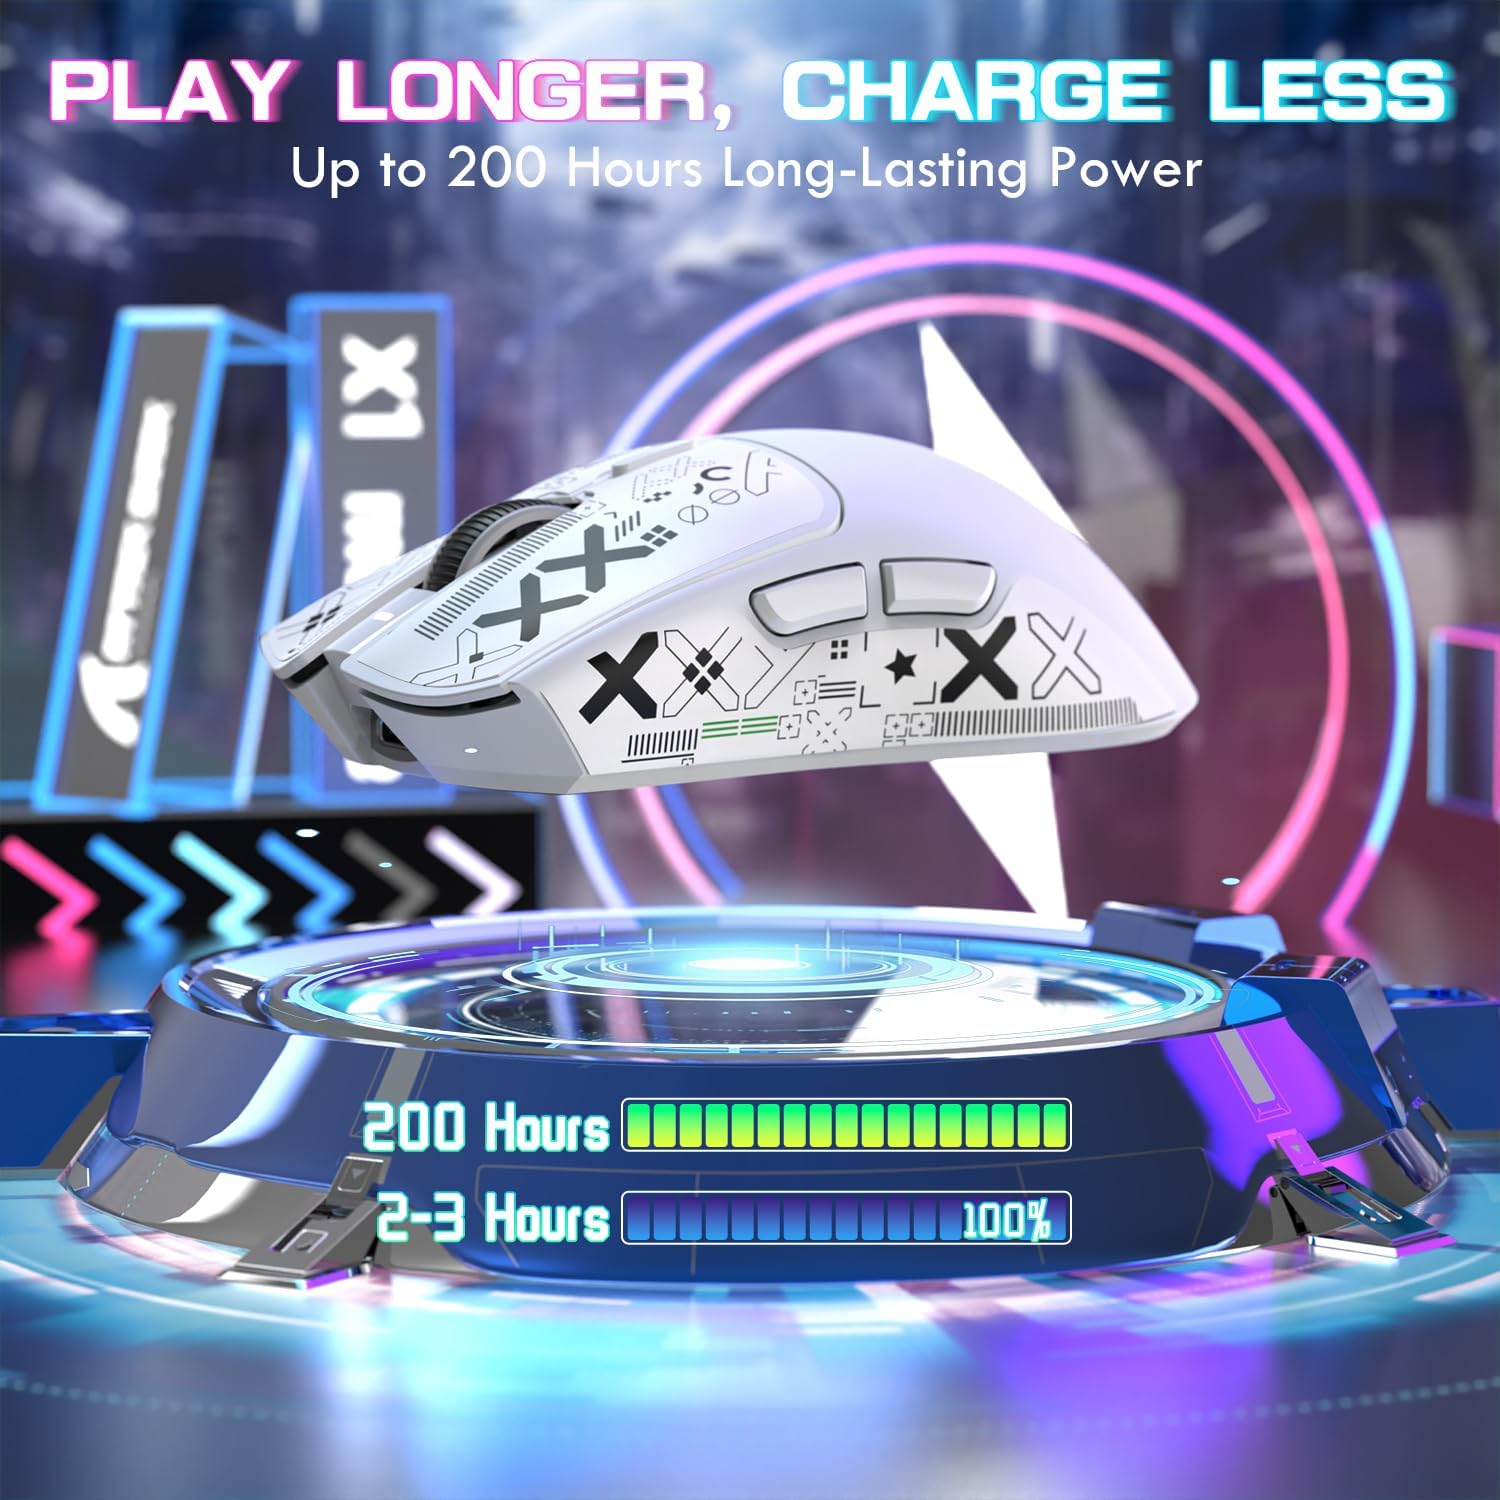
Image 6.1: The X1 mouse offers extended battery life and efficient charging.
7. പ്രശ്നപരിഹാരം
If you encounter issues with your ATTACK SHARK X1 mouse, refer to the following common problems and solutions:
| പ്രശ്നം | സാധ്യമായ കാരണം | പരിഹാരം |
|---|---|---|
| മൗസ് പ്രതികരിക്കുന്നില്ല (വയർലെസ്) | Low battery; Incorrect connection mode; USB receiver not connected; Driver issue. | Charge the mouse; Ensure switch is on '2.4G' or 'BT'; Plug in USB receiver; Reinstall/update drivers via web സോഫ്റ്റ്വെയർ. |
| മൗസ് ചാർജ് ചെയ്യുന്നില്ല | Cable not connected properly; Dock not powered; Magnetic points misaligned. | Check Type-C cable connection to dock/mouse and power source; Ensure mouse is correctly seated on the magnetic dock. |
| RGB lighting not working on dock | Dock not powered; Lighting turned off. | Ensure dock is connected to power; Tap the touchpad on the dock to cycle through lighting modes. |
| DPI മാറുന്നില്ല. | ഡിപിഐ ബട്ടൺ തകരാറ്; സോഫ്റ്റ്വെയർ സംഘർഷം. | Ensure DPI button is pressed firmly; Check web driver software for custom profiles or conflicts. |
| Lag or disconnections | Interference; Distance from receiver; Low battery. | Reduce distance to receiver; Remove sources of interference; Charge the mouse. |
8 സ്പെസിഫിക്കേഷനുകൾ
Key technical specifications for the ATTACK SHARK X1 Ultralight Wireless Gaming Mouse:
| ഫീച്ചർ | വിശദാംശങ്ങൾ |
|---|---|
| മോഡൽ | X1 |
| സെൻസർ | PixArt PAW3395 Pro Optical Sensor |
| ഡിപിഐ ശ്രേണി | 50 - 40,000 DPI (adjustable in 50-unit increments via web ഡ്രൈവർ) |
| പോളിംഗ് നിരക്ക് | 1000Hz വരെ |
| ത്വരണം | 50 ഗ്രാം |
| ട്രാക്കിംഗ് സ്പീഡ് | 650 ഐ.പി.എസ് |
| സ്വിച്ചുകൾ | OMRON Optical Micro Switches (100 million click lifespan) |
| എൻകോഡർ | F-Switch Encoder |
| കണക്റ്റിവിറ്റി | Tri-Mode: USB Type-C Wired, 2.4GHz Wireless, Bluetooth (BT1/BT2/BT3) |
| ഭാരം | 53 ഗ്രാം (ഏകദേശം) |
| ചാർജിംഗ് | Magnetic RGB Charging Dock or USB Type-C |
| ബാറ്ററി ലൈഫ് | 200 മണിക്കൂർ വരെ (ഉപയോഗത്തെ ആശ്രയിച്ച്) |
| അളവുകൾ | Approximately 121.8mm (L) x 61.2mm (W) |

Image 8.1: The PixArt PAW3395 Pro Sensor provides high-performance tracking.
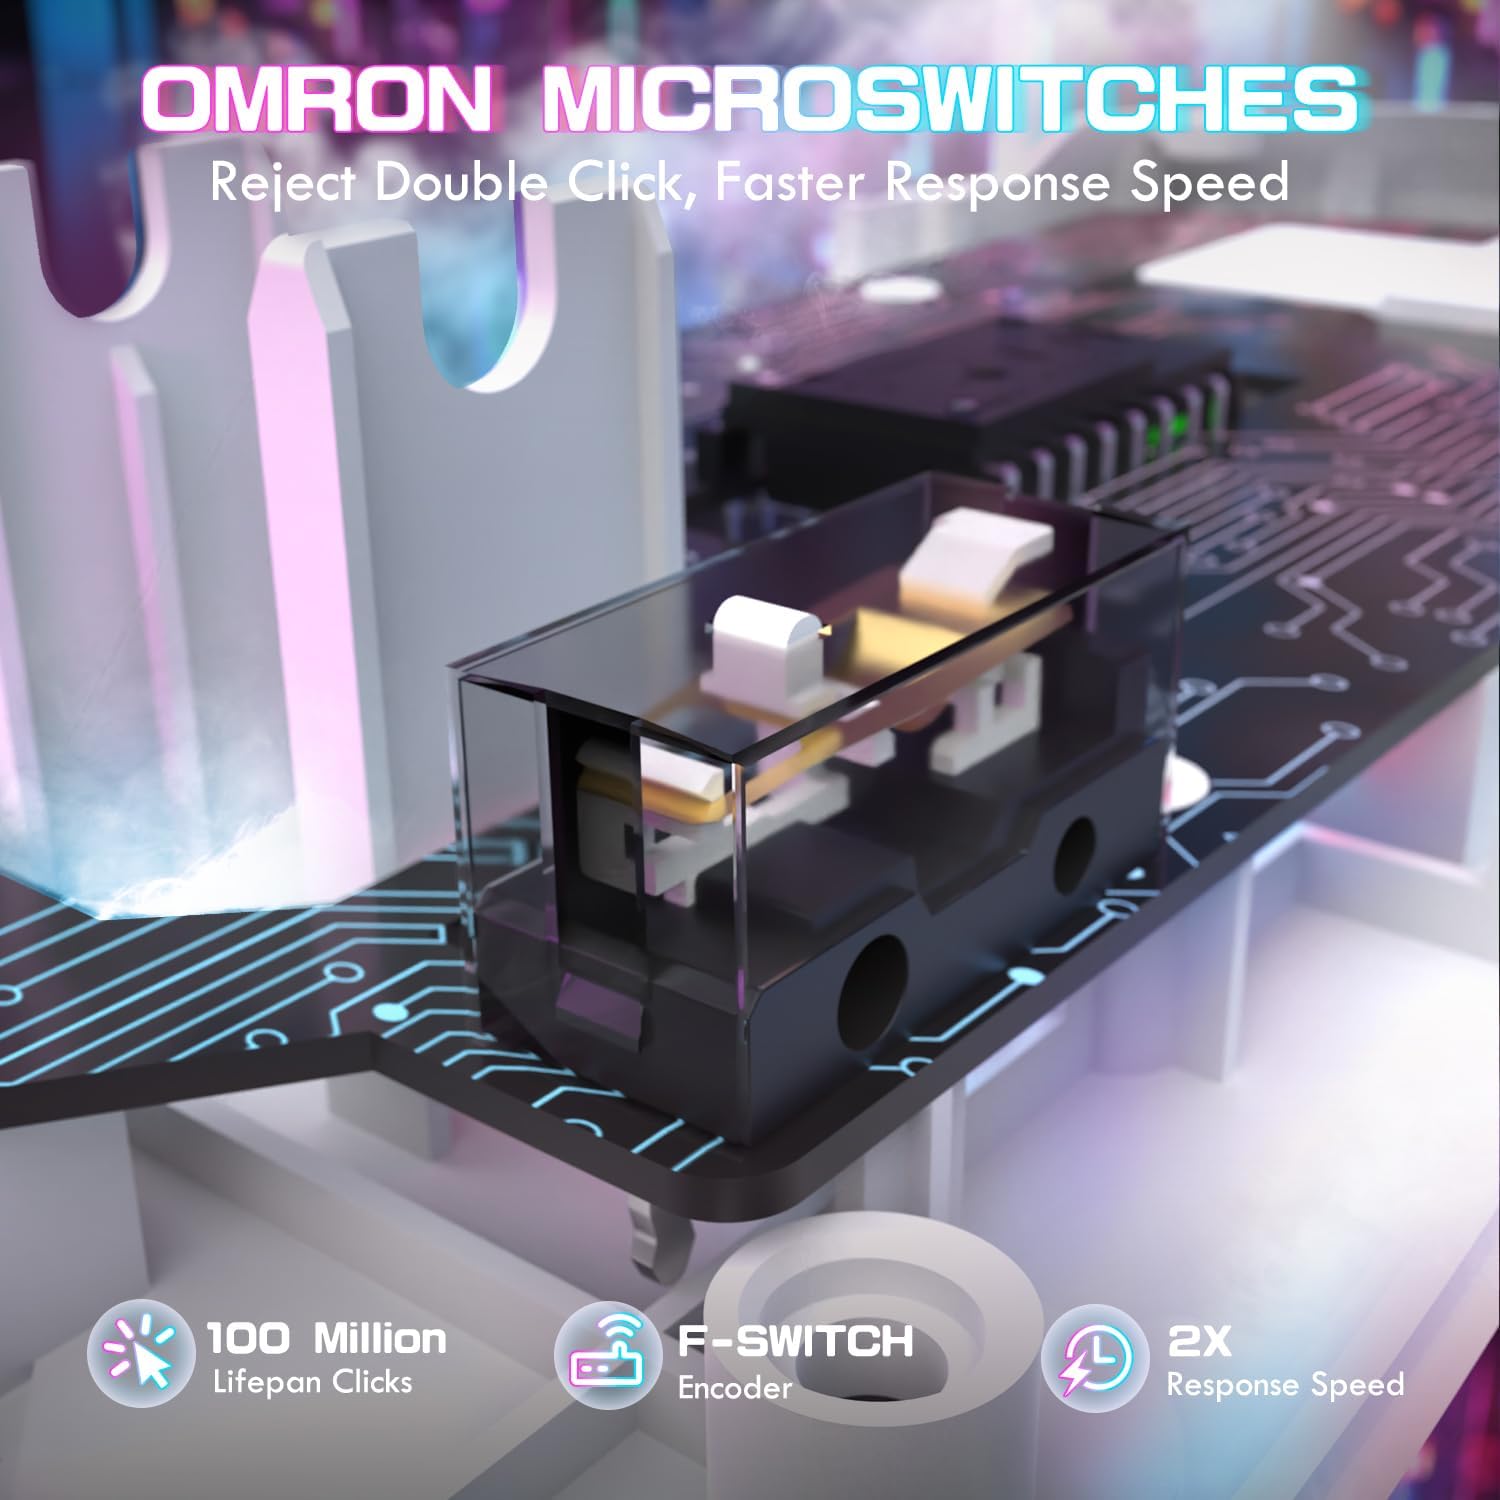
Image 8.2: OMRON optical micro switches ensure durability and responsive clicks.
9. വാറൻ്റിയും പിന്തുണയും
ATTACK SHARK products are manufactured to high quality standards. For warranty information and technical support, please refer to the official ATTACK SHARK webനിങ്ങളുടെ സൈറ്റിൽ ബന്ധപ്പെടുക അല്ലെങ്കിൽ നിങ്ങളുടെ റീട്ടെയിലറെ ബന്ധപ്പെടുക. വാറന്റി ക്ലെയിമുകൾക്കായി നിങ്ങളുടെ വാങ്ങിയതിന്റെ തെളിവ് സൂക്ഷിക്കുക.
10. ഉൽപ്പന്ന വീഡിയോ
Watch the official product video for a visual guide on the ATTACK SHARK X1 mouse features and usage.
Video 10.1: ATTACK SHARK X1 Tri Mode Ultra Light Gaming Mouse overview. This video demonstrates the magnetic charging dock, connectivity options, and key features of the mouse.