
ആമുഖം
The ATTACK SHARK X1 Superlight Wireless Gaming Mouse is engineered for high-performance gaming and versatile daily use. Featuring a PAW3395PRO gaming sensor, tri-mode connectivity (2.4G wireless, Bluetooth, and wired USB-C), and an innovative magnetic charging dock with RGB lighting, the X1 mouse provides precision, speed, and convenience. Its ultra-lightweight design and durable switches ensure comfort and longevity for extended use.
പാക്കേജ് ഉള്ളടക്കം
- ATTACK SHARK X1 Superlight Wireless Gaming Mouse
- മാഗ്നറ്റിക് RGB ചാർജിംഗ് ഡോക്ക്
- USB-C മുതൽ USB-A കേബിൾ വരെ
- 2.4GHz Wireless Receiver (Nano Dongle)
- ഉപയോക്തൃ മാനുവൽ (ഈ പ്രമാണം)

Image: The ATTACK SHARK X1 mouse shown alongside its magnetic charging dock.
ഉൽപ്പന്നം കഴിഞ്ഞുview
The X1 mouse features a lightweight ergonomic design with programmable buttons and a high-precision optical sensor. The accompanying magnetic charging dock provides convenient charging and also houses the 2.4GHz wireless receiver.
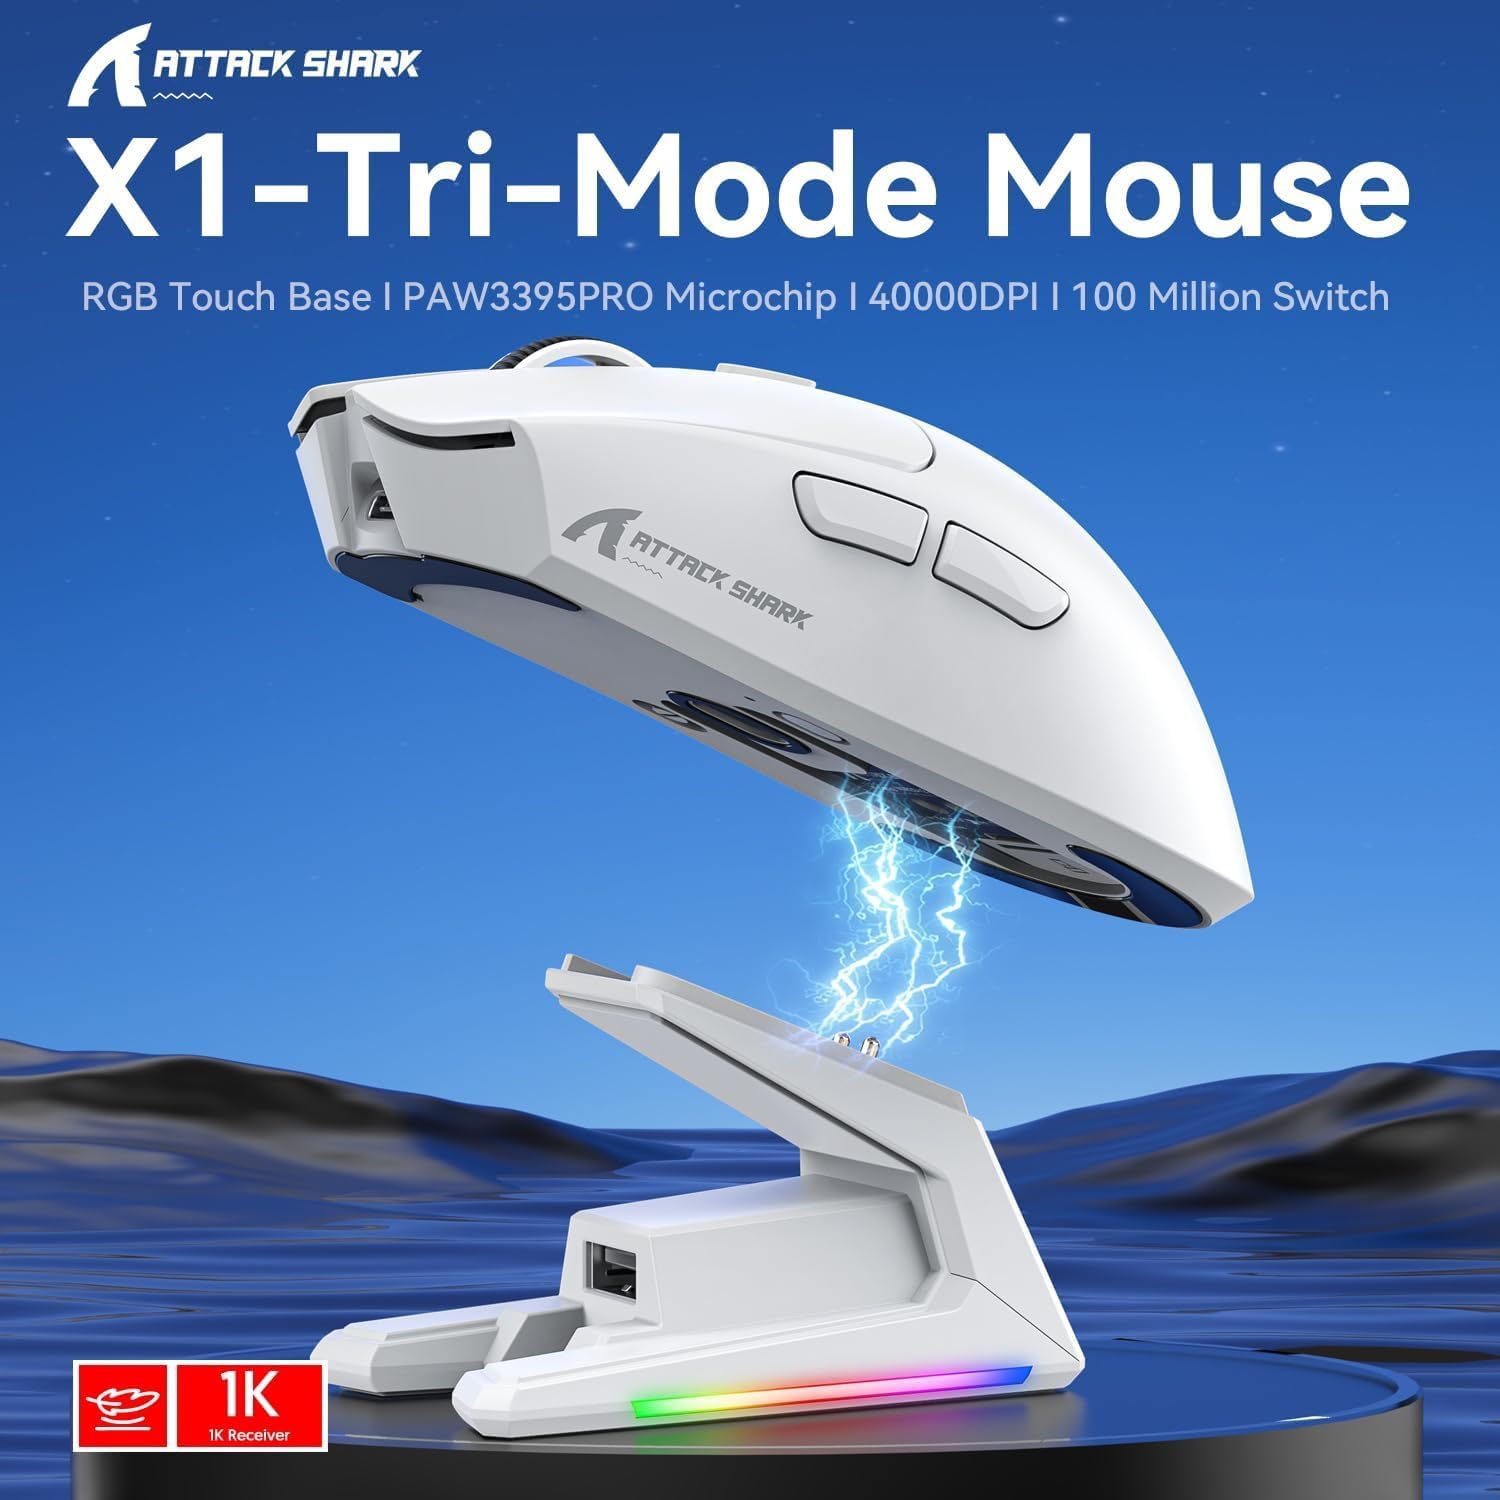
ചിത്രം: കഴിഞ്ഞുview of the X1 Tri-Mode Mouse highlighting its key features.
Mouse Components:
- ഇടത്/വലത് ക്ലിക്ക് ബട്ടണുകൾ: Standard mouse buttons with durable OMRON switches.
- സ്ക്രോൾ വീൽ: ലംബ സ്ക്രോളിംഗിനും മധ്യ-ക്ലിക്ക് പ്രവർത്തനത്തിനും.
- DPI ബട്ടൺ: Located on top for quick sensitivity adjustments.
- സൈഡ് ബട്ടണുകൾ: Two programmable buttons on the left side for forward/backward navigation or custom macros.
- യുഎസ്ബി-സി പോർട്ട്: വയർഡ് കണക്ഷനും ചാർജിംഗിനും.
- പവർ/മോഡ് സ്വിച്ച്: Located on the bottom, allows switching between OFF, 2.4G, and Bluetooth modes.
- PAW3395PRO Sensor: High-performance optical sensor for precise tracking.
Charging Dock Components:
- Magnetic Charging Pins: Align with the mouse for effortless charging.
- RGB Lighting Strip: ഇഷ്ടാനുസൃതമാക്കാവുന്ന ലൈറ്റിംഗ് ഇഫക്റ്റുകൾ.
- Touch-Sensitive Panel: For controlling RGB lighting on the dock.
- USB-A പോർട്ട്: For connecting the 2.4GHz wireless receiver.
- USB-C ചാർജിംഗ് പോർട്ട്: For powering the dock.

ചിത്രം: ക്ലോസ്-അപ്പ് view of the charging dock's USB data interface for the 2.4G receiver and the Type-C charging interface.
സജ്ജമാക്കുക
1. വയർഡ് കണക്ഷൻ:
- Connect the USB-C end of the provided cable to the mouse's USB-C port.
- നിങ്ങളുടെ കമ്പ്യൂട്ടറിൽ ലഭ്യമായ ഒരു USB പോർട്ടിലേക്ക് കേബിളിന്റെ USB-A അറ്റം ബന്ധിപ്പിക്കുക.
- Ensure the power/mode switch on the bottom of the mouse is set to the 'OFF' position. The mouse will function in wired mode and charge simultaneously.

Image: The X1 mouse connected to a laptop via its USB-C cable, demonstrating wired mode and charging capability.
2. 2.4GHz വയർലെസ് കണക്ഷൻ:
- Plug the 2.4GHz wireless receiver into an available USB-A port on your computer or into the USB-A port on the charging dock.
- Set the power/mode switch on the bottom of the mouse to the '2.4G' position.
- മൗസ് സ്വയമേവ റിസീവറുമായി ബന്ധിപ്പിക്കണം.
3 ബ്ലൂടൂത്ത് കണക്ഷൻ:
- Set the power/mode switch on the bottom of the mouse to the 'BT' position.
- The mouse will enter pairing mode (indicator light may flash).
- നിങ്ങളുടെ കമ്പ്യൂട്ടറിലോ ഉപകരണത്തിലോ, ബ്ലൂടൂത്ത് ക്രമീകരണങ്ങളിലേക്ക് നാവിഗേറ്റ് ചെയ്ത് പുതിയ ഉപകരണങ്ങൾക്കായി തിരയുക.
- Select 'ATTACK SHARK X1' (or similar name) from the list of available devices to pair. The mouse supports memory for up to 3 Bluetooth devices.
പ്രവർത്തന നിർദ്ദേശങ്ങൾ
DPI ക്രമീകരണം:
The X1 mouse features a dedicated DPI button on its top surface. Press this button to cycle through the preset DPI levels. The mouse supports up to 40,000 DPI with 6 programmable sensitivity presets. The current DPI level may be indicated by an LED color change (refer to the Web Cloud Driver for specific indications).

ചിത്രം: വിശദമായത് view of the PAW3395PRO gaming sensor, emphasizing its high precision.
Web Cloud Driver Software:
The ATTACK SHARK X1 utilizes an innovative web-based cloud driver for customization, eliminating the need for software installation. Access the driver through your web browser to configure advanced functions such as:
- DPI adjustment and custom profiles
- പോളിംഗ് നിരക്ക് ക്രമീകരണം
- Competitive mode activation
- Custom button assignments
- Macro recording and personalized key mapping
The open-source driver automatically identifies your computer system. Refer to the product packaging or official webനിർദ്ദിഷ്ട കാര്യങ്ങൾക്കുള്ള സൈറ്റ് URL ആക്സസ് ചെയ്യാൻ Web ക്ലൗഡ് ഡ്രൈവർ.

Image: Screenshot of the X1 Web Cloud Driver interface, showing options for key settings, macros, and other functions.
RGB Lighting Customization (Dock):
The magnetic charging dock features an integrated touch-sensitive panel that allows you to customize its RGB lighting effects. Tap the panel to cycle through different lighting modes. Press and hold the panel to turn the RGB lighting on or off.
ചാർജിംഗും ബാറ്ററി ലൈഫും
The X1 mouse can be charged via the included USB-C cable or by placing it on the magnetic charging dock. The dock provides effortless charging; simply align the mouse with the charging pins for instant power-up. A full charge typically takes approximately 2 hours and provides up to 65 hours of continuous working time.

Image: The X1 mouse magnetically docked for charging, showcasing the RGB lighting of the dock.

Image: An illustration depicting the optimized battery life of the X1 mouse, indicating efficient power usage.
മെയിൻ്റനൻസ്
To ensure the longevity and optimal performance of your ATTACK SHARK X1 mouse and charging dock, follow these maintenance guidelines:
- വൃത്തിയാക്കൽ: Use a soft, dry cloth to wipe down the mouse and dock. For stubborn dirt, a slightly damp cloth can be used, but ensure no moisture enters the internal components or charging pins. Avoid harsh chemicals or abrasive materials.
- സെൻസർ പരിചരണം: Keep the optical sensor on the bottom of the mouse clean and free of dust or debris to maintain accurate tracking.
- സംഭരണം: When not in use for extended periods, store the mouse and dock in a cool, dry place away from direct sunlight and extreme temperatures.
- ചാർജിംഗ് പിന്നുകൾ: Periodically inspect the charging pins on the dock and the corresponding contacts on the mouse for any residue or corrosion. Clean gently with a cotton swab if necessary.
ട്രബിൾഷൂട്ടിംഗ്
If you encounter issues with your ATTACK SHARK X1 mouse, refer to the following common troubleshooting steps:
- മൗസ് പ്രതികരിക്കുന്നില്ല:
- മൗസ് ചാർജ് ചെയ്തിട്ടുണ്ടെന്ന് ഉറപ്പാക്കുക.
- Check the power/mode switch on the bottom of the mouse is set to the correct connection mode (2.4G, BT, or OFF for wired).
- For 2.4G wireless, ensure the receiver is properly plugged into a USB port. Try a different USB port.
- ബ്ലൂടൂത്തിന്, നിങ്ങളുടെ ഉപകരണത്തിൽ ബ്ലൂടൂത്ത് പ്രവർത്തനക്ഷമമാക്കിയിട്ടുണ്ടെന്നും മൗസ് ജോടിയാക്കിയിട്ടുണ്ടെന്നും ഉറപ്പാക്കുക. മൗസ് വീണ്ടും ജോടിയാക്കാൻ ശ്രമിക്കുക.
- Try connecting the mouse via the USB-C cable to see if it functions in wired mode.
- Inconsistent Tracking or Cursor Lag:
- മൗസിന്റെ അടിയിലുള്ള ഒപ്റ്റിക്കൽ സെൻസർ വൃത്തിയാക്കുക.
- മൗസ് അനുയോജ്യമായ ഒരു പ്രതലത്തിലാണ് ഉപയോഗിക്കുന്നതെന്ന് ഉറപ്പാക്കുക (ഉദാ. ഒരു മൗസ് പാഡ്).
- Check for interference in 2.4G wireless mode (e.g., other wireless devices).
- Adjust DPI settings using the DPI button or Web ക്ലൗഡ് ഡ്രൈവർ.
- ചാർജിംഗ് പ്രശ്നങ്ങൾ:
- Ensure the USB-C cable is securely connected to the charging dock and a power source.
- Verify the mouse is correctly seated on the magnetic charging dock, ensuring the pins make proper contact.
- Try charging directly via the USB-C cable connected to the mouse.
- Web Cloud Driver Not Accessible:
- നിങ്ങളുടെ കമ്പ്യൂട്ടറിൽ സജീവ ഇന്റർനെറ്റ് കണക്ഷൻ ഉണ്ടെന്ന് ഉറപ്പാക്കുക.
- പരിശോധിച്ചുറപ്പിക്കുക URL വേണ്ടി Web Cloud Driver is entered correctly.
- മറ്റൊന്ന് പരീക്ഷിക്കുക web ബ്രൗസർ.
സ്പെസിഫിക്കേഷനുകൾ
| ഫീച്ചർ | വിവരണം |
|---|---|
| മോഡൽ | X1 |
| കണക്റ്റിവിറ്റി | Tri-Mode: 2.4G Wireless, Bluetooth 5.2, Wired USB-C |
| സെൻസർ | PixArt PAW3395PRO Optical Gaming Sensor |
| ഡിപിഐ ശ്രേണി | Up to 40,000 DPI (6 programmable presets) |
| ഐ.പി.എസ് | 650 ഐ.പി.എസ് |
| ത്വരണം | 50G |
| സ്വിച്ചുകൾ | OMRON Mechanical Switches (100 Million Clicks lifespan) |
| ഭാരം | Approx. 53g (Ultra-light) |
| ബാറ്ററി ലൈഫ് | 65 മണിക്കൂർ വരെ (തുടർച്ചയായ ഉപയോഗം) |
| ചാർജിംഗ് | Magnetic Charging Dock / USB-C Wired |
| പോളിംഗ് നിരക്ക് | 1000Hz (1ms response) |
| അളവുകൾ (പാക്കേജ്) | 7.09 x 4.53 x 2.17 ഇഞ്ച് |
| ഇനത്തിന്റെ ഭാരം (പാക്ക് ചെയ്തത്) | 7.7 ഔൺസ് |
വാറൻ്റിയും പിന്തുണയും
വാറന്റി വിവരങ്ങൾക്കും സാങ്കേതിക പിന്തുണയ്ക്കും, ദയവായി ഔദ്യോഗിക ATTACK SHARK കാണുക. webസൈറ്റിൽ ബന്ധപ്പെടുകയോ അവരുടെ ഉപഭോക്തൃ സേവനവുമായി നേരിട്ട് ബന്ധപ്പെടുകയോ ചെയ്യുക. ഏതെങ്കിലും വാറന്റി ക്ലെയിമുകൾക്ക് വാങ്ങിയതിന്റെ തെളിവായി നിങ്ങളുടെ വാങ്ങൽ രസീത് സൂക്ഷിക്കുക.
കൂടുതൽ സഹായത്തിന്, സന്ദർശിക്കുക ആമസോണിലെ അറ്റാക്ക് ഷാർക്ക് സ്റ്റോർ.