
1. ആമുഖം
This manual provides comprehensive instructions for setting up, operating, and maintaining your ATTACK SHARK X11 Ultra-Light Triple Mode Gaming Mouse. Please read this manual carefully before use to ensure optimal performance and longevity of your device.
2. പാക്കേജ് ഉള്ളടക്കം
നിങ്ങളുടെ പാക്കേജിൽ എല്ലാ ഇനങ്ങളും ഉണ്ടെന്ന് ഉറപ്പാക്കുക:
- ATTACK SHARK X11 Gaming Mouse
- മാഗ്നറ്റിക് ചാർജിംഗ് ഡോക്ക്
- USB-C മുതൽ USB-A കേബിൾ വരെ
- 2.4GHz യുഎസ്ബി റിസീവർ
- ഉപയോക്തൃ മാനുവൽ (ഈ പ്രമാണം)
3. ഉൽപ്പന്നം കഴിഞ്ഞുview
Familiarize yourself with the components of your X11 gaming mouse.

Image 3.1: The ATTACK SHARK X11 Gaming Mouse with its magnetic charging dock.

Image 3.2: Exploded diagram showing internal components like the lightweight material case, engineering curved keys, PCB, lithium battery, TTC encoder, Huano switches, PAW3311 sensor, and mouse bottom case.
Mouse Components:
- ഇടത്/വലത് ക്ലിക്ക് ബട്ടണുകൾ: Equipped with Huano micro switches for tactile feedback.
- സ്ക്രോൾ വീൽ: For navigation and additional programmable function.
- Side Buttons (x2): വിവിധ പ്രവർത്തനങ്ങൾക്കായി പ്രോഗ്രാം ചെയ്യാവുന്നതാണ്.
- DPI ബട്ടൺ: Located on the underside for adjusting sensitivity.
- മോഡ് സ്വിച്ച്: Located on the underside to select connectivity mode (Wired, 2.4GHz, Bluetooth).
- യുഎസ്ബി-സി പോർട്ട്: വയർഡ് കണക്ഷനും ചാർജിംഗിനും.
- ഒപ്റ്റിക്കൽ സെൻസർ: PAW3311 sensor for precise tracking.
മാഗ്നറ്റിക് ചാർജിംഗ് ഡോക്ക്:
- Magnetic Charging Pins: For effortless wireless charging.
- RGB ലൈറ്റിംഗ്: ഇഷ്ടാനുസൃതമാക്കാവുന്ന ലൈറ്റിംഗ് ഇഫക്റ്റുകൾ.
- USB-A പോർട്ട്: To store the 2.4GHz USB receiver.
4. സജ്ജീകരണ ഗൈഡ്
4.1 മൗസ് ചാർജ് ചെയ്യുന്നു
The X11 mouse can be charged using the magnetic charging dock or directly via the USB-C cable.
- Using the Magnetic Charging Dock:
- Connect the USB-C cable to the charging dock and then to a power source (e.g., computer USB port, USB wall adapter).
- Place the mouse onto the charging dock. The magnetic connection will secure it, and charging will begin automatically.
- The dock features touch-sensitive RGB lighting control. Tap the dock to cycle through lighting effects or turn them off.
- നേരിട്ടുള്ള USB-C ചാർജിംഗ്:
- Connect the USB-C cable directly to the mouse's USB-C port and then to a power source.
- The mouse can be used in wired mode while charging.

Image 4.1: The X11 mouse charging on its magnetic dock, showcasing the RGB lighting.
A full charge provides approximately 65 hours of usage. Charging time is typically 2-3 hours.
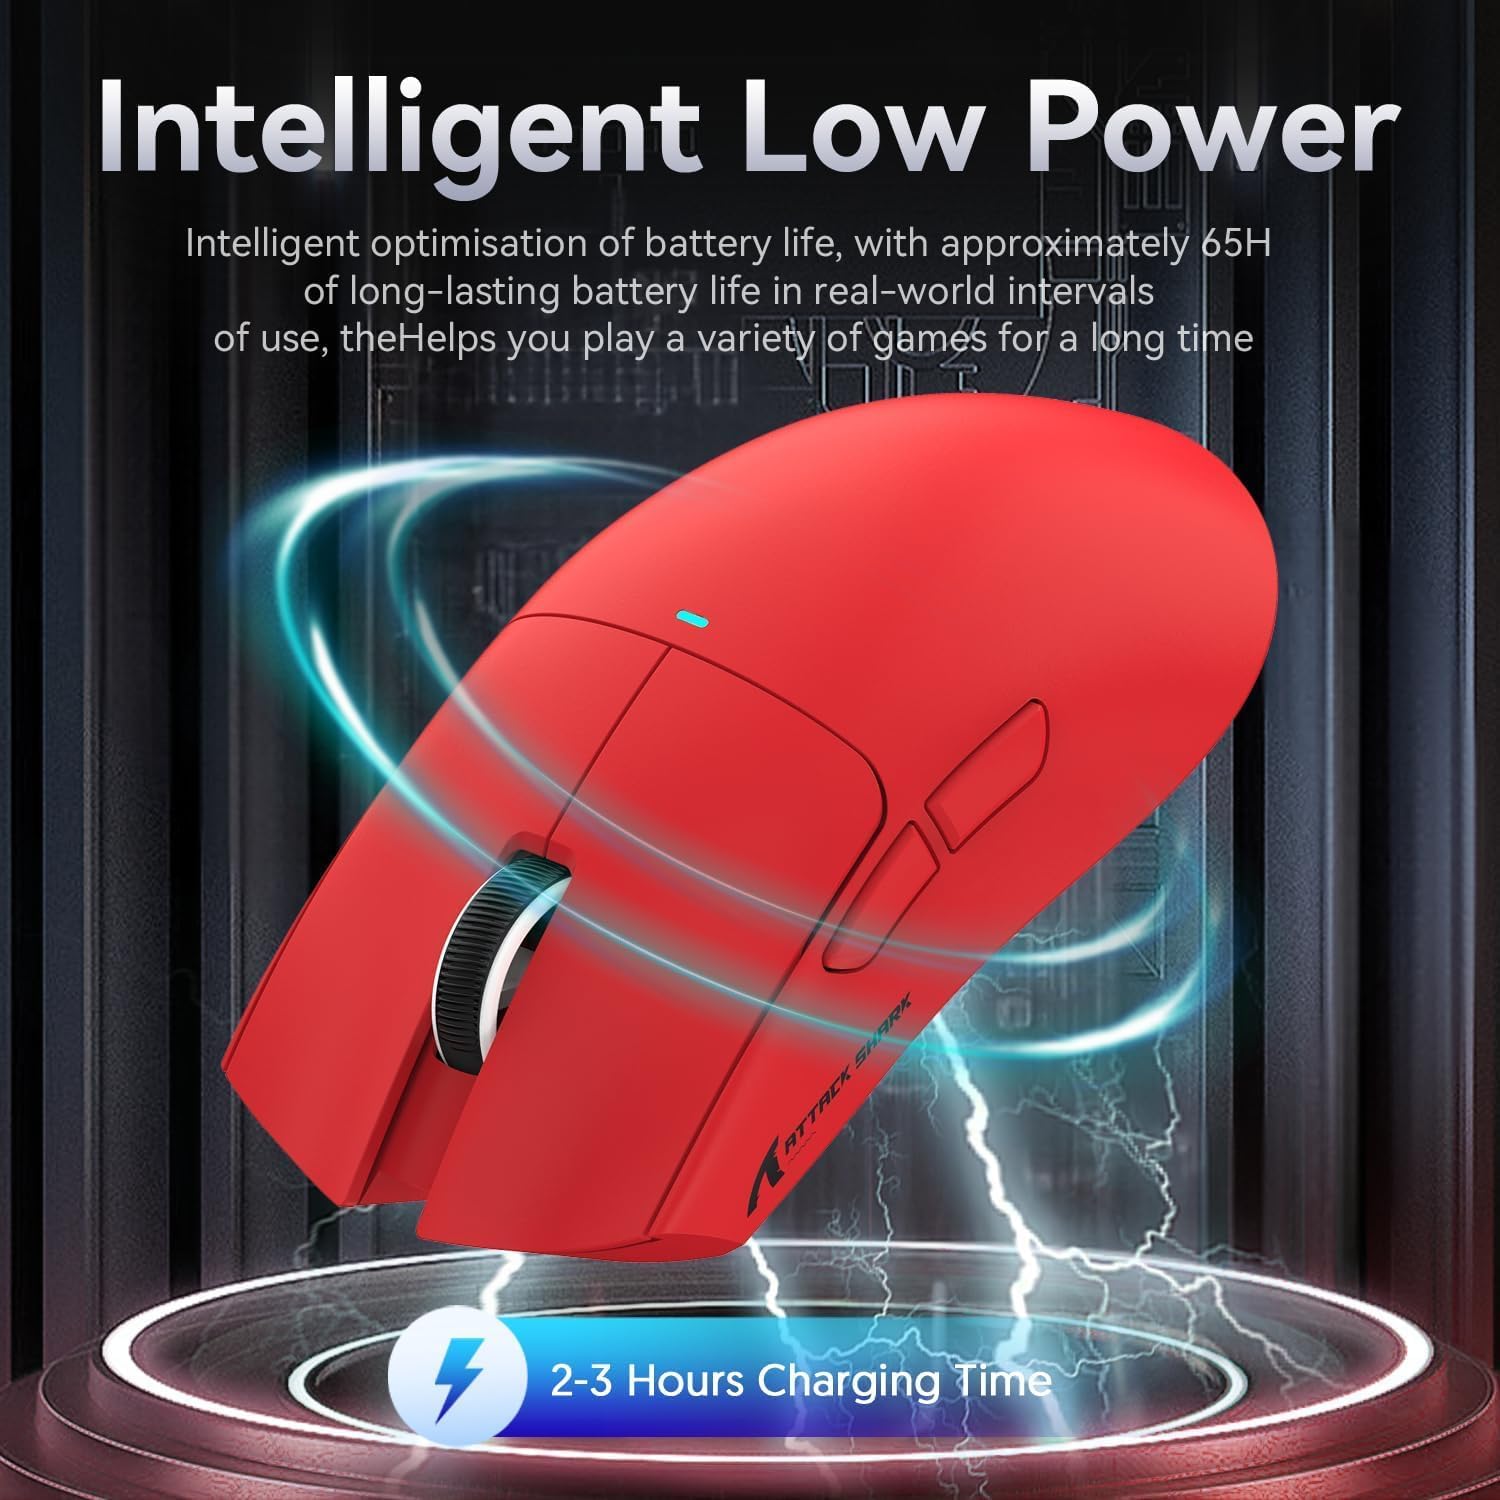
Image 4.2: Visual representation of the X11 mouse's intelligent low power consumption, offering 65 hours of use and a 2-3 hour charging time.
4.2 Connecting the Mouse (Triple Mode Connectivity)
The X11 mouse supports three connection modes: 2.4GHz Wireless, Bluetooth 5.0, and Wired USB-C.

Image 4.3: Illustration of the X11 mouse's triple-mode connectivity options.
- 2.4GHz വയർലെസ് മോഡ്:
- Locate the 2.4GHz USB receiver, typically stored in the magnetic charging dock's USB-A port or in a compartment on the mouse's underside.
- നിങ്ങളുടെ കമ്പ്യൂട്ടറിൽ ലഭ്യമായ ഒരു USB-A പോർട്ടിലേക്ക് USB റിസീവർ പ്ലഗ് ചെയ്യുക.
- Switch the mode selector on the underside of the mouse to "2.4G".
- മൗസ് യാന്ത്രികമായി കണക്ട് ചെയ്യണം.
- ബ്ലൂടൂത്ത് 5.0 മോഡ്:
- Switch the mode selector on the underside of the mouse to "BT".
- Press and hold the Bluetooth toggle button (usually near the mode switch) for 3 seconds to enter pairing mode. The mouse's indicator light will flash.
- നിങ്ങളുടെ കമ്പ്യൂട്ടറിലോ ഉപകരണത്തിലോ, Bluetooth ക്രമീകരണങ്ങളിലേക്ക് പോയി പുതിയ ഉപകരണങ്ങൾക്കായി തിരയുക.
- Select "ATTACK SHARK X11" (or similar) from the list to pair.
- The mouse supports up to three Bluetooth channels (BT1/BT2/BT3). Short press the Bluetooth key to switch between channels.
- വയേർഡ് USB-C മോഡ്:
- Connect the USB-C cable to the mouse's USB-C port and the other end to your computer's USB-A or USB-C port.
- മൗസ് യാന്ത്രികമായി വയേർഡ് മോഡിലേക്ക് മാറുകയും ചാർജ് ചെയ്യാൻ തുടങ്ങുകയും ചെയ്യും.
4.3 Driver Installation (Optional)
For advanced customization, including programmable buttons, DPI settings, and macro functions, download the official ATTACK SHARK X11 driver software from the ATTACK SHARK official webസൈറ്റ് or store page.

Image 4.4: The X11 driver software allows for comprehensive customization of mouse settings.
5. പ്രവർത്തന നിർദ്ദേശങ്ങൾ
5.1 ഡിപിഐ അഡ്ജസ്റ്റ്മെന്റ്
The X11 mouse features a PixArt 3311 sensor with up to 22,000 DPI and 6 adjustable levels. The DPI button is located on the underside of the mouse.
- Press the DPI button to cycle through the preset DPI levels.
- Customize DPI levels and assign them to specific buttons using the driver software.

Image 5.1: Details of the PixArt PAW3311 sensor, highlighting its precision and adjustable DPI.
5.2 പ്രോഗ്രാം ചെയ്യാവുന്ന ബട്ടണുകൾ
The X11 mouse has 5 programmable buttons (left, right, scroll click, and two side buttons). Use the driver software to assign custom functions, macros, or keybinds to these buttons.
5.3 RGB ലൈറ്റിംഗ് നിയന്ത്രണം
The magnetic charging dock and the mouse itself feature customizable RGB lighting. Use the driver software to adjust lighting effects, colors, and brightness. The dock's lighting can also be controlled by tapping its surface.
5.4 Angle Snap Feature
The Angle Snap feature helps to smooth out diagonal mouse movements, which can be useful for certain tasks requiring straight lines. This feature can be toggled On or Off via the driver software.
Video 5.1: Demonstration of the Angle Snap feature, showing how it can be toggled on and off in the software to affect mouse movement precision.
6. പരിപാലനം
6.1 വൃത്തിയാക്കൽ
- Use a soft, dry cloth to wipe the mouse and charging dock.
- കഠിനമായ അഴുക്കിന്, ചെറുതായി dampതുണിയിൽ വെള്ളം അല്ലെങ്കിൽ നേരിയ ക്ലീനിംഗ് ലായനി ഉപയോഗിക്കുക. കഠിനമായ രാസവസ്തുക്കൾ ഒഴിവാക്കുക.
- Do not immerse the mouse or dock in water.
6.2 ബാറ്ററി കെയർ
- ബാറ്ററിയുടെ ആയുസ്സ് വർദ്ധിപ്പിക്കുന്നതിന് ഇടയ്ക്കിടെ പൂർണ്ണമായും ഡിസ്ചാർജ് ചെയ്യുന്നത് ഒഴിവാക്കുക.
- Store the mouse in a cool, dry place if not used for extended periods.
7. പ്രശ്നപരിഹാരം
| പ്രശ്നം | പരിഹാരം |
|---|---|
| വയർലെസ് മോഡിൽ മൗസ് പ്രതികരിക്കുന്നില്ല. |
|
| DPI not changing. |
|
| Magnetic charging dock RGB not working. |
|
| Mouse cursor erratic or lagging. |
|
8 സ്പെസിഫിക്കേഷനുകൾ
| ഫീച്ചർ | വിശദാംശങ്ങൾ |
|---|---|
| മോഡൽ | X11 |
| സെൻസർ | PixArt PAW3311 ഒപ്റ്റിക്കൽ സെൻസർ |
| ഡിപിഐ | 22,000 DPI വരെ (6 ക്രമീകരിക്കാവുന്ന ലെവലുകൾ) |
| കണക്റ്റിവിറ്റി | യുഎസ്ബി-സി വയേർഡ്, 2.4GHz വയർലെസ്, ബ്ലൂടൂത്ത് 5.0 |
| ഭാരം | 63 ഗ്രാം (± 3 ഗ്രാം) |
| സ്വിച്ചുകൾ | Huano Micro Switches (20 million click lifespan) |
| ബാറ്ററി ലൈഫ് | ഏകദേശം 65 മണിക്കൂർ |
| ചാർജിംഗ് | Magnetic Charging Dock, USB-C |
| പ്രോഗ്രാം ചെയ്യാവുന്ന ബട്ടണുകൾ | 5 |
| അളവുകൾ | 7.01 x 4.57 x 2.01 ഇഞ്ച് (പാക്കേജ്) |
9. വാറൻ്റിയും പിന്തുണയും
For warranty information, technical support, or further assistance, please visit the official ആമസോണിലെ അറ്റാക്ക് ഷാർക്ക് സ്റ്റോർ അല്ലെങ്കിൽ അവരുടെ ഉപഭോക്തൃ സേവനവുമായി നേരിട്ട് ബന്ധപ്പെടുക.
വാറൻ്റി ക്ലെയിമുകൾക്കായി നിങ്ങളുടെ വാങ്ങിയതിൻ്റെ തെളിവ് സൂക്ഷിക്കുക.