
ആമുഖം
This manual provides detailed instructions for the ATTACK SHARK G3 Tri-Mode Wireless Gaming Mouse. Please read this manual thoroughly before use to ensure proper operation and to maximize your experience with the product.
The ATTACK SHARK G3 is a high-performance gaming mouse designed for versatility and precision. It offers three connectivity modes: 2.4GHz wireless, Bluetooth 5.2, and wired USB-C, allowing seamless switching between various devices and setups. Featuring a lightweight design, a high-precision PAW3311 sensor, and programmable buttons, the G3 is engineered for both gaming and productivity.
പാക്കേജ് ഉള്ളടക്കം
- ATTACK SHARK G3 Wireless Gaming Mouse
- USB-C ചാർജിംഗ്/ഡാറ്റ കേബിൾ
- 2.4GHz യുഎസ്ബി റിസീവർ
- ഉപയോക്തൃ മാനുവൽ
ഉൽപ്പന്നം കഴിഞ്ഞുview
Familiarize yourself with the components of your ATTACK SHARK G3 mouse.

ചിത്രം: മുകളിൽ നിന്ന് താഴേക്ക് view of the ATTACK SHARK G3 Wireless Gaming Mouse in Berry Red, showing the left and right click buttons, scroll wheel, and two side buttons on the left.
- ഇടത് ക്ലിക്ക് ബട്ടൺ: സ്റ്റാൻഡേർഡ് പ്രൈമറി മൗസ് ഫംഗ്ഷൻ.
- റൈറ്റ് ക്ലിക്ക് ബട്ടൺ: സ്റ്റാൻഡേർഡ് സെക്കൻഡറി മൗസ് ഫംഗ്ഷൻ.
- സ്ക്രോൾ വീൽ: സ്ക്രോളിംഗിനും മിഡിൽ-ക്ലിക്ക് ഫംഗ്ഷനും.
- Side Buttons (x2): Default to Forward/Backward, programmable via software.
- DPI Button (underside): പ്രീസെറ്റ് DPI ലെവലുകളിലൂടെ കടന്നുപോകുന്നു.
- Mode Switch (underside): Toggles between 2.4GHz, Bluetooth, and Wired modes.
- യുഎസ്ബി-സി പോർട്ട്: വയർഡ് കണക്ഷനും ചാർജിംഗിനും.
- 2.4GHz USB Receiver Storage: Located on the underside of the mouse.

ചിത്രം: ഒരു കൊളാഷ് ഷോasing key features of the G3 mouse, including its 59g ultra-light design, 500mAh battery, PixArt PAW3311 sensor, 25000 DPI capability, Huano Blue Shell Pink Dot Switches, and Tri-mode connectivity.
സജ്ജമാക്കുക
1. വയർഡ് മോഡ് കണക്ഷൻ
- നൽകിയിരിക്കുന്ന കേബിളിന്റെ USB-C അറ്റം മൗസുമായി ബന്ധിപ്പിക്കുക.
- നിങ്ങളുടെ കമ്പ്യൂട്ടറിൽ ലഭ്യമായ ഒരു USB പോർട്ടിലേക്ക് കേബിളിന്റെ USB-A അറ്റം ബന്ധിപ്പിക്കുക.
- Ensure the mode switch on the underside of the mouse is set to the "Wired" position.
- The mouse will be recognized by your computer and is ready for use.
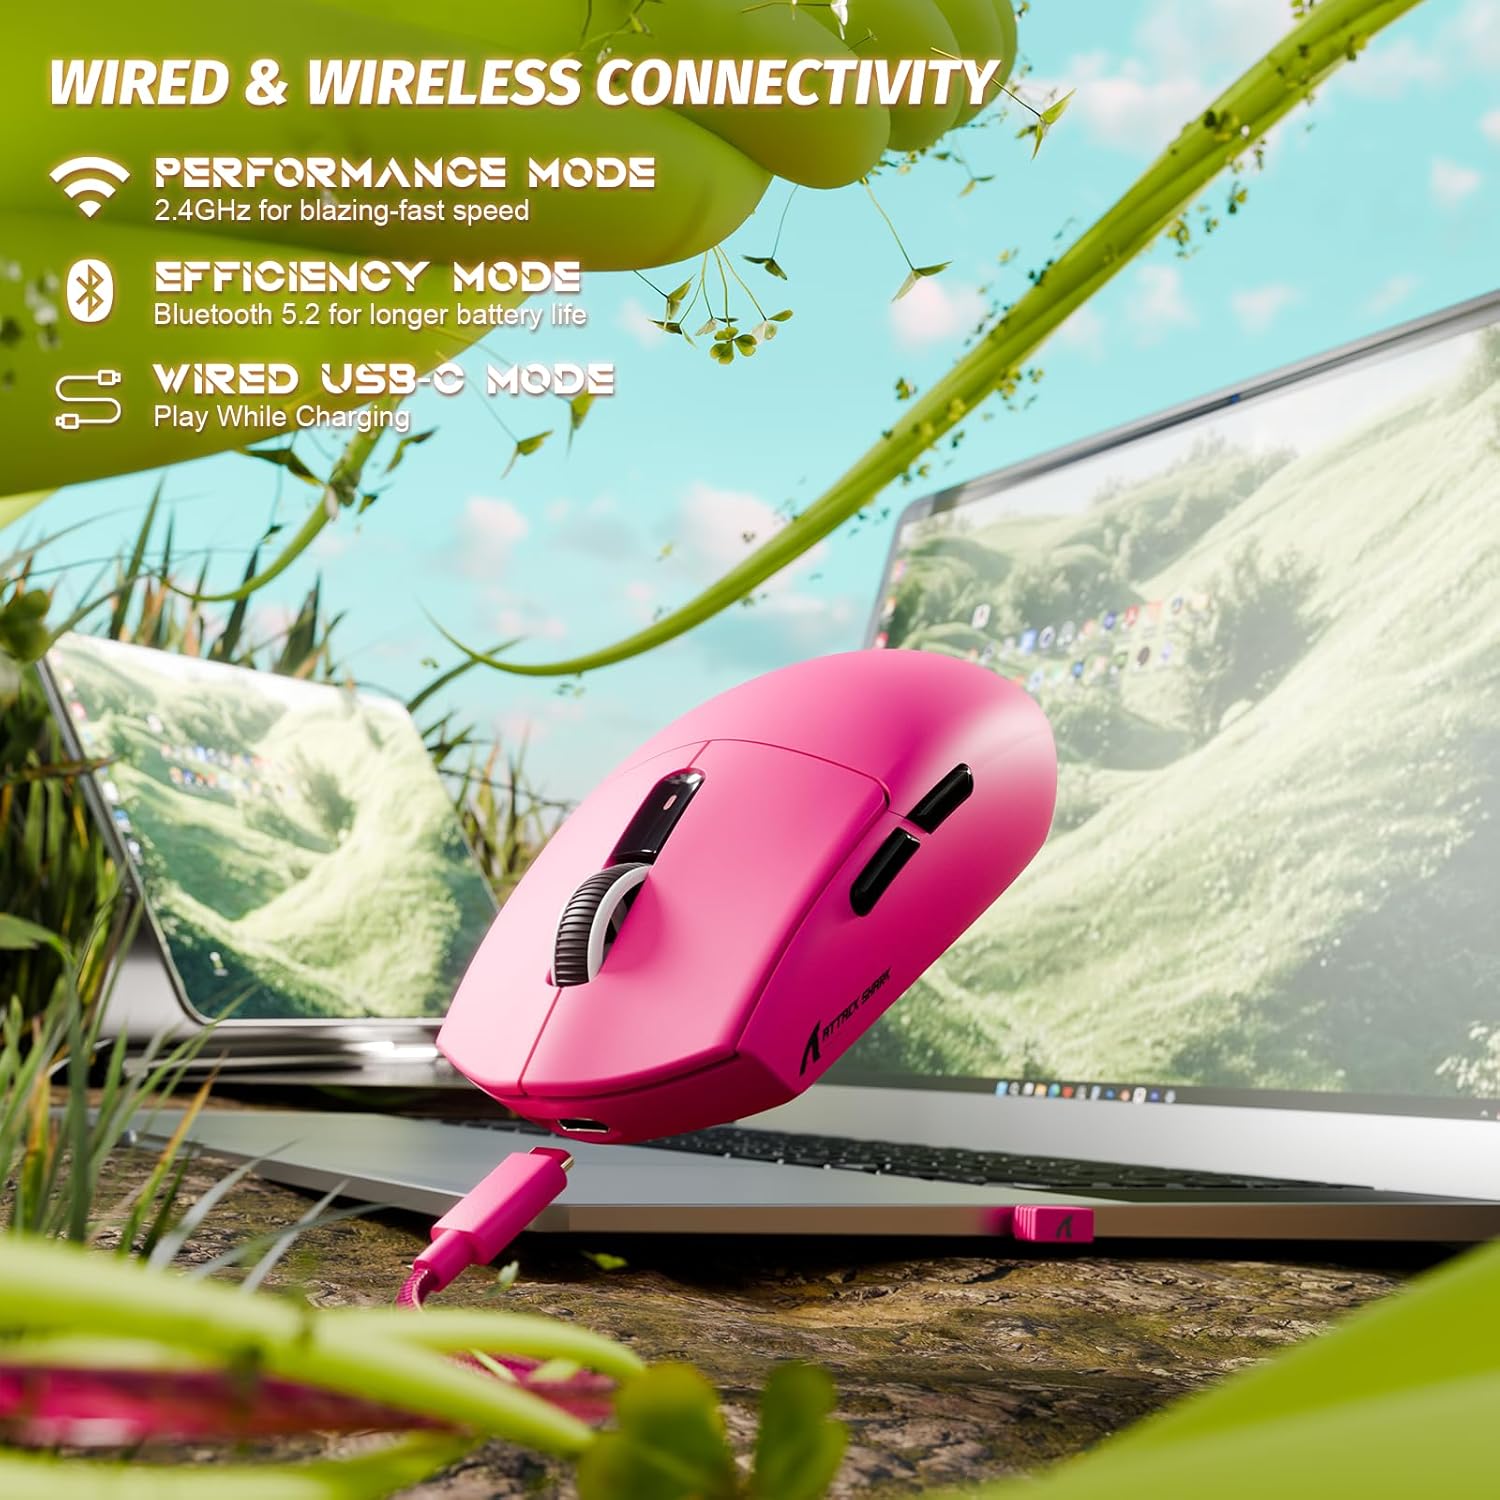
Image: The ATTACK SHARK G3 mouse connected to a laptop via its USB-C cable, illustrating the wired connectivity option.
2. 2.4GHz Wireless Mode Connection
- Locate the 2.4GHz USB receiver stored on the underside of the mouse.
- നിങ്ങളുടെ കമ്പ്യൂട്ടറിൽ ലഭ്യമായ USB പോർട്ടിലേക്ക് USB റിസീവർ പ്ലഗ് ചെയ്യുക.
- Set the mode switch on the underside of the mouse to the "2.4G" position.
- The mouse should automatically connect to the receiver. If not, press and hold the DPI button and a side button simultaneously for 3 seconds to initiate pairing.
3. Bluetooth 5.2 Mode Connection
- Set the mode switch on the underside of the mouse to the "BT" (Bluetooth) position.
- The mouse will enter pairing mode, indicated by a blinking LED light.
- നിങ്ങളുടെ കമ്പ്യൂട്ടറിലോ ഉപകരണത്തിലോ, Bluetooth ക്രമീകരണങ്ങളിലേക്ക് നാവിഗേറ്റ് ചെയ്യുക.
- ഇതിനായി തിരയുക new devices and select "ATTACK SHARK G3" from the list.
- ജോടിയാക്കൽ പ്രക്രിയ പൂർത്തിയാക്കാൻ ഏതെങ്കിലും ഓൺ-സ്ക്രീൻ നിർദ്ദേശങ്ങൾ പാലിക്കുക.
പ്രവർത്തന നിർദ്ദേശങ്ങൾ
DPI ക്രമീകരണം
The ATTACK SHARK G3 features a PAW3311 sensor with adjustable DPI settings. You can cycle through preset DPI levels by pressing the DPI button located on the underside of the mouse. For fine adjustments and custom DPI profiles, use the dedicated driver software.

ചിത്രം: ഒരു ക്ലോസ്-അപ്പ് view of the PixArt PAW3311 sensor inside the mouse, highlighting its capabilities such as 1000Hz polling rate, 25000 DPI max, and 40G acceleration.
പ്രോഗ്രാം ചെയ്യാവുന്ന ബട്ടണുകളും സോഫ്റ്റ്വെയറും
The G3 mouse includes 5 programmable buttons. To customize button functions, create macros, and adjust settings like polling rate and Lift-Off Distance (LOD), download and install the official ATTACK SHARK driver software from the manufacturer's website. The software allows for personalized configurations to suit your specific needs.

Image: A screenshot of the ATTACK SHARK G3 customization software interface, showing options for mouse settings, DPI settings, parameter settings, macro editing, and personal center.
മൗസ് ചാർജ് ചെയ്യുന്നു
The mouse is equipped with a built-in 500mAh rechargeable lithium-ion battery. When the battery is low, the LED indicator will signal. Connect the mouse to your computer using the provided USB-C cable to charge. The mouse can be used normally while charging in wired mode.

Image: The ATTACK SHARK G3 mouse in a natural setting, emphasizing its 500mAh battery capacity for extended use.
മെയിൻ്റനൻസ്
- വൃത്തിയാക്കൽ: മൗസ് പ്രതലം വൃത്തിയാക്കാൻ മൃദുവായതും ഉണങ്ങിയതുമായ ഒരു തുണി ഉപയോഗിക്കുക. കഠിനമായ അഴുക്കിന്, അല്പം ഡി.amp ആന്തരിക ഘടകങ്ങളിലേക്ക് ഈർപ്പം കടക്കില്ലെന്ന് ഉറപ്പാക്കാൻ തുണി ഉപയോഗിക്കാം.
- സെൻസർ പരിചരണം: കൃത്യമായ ട്രാക്കിംഗ് ഉറപ്പാക്കാൻ മൗസിന്റെ അടിവശത്തുള്ള ഒപ്റ്റിക്കൽ സെൻസർ വൃത്തിയുള്ളതും പൊടിയോ അവശിഷ്ടങ്ങളോ ഇല്ലാതെ സൂക്ഷിക്കുക.
- ബാറ്ററി ദീർഘായുസ്സ്: To prolong battery life, avoid fully discharging the mouse frequently. Charge it when the low battery indicator appears.
- സംഭരണം: ദീർഘനേരം ഉപയോഗിക്കാത്തപ്പോൾ, മൗസ് തണുത്തതും വരണ്ടതുമായ സ്ഥലത്ത് സൂക്ഷിക്കുക.

Image: An inverted view of the ATTACK SHARK G3 mouse, showcasing its double-layer mouse feet for smooth gliding and stability.
ട്രബിൾഷൂട്ടിംഗ്
- മൗസ് പ്രതികരിക്കുന്നില്ല:
- മൗസ് ചാർജ് ചെയ്തിട്ടുണ്ടെന്ന് ഉറപ്പാക്കുക.
- Check the mode switch (2.4G, BT, Wired) is set correctly.
- For 2.4GHz, ensure the USB receiver is securely plugged in. Try a different USB port.
- ബ്ലൂടൂത്തിന്, നിങ്ങളുടെ ഉപകരണത്തിൽ ബ്ലൂടൂത്ത് പ്രവർത്തനക്ഷമമാക്കിയിട്ടുണ്ടെന്നും മൗസ് ജോടിയാക്കിയിട്ടുണ്ടെന്നും ഉറപ്പാക്കുക.
- Try connecting in wired mode to confirm functionality.
- കൃത്യമല്ലാത്ത ട്രാക്കിംഗ്:
- മൗസിന്റെ അടിവശത്തുള്ള ഒപ്റ്റിക്കൽ സെൻസർ വൃത്തിയാക്കുക.
- മൗസ് അനുയോജ്യമായ ഒരു പ്രതലത്തിലാണ് ഉപയോഗിക്കുന്നതെന്ന് ഉറപ്പാക്കുക (ഉദാ. ഒരു മൗസ് പാഡ്).
- Adjust DPI settings via the DPI button or software.
- കണക്റ്റിവിറ്റി പ്രശ്നങ്ങൾ:
- ഇടപെടൽ കുറയ്ക്കുന്നതിന് മൗസ് റിസീവറിന്/ഉപകരണത്തിന് അടുത്തേക്ക് നീക്കുക.
- Avoid using the 2.4GHz receiver near other wireless devices that may cause interference.
- Re-pair the mouse in 2.4GHz or Bluetooth mode if connection is lost.
- മൗസ് കണ്ടെത്താത്ത സോഫ്റ്റ്വെയർ:
- Ensure the mouse is connected in wired or 2.4GHz mode (Bluetooth may not be supported by all software).
- സോഫ്റ്റ്വെയർ കൂടാതെ/അല്ലെങ്കിൽ നിങ്ങളുടെ കമ്പ്യൂട്ടർ പുനരാരംഭിക്കുക.
- ഡ്രൈവർ സോഫ്റ്റ്വെയർ വീണ്ടും ഇൻസ്റ്റാൾ ചെയ്യുക.
സ്പെസിഫിക്കേഷനുകൾ
| ഫീച്ചർ | വിശദാംശങ്ങൾ |
|---|---|
| മോഡൽ | G3 |
| കണക്റ്റിവിറ്റി | 2.4GHz വയർലെസ്, ബ്ലൂടൂത്ത് 5.2, യുഎസ്ബി-സി വയേർഡ് |
| സെൻസർ | PixArt PAW3311 ഒപ്റ്റിക്കൽ സെൻസർ |
| ഡിപിഐ ശ്രേണി | 800 - 25,000 DPI (adjustable) |
| ട്രാക്കിംഗ് സ്പീഡ് | 400 ഐ.പി.എസ് |
| ത്വരണം | 40G |
| പോളിംഗ് നിരക്ക് | 1000Hz (Wired/2.4GHz) |
| ബട്ടണുകൾ | 5 പ്രോഗ്രാം ചെയ്യാവുന്ന ബട്ടണുകൾ |
| സ്വിച്ചുകൾ | Huano Blue Shell Pink Dot Switches (80 million clicks) |
| ബാറ്ററി | 500mAh റീചാർജ് ചെയ്യാവുന്ന ലിഥിയം-അയോൺ |
| മൗസിൻ്റെ ഭാരം | ഏകദേശം 59 ഗ്രാം (2.08 oz) |
| അനുയോജ്യത | PC, Mac (Windows/macOS) |
വാറൻ്റിയും പിന്തുണയും
ATTACK SHARK products are designed and manufactured to the highest quality standards. For warranty information and technical support, please refer to the official ATTACK SHARK webസൈറ്റിൽ ബന്ധപ്പെടുകയോ അവരുടെ ഉപഭോക്തൃ സേവനവുമായി നേരിട്ട് ബന്ധപ്പെടുകയോ ചെയ്യുക. വാറന്റി ക്ലെയിമുകൾക്കായി നിങ്ങളുടെ വാങ്ങിയതിന്റെ തെളിവ് സൂക്ഷിക്കുക.
For further assistance, visit the official ATTACK SHARK store: അറ്റാക്ക് ഷാർക്ക് സ്റ്റോർ