
ആമുഖം
Welcome to the user manual for your new Auusda 14.1'' FHD Laptop. This guide provides essential information for setting up, operating, maintaining, and troubleshooting your device. Please read this manual thoroughly to ensure optimal performance and longevity of your laptop.
ഉൽപ്പന്നം കഴിഞ്ഞുview
The Auusda 14.1'' FHD Laptop (Model A146G) is a lightweight and efficient notebook designed for everyday computing tasks, including work, study, and entertainment. It features a Celeron J4125 Quad-Core processor, 8GB of RAM, and a 256GB SSD for responsive performance.
പാക്കേജ് ഉള്ളടക്കം
- Auusda 14.1'' FHD Laptop
- പവർ അഡാപ്റ്റർ/ചാർജർ
- ഉപയോക്തൃ മാനുവൽ
- Keyboard Membrane (may include multiple language options)

ചിത്രം: മുൻഭാഗം view of the Auusda 14.1 inch FHD Laptop, displaying its screen with specifications overlay including 14.1" size, 1080p Full HD, J4125 processor, 8GB RAM, and 256GB SSD.
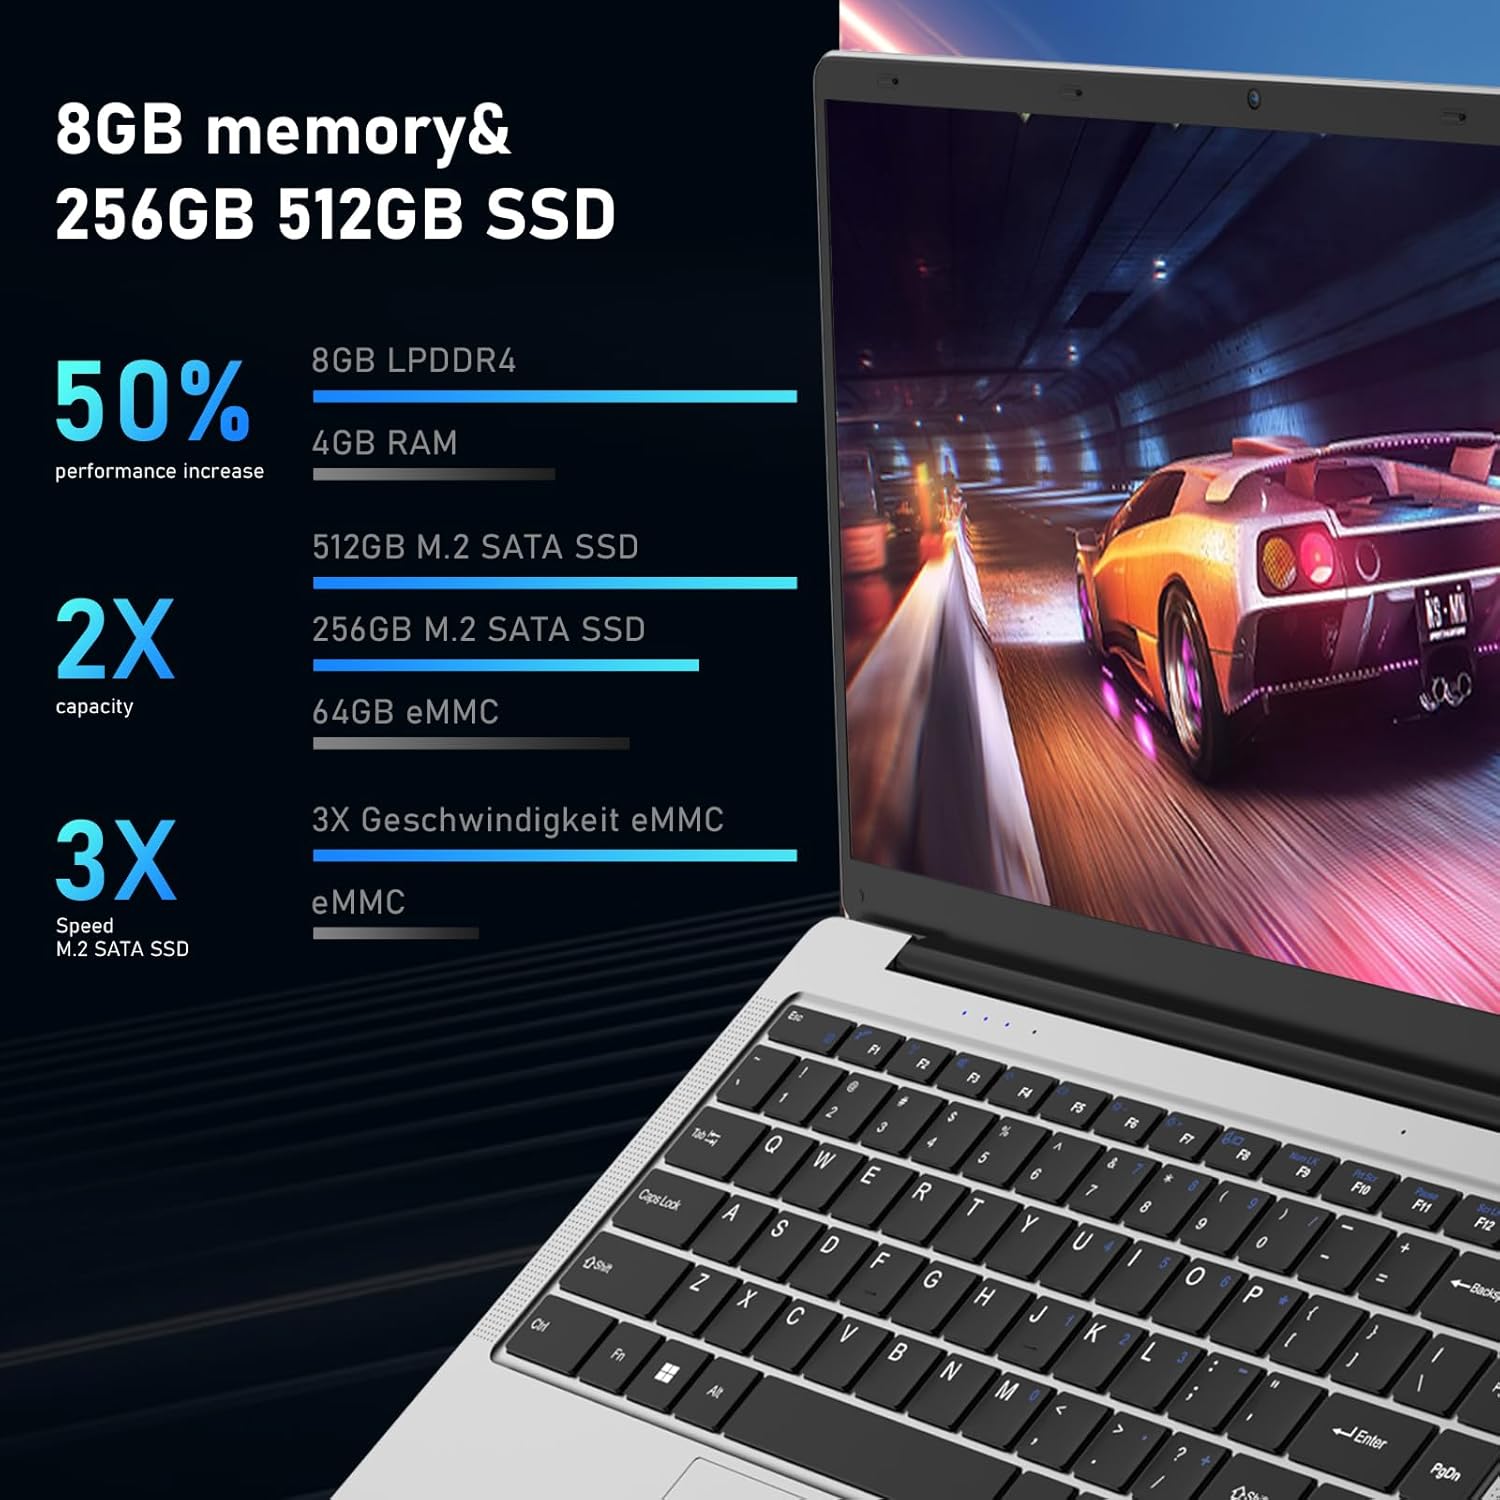
ചിത്രം: ഒരു നേർരേഖ view of the Auusda laptop, showcasing its keyboard and touchpad.

ചിത്രം: പിൻഭാഗം view of the Auusda laptop, showing the hinge and the rear chassis design.
ഘടകങ്ങളും തുറമുഖങ്ങളും
Familiarize yourself with the various components and ports on your laptop.

Image: An overhead diagram of the laptop's sides, labeling the USB-A 2.0, Headphone Jack, Micro SD Card Slot, Charging Port, USB-A 3.0, and Mini HDMI ports.
- USB-A 2.0 പോർട്ട്: മൗസ്, കീബോർഡുകൾ, അല്ലെങ്കിൽ ബാഹ്യ സംഭരണം പോലുള്ള യുഎസ്ബി ഉപകരണങ്ങൾ ബന്ധിപ്പിക്കുന്നതിന്.
- ഹെഡ്ഫോൺ ജാക്ക്: ഹെഡ്ഫോണുകളോ ബാഹ്യ സ്പീക്കറുകളോ ബന്ധിപ്പിക്കുന്നതിന്.
- മൈക്രോ എസ്ഡി കാർഡ് സ്ലോട്ട്: For expanding storage or transferring data from Micro SD cards.
- ചാർജിംഗ് പോർട്ട്: ലാപ്ടോപ്പ് ചാർജ് ചെയ്യുന്നതിനായി പവർ അഡാപ്റ്റർ ബന്ധിപ്പിക്കുന്നതിന്.
- USB-A 3.0 പോർട്ട്: For connecting high-speed USB 3.0 devices.
- മിനി HDMI പോർട്ട്: ബാഹ്യ ഡിസ്പ്ലേകളിലേക്കോ പ്രൊജക്ടറുകളിലേക്കോ ബന്ധിപ്പിക്കുന്നതിന്.

Image: Close-up images of both sides of the laptop, detailing the location of the 3.5 mm DC charging port, USB 3.0, Mini HDMI, 3.5 mm headphone jack, and Micro SD slot.
സജ്ജമാക്കുക
പ്രാരംഭ ചാർജിംഗ്
Before first use, fully charge your laptop.
- ലാപ്ടോപ്പിലെ ചാർജിംഗ് പോർട്ടിലേക്ക് പവർ അഡാപ്റ്റർ ബന്ധിപ്പിക്കുക.
- പവർ അഡാപ്റ്റർ ഒരു പവർ ഔട്ട്ലെറ്റിൽ പ്ലഗ് ചെയ്യുക.
- The charging indicator light will illuminate. Allow the laptop to charge until the indicator shows a full charge.
First-Time Power On
- ലാപ്ടോപ്പ് ലിഡ് തുറക്കുക.
- കീബോർഡിൽ സ്ഥിതിചെയ്യുന്ന പവർ ബട്ടൺ അമർത്തുക.
- Follow the on-screen instructions to complete the Windows 11 Pro setup process, including language selection, network connection, and user account creation.
പ്രവർത്തന നിർദ്ദേശങ്ങൾ
അടിസ്ഥാന പ്രവർത്തനം
- പവർ ഓൺ/ഓഫ്: Press the power button to turn on. To shut down, click the Start button, then Power, and select "Shut down".
- സ്ലീപ്പ് മോഡ്: സ്ലീപ്പ് മോഡിൽ പ്രവേശിക്കാൻ ലിഡ് അടയ്ക്കുക അല്ലെങ്കിൽ പവർ ബട്ടൺ അൽപ്പനേരം അമർത്തുക.
- ടച്ച്പാഡ് ഉപയോഗം: Use the touchpad for navigation. Tap to click, two-finger tap for right-click, and two-finger scroll for scrolling.
- കീബോർഡ്: The laptop features a full-sized keyboard. Function keys (F1-F12) can be accessed by pressing the Fn key in combination with the desired function key.
വൈഫൈയിലേക്ക് കണക്റ്റ് ചെയ്യുന്നു
- ടാസ്ക്ബാറിലെ വൈഫൈ ഐക്കണിൽ ക്ലിക്കുചെയ്യുക.
- ലിസ്റ്റിൽ നിന്ന് നിങ്ങൾക്ക് ആവശ്യമുള്ള നെറ്റ്വർക്ക് തിരഞ്ഞെടുക്കുക.
- Enter the network password if prompted, then click "Connect".

Image: A visual representation of the laptop's wireless capabilities, showing icons for 2.4G+5G Wi-Fi and Bluetooth 5.1, along with an indication of two speakers.
ബ്ലൂടൂത്ത് ഉപകരണങ്ങൾ ബന്ധിപ്പിക്കുന്നു
- പോകുക ക്രമീകരണങ്ങൾ > ബ്ലൂടൂത്തും ഉപകരണങ്ങളും.
- ബ്ലൂടൂത്ത് ഓണാക്കിയിട്ടുണ്ടെന്ന് ഉറപ്പാക്കുക On.
- തിരഞ്ഞെടുക്കുക ഉപകരണം ചേർക്കുക തിരഞ്ഞെടുക്കുക ബ്ലൂടൂത്ത്.
- ലിസ്റ്റിൽ നിന്ന് നിങ്ങളുടെ ഉപകരണം തിരഞ്ഞെടുത്ത് ജോടിയാക്കൽ നിർദ്ദേശങ്ങൾ പാലിക്കുക.
Using External Displays (Mini HDMI)
- Connect one end of a Mini HDMI cable to the laptop's Mini HDMI port.
- Connect the other end to the HDMI input of your external display.
- അമർത്തുക വിൻഡോസ് കീ + പി to open the Project menu and select your desired display mode (e.g., Duplicate, Extend, Second screen only).
മെയിൻ്റനൻസ്
വൃത്തിയാക്കൽ
- Use a soft, lint-free cloth to clean the screen and chassis.
- ശാഠ്യമുള്ള അടയാളങ്ങൾക്ക്, dampതുണിയിൽ വെള്ളം അല്ലെങ്കിൽ സ്ക്രീൻ ക്ലീനർ ഉപയോഗിച്ച് ചെറുതായി നനയ്ക്കുക.
- കഠിനമായ രാസവസ്തുക്കളോ ഉരച്ചിലുകളോ ഉപയോഗിക്കുന്നത് ഒഴിവാക്കുക.
ബാറ്ററി കെയർ
- ബാറ്ററി ലൈഫ് വർദ്ധിപ്പിക്കാൻ, ബാറ്ററി ഇടയ്ക്കിടെ പൂർണ്ണമായും ഡിസ്ചാർജ് ചെയ്യുന്നത് ഒഴിവാക്കുക.
- ദീർഘനേരം ഉപയോഗിക്കാത്തപ്പോൾ ലാപ്ടോപ്പ് തണുത്തതും വരണ്ടതുമായ സ്ഥലത്ത് സൂക്ഷിക്കുക.
- If storing for a long time, charge the battery to about 50-60% before storage.
സോഫ്റ്റ്വെയർ അപ്ഡേറ്റുകൾ
മികച്ച പ്രകടനവും സുരക്ഷയും ഉറപ്പാക്കാൻ നിങ്ങളുടെ വിൻഡോസ് ഓപ്പറേറ്റിംഗ് സിസ്റ്റവും ഡ്രൈവറുകളും പതിവായി അപ്ഡേറ്റ് ചെയ്യുക.
- പോകുക ക്രമീകരണങ്ങൾ > വിൻഡോസ് അപ്ഡേറ്റ്.
- ക്ലിക്ക് ചെയ്യുക അപ്ഡേറ്റുകൾക്കായി പരിശോധിക്കുക ലഭ്യമായ എല്ലാ അപ്ഡേറ്റുകളും ഇൻസ്റ്റാൾ ചെയ്യുക.
സ്റ്റോറേജ് മാനേജ്മെൻ്റ്
അനാവശ്യമായത് ഇടയ്ക്കിടെ വൃത്തിയാക്കുക files to free up storage space and improve performance.

Image: An image illustrating the laptop's support for TF card and M.2 2280 SSD expansion, including a view of the laptop's bottom panel.

Image: A screenshot of the laptop's display showing a file explorer window, accompanied by text indicating the potential for storage upgrades.
ട്രബിൾഷൂട്ടിംഗ്
പൊതുവായ പ്രശ്നങ്ങളും പരിഹാരങ്ങളും
| പ്രശ്നം | സാധ്യമായ കാരണം / പരിഹാരം |
|---|---|
| ലാപ്ടോപ്പ് പവർ ഓൺ ആകുന്നില്ല. |
|
| സ്ക്രീൻ ശൂന്യമാണ് അല്ലെങ്കിൽ കറുപ്പാണ്. |
|
| വൈഫൈ കണക്ഷൻ പ്രശ്നങ്ങൾ. |
|
| മന്ദഗതിയിലുള്ള പ്രകടനം. |
|
സ്പെസിഫിക്കേഷനുകൾ
Detailed technical specifications for the Auusda 14.1'' FHD Laptop (Model A146G).

Image: A graphic detailing the Celeron J4125 processor, its 2.7 GHz maximum clock speed, and integrated UHD 600 graphics.

Image: A visual representation of the laptop's 14.1-inch IPS screen, highlighting its 1920x1080 resolution, 178-degree viewing angle, and 180-degree hinge flexibility.
| ഫീച്ചർ | വിശദാംശങ്ങൾ |
|---|---|
| മോഡലിൻ്റെ പേര് | A146G (Series T141J) |
| പ്രദർശിപ്പിക്കുക | 14.1 Inches FHD (1920x1080) IPS Display |
| പ്രോസസ്സർ | Intel Celeron J4125 Quad-Core (up to 2.7 GHz) |
| റാം | 8GB DDR4 |
| സംഭരണം | 256GB SSD (M.2 2280) |
| ഗ്രാഫിക്സ് | ഇൻ്റഗ്രേറ്റഡ് ഇൻ്റൽ UHD ഗ്രാഫിക്സ് 600 |
| ഓപ്പറേറ്റിംഗ് സിസ്റ്റം | വിൻഡോസ് 11 പ്രോ |
| തുറമുഖങ്ങൾ | 2x USB 3.0, 1x Mini HDMI, 1x Micro SD Card Slot, 1x 3.5mm Headphone Jack, 1x DC Charging Port |
| വയർലെസ് കണക്റ്റിവിറ്റി | Dual-Band Wi-Fi (2.4G+5G), Bluetooth 5.1 |
| Webക്യാമറ | അതെ |
| ഓഡിയോ | Two Stereo Speakers, HD Audio |
| ബാറ്ററി | 31920mWh (1x 9V battery included) |
| അളവുകൾ (LxWxH) | 12.6 x 8.3 x 0.7 ഇഞ്ച് |
| ഭാരം | 2.9 lb (1.3 kg) / 3.99 pounds (product data) |
| നിറം | വെള്ളി |
വാറൻ്റിയും പിന്തുണയും
വാറൻ്റി വിവരങ്ങൾ
Your Auusda laptop comes with a 2-year warranty. During this 24-month warranty period, Auusda will provide free repair or return/exchange services for the computer.
ഉപഭോക്തൃ പിന്തുണ
For any questions, technical assistance, or warranty claims, please contact Auusda customer support.
- ഇമെയിൽ പിന്തുണ: Send your order number and a video of the problem to Auusda.ltd@gmail.com
- ആമസോൺ പിന്തുണ: Log in to your Amazon account, navigate to "Your Orders", and select "Ask questions" for your purchase.

Image: A graphic outlining the available after-sale service channels, including Amazon's order support and direct email contact, along with warranty duration.