1 പ്രധാനപ്പെട്ട സുരക്ഷാ വിവരങ്ങൾ
Read all instructions carefully before using the monitor. Keep this manual for future reference.
- മോണിറ്ററിൽ മഴയോ ഈർപ്പമോ ഏൽക്കരുത്.
- മോണിറ്റർ തുറക്കരുത് casing. ഉള്ളിൽ ഉപയോക്തൃ-സേവനയോഗ്യമായ ഭാഗങ്ങളൊന്നുമില്ല.
- Use only the power adapter and cables provided by Lenovo.
- മോണിറ്ററിന് ചുറ്റും ശരിയായ വായുസഞ്ചാരം ഉറപ്പാക്കുക. വായുസഞ്ചാര ദ്വാരങ്ങൾ അടയ്ക്കരുത്.
- Avoid placing the monitor on an unstable surface.
- Disconnect the power cable from the outlet during lightning storms or when unused for long periods.
2. പാക്കേജ് ഉള്ളടക്കം
നിങ്ങളുടെ പാക്കേജിൽ എല്ലാ ഇനങ്ങളും ഉണ്ടെന്ന് ഉറപ്പാക്കുക:
- Lenovo Legion 27Q-10 Monitor
- മോണിറ്റർ സ്റ്റാൻഡ് (ബേസും കഴുത്തും)
- പവർ കേബിൾ
- ഡിസ്പ്ലേപോർട്ട് (DP) കേബിൾ
- ദ്രുത സജ്ജീകരണ ഗൈഡ്
- ഫാക്ടറി കാലിബ്രേഷൻ റിപ്പോർട്ട്
- 4 Screws (for stand assembly)

Image: Contents of the Lenovo Legion 27Q-10 monitor box. This includes the monitor panel, the stand components (base and neck), a power cable, and a DisplayPort cable.
3. മോണിറ്റർ ഓവർview
മോണിറ്ററിന്റെ ഘടകങ്ങളും പോർട്ടുകളും ഉപയോഗിച്ച് സ്വയം പരിചയപ്പെടുക.
ഫ്രണ്ട് View
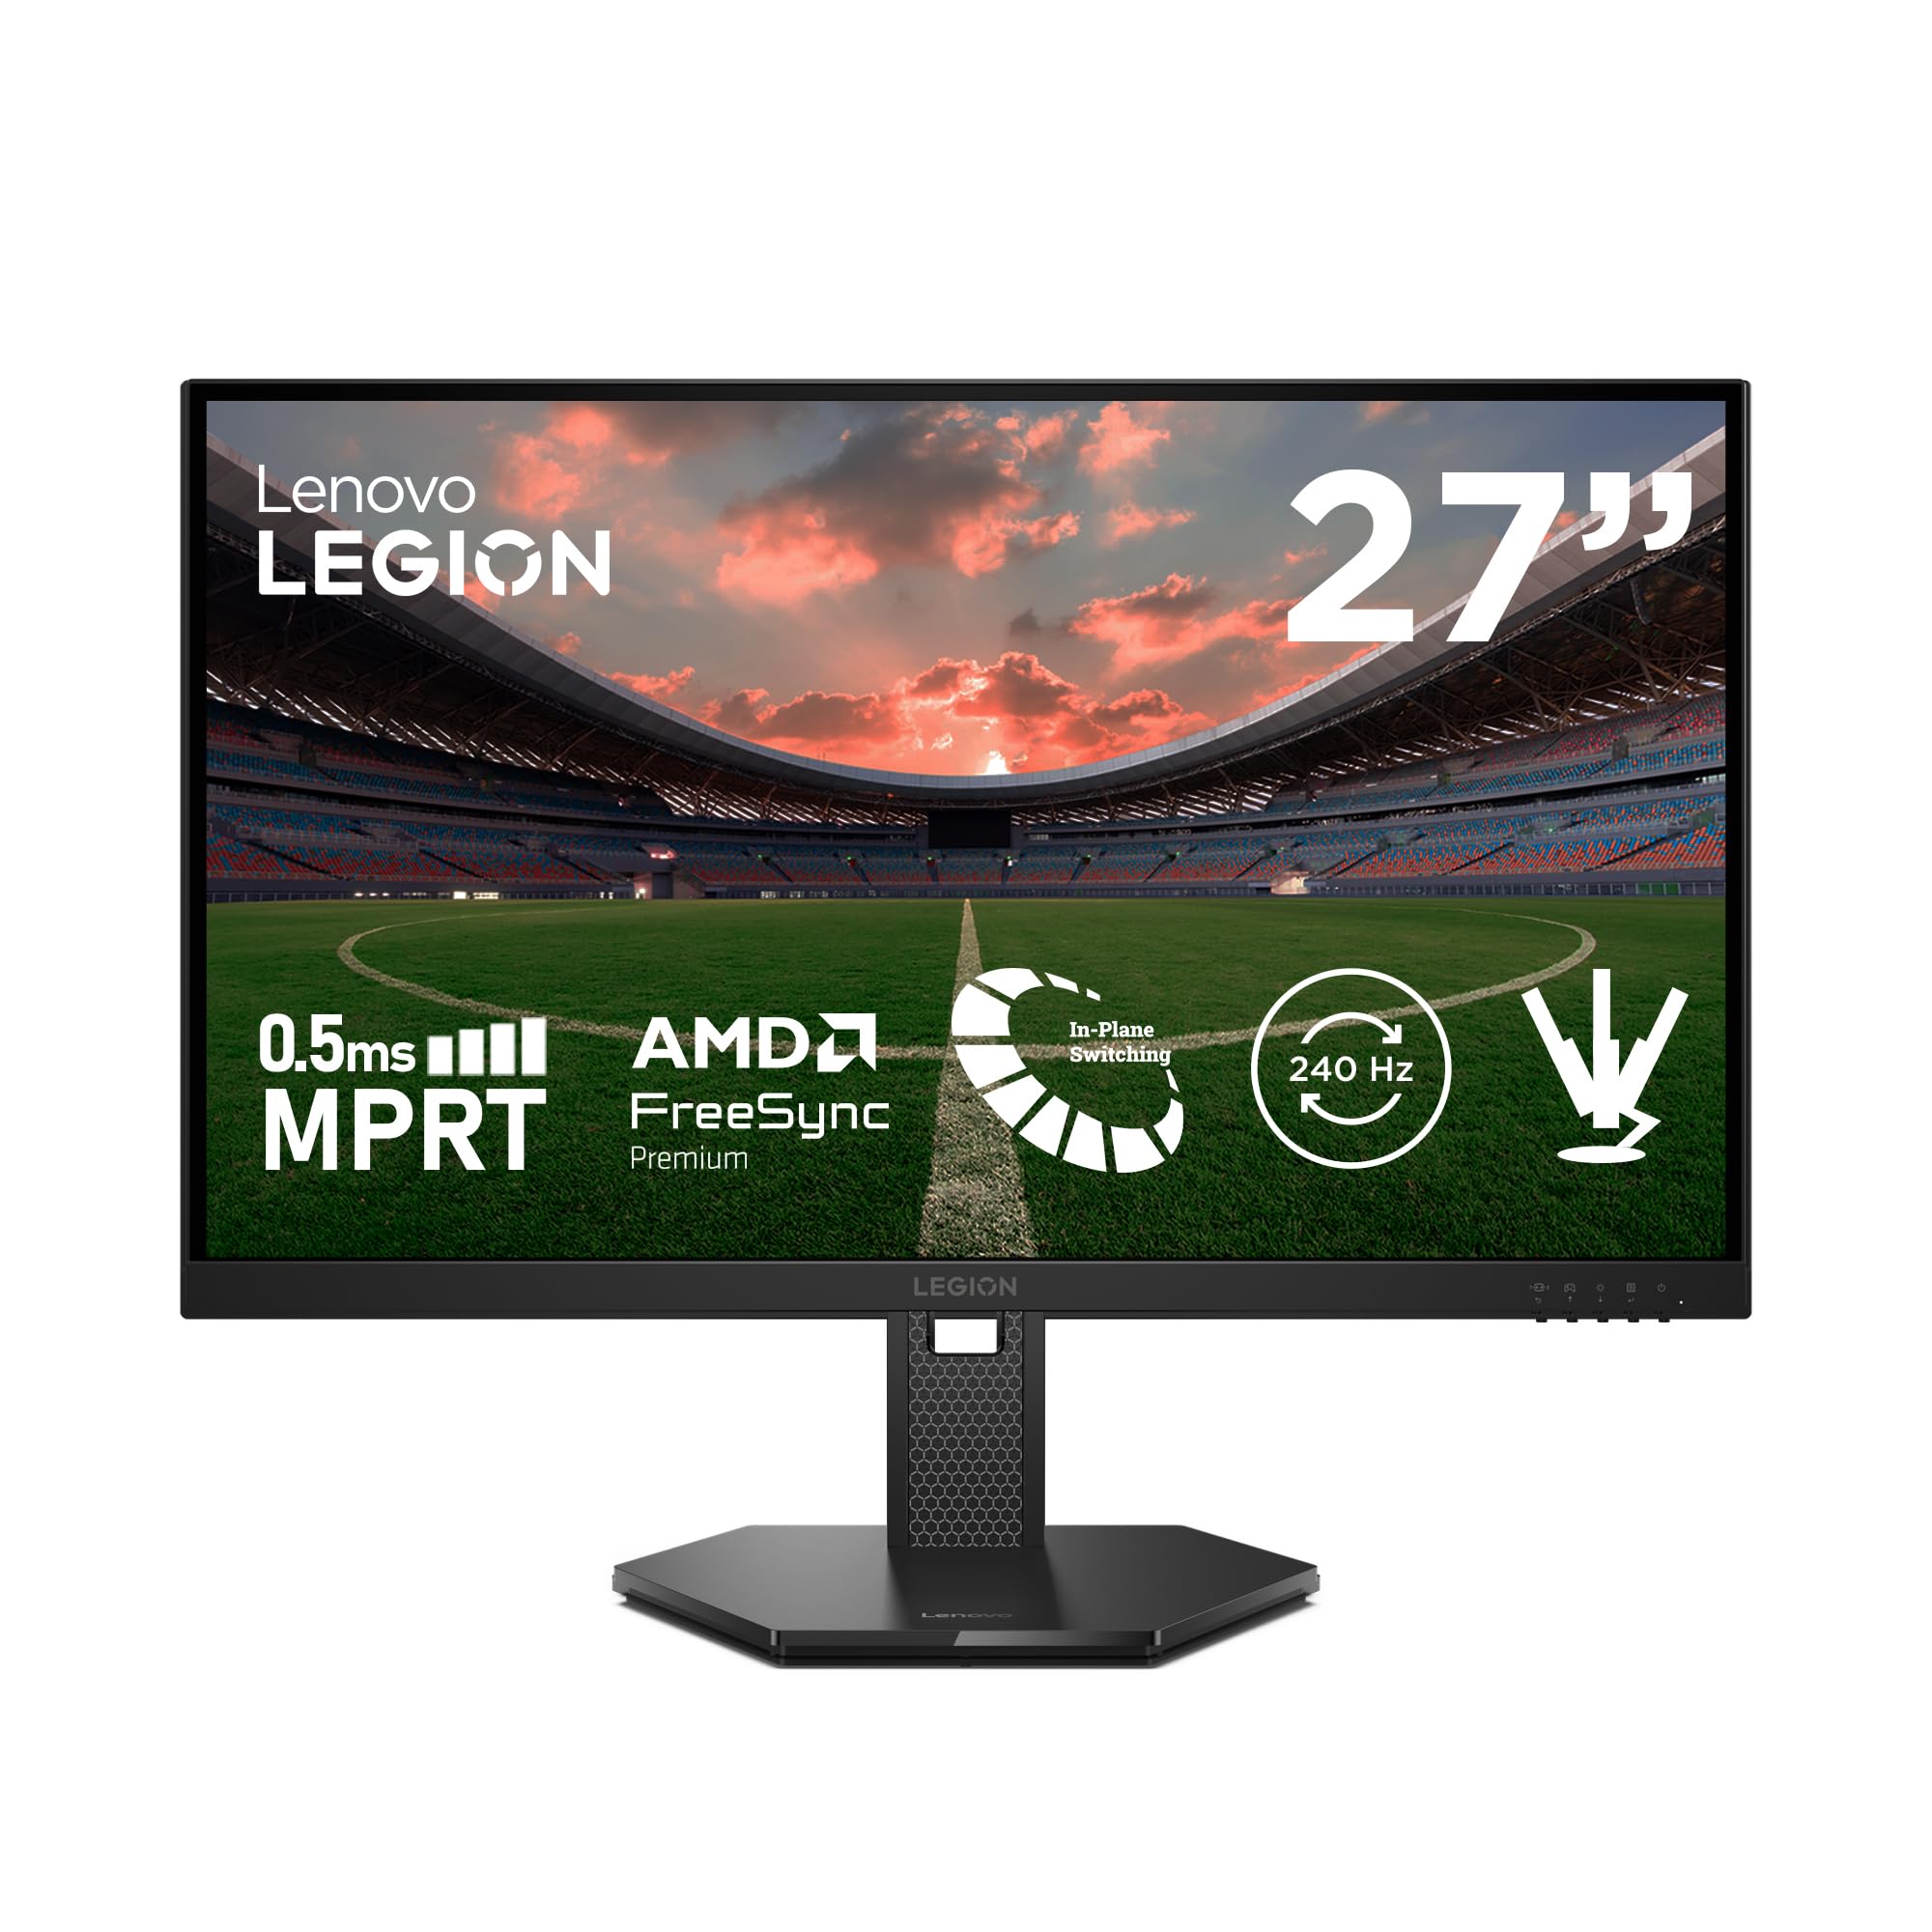
ചിത്രം: മുൻഭാഗം view of the Lenovo Legion 27Q-10 monitor. The display features a 27-inch screen with narrow bezels on three sides, and the Legion logo is visible on the bottom bezel.
പിൻഭാഗം View തുറമുഖങ്ങളും

Image: Diagram illustrating the rear ports of the monitor. From left to right, these include the power connector, two HDMI 2.1 TMDS ports, a DisplayPort 1.4, and a 3.5mm audio output jack.

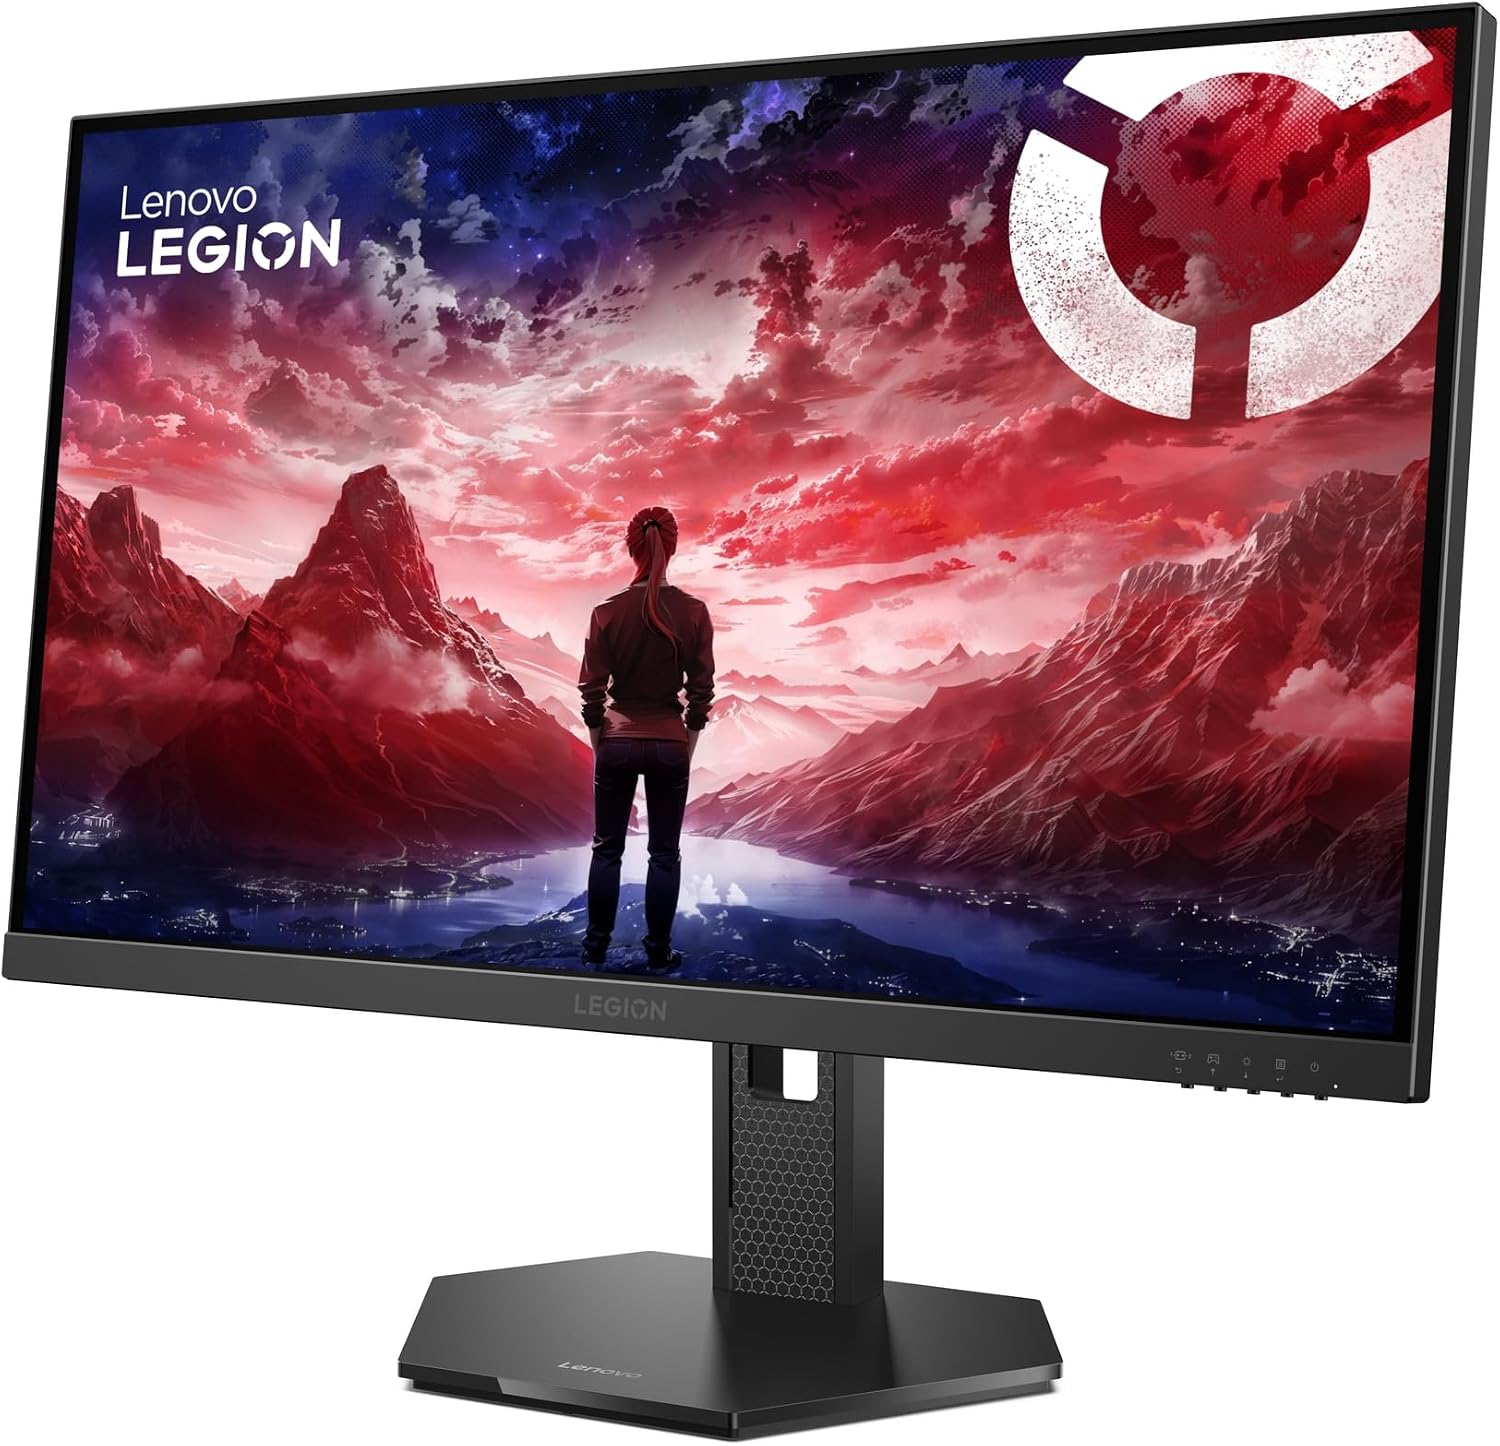
ചിത്രം: പിൻഭാഗം view of the Lenovo Legion 27Q-10 monitor. The image highlights the hexagonal pattern on the stand neck and the area for VESA mount attachment, along with the rear panel design.
4. സജ്ജീകരണം
4.1 സ്റ്റാൻഡ് അസംബ്ലി
- പോറലുകൾ ഉണ്ടാകാതിരിക്കാൻ മോണിറ്റർ പാനൽ മൃദുവായതും വൃത്തിയുള്ളതുമായ ഒരു തുണിയിൽ മുഖം താഴേക്ക് വയ്ക്കുക.
- നൽകിയിരിക്കുന്ന സ്ക്രൂകൾ ഉപയോഗിച്ച് മോണിറ്റർ പാനലിൽ സ്റ്റാൻഡ് നെക്ക് ഘടിപ്പിക്കുക.
- Attach the stand base to the stand neck, securing it with the captive screw on the underside of the base.
- കൂട്ടിച്ചേർത്ത മോണിറ്റർ ശ്രദ്ധാപൂർവ്വം ഉയർത്തി സ്ഥിരതയുള്ളതും പരന്നതുമായ ഒരു പ്രതലത്തിൽ വയ്ക്കുക.
4.2 VESA മൗണ്ടിംഗ് (ഓപ്ഷണൽ)
The monitor supports a 100mm x 100mm VESA mount. To use a VESA mount:
- മോണിറ്റർ ഇതിനകം ഘടിപ്പിച്ചിട്ടുണ്ടെങ്കിൽ അതിൽ നിന്ന് സ്റ്റാൻഡ് നീക്കം ചെയ്യുക.
- Attach your VESA-compatible mounting bracket to the four screw holes on the back of the monitor.
- Follow the instructions provided with your VESA mount for installation.
4.3 Connecting to a Computer or Console
Connect your device using either a DisplayPort or HDMI cable.
- ഡിസ്പ്ലേ പോർട്ട്: Connect one end of the DisplayPort cable to the DisplayPort output on your computer/console and the other end to the DisplayPort input on the monitor.
- എച്ച്ഡിഎംഐ: Connect one end of an HDMI 2.1 cable to the HDMI output on your computer/console and the other end to one of the HDMI 2.1 inputs on the monitor.
4.4 പവർ കണക്ഷൻ
മോണിറ്ററിന്റെ പവർ ഇൻപുട്ടിലേക്ക് പവർ കേബിൾ ബന്ധിപ്പിക്കുക, തുടർന്ന് മറ്റേ അറ്റം ഒരു ഗ്രൗണ്ടഡ് ഇലക്ട്രിക്കൽ ഔട്ട്ലെറ്റിലേക്ക് പ്ലഗ് ചെയ്യുക.
5. മോണിറ്റർ പ്രവർത്തിപ്പിക്കുക
5.1 പവർ ഓൺ/ഓഫ്
മോണിറ്റർ ഓൺ അല്ലെങ്കിൽ ഓഫ് ചെയ്യുന്നതിന്, താഴെ വലതുവശത്തുള്ള പവർ ബട്ടൺ അമർത്തുക.
5.2 ഓൺ-സ്ക്രീൻ ഡിസ്പ്ലേ (OSD) നാവിഗേഷൻ
The OSD menu allows you to adjust various monitor settings. Use the control buttons (usually located on the bottom right or rear of the monitor) to navigate the menu.
- OSD മെനു സജീവമാക്കാൻ ഒരു ബട്ടൺ അമർത്തുക.
- Use the directional buttons to move through options.
- Press the select button to confirm a selection.
- OSD മെനു അടയ്ക്കാൻ എക്സിറ്റ് ബട്ടൺ അമർത്തുക.
5.3 ക്രമീകരണങ്ങൾ ക്രമീകരിക്കുന്നു
നിങ്ങൾക്ക് ക്രമീകരിക്കാൻ കഴിയുന്ന പ്രധാന ക്രമീകരണങ്ങളിൽ ഇവ ഉൾപ്പെടുന്നു:
- തെളിച്ചം/തീവ്രത: പ്രകാശ, ഇരുണ്ട പ്രദേശങ്ങൾ തമ്മിലുള്ള മൊത്തത്തിലുള്ള പ്രകാശവും വ്യത്യാസവും ക്രമീകരിക്കുക.
- വർണ്ണ ക്രമീകരണങ്ങൾ: വർണ്ണ താപനില, ഗാമ, വ്യക്തിഗത RGB ലെവലുകൾ എന്നിവ പരിഷ്കരിക്കുക.
- ചിത്ര മോഡുകൾ: Select predefined modes optimized for different content (e.g., Standard, Gaming, Movie, sRGB).
- ഇൻപുട്ട് തിരഞ്ഞെടുക്കൽ: DisplayPort, HDMI ഇൻപുട്ടുകൾക്കിടയിൽ സ്വമേധയാ മാറുക.
5.4 Adaptive Sync (AMD FreeSync Premium Pro / VESA Adaptive Sync)
This monitor supports AMD FreeSync Premium Pro and VESA Adaptive Sync technologies to eliminate screen tearing and stuttering. Ensure your graphics card supports these technologies and that they are enabled in your graphics driver settings and the monitor's OSD menu.
5.5 സ്റ്റാൻഡ് ക്രമീകരിക്കൽ
The monitor stand offers ergonomic adjustments:
- ഉയരം ക്രമീകരിക്കൽ: Raise or lower the monitor up to 135 mm.
- ടിൽറ്റ്: Adjust the screen angle from -5° to +22°.
- സ്വിവൽ: Rotate the monitor horizontally up to 30° left or right.
- പിവറ്റ്: Rotate the screen vertically from -90° to +90° for portrait mode.
ചിത്രം: വശം view of the Lenovo Legion 27Q-10 monitor, illustrating the range of motion for the stand, including tilt and height adjustment.
5.6 നേത്ര പരിചരണ സവിശേഷതകൾ
The monitor is certified with Eyesafe® Display 2.0 and TÜV Low Blue Light, designed to reduce eye strain during extended use by minimizing harmful blue light emissions without compromising color accuracy.

Image: The monitor displaying a game, with the TÜV Rheinland and Eyesafe Certified 2.0 logos prominently displayed, indicating its eye comfort features.
6. പരിപാലനം
6.1 സ്ക്രീൻ വൃത്തിയാക്കൽ
To clean the screen, first disconnect the power cable. Use a soft, lint-free cloth lightly dampവെള്ളമോ സ്ക്രീൻ ക്ലീനിംഗ് ലായനിയോ ഉപയോഗിച്ച് നനയ്ക്കുക. സ്ക്രീനിൽ നേരിട്ട് ദ്രാവകം സ്പ്രേ ചെയ്യരുത്.
6.2 പൊതു പരിചരണം
- മോണിറ്റർ നേരിട്ടുള്ള സൂര്യപ്രകാശത്തിൽ നിന്നും താപ സ്രോതസ്സുകളിൽ നിന്നും അകറ്റി നിർത്തുക.
- മോണിറ്ററിലോ അതിന്റെ കേബിളുകളിലോ ഭാരമുള്ള വസ്തുക്കൾ വയ്ക്കുന്നത് ഒഴിവാക്കുക.
- Do not use abrasive cleaners or solvents on any part of the monitor.
7. പ്രശ്നപരിഹാരം
നിങ്ങളുടെ മോണിറ്ററിൽ പ്രശ്നങ്ങൾ നേരിടുകയാണെങ്കിൽ, ഇനിപ്പറയുന്ന പൊതുവായ പ്രശ്നങ്ങളും പരിഹാരങ്ങളും പരിശോധിക്കുക:
| പ്രശ്നം | സാധ്യമായ പരിഹാരം |
|---|---|
| സ്ക്രീനിൽ ചിത്രമൊന്നുമില്ല | Ensure the power cable is securely connected. Check if the video cable (DP/HDMI) is properly connected to both the monitor and the computer/console. Select the correct input source via the OSD menu. |
| ചിത്രം മിന്നിമറയുന്നു അല്ലെങ്കിൽ അസ്ഥിരമാണ് | Check the video cable connection. Ensure your graphics card drivers are up to date. Adjust the refresh rate in your operating system display settings. |
| നിറങ്ങൾ തെറ്റായി കാണപ്പെടുന്നു | Reset color settings to factory defaults in the OSD menu. Adjust color temperature or individual RGB values. Ensure the video cable is not damaged. |
| മോണിറ്റർ ഓണാക്കുന്നില്ല | Verify the power cable is connected to a working outlet and the monitor. Try a different power outlet. |
| Adaptive Sync (FreeSync) not working | Ensure Adaptive Sync is enabled in the monitor's OSD menu. Verify your graphics card supports FreeSync Premium Pro and that it is enabled in your graphics driver control panel. Use a DisplayPort cable for optimal performance. |
8 സ്പെസിഫിക്കേഷനുകൾ
| ഫീച്ചർ | സ്പെസിഫിക്കേഷൻ |
|---|---|
| മോഡലിൻ്റെ പേര് | ലെജിയൻ 27Q-10 |
| മോഡൽ നമ്പർ | 68C6GAC4EU |
| സ്ക്രീൻ വലിപ്പം | 27 ഇഞ്ച് |
| പാനൽ തരം | ഐ.പി.എസ് |
| റെസലൂഷൻ | QHD (2560 x 1440) |
| വീക്ഷണാനുപാതം | 16:9 |
| പുതുക്കിയ നിരക്ക് | 240 Hz |
| പ്രതികരണ സമയം | 0.5 ms (MPRT) |
| തെളിച്ചം | 300 നിറ്റ് |
| കോൺട്രാസ്റ്റ് റേഷ്യോ | 1000:1 |
| വർണ്ണ ഗാമറ്റ് | 99% sRGB, 90% DCI-P3 |
| Viewing ആംഗിൾ | 178° (H/V) |
| കണക്റ്റിവിറ്റി | 2x HDMI 2.1, 1x DisplayPort 1.4, 1x Audio Out (3.5mm) |
| അഡാപ്റ്റീവ് സമന്വയം | AMD FreeSync Premium Pro, VESA Adaptive Sync |
| നിലപാട് ക്രമീകരണം | Height (135mm), Tilt (-5°/+22°), Swivel (±30°), Pivot (±90°) |
| വെസെ മൌണ്ട് | 100 മിമി x 100 മിമി |
| വൈദ്യുതി ഉപഭോഗം | 50 വാട്ട്സ് (പരമാവധി) |
| അളവുകൾ (സ്റ്റാൻഡിനൊപ്പം) | 61.31 x 21.4 x 53.65 സെ.മീ |
| ഭാരം (സ്റ്റാൻഡിനൊപ്പം) | 6 കി.ഗ്രാം |
| നിറം | കറുപ്പ് |
9. വാറൻ്റിയും പിന്തുണയും
This Lenovo Legion 27Q-10 monitor comes with a 3 വർഷത്തെ വാറൻ്റി വാങ്ങിയ തീയതി മുതൽ.
For technical support, warranty claims, or additional information, please visit the official Lenovo support website or contact your local Lenovo service center. Refer to the warranty card included in your package for specific terms and conditions.
ലെനോവോ പിന്തുണ Webസൈറ്റ്: https://support.lenovo.com