
ആമുഖം
വാങ്ങിയതിന് നന്ദി.asing the EasySMX S10 Wireless Game Controller. This manual provides essential information for the proper setup, operation, maintenance, and troubleshooting of your device. Please read this manual thoroughly before use to ensure optimal performance and longevity of your controller.
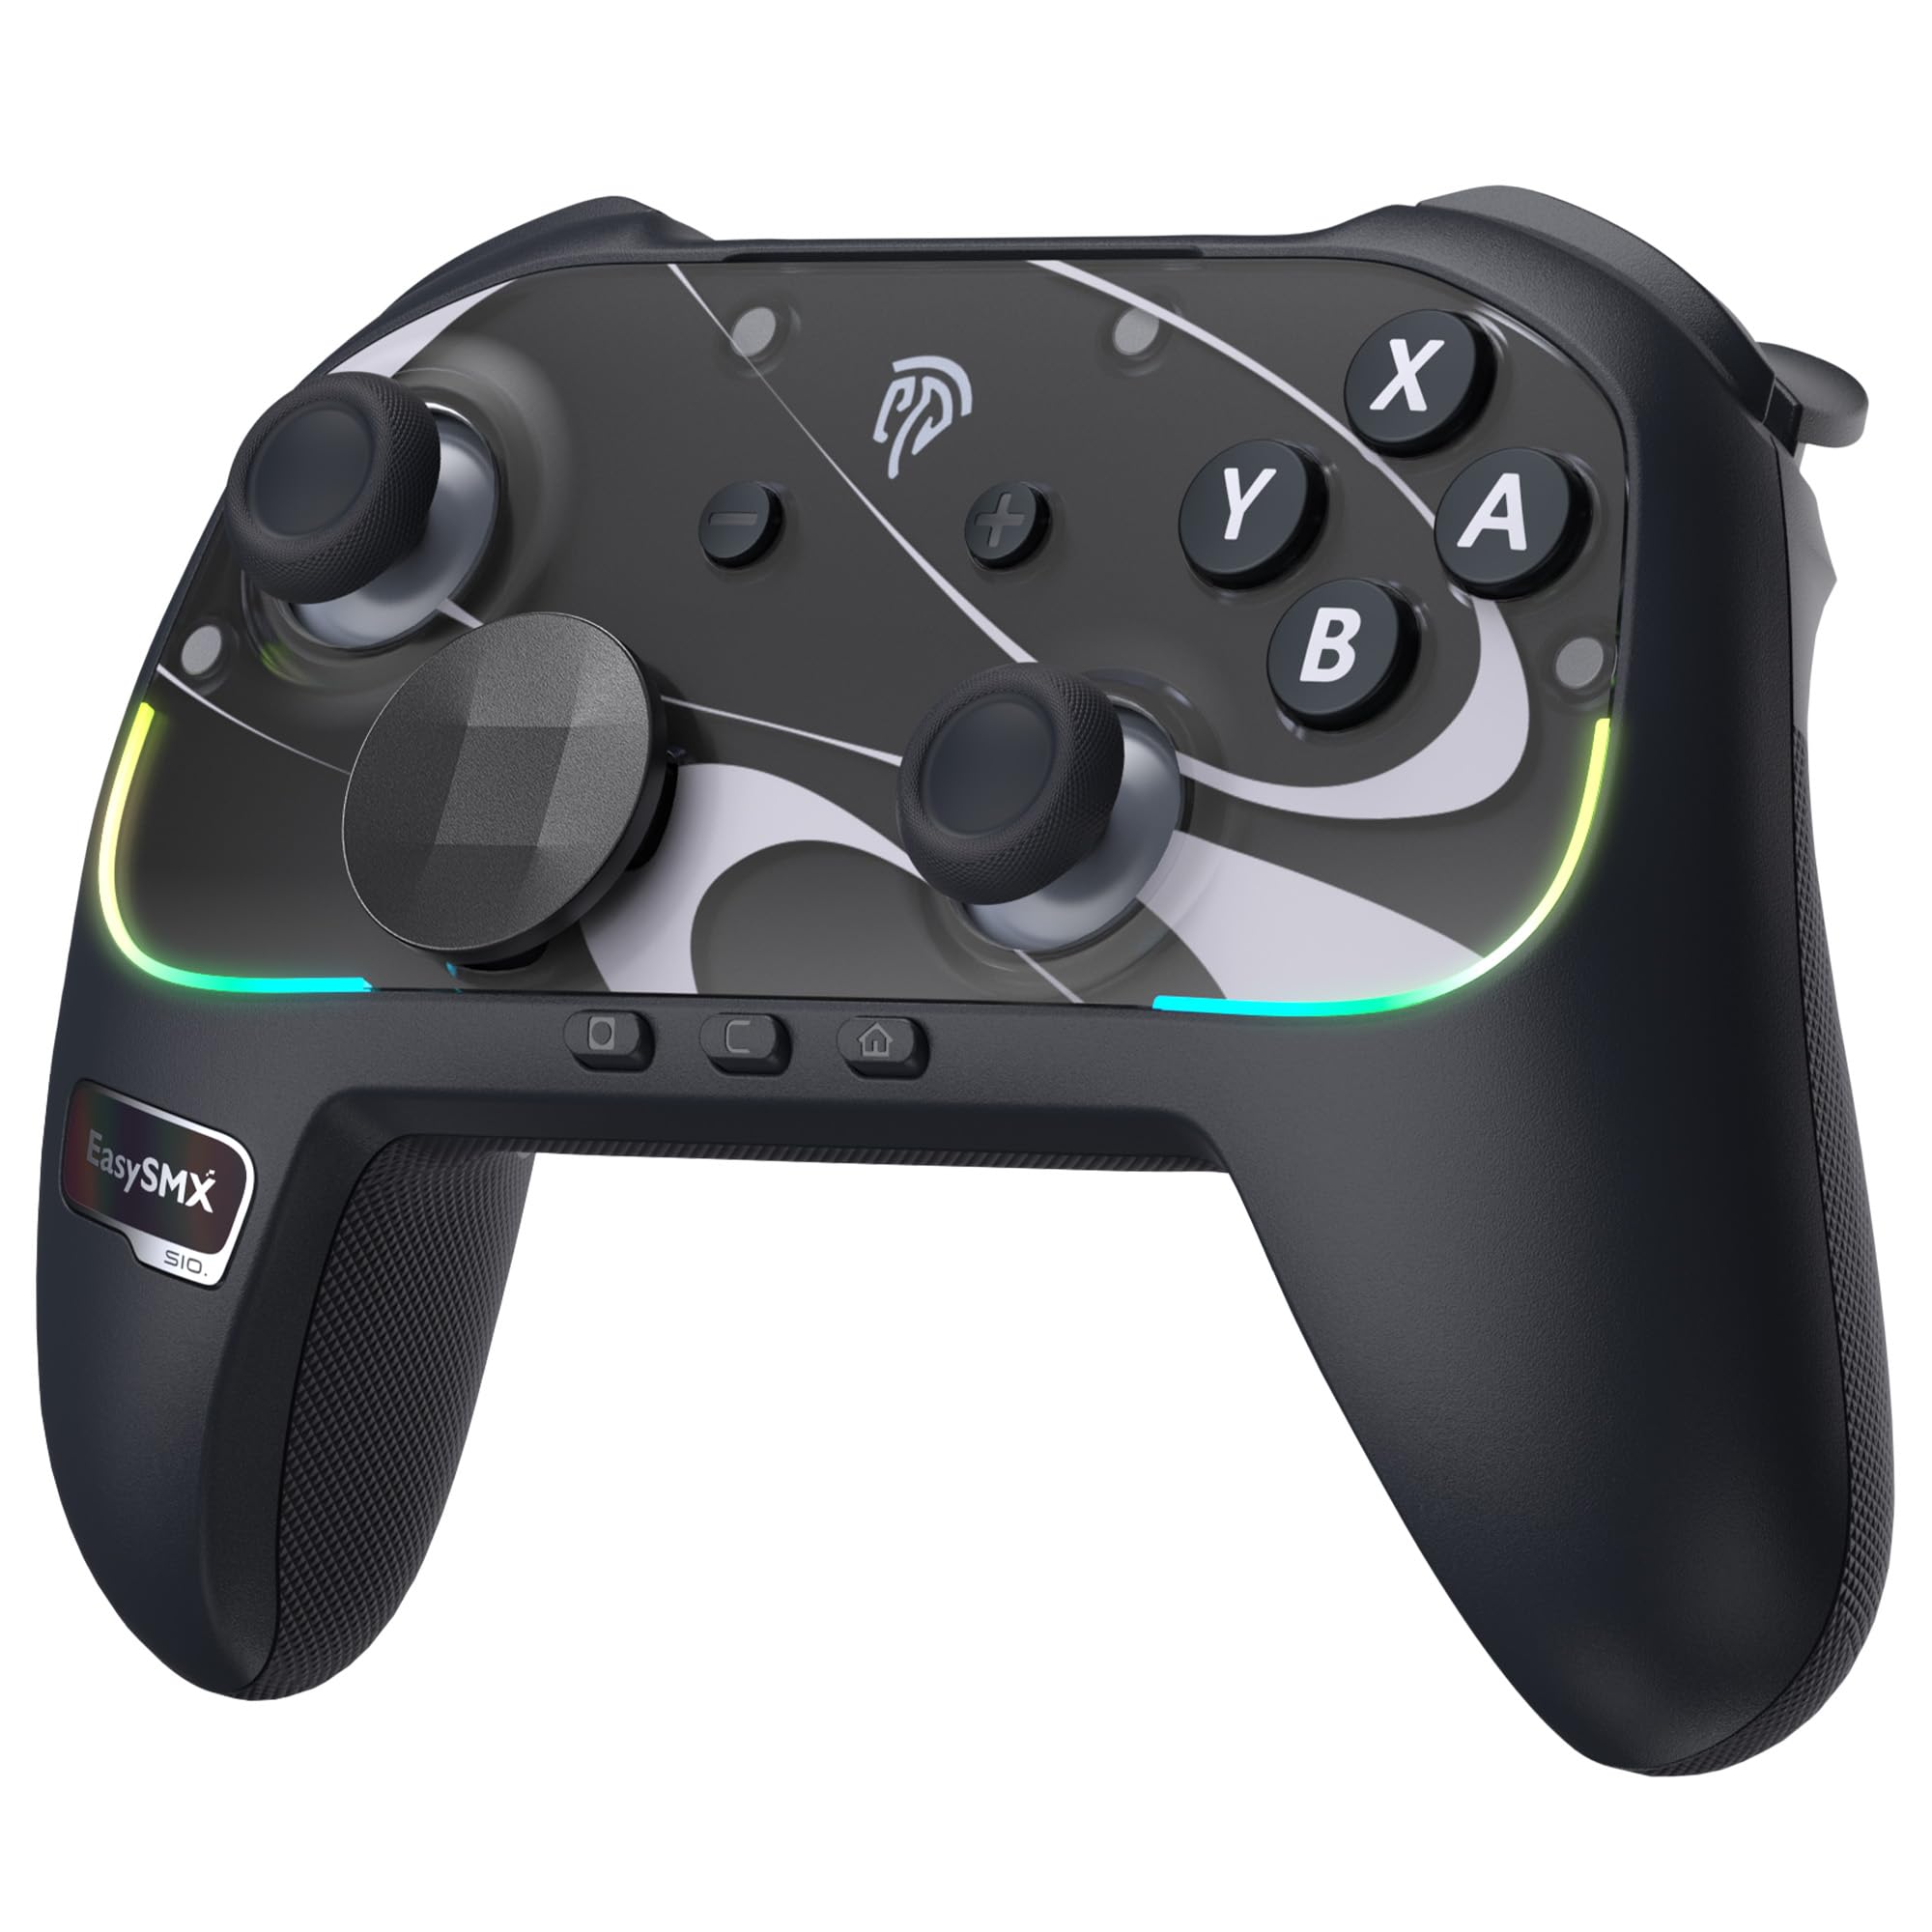
Figure 1: EasySMX S10 Wireless Game Controller
പാക്കേജ് ഉള്ളടക്കം
നിങ്ങളുടെ പാക്കേജിൽ എല്ലാ ഇനങ്ങളും ഉണ്ടെന്ന് ഉറപ്പാക്കുക:
- EasySMX S10 Wireless Game Controller
- USB-C ചാർജിംഗ് കേബിൾ
- ഉപയോക്തൃ മാനുവൽ
- Exchangeable Magnetic Faceplate (Clear/Light Blue)
- അലങ്കാര സ്റ്റിക്കറുകൾ
- Exchangeable D-pad (Cross-shaped)
ഉൽപ്പന്നം കഴിഞ്ഞുview
The EasySMX S10 controller features a robust design with advanced functionalities for an enhanced gaming experience across multiple platforms.
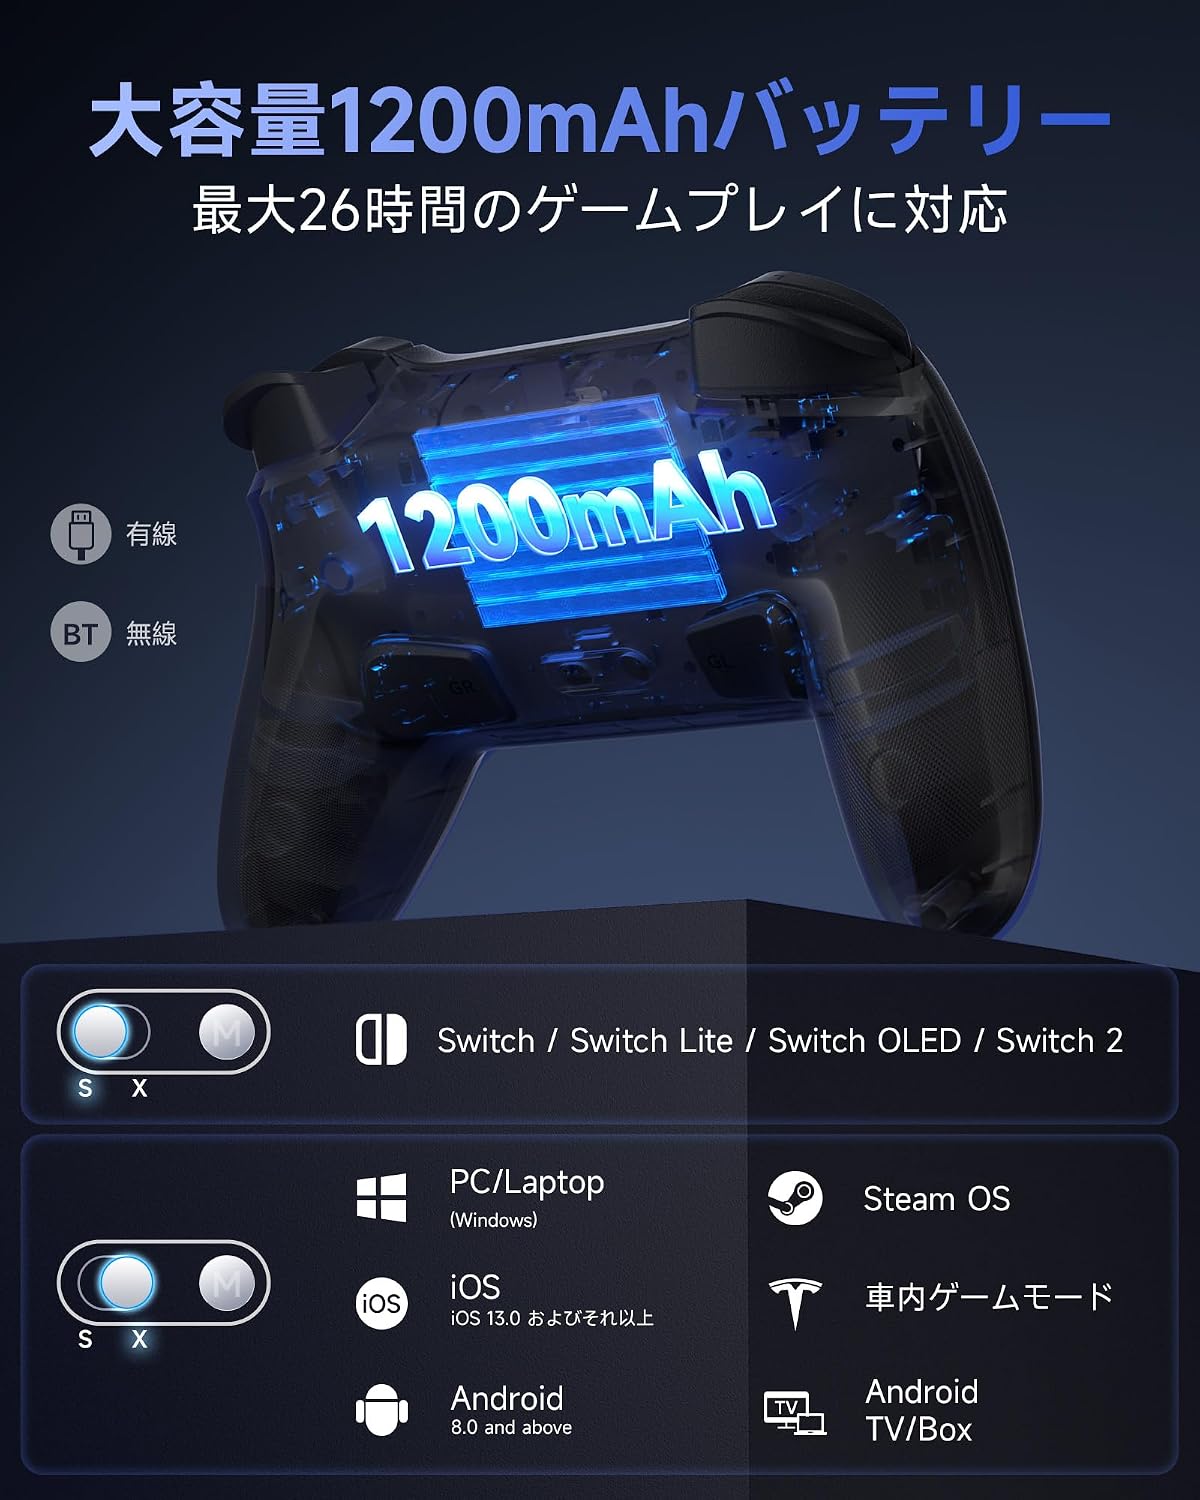
Figure 2: Controller features a 1200mAh battery and multi-platform compatibility.
പ്രധാന സവിശേഷതകൾ:
- മൾട്ടി-പ്ലാറ്റ്ഫോം അനുയോജ്യത: Supports Switch 2, Switch, Switch Lite, Switch OLED, PC, iOS, Android, and Steam Deck.
- One-Tap Startup: Instantly wakes up your Switch console.
- Advanced HD Vibration: Immersive, multi-layered haptic feedback powered by ALPS linear motors.
- TMR Joystick: High precision and durability with zero drift.
- ഇഷ്ടാനുസൃതമാക്കാവുന്ന RGB ലൈറ്റിംഗ്: 5 modes and various color combinations for personalization.
- DIY Exchangeable Components: Magnetic faceplate and D-pad can be swapped to suit preferences.
- പ്രോഗ്രാം ചെയ്യാവുന്ന ബട്ടണുകൾ: Two customizable back buttons (GR, GL).
- ദീർഘകാല ബാറ്ററി: Built-in 1200mAh lithium battery provides up to 26 hours of gameplay.
- NFC പ്രവർത്തനം: Compatible with Amiibo.
സജ്ജമാക്കുക
1. കൺട്രോളർ ചാർജ് ചെയ്യുന്നു
Before first use, fully charge the controller using the provided USB-C cable. Connect the USB-C end to the controller and the USB-A end to a power source (e.g., console, PC, or USB wall adapter).
2. Initial Pairing with Nintendo Switch / Switch 2
Follow these steps for the first-time connection to a Nintendo Switch or Switch 2 console:
- Ensure the Joy-Con controllers are attached to your Switch console.
- നിങ്ങളുടെ സ്വിച്ച് കൺസോൾ ഓൺ ചെയ്യുക.
- On the Switch HOME Menu, navigate to കൺട്രോളറുകൾ > ഗ്രിപ്പ്/ഓർഡർ മാറ്റുക.
- On the EasySMX S10 controller, long-press the ഹോം ബട്ടൺ for approximately 3 seconds. The indicator lights will flash, then flash rapidly.
- The Switch console will recognize and display the controller.
- Within 20 seconds of the controller being recognized, detach both Joy-Cons from the Switch console and then reattach them. This action enables the wireless wake-up function for future use.
After this procedure, your EasySMX S10 controller can wake up the Switch console from sleep mode by pressing the Home button.
3. Pairing with PC, Steam Deck, iOS, and Android Devices
For other compatible devices, follow standard Bluetooth pairing procedures:
- കൺട്രോളർ ചാർജ്ജ് ചെയ്തിട്ടുണ്ടെന്ന് ഉറപ്പാക്കുക.
- Activate Bluetooth on your device (PC, Steam Deck, iOS, Android).
- Put the EasySMX S10 controller into pairing mode (usually by long-pressing the Home button or a dedicated pairing button, refer to the specific device's Bluetooth settings for confirmation).
- Select "EasySMX S10" from the list of available Bluetooth devices on your screen.
- Once connected, the indicator lights on the controller will stabilize.
പ്രവർത്തന നിർദ്ദേശങ്ങൾ
1. One-Tap Startup (Switch)
Once paired with your Nintendo Switch, you can wake up the console from sleep mode by simply pressing the ഹോം ബട്ടൺ on the EasySMX S10 controller.

Figure 3: One-Tap Startup for Switch Console
2. Customizable RGB Lighting
The controller features customizable RGB lighting with 5 modes and various color combinations. To adjust the lighting effects, refer to the specific button combinations detailed in the quick start guide or the full digital manual available on the EasySMX webസൈറ്റ്.
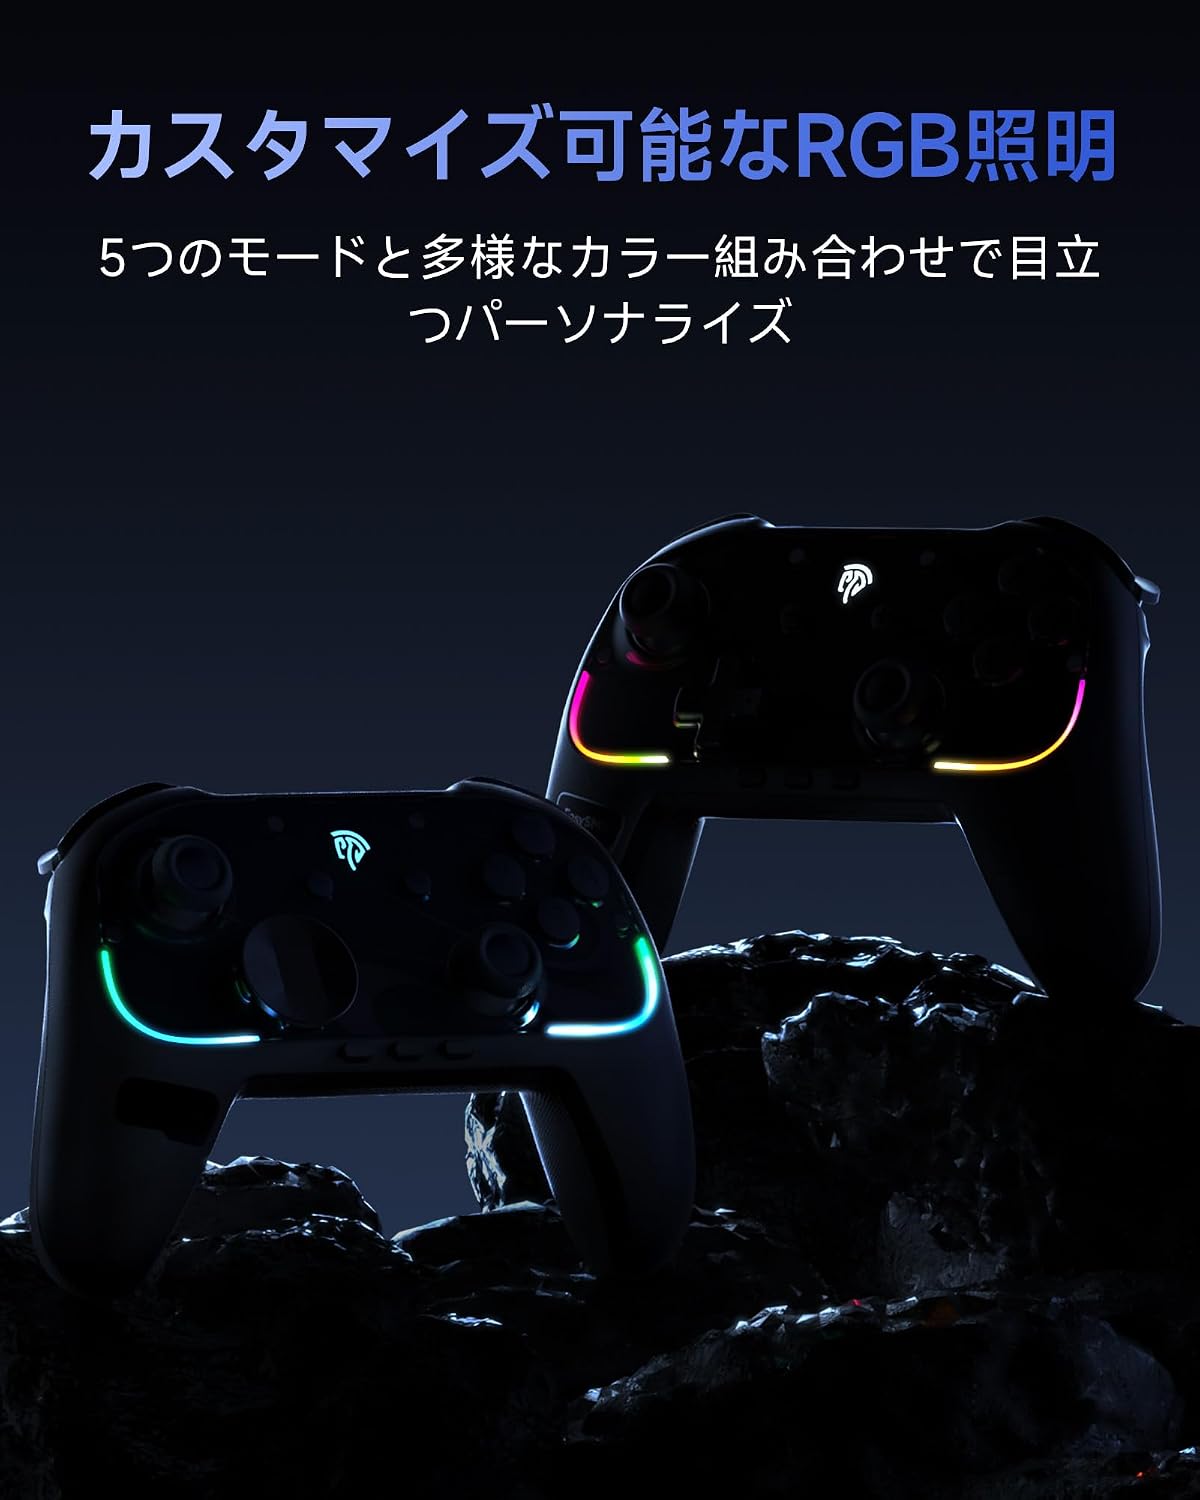
ചിത്രം 4: ഇഷ്ടാനുസൃതമാക്കാവുന്ന RGB ലൈറ്റിംഗ്
3. Exchangeable Faceplate and D-pad
The EasySMX S10 allows for personalization with its magnetic exchangeable faceplate and D-pad. You can switch between a circular D-pad for smooth control and a cross-shaped D-pad for precise directional input, adapting to different game genres and playstyles.

Figure 5: Magnetic Exchangeable Faceplates

Figure 6: Exchangeable D-pad for versatile control
4. Programmable Buttons (GR/GL)
The controller features two programmable back buttons, GR and GL, allowing you to map complex commands or frequently used actions for quick access. To program these buttons, long-press the ഓം ബട്ടൺ and follow the on-screen instructions or refer to the detailed programming guide.

Figure 7: Programmable GR and GL Buttons
5. NFC പ്രവർത്തനം
The EasySMX S10 controller includes an NFC function, allowing you to use Amiibo figures and cards with compatible games on your Nintendo Switch console. Simply place the Amiibo on the designated NFC touchpoint on the controller to activate its in-game features.

Figure 8: NFC Function for Amiibo Compatibility
6. Advanced HD Vibration
Experience immersive feedback with the controller's advanced HD vibration system, powered by ALPS linear motors. This provides multi-layered, real-time haptic feedback for every in-game action, from subtle textures to powerful impacts.

Figure 9: Advanced HD Vibration System
7. TMR Joystick and Mechanical Buttons
The S10 features TMR (Hall Effect) joysticks for superior precision and durability, eliminating stick drift. The ABXY buttons utilize an improved mechanical structure with micro-switches and liquid silicone pads, offering consistent, responsive feedback and extended lifespan.

Figure 10: TMR Joystick for Precision and Durability

Figure 11: Mechanical Buttons and Triggers
മെയിൻ്റനൻസ്
Proper care and maintenance will extend the life of your EasySMX S10 controller.
- വൃത്തിയാക്കൽ: Use a soft, dry cloth to clean the controller. Avoid using liquid cleaners, solvents, or abrasive materials, as these can damage the surface and internal components.
- സംഭരണം: കൺട്രോളർ നേരിട്ട് സൂര്യപ്രകാശം, തീവ്രമായ താപനില, ഉയർന്ന ഈർപ്പം എന്നിവയിൽ നിന്ന് മാറി തണുത്തതും വരണ്ടതുമായ സ്ഥലത്ത് സൂക്ഷിക്കുക.
- ബാറ്ററി കെയർ: To maintain battery health, charge the controller regularly, even if not in frequent use. Avoid completely draining the battery or leaving it uncharged for extended periods.
- ശാരീരിക സംരക്ഷണം: കൺട്രോളർ താഴെയിടുന്നത് ഒഴിവാക്കുക അല്ലെങ്കിൽ ശക്തമായ ആഘാതങ്ങൾക്ക് വിധേയമാക്കുക.
ട്രബിൾഷൂട്ടിംഗ്
If you encounter issues with your EasySMX S10 controller, refer to the following common solutions:
| പ്രശ്നം | പരിഹാരം |
|---|---|
| Controller does not connect/pair. | Ensure the controller is charged. Re-attempt the pairing process as described in the Setup section. Check if Bluetooth is enabled on your device. Try restarting both the controller and the device. |
| Switch wake-up function is not working. | This function requires a specific initial pairing procedure. Please repeat the "Initial Pairing with Nintendo Switch / Switch 2" steps carefully, especially step 6 regarding detaching and reattaching Joy-Cons. |
| Buttons are unresponsive or delayed. | Check for any physical obstructions around the buttons. Ensure the controller's battery is not low. Try resetting the controller (if a reset button is available, otherwise power cycle). Ensure there is no significant wireless interference. |
| Vibration is not working or is too strong/weak. | Check in-game settings for vibration options. Some games allow adjustment of vibration intensity. Ensure the controller's HD vibration feature is enabled (refer to the full manual for specific button combinations if available). |
| NFC (Amiibo) function is not working. | Ensure the Amiibo is placed correctly on the NFC touchpoint. Verify that the game you are playing supports Amiibo and that the NFC function is enabled in the game or console settings. |
സ്പെസിഫിക്കേഷനുകൾ
| ഫീച്ചർ | വിശദാംശങ്ങൾ |
|---|---|
| മോഡൽ നമ്പർ | എസ് 10 |
| കണക്റ്റിവിറ്റി | വയർലെസ് (ബ്ലൂടൂത്ത്) |
| അനുയോജ്യത | Switch 2, Switch, Switch Lite, Switch OLED, PC, iOS, Android, Steam Deck |
| ബാറ്ററി | 1200mAh ലിഥിയം അയൺ (ഉൾപ്പെടുത്തിയത്) |
| ബാറ്ററി ലൈഫ് | 26 മണിക്കൂർ വരെ (ഏകദേശം) |
| അളവുകൾ | 18.1 x 14.3 x 7.1 സെ.മീ |
| ഭാരം | 540 ഗ്രാം |
| പോളിംഗ് നിരക്ക് | 1000Hz |
| ജോയ്സ്റ്റിക്ക് തരം | TMR (Hall Effect) |
| ബട്ടണുകൾ | Mechanical ABXY, Programmable GR/GL |
| പ്രത്യേക സവിശേഷതകൾ | RGB Lighting, HD Vibration, NFC, Exchangeable Faceplate/D-pad |
| മാതൃരാജ്യം | ചൈന |
| ASIN | B0FQTG4N23 |
| റിലീസ് തീയതി | 2025/09/20 |
This product complies with Japanese technical standards. For details, refer to the technical compliance certificate.

Figure 12: Technical Compliance Mark
വാറൻ്റിയും പിന്തുണയും
This EasySMX S10 Wireless Game Controller comes with a standard manufacturer's warranty. Please refer to the warranty card included in your package for specific terms and conditions, including warranty period and coverage details.
For technical support, troubleshooting assistance, or any inquiries regarding your product, please visit the official EasySMX website or contact their customer service department. Contact information can typically be found on the EasySMX webസൈറ്റ് അല്ലെങ്കിൽ ഉൽപ്പന്ന പാക്കേജിംഗിൽ.