
1. ആമുഖം
Thank you for choosing the ATTACK SHARK V3 Ultra-Light Wireless Gaming Mouse. This manual provides essential information for setting up, operating, and maintaining your new gaming mouse. Please read it carefully to ensure optimal performance and longevity of your device.

Image 1.1: ATTACK SHARK V3 Ultra-Light Wireless Gaming Mouse. This image displays the black V3 mouse held by a person, highlighting its ergonomic design and lightweight nature. The mouse features a scroll wheel and side buttons.
2. പാക്കേജ് ഉള്ളടക്കം
പാക്കേജിൽ എല്ലാ ഇനങ്ങളും ഉണ്ടെന്ന് ഉറപ്പാക്കുക:
- ATTACK SHARK V3 Wireless Gaming Mouse
- 2.4GHz യുഎസ്ബി റിസീവർ
- USB-C ചാർജിംഗ് കേബിൾ
- ഉപയോക്തൃ മാനുവൽ
- Attack Shark Stickers
- Replacement Mouse Feet

Image 2.1: Package Contents. This image shows the V3 mouse, 2.4G receiver, USB cable, user manual, Attack Shark stickers, and mouse feet, all neatly arranged next to the product box.
3. ഉൽപ്പന്ന സവിശേഷതകൾ
3.1. PixArt 3311 Sensor for Precision
The V3 mouse is equipped with a high-precision PixArt 3311 sensor, offering up to 25000 DPI. This sensor provides accurate tracking and responsiveness, crucial for gaming. DPI can be fine-tuned in 50-step increments via the dedicated driver software.

Image 3.1: PixArt 3311 Sensor. A close-up view of the PixArt 3311 sensor chip, emphasizing its advanced technology for precise tracking with specifications like 400 IPS, 25000 DPI, and 40G acceleration.
3.2. Ultra-Lightweight Design
Weighing approximately 62g, the V3 mouse is designed for comfort during extended use. Its lightweight construction helps reduce hand fatigue, making it suitable for long gaming sessions or daily tasks.

Image 3.2: Ultra-Lightweight Design. This image illustrates the mouse's lightweight nature and ergonomic shape, designed for right-handed users and large hands, with key dimensions indicated.
3.3. ട്രൈ-മോഡ് കണക്റ്റിവിറ്റി
The V3 mouse offers versatile connectivity options: wired USB-C, 2.4GHz wireless, and Bluetooth. This allows seamless switching between different devices and usage scenarios.

Image 3.3: Tri-Mode Connectivity. The image shows the mouse connected via its USB-C cable, with the 2.4G receiver also visible, demonstrating the three connection modes: wired, 2.4G wireless, and Bluetooth.
3.4. Long-lasting Rechargeable Battery
Equipped with a 500mAh battery, the V3 mouse provides extended usage on a single charge. The BK52820 main control chip ensures efficient power consumption, contributing to its long battery life.
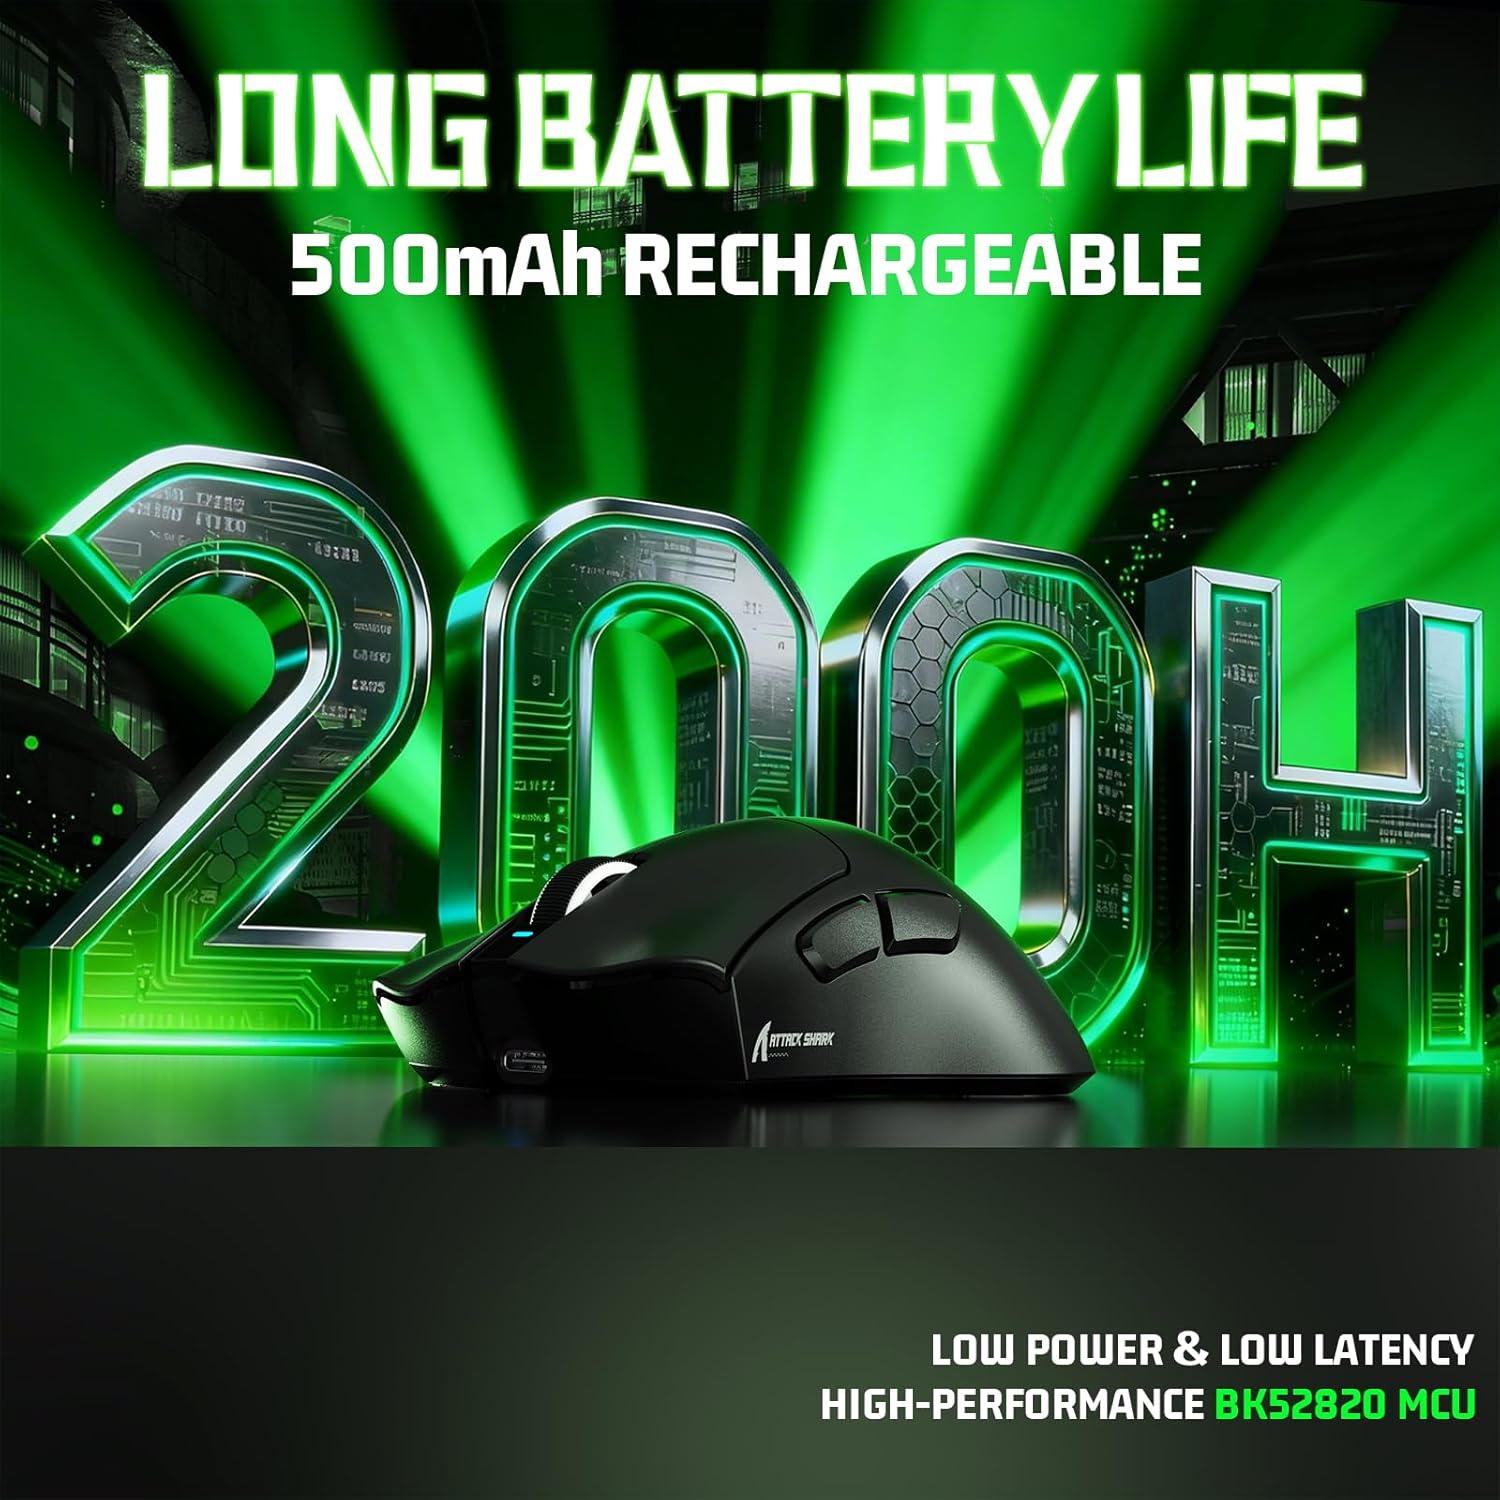
Image 3.4: Long Battery Life. This image highlights the mouse's 500mAh rechargeable battery, emphasizing up to 200 hours of usage thanks to low power consumption and the BK52820 MCU.
3.5. പ്രോഗ്രാം ചെയ്യാവുന്ന ബട്ടണുകളും സോഫ്റ്റ്വെയറും
The V3 mouse features 5 programmable buttons. Utilize the dedicated driver software to customize button functions, adjust DPI settings, polling rate, and create macros for personalized control.
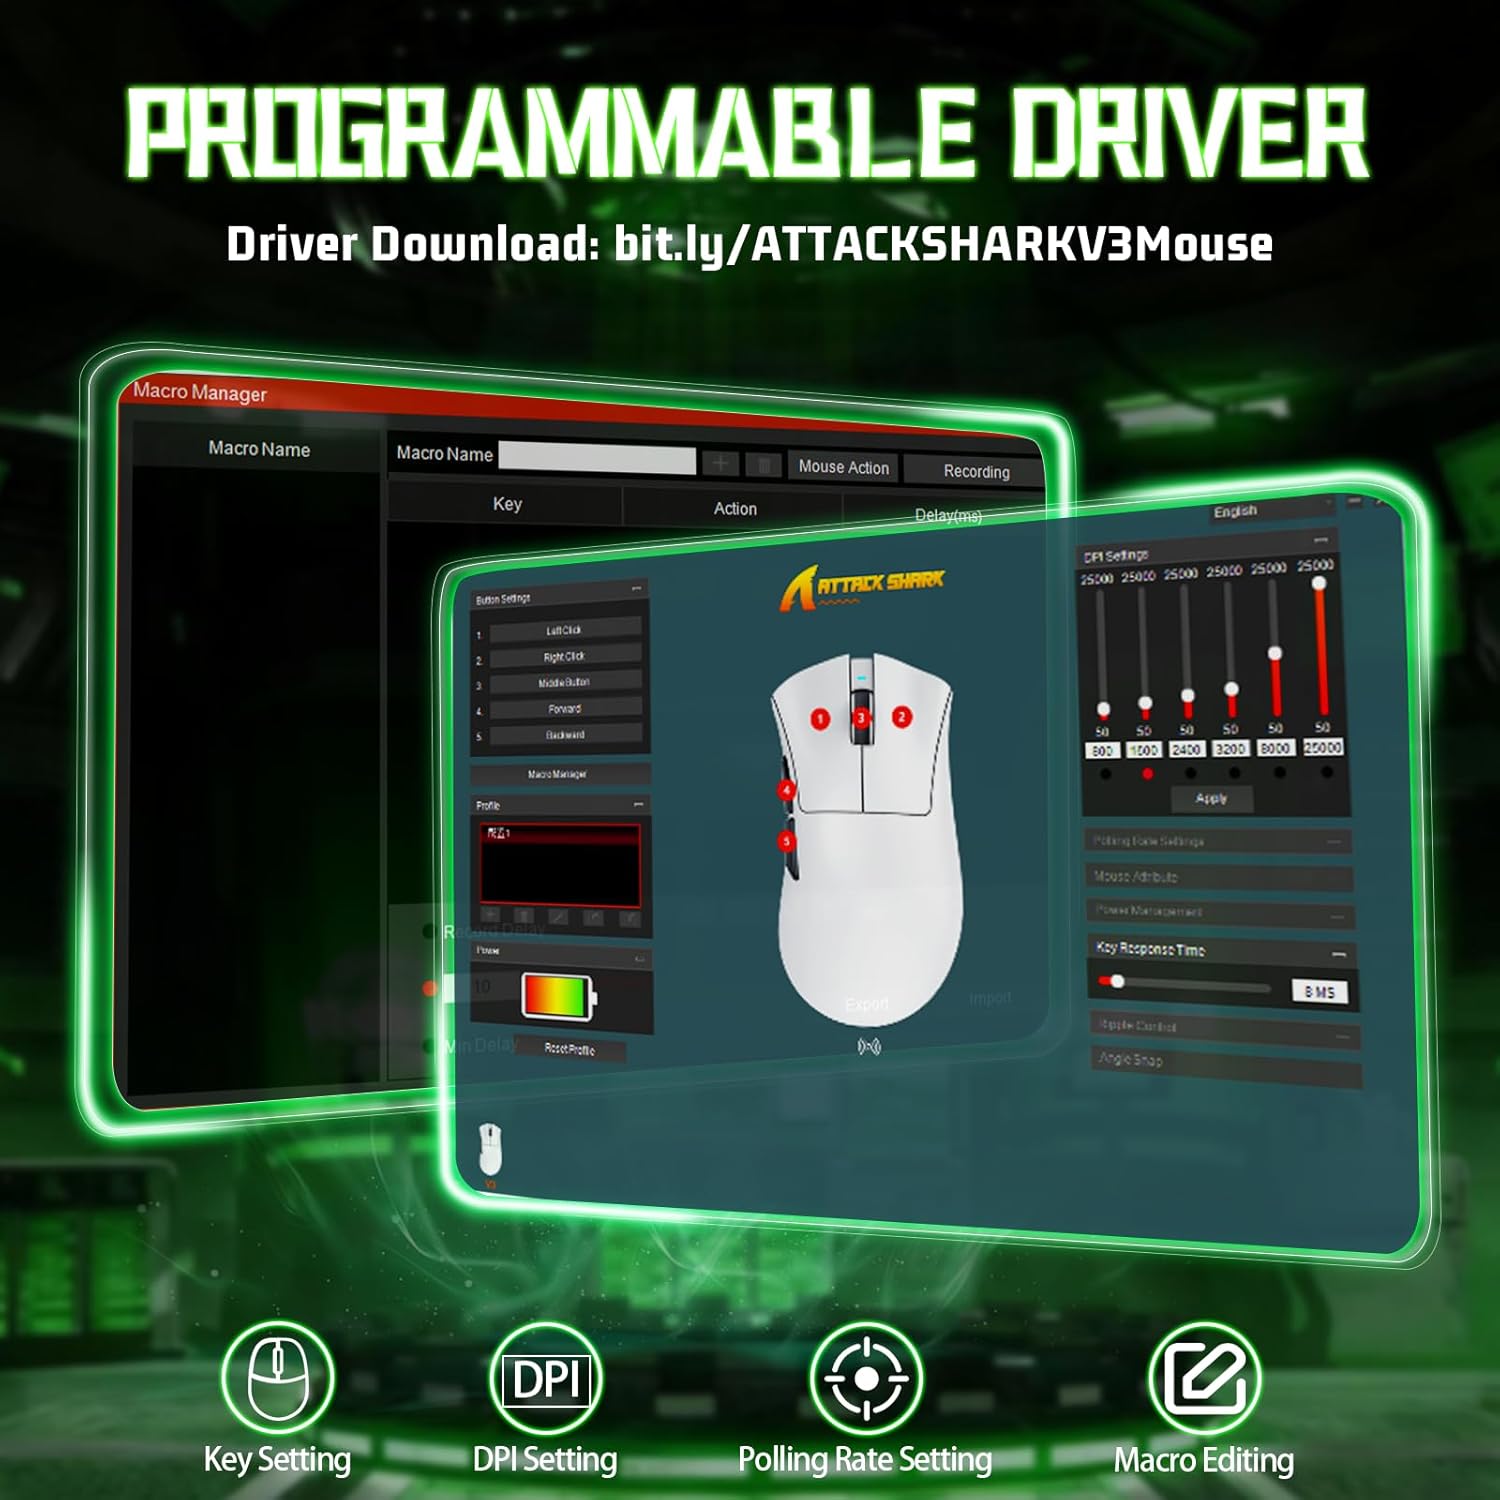
Image 3.5: Programmable Driver Software. A screenshot of the mouse's driver interface, showing options for key settings, DPI adjustment, polling rate, and macro editing, with the mouse itself in the foreground.
4. സജ്ജീകരണ ഗൈഡ്
4.1. മൗസ് ചാർജ് ചെയ്യുന്നു
- Connect the supplied USB-C cable to the mouse's charging port.
- Connect the other end of the USB-C cable to a USB power source (e.g., computer USB port, USB wall adapter).
- The indicator light on the mouse will show charging status. A full charge typically takes a few hours.
4.2. 2.4GHz വയർലെസ് വഴി ബന്ധിപ്പിക്കുന്നു
- Locate the 2.4GHz USB receiver in the package.
- നിങ്ങളുടെ കമ്പ്യൂട്ടറിൽ ലഭ്യമായ USB പോർട്ടിലേക്ക് USB റിസീവർ പ്ലഗ് ചെയ്യുക.
- Turn on the mouse using the power switch located on the bottom. Ensure the mode switch is set to 2.4G.
- മൗസ് നിങ്ങളുടെ കമ്പ്യൂട്ടറിലേക്ക് യാന്ത്രികമായി കണക്റ്റുചെയ്യണം.
4.3. ബ്ലൂടൂത്ത് വഴി ബന്ധിപ്പിക്കുന്നു
- Turn on the mouse and set the mode switch to Bluetooth (BT).
- നിങ്ങളുടെ കമ്പ്യൂട്ടറിലോ ഉപകരണത്തിലോ, Bluetooth ക്രമീകരണങ്ങളിലേക്ക് പോയി Bluetooth പ്രവർത്തനക്ഷമമാക്കുക.
- ഇതിനായി തിരയുക new devices. The mouse should appear as 'ATTACK SHARK V3' or similar.
- ജോടിയാക്കാൻ മൗസ് തിരഞ്ഞെടുക്കുക. സ്ക്രീനിലെ ഏതെങ്കിലും നിർദ്ദേശങ്ങൾ പാലിക്കുക.
4.4. Connecting via Wired USB-C
- Connect the supplied USB-C cable to the mouse.
- USB-C കേബിളിന്റെ മറ്റേ അറ്റം നിങ്ങളുടെ കമ്പ്യൂട്ടറിലെ ഒരു USB പോർട്ടിലേക്ക് ബന്ധിപ്പിക്കുക.
- ഈ മൗസ് ഒരു വയർഡ് മൗസായി പ്രവർത്തിക്കുകയും ഒരേസമയം ചാർജ് ചെയ്യുകയും ചെയ്യും.
5. പ്രവർത്തന നിർദ്ദേശങ്ങൾ
5.1. ഡിപിഐ ക്രമീകരണം
The DPI button is located on the underside of the mouse. Press this button to cycle through preset DPI levels. Each level is indicated by a different color on the mouse's LED. For precise DPI customization, use the ATTACK SHARK driver software.
5.2. പ്രോഗ്രാം ചെയ്യാവുന്ന ബട്ടണുകൾ
The V3 mouse features 5 programmable buttons (left click, right click, scroll wheel click, and two side buttons). Download and install the ATTACK SHARK driver software from the official website to customize these buttons, assign macros, and adjust other performance settings.
5.3. കണക്ഷൻ മോഡുകൾ മാറ്റുന്നു
Use the switch on the bottom of the mouse to select your desired connection mode: 2.4G for wireless via USB receiver, BT for Bluetooth, or OFF for wired mode (when connected via USB-C cable).
5.4. പവർ മാനേജ്മെന്റ്
To conserve battery life, turn off the mouse when not in use for extended periods. The mouse also features an automatic sleep mode to save power.
6. പരിപാലനം
6.1. വൃത്തിയാക്കൽ
To clean your mouse, use a soft, dry cloth. For stubborn dirt, lightly dampen the cloth with water. Avoid using harsh chemicals or abrasive materials, as these can damage the mouse's surface or internal components.
6.2. ബാറ്ററി പരിചരണം
To prolong battery life, avoid fully discharging the mouse frequently. Store the mouse in a cool, dry place when not in use. Do not expose the mouse to extreme temperatures.
7. പ്രശ്നപരിഹാരം
- മൗസ് പ്രതികരിക്കുന്നില്ല: Ensure the mouse is charged and powered on. Check the connection mode (2.4G, BT, or wired). For 2.4G, ensure the USB receiver is properly inserted. For Bluetooth, re-pair the device.
- കാലതാമസം അല്ലെങ്കിൽ വിച്ഛേദങ്ങൾ: Ensure the mouse is within range of the receiver/device. Avoid interference from other wireless devices. Try connecting via wired mode to rule out wireless issues.
- DPI മാറുന്നില്ല: Press the DPI button firmly. If using custom settings, ensure the driver software is running and settings are applied.
- ബട്ടണുകൾ പ്രവർത്തിക്കുന്നില്ല: Check if the buttons are programmed correctly in the driver software. Ensure no physical obstructions.
- ചാർജിംഗ് പ്രശ്നങ്ങൾ: Verify the USB-C cable is securely connected to both the mouse and the power source. Try a different USB port or cable.
8 സ്പെസിഫിക്കേഷനുകൾ
| ഫീച്ചർ | സ്പെസിഫിക്കേഷൻ |
|---|---|
| മോഡൽ | ATTACK SHARK V3 |
| സെൻസർ | PixArt 3311 ഒപ്റ്റിക്കൽ സെൻസർ |
| ഡിപിഐ ശ്രേണി | Up to 25000 DPI (adjustable via driver) |
| ത്വരണം | 40G |
| കണക്റ്റിവിറ്റി | 2.4GHz വയർലെസ്, ബ്ലൂടൂത്ത്, USB-C വയേർഡ് |
| ബാറ്ററി ശേഷി | 500mAh റീചാർജ് ചെയ്യാവുന്നത് |
| ഭാരം | ഏകദേശം 62 ഗ്രാം |
| സ്വിച്ചുകൾ | ഹുവാനോ മൈക്രോ സ്വിച്ചുകൾ (20 ദശലക്ഷം ക്ലിക്കുകൾ) |
| പ്രോഗ്രാം ചെയ്യാവുന്ന ബട്ടണുകൾ | 5 |
| അനുയോജ്യത | Windows XP/7/8/10/11, Mac OS, Android, Linux |
9. വാറൻ്റിയും പിന്തുണയും
വാറന്റി വിവരങ്ങൾക്കും സാങ്കേതിക പിന്തുണയ്ക്കും, ദയവായി ഔദ്യോഗിക ATTACK SHARK കാണുക. webനിങ്ങളുടെ സൈറ്റിൽ ബന്ധപ്പെടുക അല്ലെങ്കിൽ നിങ്ങളുടെ പ്രാദേശിക വിതരണക്കാരനെ ബന്ധപ്പെടുക. വാറന്റി ക്ലെയിമുകൾക്കായി നിങ്ങളുടെ വാങ്ങൽ രസീത് സൂക്ഷിക്കുക.