
1. ആമുഖം
This manual provides essential information for the proper handling, installation, and testing of your Ygpmoiki LCD Touch Screen Digitizer Assembly. This replacement part is designed for the Samsung Galaxy A07 4G, specifically compatible with models SM-A075F, SM-A075F/DS, SM-A075M, and SM-A075M/DS.
പ്രധാന സുരക്ഷാ മുൻകരുതൽ: The screen panel contact is highly fragile. Installation of this component should only be performed by professional personnel. Prior to any permanent installation, the display must be thoroughly tested.
2. ഉൽപ്പന്നം കഴിഞ്ഞുview
The Ygpmoiki LCD Touch Screen Digitizer Assembly is a complete replacement unit for your device's display. It includes the LCD panel, touch screen digitizer, and associated flex cables, designed to resolve issues such as poor touch response, abnormal display, or a broken screen.
2.1 പാക്കേജ് ഉള്ളടക്കം
- 1x Ygpmoiki LCD Touch Screen Digitizer Assembly for Samsung Galaxy A07 4G (6.7 inches)
- 1x Set of Installation Tools
2.2 അനുയോജ്യത
This display assembly is compatible with the following Samsung Galaxy A07 4G models:
- SM-A075F
- SM-A075F/DS
- SM-A075M
- SM-A075M/DS
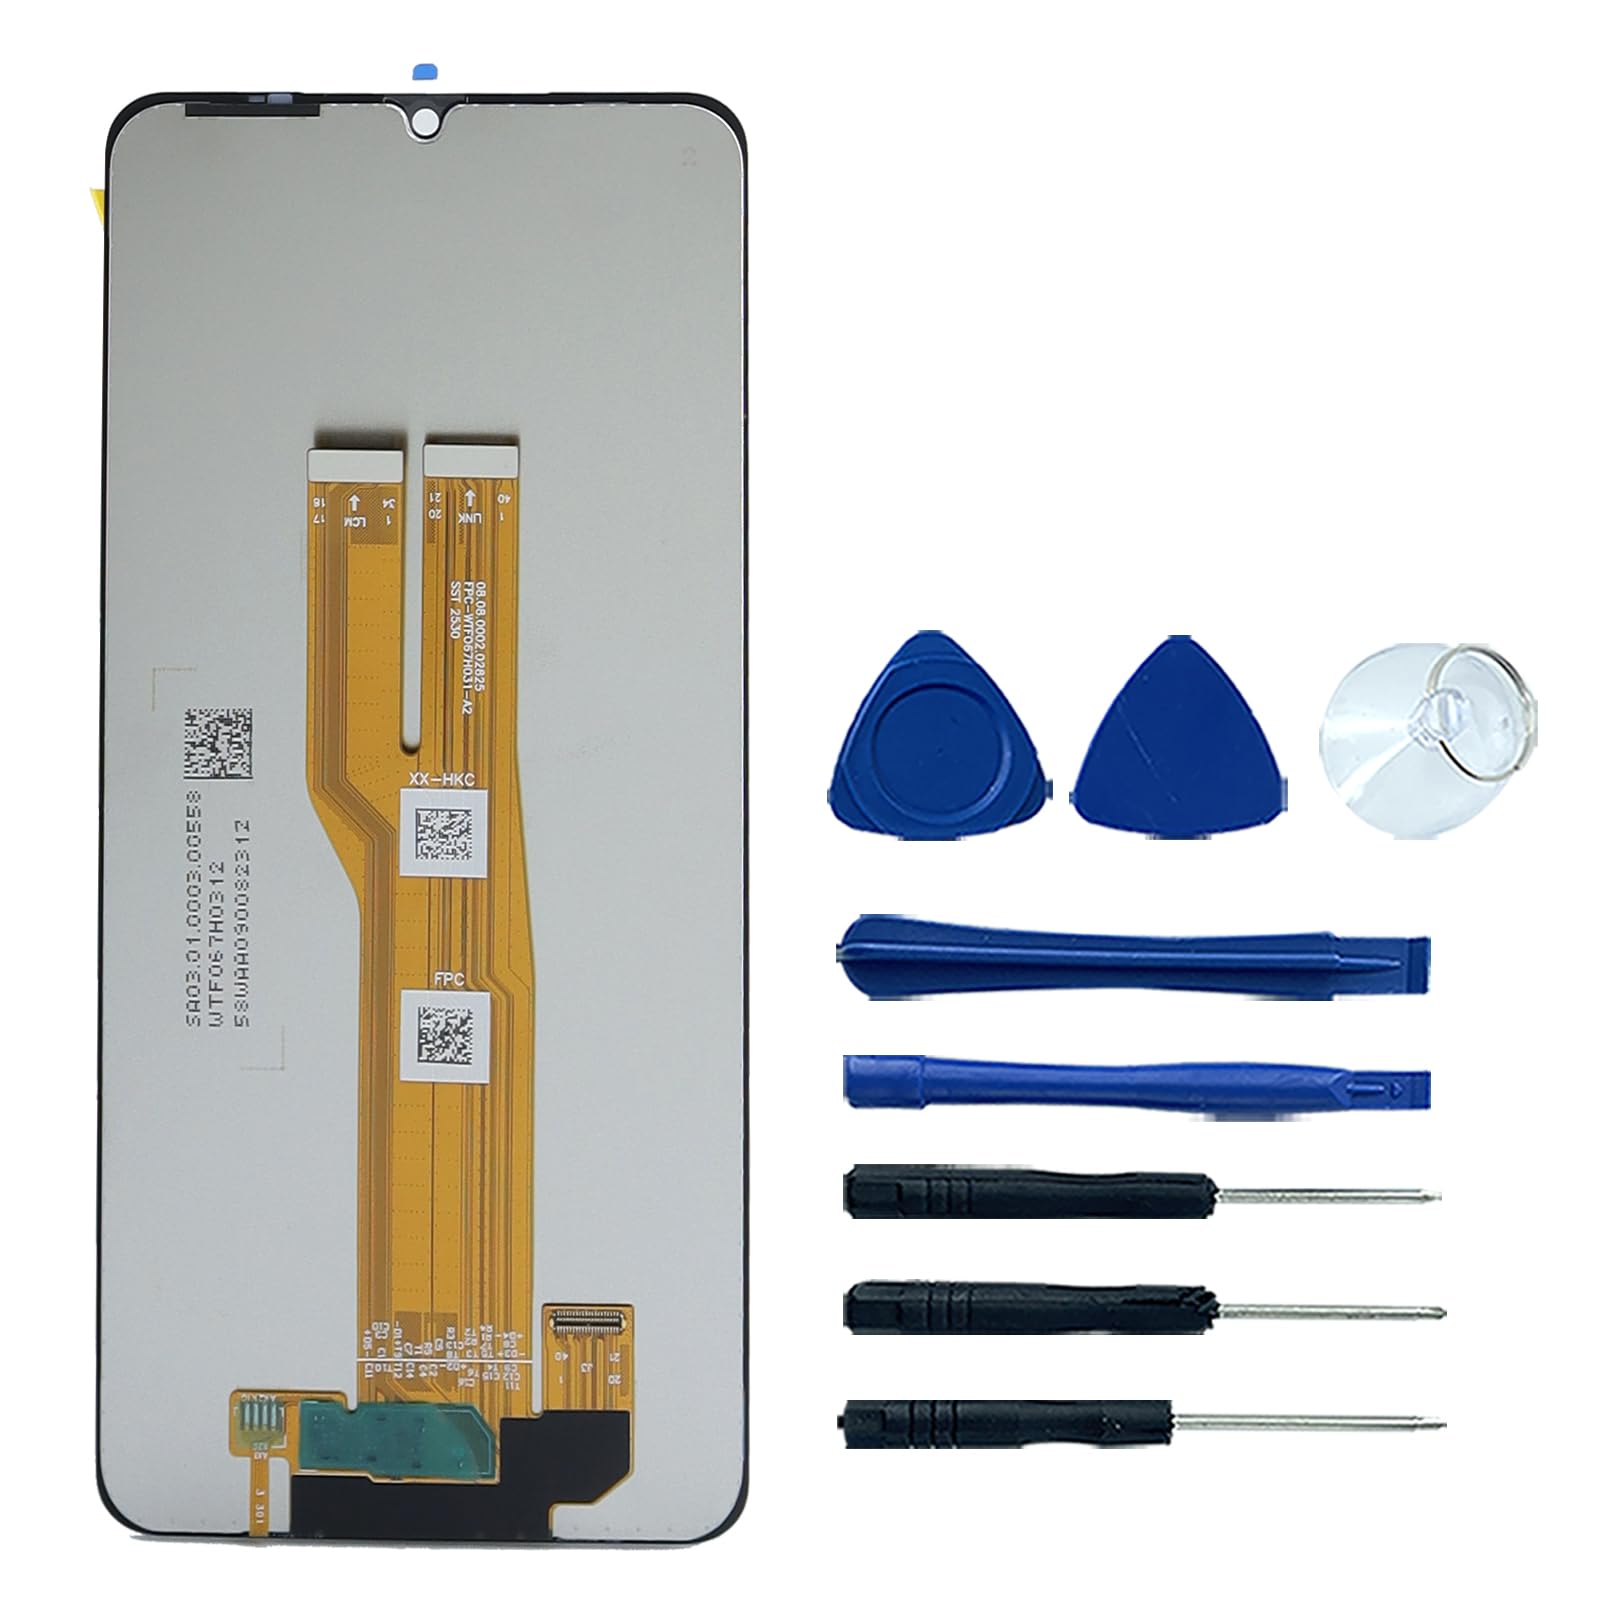
ചിത്രം 2.1: മുൻഭാഗം view of the Ygpmoiki LCD Touch Screen Digitizer Assembly, showing the full display and notch.
3. സജ്ജീകരണവും ഇൻസ്റ്റാളേഷനും
The display assembly is provided without a front frame. Professional installation is strongly recommended due to the delicate nature of the components.
3.1 Pre-Installation Testing
Before proceeding with full installation, it is crucial to test the new display assembly. This step ensures the component is fully functional and prevents potential issues after assembly.
- പവർ വിച്ഛേദിക്കുക: Ensure the device is completely powered off and the battery is disconnected before handling any internal components.
- Connect Flex Cables: Carefully connect the display's flex cables to the corresponding connectors on the device's motherboard. Do not apply excessive force.
- Temporary Power On: Reconnect the battery and temporarily power on the device.
- ടെസ്റ്റ് പ്രവർത്തനം: Check the display for any abnormalities such as dead pixels, lines, color distortions, or flickering. Test the touch screen responsiveness across the entire surface.
- പവർ ഓഫ്: If the display functions correctly, power off the device and disconnect the battery before proceeding with the full installation. If issues are observed, do not proceed with installation and contact support.

Image 3.1: Close-up of the display's flex cables, which connect to the motherboard for testing and installation.

ചിത്രം 3.2: പിൻഭാഗം view of the display assembly, highlighting the delicate flex cable connections.
4. Operating (Post-Installation)
Once the display assembly is fully installed, the device should operate as normal. The LCD provides visual output, and the digitizer enables touch input.
4.1 പ്രാരംഭ പവർ-ഓൺ
After completing the installation, power on your device. The screen should display the boot-up sequence clearly. Verify that all touch functions are working correctly by navigating through menus and typing.
4.2 Touch Screen Functionality
Test the touch screen by opening an application that allows drawing or precise touch input. Ensure there are no 'dead spots' or areas where touch input is unresponsive or inaccurate.
5. പരിപാലനം
To ensure the longevity and optimal performance of your new display, follow these general maintenance guidelines:
- വൃത്തിയാക്കൽ: മൃദുവായ, ലിന്റ് രഹിത തുണി ഉപയോഗിക്കുക, ചെറുതായി നനവ് ഉണ്ടാകരുത്.ampസ്ക്രീൻ സൌമ്യമായി തുടയ്ക്കാൻ വെള്ളമോ സ്ക്രീൻ-നിർദ്ദിഷ്ട ക്ലീനറോ ഉപയോഗിച്ച് തുടയ്ക്കുക. കഠിനമായ രാസവസ്തുക്കളോ ഉരച്ചിലുകളോ ഉള്ള വസ്തുക്കൾ ഒഴിവാക്കുക.
- സംരക്ഷണം: പോറലുകളിൽ നിന്നും ആഘാതങ്ങളിൽ നിന്നും സംരക്ഷിക്കാൻ ഒരു സ്ക്രീൻ പ്രൊട്ടക്ടറും ഒരു പ്രൊട്ടക്റ്റീവ് കേസും ഉപയോഗിക്കുന്നത് പരിഗണിക്കുക.
- സമ്മർദ്ദം ഒഴിവാക്കുക: Do not apply excessive pressure to the screen, as this can damage the LCD panel or digitizer.
- താപനില: Avoid exposing the device to extreme temperatures, which can affect screen performance and lifespan.
6. പ്രശ്നപരിഹാരം
ഇൻസ്റ്റാളേഷന് ശേഷം നിങ്ങൾക്ക് പ്രശ്നങ്ങൾ നേരിടുകയാണെങ്കിൽ, ഇനിപ്പറയുന്ന ട്രബിൾഷൂട്ടിംഗ് ഘട്ടങ്ങൾ പരിഗണിക്കുക:
- No Display or Abnormal Display:
- എല്ലാ ഫ്ലെക്സ് കേബിളുകളും മദർബോർഡുമായി സുരക്ഷിതമായി ബന്ധിപ്പിച്ചിട്ടുണ്ടെന്ന് ഉറപ്പാക്കുക.
- ഫ്ലെക്സ് കേബിളുകൾക്കോ കണക്ടറുകൾക്കോ എന്തെങ്കിലും കേടുപാടുകൾ സംഭവിച്ചിട്ടുണ്ടോ എന്ന് പരിശോധിക്കുക.
- Re-perform the pre-installation test if possible.
- പ്രതികരിക്കാത്ത ടച്ച് സ്ക്രീൻ:
- Verify the touch screen flex cable is properly seated.
- ഉപകരണം പുനരാരംഭിക്കുക.
- Ensure there is no debris or liquid between the screen and your finger/stylus.
- Flickering or Discolored Screen:
- അയഞ്ഞ കണക്ഷനുകൾക്കായി പരിശോധിക്കുക.
- Ensure the display is not under physical stress from the device's frame.
If these steps do not resolve the issue, it is recommended to seek assistance from a qualified technician.
7 സ്പെസിഫിക്കേഷനുകൾ
| ഇനം തരം | LCD Touch Screen Digitizer Assembly |
| ഡിസ്പ്ലേ തരം | എൽസിഡി |
| സ്ക്രീൻ വലിപ്പം | 6.7 ഇഞ്ച് (17 സെ.മീ) |
| റെസലൂഷൻ | 720 x 1600 പിക്സലുകൾ |
| നിറം | കറുപ്പ് |
| ഉൽപ്പന്ന അളവുകൾ | 16.26 x 73.66 x 0.76 സെ.മീ |
| ഇനത്തിൻ്റെ ഭാരം | 110 ഗ്രാം |
| മോഡൽ നമ്പർ | for Samsung Galaxy A07 4G SM-A075F |
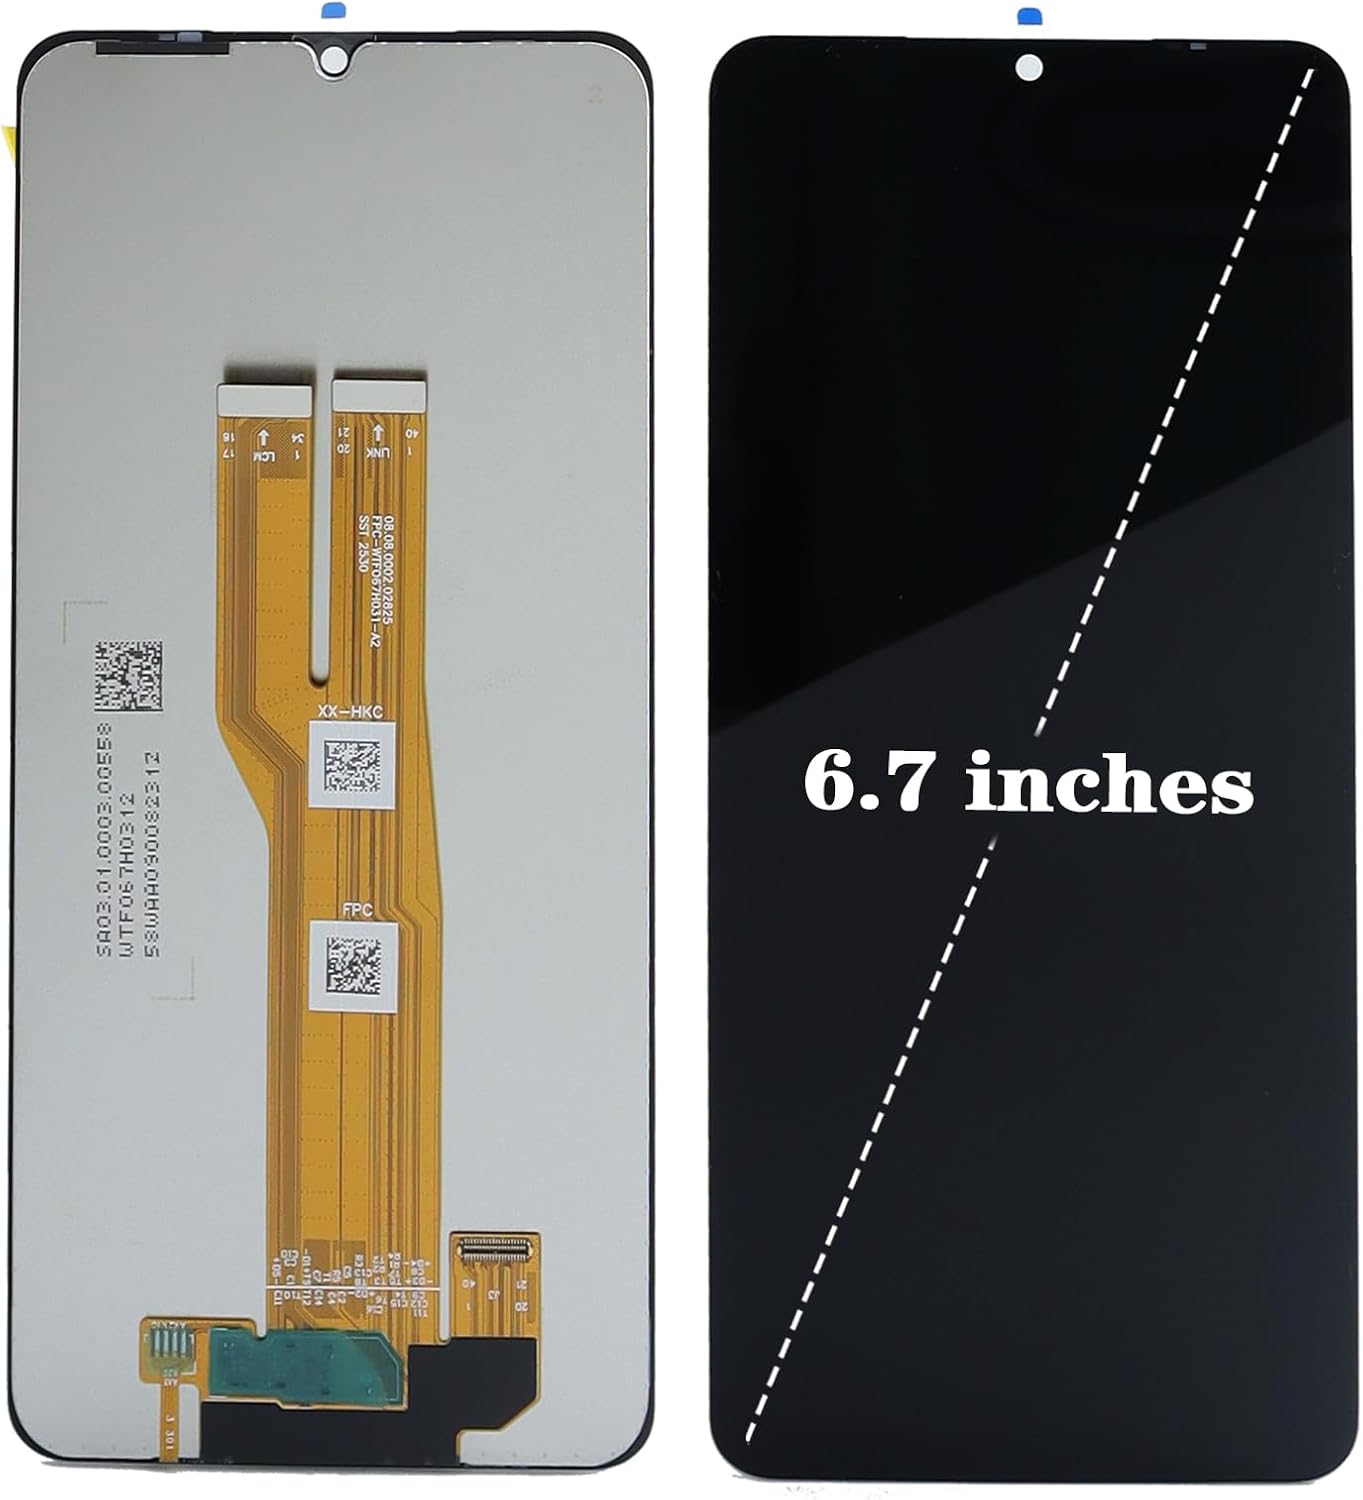
Image 7.1: The display assembly, illustrating its 6.7-inch diagonal screen size.
8. വാറൻ്റിയും പിന്തുണയും
Specific warranty terms for this product are provided by the seller or manufacturer at the time of purchase. Please refer to your purchase documentation or contact the seller directly for detailed warranty information.
For technical support or assistance with installation, please contact the retailer or manufacturer from whom you purchased this product. Ensure you have your purchase details and product model number readily available.