
1. ആമുഖം
Thank you for choosing the THKFMSRC GD11048MH Solar Inverter. This manual provides essential information for the safe and efficient installation, operation, and maintenance of your 11KW 48V photovoltaic energy storage inverter with built-in MPPT. Please read this manual thoroughly before installation and operation, and retain it for future reference.
2 സുരക്ഷാ വിവരങ്ങൾ
Always observe the following safety precautions to prevent injury and damage to the inverter or connected equipment.
- വൈദ്യുത അപകടം: This inverter operates with high voltagഉദാഹരണത്തിന്, യോഗ്യതയുള്ള ഉദ്യോഗസ്ഥർ മാത്രമേ ഇൻസ്റ്റാളേഷനും അറ്റകുറ്റപ്പണികളും നടത്താവൂ.
- പവർ വിച്ഛേദിക്കുക: Before performing any wiring or maintenance, ensure all power sources (solar panels, battery, AC grid) are disconnected.
- ശരിയായ ഗ്രൗണ്ടിംഗ്: വൈദ്യുതാഘാതം തടയാൻ ഇൻവെർട്ടർ ശരിയായി ഗ്രൗണ്ട് ചെയ്തിരിക്കണം.
- വെൻ്റിലേഷൻ: Install the inverter in a well-ventilated area to prevent overheating. Do not block ventilation openings.
- കത്തുന്ന വസ്തുക്കൾ: Do not install the inverter near flammable or explosive materials.
- വാട്ടർ എക്സ്പോഷർ: Protect the inverter from water, rain, snow, and excessive humidity.
- ബാറ്ററി സുരക്ഷ: Follow battery manufacturer's safety guidelines. Wear appropriate personal protective equipment when working with batteries.
3. ഉൽപ്പന്നം കഴിഞ്ഞുview
The THKFMSRC GD11048MH is a high-efficiency 11KW 48V solar inverter designed for photovoltaic energy storage systems. It features a built-in MPPT charge controller for optimized solar power harvesting and dual output capabilities.
3.1. Inverter Components
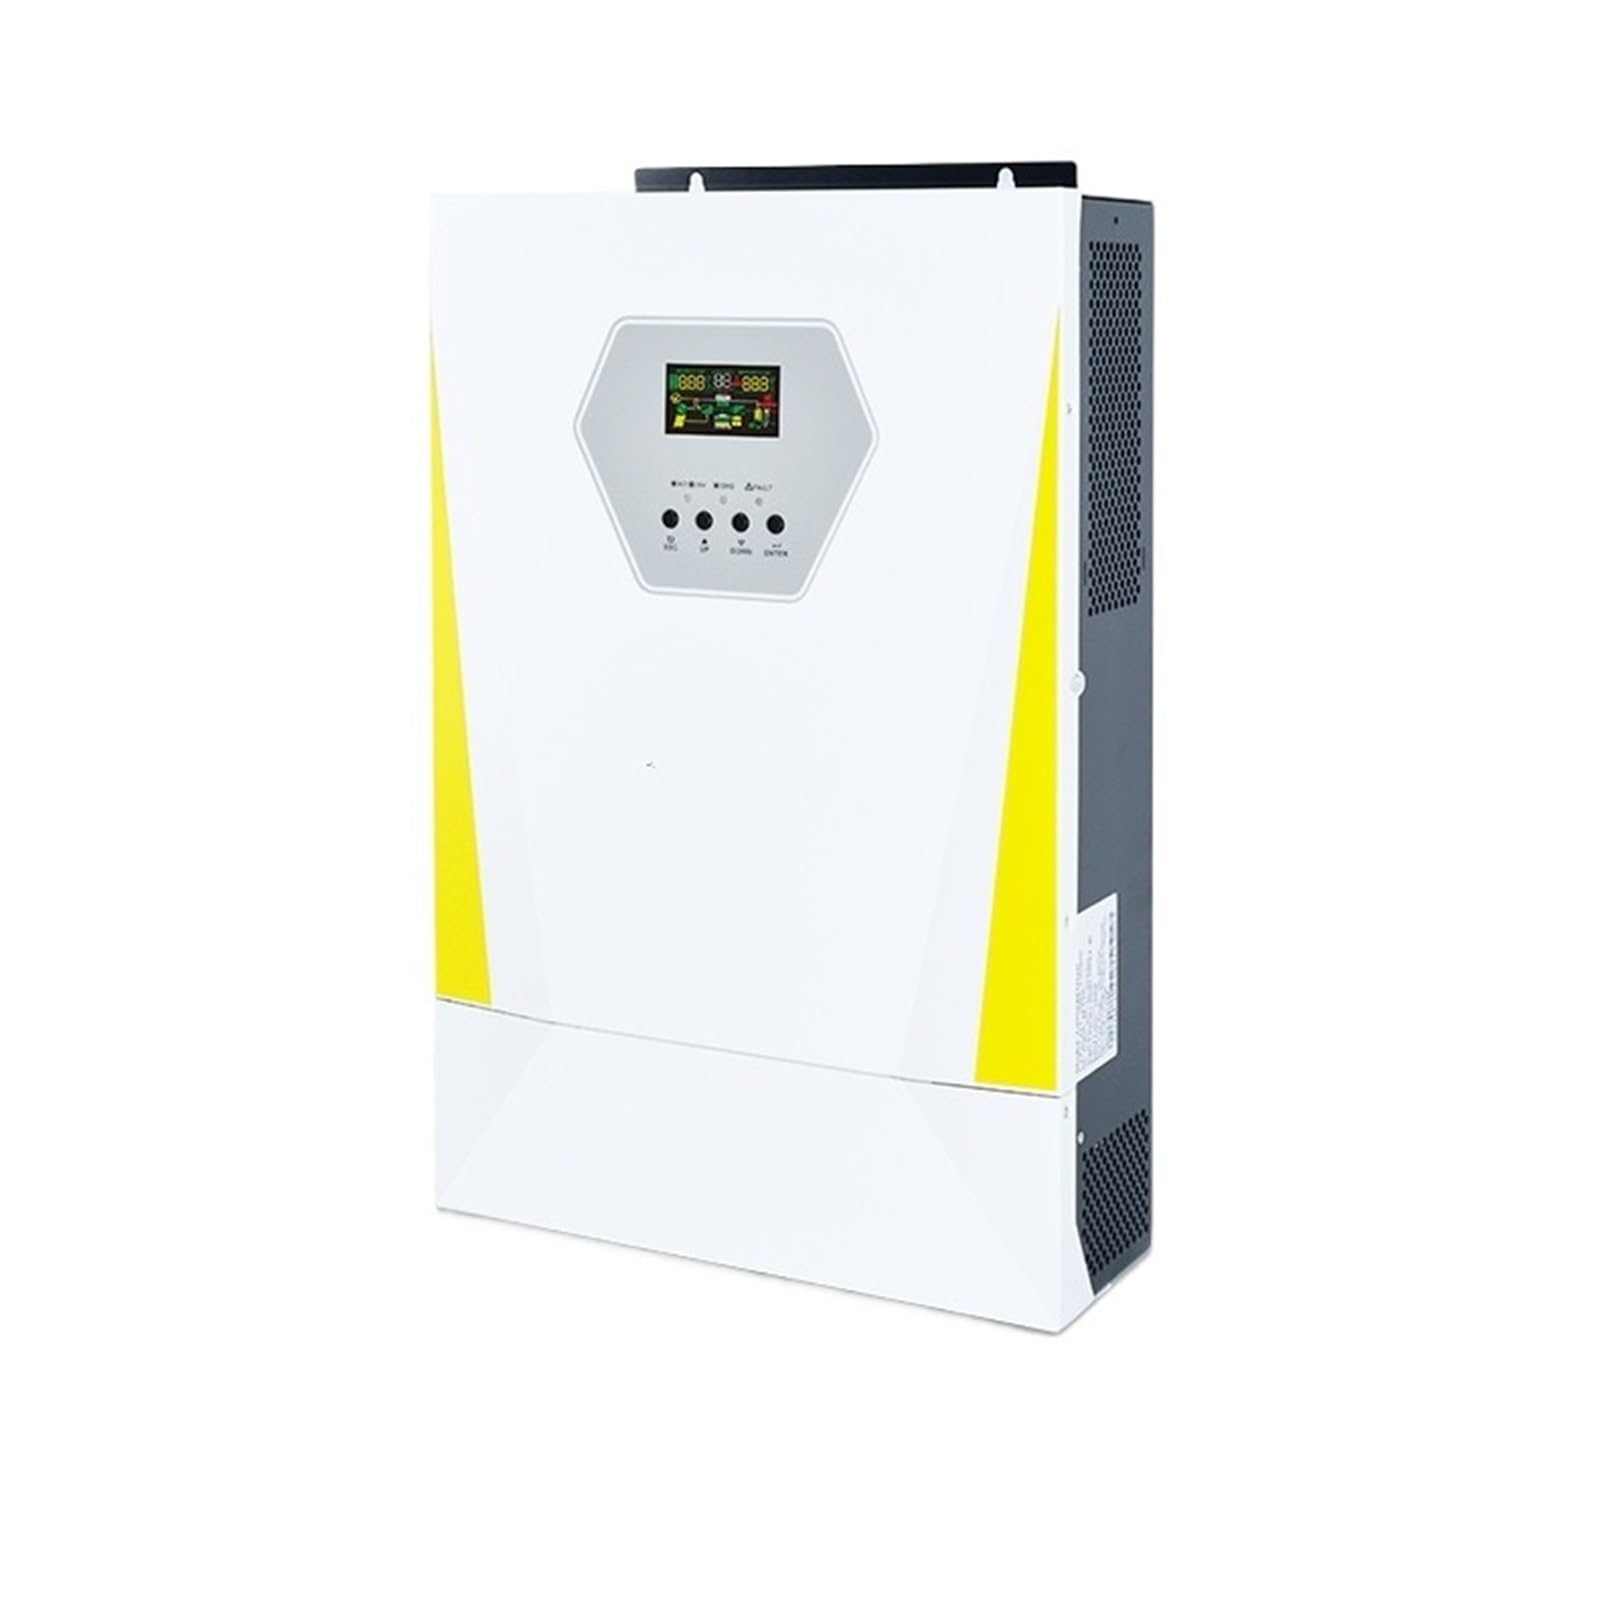
ചിത്രം 1: മുൻഭാഗം view of the THKFMSRC GD11048MH Solar Inverter. This image shows the main unit with its white casing, yellow accents, and the central display panel. The display indicates operational status and power flow, surrounded by control buttons and indicator lights. A ventilation grille is visible on the left side.
- പ്രദർശന പാനൽ: Provides real-time operational data, system status, and error codes.
- നിയന്ത്രണ ബട്ടണുകൾ: Used for navigating menus and configuring settings.
- ഇൻഡിക്കേറ്റർ ലൈറ്റുകൾ: Show power status, fault conditions, and charging status.
- വെന്റിലേഷൻ ഗ്രില്ലുകൾ: Ensure proper airflow for cooling internal components.
- Input/Output Terminals (Rear/Bottom): Connections for solar panels, batteries, AC input, and AC output (refer to specific wiring diagrams in the full manual).
4. സജ്ജീകരണം
4.1. അൺപാക്ക് ചെയ്യലും പരിശോധനയും
- Carefully unpack the inverter from its packaging.
- Inspect the unit for any visible damage that may have occurred during transit. If damage is found, contact your supplier immediately.
- പാക്കിംഗ് ലിസ്റ്റിൽ ലിസ്റ്റ് ചെയ്തിരിക്കുന്ന എല്ലാ ആക്സസറികളും ഉണ്ടെന്ന് ഉറപ്പാക്കുക.
4.2. ഇൻവെർട്ടർ മൌണ്ട് ചെയ്യൽ
Choose a suitable location for mounting the inverter, considering the following:
- വെൻ്റിലേഷൻ: Ensure adequate clearance (at least 20 cm) around the inverter for proper airflow.
- പരിസ്ഥിതി: Mount in a dry, dust-free area, away from direct sunlight and heat sources.
- ഘടനാപരമായ പിന്തുണ: The mounting surface must be strong enough to support the inverter's weight (approximately 44.1 pounds).
- പ്രവേശനക്ഷമത: Ensure easy access for wiring, operation, and maintenance.
Use appropriate mounting hardware (not included) to securely fasten the inverter to a vertical surface.
4.3. വയറിംഗ് കണക്ഷനുകൾ
All wiring must comply with local electrical codes and regulations. Use appropriately sized cables for all connections.
- ഗ്രൗണ്ടിംഗ്: ഇൻവെർട്ടറിന്റെ ഗ്രൗണ്ട് ടെർമിനൽ വിശ്വസനീയമായ ഒരു എർത്ത് ഗ്രൗണ്ടുമായി ബന്ധിപ്പിക്കുക.
- ബാറ്ററി കണക്ഷൻ: Connect the battery bank to the inverter's battery terminals. Ensure correct polarity (+ to + and - to -). Install a DC circuit breaker between the battery and inverter.
- സോളാർ പാനൽ കണക്ഷൻ: Connect the solar panel array to the PV input terminals. Observe correct polarity and ensure the open-circuit voltage (Voc) and short-circuit current (Isc) are within the inverter's specifications. Install a DC circuit breaker between the solar array and inverter.
- AC Input (Grid/Generator): If connecting to an AC grid or generator, connect the AC input to the designated terminals. Install an AC circuit breaker.
- എസി ഔട്ട്പുട്ട് (ലോഡുകൾ): Connect your AC loads to the inverter's AC output terminals. Install an AC circuit breaker.
പ്രധാനപ്പെട്ടത്: Double-check all connections for tightness and correct polarity before proceeding. Incorrect wiring can cause severe damage to the inverter and pose a safety risk.
5. പ്രവർത്തന നിർദ്ദേശങ്ങൾ
5.1. പ്രാരംഭ പവർ-അപ്പ്
- എല്ലാ വയറിംഗ് കണക്ഷനുകളും സുരക്ഷിതവും കൃത്യവുമാണെന്ന് ഉറപ്പാക്കുക.
- ബാറ്ററി സർക്യൂട്ട് ബ്രേക്കർ അടയ്ക്കുക.
- Close the solar panel circuit breaker.
- Close the AC input circuit breaker (if connected to grid/generator).
- Close the AC output circuit breaker to power your loads.
- The inverter will perform a self-test and then begin operation. Observe the display for status indications.
5.2. ഡിസ്പ്ലേയും നിയന്ത്രണങ്ങളും
The LCD display provides real-time information about the system's performance, including input voltagഇ, outputട്ട്പുട്ട് വോളിയംtage, battery status, charging current, and load power. Use the control buttons (typically 'Up', 'Down', 'Enter', 'Esc') to navigate through the menus and adjust settings such as output voltage, charging parameters, and operating modes.
5.3. ഓപ്പറേഷൻ മോഡുകൾ
The inverter supports various operation modes, which can be configured via the display panel. Common modes include:
- യൂട്ടിലിറ്റി മുൻഗണന: AC loads are primarily powered by the utility grid, with solar/battery as backup.
- സോളാർ മുൻഗണന: AC loads are primarily powered by solar energy, then battery, and finally the utility grid.
- Battery Priority: AC loads are primarily powered by the battery, then solar, and finally the utility grid.
Refer to the detailed menu structure in the full manual for specific configuration options.
6. പരിപാലനം
പതിവ് അറ്റകുറ്റപ്പണികൾ നിങ്ങളുടെ ഇൻവെർട്ടറിന്റെ ഒപ്റ്റിമൽ പ്രകടനവും ദീർഘായുസ്സും ഉറപ്പാക്കുന്നു.
- വൃത്തിയാക്കൽ: Periodically clean the inverter's exterior and ventilation openings to prevent dust accumulation. Use a dry, soft cloth.
- കണക്ഷനുകൾ പരിശോധിക്കുക: Annually inspect all wiring connections for tightness and signs of corrosion. Re-tighten if necessary.
- ബാറ്ററി പരിശോധന: Follow the battery manufacturer's maintenance schedule. Check battery terminals for corrosion and ensure proper ventilation around the battery bank.
- പരിസ്ഥിതി പരിശോധന: ഇൻസ്റ്റലേഷൻ പരിസ്ഥിതി നിശ്ചിത താപനിലയിലും ഈർപ്പത്തിലും ഉള്ളിലാണെന്ന് ഉറപ്പാക്കുക.
ജാഗ്രത: Always disconnect all power sources before performing any maintenance.
7. പ്രശ്നപരിഹാരം
This section provides solutions for common issues you might encounter. For problems not listed here, contact technical support.
| പ്രശ്നം | സാധ്യമായ കാരണം | പരിഹാരം |
|---|---|---|
| ഇൻവെർട്ടർ ഓണാകുന്നില്ല | ബാറ്ററി കണക്ഷൻ ഇല്ല; ബാറ്ററി വോളിയംtage too low; DC breaker open. | Check battery connections; Charge battery; Close DC breaker. |
| എസി ഔട്ട്പുട്ട് ഇല്ല | AC output breaker open; Overload; Inverter fault. | Close AC output breaker; Reduce load; Check display for error codes. |
| Low solar charging | Shading on panels; Dirty panels; PV input voltagവളരെ താഴ്ന്നത്/ഉയർന്നതാണ്. | Clear shading; Clean panels; Verify PV array configuration. |
| ഓവർലോഡ് മുന്നറിയിപ്പ് | Connected loads exceed inverter capacity. | Reduce the total power consumption of connected appliances. |
8 സാങ്കേതിക സവിശേഷതകൾ
The following table outlines the key technical specifications for the THKFMSRC GD11048MH Solar Inverter.
| ഫീച്ചർ | മൂല്യം |
|---|---|
| മോഡൽ | GD11048MH |
| റേറ്റുചെയ്ത പവർ | 11 കെ.ഡബ്ല്യു |
| സിസ്റ്റം വോളിയംtage | 48 വി |
| ഇൻവെർട്ടർ കാര്യക്ഷമത | 98% |
| പവർ ഉറവിടം | ബാറ്ററി പവർ |
| ഇനത്തിൻ്റെ ഭാരം | 44.1 പൗണ്ട് |
| പാക്കേജ് അളവുകൾ | 0.39 x 0.39 x 0.39 ഇഞ്ച് |
| നിർമ്മാതാവ് | THKFMSRC |
9. വാറൻ്റിയും പിന്തുണയും
This THKFMSRC Solar Inverter comes with a standard manufacturer's warranty. Please refer to the warranty card included with your product for specific terms and conditions. For technical support, service, or warranty claims, please contact your point of purchase or the manufacturer directly. Ensure you have your product model and serial number available when contacting support.