
1. ആമുഖം
This manual provides detailed instructions for the safe and proper installation, operation, and maintenance of your LOKLNEYK Universal TV Bracket, Model liangwei 90. This low-profile wall mount is designed for most 14-60 inch flat or curved TVs with a maximum VESA compatibility of 200x200mm and a maximum load capacity of 40kg.
Please read this manual thoroughly before installation and retain it for future reference. Ensure all components are present and undamaged before proceeding.
2 സുരക്ഷാ വിവരങ്ങൾ
മുന്നറിയിപ്പ്: Improper installation may result in serious personal injury or damage to your TV and property. If you do not understand these instructions or have doubts about the safety of the installation, please contact a qualified installer.
- Do not exceed the maximum load capacity of 40kg (88 lbs).
- Ensure the wall structure can safely support the combined weight of the mount and your TV.
- Always use a stud finder to locate wall studs for secure mounting. If mounting to concrete or brick, use appropriate anchors (not always included).
- Wear appropriate safety gear, including eye protection, during installation.
- ഇൻസ്റ്റാളേഷൻ സമയത്ത് കുട്ടികളെയും വളർത്തുമൃഗങ്ങളെയും അകറ്റി നിർത്തുക.
- Do not overtighten screws, as this may cause damage.
- ഈ ഉൽപ്പന്നം ഇൻഡോർ ഉപയോഗത്തിന് മാത്രമുള്ളതാണ്.
3. ഉൽപ്പന്ന സവിശേഷതകൾ
| ഉൽപ്പന്ന തരം | TV Mount Accessories |
| സ്ക്രീൻ വലിപ്പം അനുയോജ്യത | 14-60 inches (Flat/Curved TVs) |
| VESA അനുയോജ്യത | Max VESA 200x200mm |
| പരമാവധി ലോഡ് ഭാരം | 40 കിലോഗ്രാം (88 പൗണ്ട്) |
| അഡ്ജസ്റ്റ്മെൻ്റ് | Fixed with 0-15° tilting angle |
| ഇൻസ്റ്റലേഷൻ തരം | മതിൽ മൗണ്ടിംഗ് |
| മെറ്റീരിയൽ | കോൾഡ് റോൾഡ് സ്റ്റീൽ |
| ഇനത്തിൻ്റെ ഭാരം | 1.76 ഔൺസ് (0.05 കി.ഗ്രാം) |
| മോഡൽ നമ്പർ | liangwei 90 |
Note: The product is designed for a low-profile installation, keeping your TV close to the wall.
4. പാക്കേജ് ഉള്ളടക്കം
Please verify that all parts are included before installation. If any parts are missing or damaged, do not proceed with installation and contact customer support.
- വാൾ പ്ലേറ്റ് (1)
- ടിവി ബ്രാക്കറ്റ് ആംസ് (2)
- Mounting Hardware (Screws, Washers, Spacers, Wall Anchors - specific quantities may vary)
- Bubble Level (1) (Often included for installation)

Figure 1: Mount Dimensions and VESA Compatibility. This image illustrates the overall dimensions of the mount (440mm width, 417mm height) and indicates compatibility for 26-60 inch TVs. While the image shows VESA up to 400x400mm, please adhere to the product specification of Max VESA 200x200mm.
5. സജ്ജീകരണവും ഇൻസ്റ്റാളേഷനും
Follow these steps carefully to install your LOKLNEYK Universal TV Bracket.
5.1 ആവശ്യമായ ഉപകരണങ്ങൾ (ഉൾപ്പെടുത്തിയിട്ടില്ല)
- പെൻസിൽ
- ഡ്രിൽ
- ഫിലിപ്സ് ഹെഡ് സ്ക്രൂഡ്രൈവർ
- സ്റ്റഡ് ഫൈൻഡർ (മര സ്റ്റഡ് ചുവരുകൾക്ക്)
- അളക്കുന്ന ടേപ്പ്
- Level (a small bubble level is often included)
5.2 ടിവി ബ്രാക്കറ്റുകൾ ടിവിയിൽ ഘടിപ്പിക്കൽ
- സ്ക്രീനിന് കേടുപാടുകൾ സംഭവിക്കാതിരിക്കാൻ, നിങ്ങളുടെ ടിവി മൃദുവായതും വൃത്തിയുള്ളതുമായ ഒരു പ്രതലത്തിൽ ശ്രദ്ധാപൂർവ്വം മുഖം താഴേക്ക് വയ്ക്കുക.
- നിങ്ങളുടെ ടിവിയുടെ പിൻഭാഗത്തുള്ള VESA മൗണ്ടിംഗ് ദ്വാരങ്ങൾ തിരിച്ചറിയുക.
- Select the appropriate screws, washers, and spacers from the provided hardware that fit your TV's mounting holes. Ensure the screws are long enough to securely fasten the brackets but not so long that they damage internal components.
- Attach the two vertical TV bracket arms to the back of your TV using the selected hardware. Ensure the hooks on the bracket arms are facing upwards and the arms are centered and level. Do not overtighten.
5.3 വാൾ പ്ലേറ്റ് മൌണ്ട് ചെയ്യൽ
- Determine the desired height for your TV. Mark the center of where you want the TV to be.
- Hold the wall plate against the wall at the desired height and use a level to ensure it is perfectly horizontal. Mark the drilling locations through the holes on the wall plate.
- വുഡ് സ്റ്റഡ് ഭിത്തികൾക്ക്: Use a stud finder to locate the center of two adjacent wood studs. Drill pilot holes at the marked locations. Secure the wall plate to the studs using the provided wood screws and washers.
- For Concrete/Brick Walls: Drill pilot holes at the marked locations. Insert the plastic wall anchors into the drilled holes. Secure the wall plate using the provided concrete screws and washers.
- Verify the wall plate is securely fastened and level before proceeding.

Figure 2: Wall Plate Installation. This image shows the main wall plate securely mounted to a wall, ready for the TV to be attached.

Figure 3: Mount Construction Detail. This image emphasizes the cold-rolled steel material, indicating durability, and shows a built-in bubble level for accurate installation.
5.4 ടിവി തൂക്കിയിടൽ
- സഹായത്തോടെ, ബ്രാക്കറ്റ് കൈകൾ ഘടിപ്പിച്ചിരിക്കുന്ന ടിവി ശ്രദ്ധാപൂർവ്വം ഉയർത്തുക.
- Hook the TV bracket arms onto the top edge of the wall plate.
- Gently lower the TV until the bracket arms fully engage with the wall plate.
- Secure the TV to the wall plate using the safety screws or locking mechanisms located at the bottom of the TV bracket arms. This prevents accidental dislodging.
- Check that the TV is level and securely mounted.
6. ഓപ്പറേഷൻ
The LOKLNEYK Universal TV Bracket is a low-profile wall mount designed for a fixed position with a slight tilting capability.
- നിശ്ചിത സ്ഥാനം: Once installed, your TV will be held securely in a fixed position close to the wall, optimizing space.
- ടിൽറ്റിംഗ് ആംഗിൾ: This mount allows for a 0-15° tilting adjustment. To adjust the tilt, loosen the tilt adjustment screws on the side of the TV bracket arms, set the desired angle, and then securely tighten the screws. This feature helps reduce glare and provides a comfortable viewing experience from various positions.
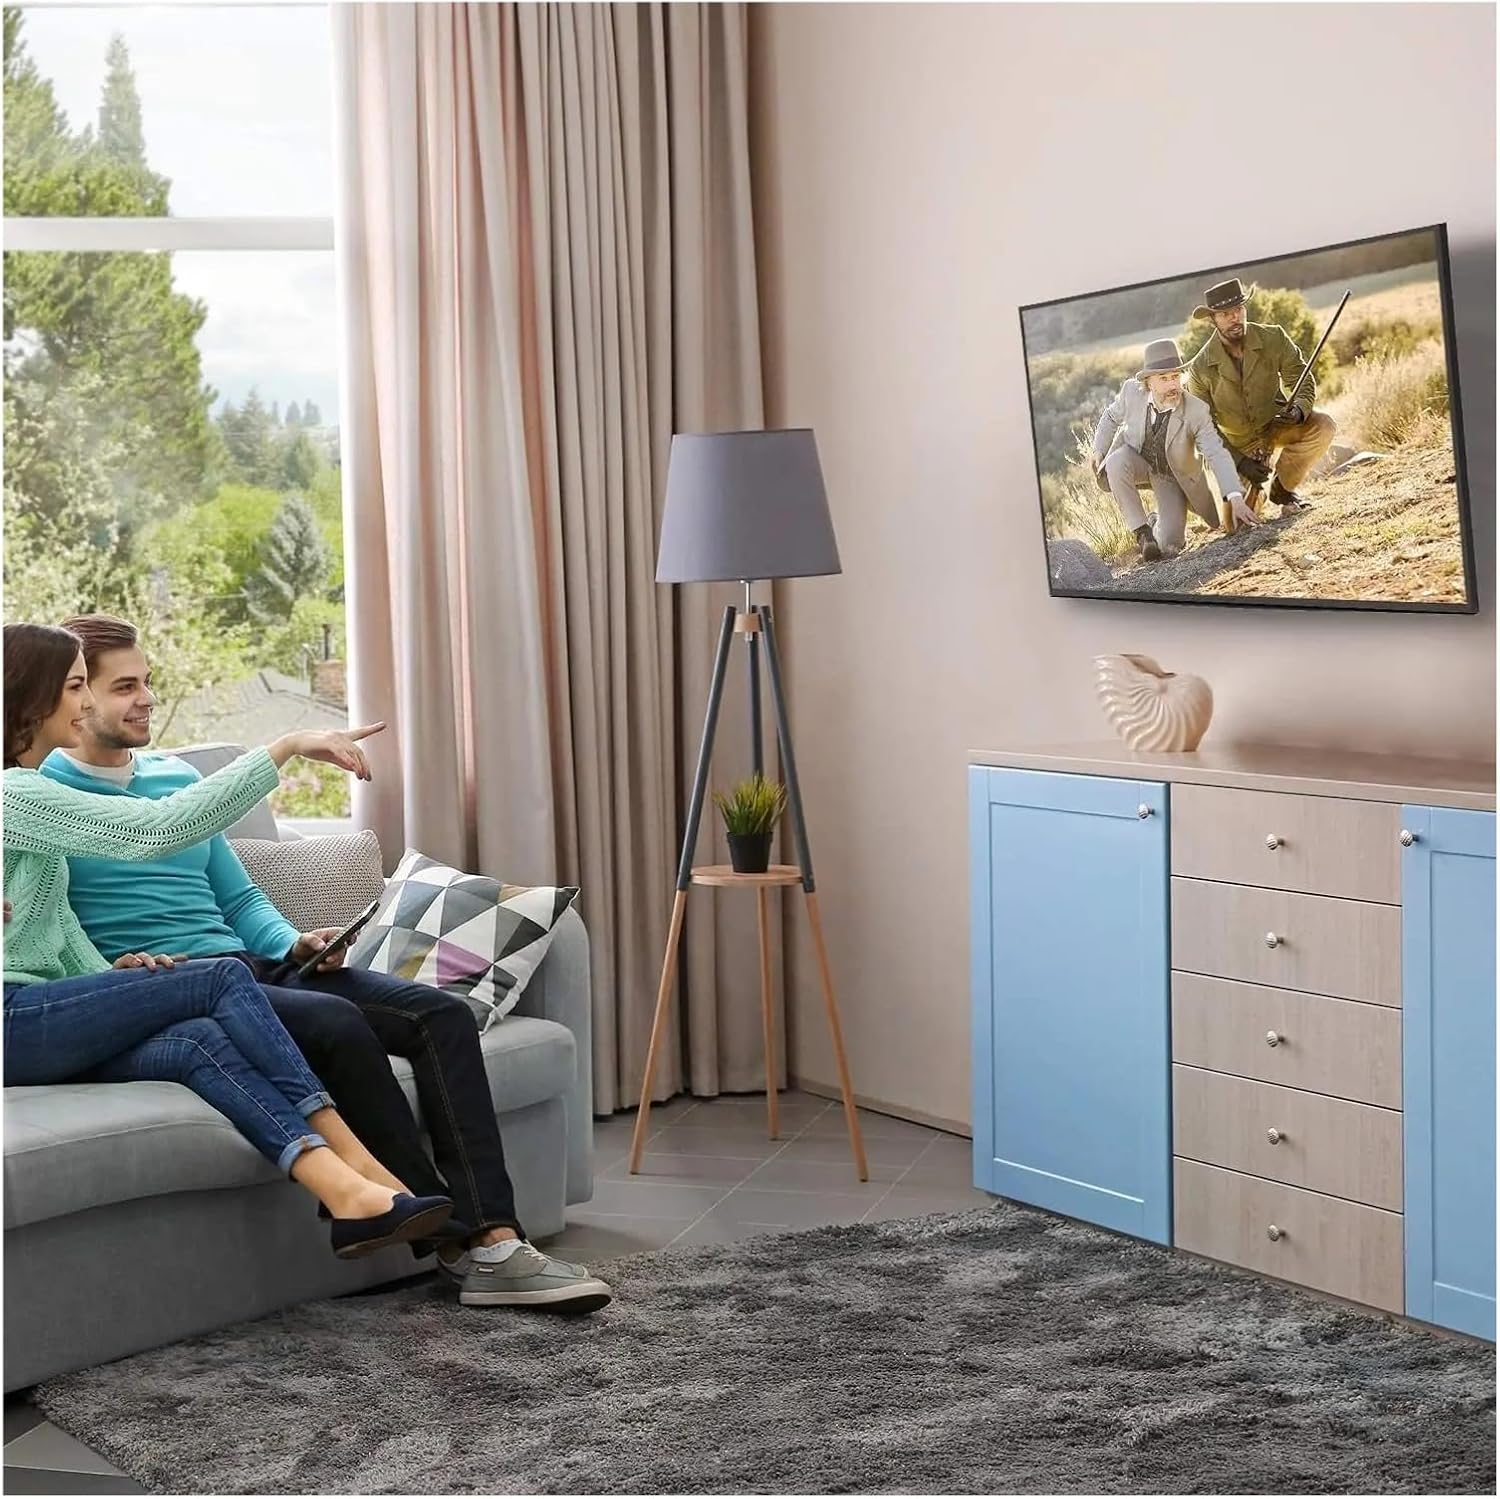
Figure 4: Optimal Viewing Experience. This image demonstrates the TV mounted on the wall, providing an enhanced viewing experience and saving space.
7. പരിപാലനം
Regular maintenance ensures the longevity and safety of your TV mount.
- വൃത്തിയാക്കൽ: മൃദുവായതും ഉണങ്ങിയതുമായ തുണി ഉപയോഗിച്ച് ഇടയ്ക്കിടെ മൗണ്ട് പൊടി തുടയ്ക്കുക. ഉരച്ചിലുകൾ ഉണ്ടാക്കുന്ന ക്ലീനറുകളോ ലായകങ്ങളോ ഒഴിവാക്കുക.
- കണക്ഷനുകൾ പരിശോധിക്കുക: Annually, or if you notice any instability, check all screws and bolts to ensure they are securely tightened. Do not overtighten.
- കേടുപാടുകൾക്കായി പരിശോധിക്കുക: Periodically inspect the mount for any signs of wear, corrosion, or damage. If any damage is found, contact customer support for replacement parts or advice.
8. പ്രശ്നപരിഹാരം
ഇൻസ്റ്റാളേഷൻ സമയത്തോ അതിനുശേഷമോ നിങ്ങൾക്ക് പ്രശ്നങ്ങൾ നേരിടുകയാണെങ്കിൽ, താഴെ പറയുന്ന പൊതുവായ പ്രശ്നങ്ങളും പരിഹാരങ്ങളും പരിശോധിക്കുക.
| പ്രശ്നം | സാധ്യമായ കാരണം | പരിഹാരം |
|---|---|---|
| ടിവി നിലവാരമില്ലാത്തതാണ് | ഇൻസ്റ്റാളേഷൻ സമയത്ത് വാൾ പ്ലേറ്റ് നിരപ്പായിട്ടില്ല. | Remove TV, adjust wall plate to be level, re-mount TV. Use a level during installation. |
| ടിവിക്ക് സ്ഥിരതയില്ല | Screws not fully tightened; incorrect wall anchors used; wall structure insufficient. | Ensure all screws are tightened. Verify wall type and use correct anchors. Consult a professional if wall structure is questionable. Do not exceed weight capacity. |
| Cannot attach TV bracket arms to TV | Incorrect VESA pattern; wrong screws used. | Verify your TV's VESA pattern matches the mount's compatibility (max 200x200mm). Ensure correct screw diameter and length are used for your TV. |
| TV does not tilt | Tilt adjustment screws are too tight. | Loosen the tilt adjustment screws slightly, adjust the angle, then re-tighten. |
9. വാറൻ്റിയും പിന്തുണയും
For warranty information or technical support, please refer to the documentation included with your purchase or contact LOKLNEYK customer service directly. Please have your model number (liangwei 90) and purchase details ready when contacting support.
Manufacturer: LOKLNEYK
ആദ്യം ലഭ്യമാകുന്ന തീയതി: 2026 ജനുവരി 10