1. ആമുഖം
This manual provides comprehensive instructions for the GooDisplay ESP32-133C02 driver board, designed to accelerate E Ink display development. It is specifically engineered for the 13.3" GDEP133C02 color E Ink display, offering versatile connectivity options including Wi-Fi, BLE, USB, and SD card support.
The ESP32-133C02 is an all-in-one solution perfect for various applications such as IoT projects, digital signage, and low-power embedded systems. This development kit provides the essential tools and flexibility needed to create innovative E Ink solutions.

2 പ്രധാന സവിശേഷതകൾ
- Developer Friendly: Compatible with ESP-IDF and Arduino IDE, offering comprehensive documentation and examples for streamlined development.
- Vivid Color Display: Utilizes advanced dithering algorithms to achieve smoother gradients and sharper color detail on E Ink Spectra 6 displays.
- Large Format Support: Specifically engineered to provide optimal performance for 13.3-inch Spectra 6 displays.

3. സജ്ജീകരണ ഗൈഡ്
The ESP32-133C02 driver board is designed for straightforward integration with 13.3-inch E Ink Spectra 6 displays. Please follow these steps for initial setup. Ensure all connections are secure before applying power to the device.
3.1 ഘടകം തിരിച്ചറിയൽ

- SD കാർഡ് ഇൻ്റർഫേസ്: For inserting a microSD card for offline image updates.
- പവർ സ്വിച്ച്: Controls the power to the board.
- Type-C power supply and program download interface: Used for powering the board and uploading firmware.
- USB communication interface: For direct USB connectivity and data transfer.
- E-Paper Interface (FPC1): Connects to the 13.3-inch E Ink Spectra 6 display via a 60-pin FPC cable.
- Program running indicator light: Provides visual feedback on the board's operational status.
- ESP32 Module: The main processing unit for the driver board.
- ബാറ്ററി ഇന്റർഫേസ്: For connecting a Type-C lithium battery for portable power.
3.2 Connecting the E-Paper Display
- Carefully align the 60-pin Flexible Printed Circuit (FPC) cable from your 13.3-inch E Ink Spectra 6 display (GDEP133C02) with the E-Paper Interface (FPC1) on the driver board.
- Gently insert the FPC cable into the connector and ensure it is properly seated and secured. Avoid forcing the cable, as this can cause damage.
3.3 പവർ സപ്ലൈ
The ESP32-133C02 driver board can be powered using one of two methods:
- Type-C Adapter: Connect a standard Type-C power adapter to the 'Type-C power supply and program download interface' port.
- Type-C Lithium Battery: For portable applications, connect a compatible Type-C lithium battery to the 'Battery Interface' port.
After connecting the power source, toggle the 'Power switch' to the ON position. The 'Program running indicator light' should illuminate, indicating the board is powered on.
4. Operation: Display Update Methods
The ESP32-133C02 driver board supports four distinct methods for updating the E Ink display. Each method requires a specific firmware version to be loaded onto the board. Please ensure the correct firmware is installed for your desired functionality.
4.1 USB Connectivity (Model: ESP32-133C02-1)
This method allows for direct image updates and program downloads via a USB-C connection to your computer. It is ideal for rapid development, debugging, and frequent content changes.
- Connect the board to your computer using a USB-C cable via the 'Type-C power supply and program download interface'.
- Refer to the official documentation for the USB Solution firmware and software tools required for image transfer.

4.2 SD Card Update (Model: ESP32-133C02-2)
For offline image updates, you can store images on a microSD card. This method is suitable for standalone applications where continuous network connectivity is not available.
- Prepare your images in a compatible format and directory structure as specified in the SD Card firmware documentation.
- Insert the microSD card into the 'SD Card Interface' slot on the board.
- The board will automatically load and display images from the SD card upon power-up or according to programmed logic.

4.3 WiFi Transfer (Model: ESP32-133C02-3)
Update your display wirelessly using the board's built-in web server. This allows for remote content management from any device on the same network.
- Ensure the board is powered on and the Wi-Fi firmware is loaded.
- Connect your smartphone, tablet, or computer to the Wi-Fi network broadcast by the ESP32-133C02, or ensure both devices are on the same local network.
- Access the board's web എ വഴിയുള്ള ഇന്റർഫേസ് web browser to upload new images.

4.4 Preset Image Demo (Model: ESP32-133C02-4)
This mode is designed for testing the display's functionality or for demonstration purposes, allowing the display to cycle through a series of pre-loaded images.
- Ensure the Preset Image Demo firmware is loaded onto the board.
- Upon power-up, the display will automatically begin cycling through the embedded demonstration images.

പ്രധാന കുറിപ്പ്: Each of the four functions (USB, SD Card, WiFi, Preset Demo) requires a different firmware version. Please select the appropriate model based on the function you need when acquiring the board, as each model supports only one specific function.
5. പരിപാലനം
Proper maintenance ensures the longevity and optimal performance of your ESP32-133C02 driver board and connected E-Paper display.
- വൃത്തിയാക്കൽ: Keep the driver board and E-Paper display clean and free from dust. Use a soft, dry, lint-free cloth for cleaning. Avoid using liquid cleaners or abrasive materials.
- പരിസ്ഥിതി വ്യവസ്ഥകൾ: Avoid exposing the device to extreme temperatures, high humidity, or direct sunlight. Operate within the specified temperature range of 0℃ to 50℃.
- വെൻ്റിലേഷൻ: If the board is enclosed in a case, ensure adequate ventilation to prevent overheating.
- ഫേംവെയർ അപ്ഡേറ്റുകൾ: Regularly check the official GooDisplay website for the latest firmware updates. Updating firmware can improve performance, add new features, and resolve potential issues.
- കേബിൾ കണക്ഷനുകൾ: Periodically inspect all cable connections, especially the FPC cable to the E-Paper display, to ensure they are secure and free from damage.
6. പ്രശ്നപരിഹാരം
If you encounter issues with your ESP32-133C02 driver board, refer to the following troubleshooting tips:
6.1 Display Not Updating or Showing Incorrect Content
- ഫേംവെയർ പരിശോധന: Verify that the correct firmware version is loaded for the chosen update method (USB, SD Card, WiFi, or Preset Demo). Each method requires specific firmware.
- കേബിൾ കണക്ഷൻ: Ensure the FPC cable connecting the E-Paper display to the driver board is securely and correctly inserted into the E-Paper Interface (FPC1).
- വൈദ്യുതി വിതരണം: Confirm the board is receiving stable and sufficient power.
- ചിത്ര ഫോർമാറ്റ്: If using SD Card or WiFi transfer, check that the image file format and resolution are compatible with the 13.3-inch E Ink display (1600x1200 pixels).
- Image Data Integrity: Ensure the image data is not corrupted. Try using a different image file.
6.2 No Power to the Board
- ഊർജ്ജ സ്രോതസ്സ്: Confirm that the Type-C power adapter or lithium battery is correctly connected and functional.
- വൈദ്യുതി സ്വിച്ച്: Ensure the 'Power switch' on the board is in the ON position.
- കേബിൾ സമഗ്രത: Check the Type-C power cable for any damage.
6.3 Wi-Fi Connection Issues (for WiFi Transfer model)
- Network Range: Ensure the board is within effective range of your Wi-Fi network.
- യോഗ്യതാപത്രങ്ങൾ: If connecting to a secured network, verify that the Wi-Fi credentials (SSID and password) are correct.
- പുനരാരംഭിക്കുക: Try restarting both the ESP32-133C02 board and your Wi-Fi router.
7 സ്പെസിഫിക്കേഷനുകൾ
7.1 ESP32-133C02 Driver Board Specifications
| ഫീച്ചർ | വിവരണം |
|---|---|
| ഭാഗം നമ്പർ | ESP32-133C02 |
| ഫംഗ്ഷൻ | Drives 13.3-inch E Ink Spectra 6 display |
| വികസന പരിസ്ഥിതി | ESP-IDF or Arduino IDE |
| ഔട്ട്ലൈൻ വലിപ്പം | 98.298 മിമി x 69.215 മിമി |
| വൈദ്യുതി വിതരണം | Powered via Type-C adapter or Type-C lithium battery |
| Example പ്രോഗ്രാം | Basic image refreshing/demo program provided |
| പ്രവർത്തന താപനില | 0℃ ~ 50℃ |
| പ്രധാന പ്രവർത്തനങ്ങൾ | Learn to drive e-paper displays, test/evaluate performance, secondary development (SD card storage, WiFi & BLE, USB communication) |
| സഹായ പ്രവർത്തനങ്ങൾ | Indicator light, Lithium battery power supply |
7.2 Matching E-Paper Display (GDEP133C02)
The ESP32-133C02 driver board is designed to work seamlessly with the 13.3-inch E Ink Spectra 6 display (GDEP133C02), which offers vibrant color and high clarity.
- റെസലൂഷൻ: 1600 x 1200 പിക്സലുകൾ
- PPI: 150.38
- ഇൻ്റർഫേസ്: ക്യുഎസ്പിഐ
- കണക്റ്റർ: 60 പിൻ

8 ഉപയോക്തൃ നുറുങ്ങുകൾ
- ഇഷ്ടാനുസൃത വികസനം: For advanced users, the ESP32-133C02's compatibility with ESP-IDF and Arduino IDE provides a robust platform for custom programming and integration into complex projects. Explore the provided examples to kickstart your development.
- SD Card Image Preparation: When utilizing the SD card update method, ensure your images are correctly formatted and placed in the specified directory structure. Refer to the SD Card firmware documentation for precise guidelines to avoid display errors.
- Power Optimization: Leverage the inherent low-power consumption of E Ink displays for battery-powered applications. Optimize refresh rates and implement efficient power management settings in your code to maximize battery life.
- Firmware Selection: Always double-check that you have the correct firmware version installed for the specific functionality you intend to use (USB, SD Card, WiFi, or Preset Demo). Incorrect firmware can lead to unexpected behavior.
9. വാറണ്ടിയും പിന്തുണയും
For further assistance, technical documentation, or to inquire about compatible accessories such as front lights or touch screens, please visit the official GooDisplay website. You can also reach out to our customer support team for any questions or issues.
ബന്ധപ്പെടാനുള്ള വിവരങ്ങൾ: Please refer to the official GooDisplay webഏറ്റവും കാലികമായ ബന്ധപ്പെടാനുള്ള വിശദാംശങ്ങൾക്കായി സൈറ്റ്.
9.1 സർട്ടിഫിക്കേഷനുകൾ
The ESP32-133C02 driver board adheres to high environmental and quality standards:
- ISO 14001: Environmental Management System certified.
- RoHS കംപ്ലയിൻ്റ്: Meets Restriction of Hazardous Substances directives.
- എനർജി സ്റ്റാർ സാക്ഷ്യപ്പെടുത്തിയത്: Recognized for energy efficiency.

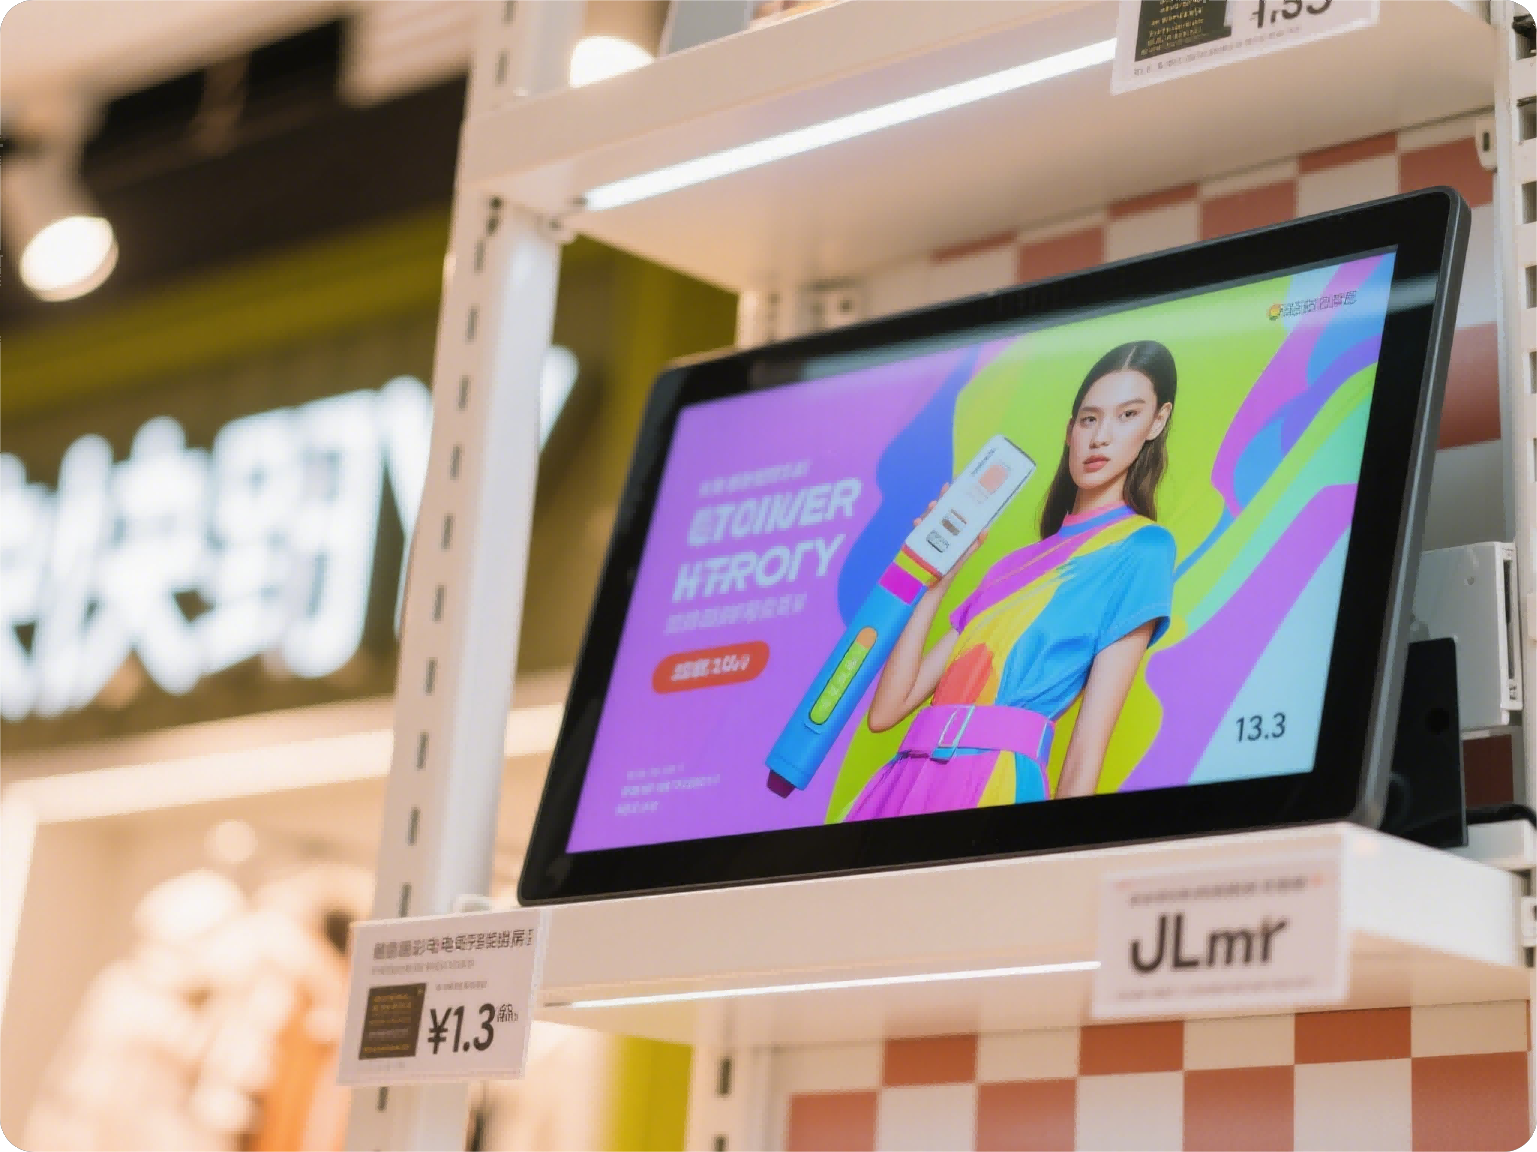
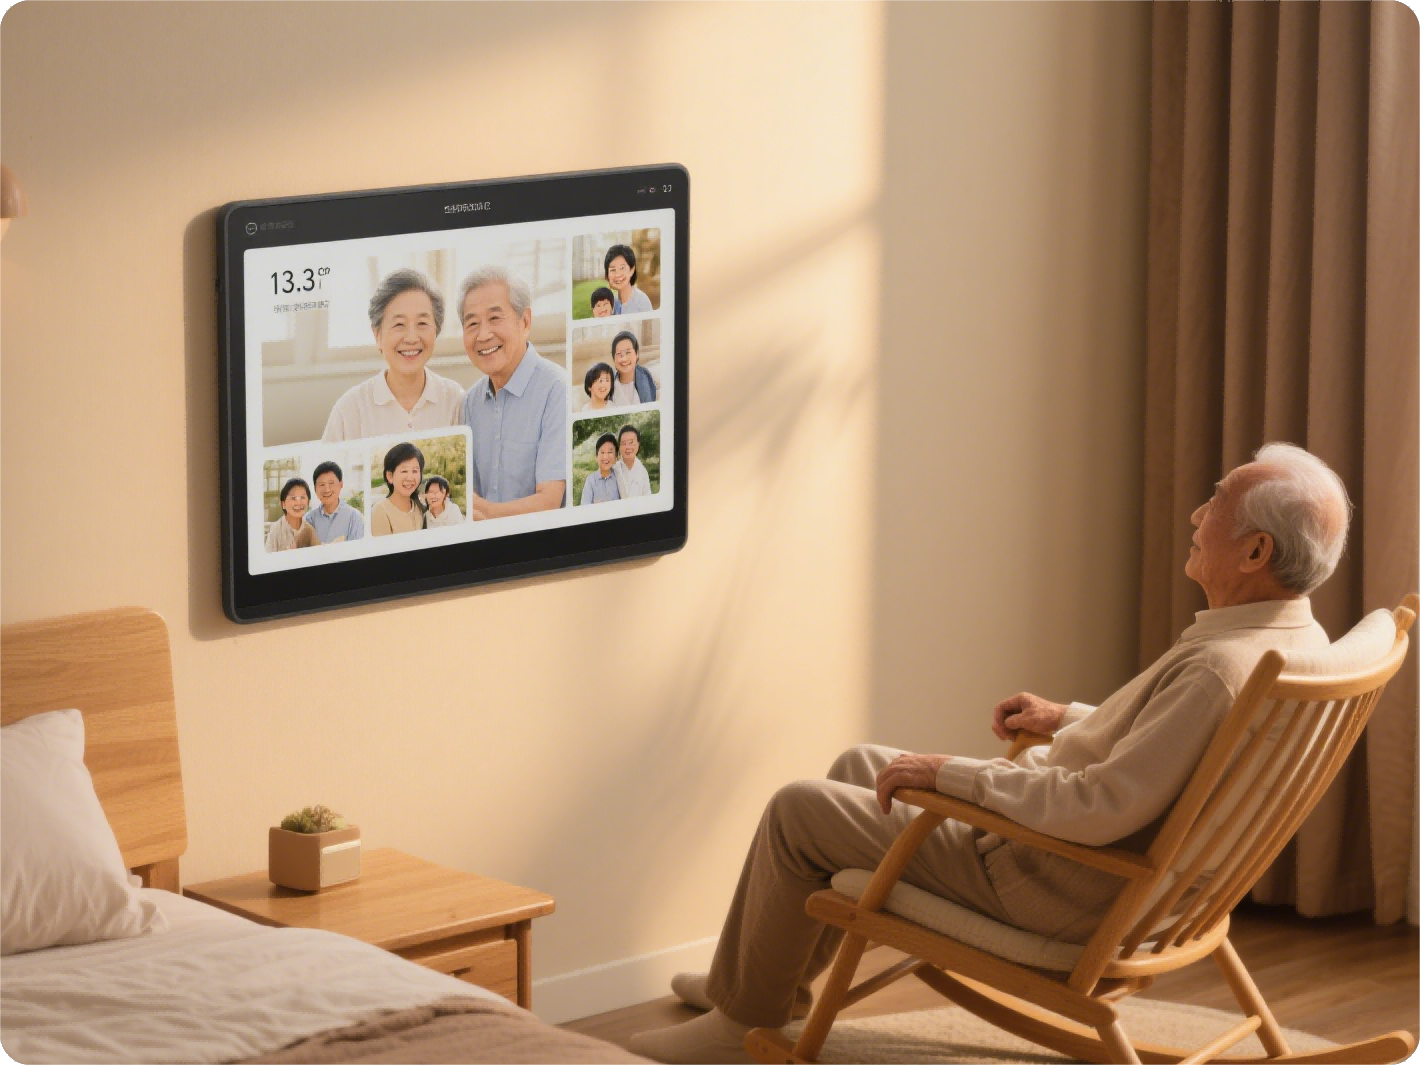
10 സാധാരണ ആപ്ലിക്കേഷനുകൾ
The versatility of the ESP32-133C02 driver board combined with E Ink Spectra 6 displays makes it suitable for a wide range of applications:
Energy-Efficient Signage
Gallery Display Screens

E-Ink Photo Frames
11. പരിസ്ഥിതി വിവരങ്ങൾ
GooDisplay is committed to sustainable technology and practices:
- Paperless Future: Each E Ink display can save approximately 3,000 sheets of paper annually, contributing to a significant reduction in paper waste.
- സുസ്ഥിര പാക്കേജിംഗ്: Our products feature packaging made from 95% recycled materials and are FSC-certified. We use 100% plastic-free protective materials.
- Energy Leadership: E Ink displays consume up to 90% less energy compared to traditional LCDs, leading to an annual CO₂ reduction equivalent to planting 50 mature trees.


