1. ആമുഖം
This manual provides instructions for the proper setup, operation, and maintenance of your Samsung DVD-V2500 VCR/DVD Combo unit. This device integrates a DVD player and a VCR, offering playback and recording capabilities for various media formats. It features component-video DVD outputs, built-in MP3 and HDCD decoding, and compatibility with photo CDs. A Memory Stick interface is also included for direct media access.
2 സുരക്ഷാ വിവരങ്ങൾ
Please read all safety instructions carefully before operating the unit. Retain this manual for future reference.
- മഴയോ ഈർപ്പമോ യൂണിറ്റ് തുറന്നുകാട്ടരുത്.
- വെന്റിലേഷൻ തുറസ്സുകൾ തടയരുത്. ശരിയായ വായുസഞ്ചാരത്തിനായി യൂണിറ്റിന് ചുറ്റും മതിയായ ഇടം ഉറപ്പാക്കുക.
- നിർമ്മാതാവ് വ്യക്തമാക്കിയ അറ്റാച്ച്മെൻ്റുകൾ/ആക്സസറികൾ മാത്രം ഉപയോഗിക്കുക.
- മിന്നൽ കൊടുങ്കാറ്റുകളുടെ സമയത്തോ ദീർഘകാലത്തേക്ക് ഉപയോഗിക്കാത്ത സമയത്തോ യൂണിറ്റ് അൺപ്ലഗ് ചെയ്യുക.
- എല്ലാ സേവനങ്ങളും യോഗ്യതയുള്ള സേവന ഉദ്യോഗസ്ഥർക്ക് റഫർ ചെയ്യുക.
3. പാക്കേജ് ഉള്ളടക്കം
പാക്കേജിൽ എല്ലാ ഇനങ്ങളും ഉണ്ടെന്ന് ഉറപ്പാക്കുക:
- Samsung DVD-V2500 DVD-VCR Combo Unit
- റിമോട്ട് കൺട്രോൾ
- 2 AA ബാറ്ററികൾ
- ഉപയോക്തൃ മാനുവൽ (ഈ പ്രമാണം)
- 2 Stereo Analog Audio Interconnect/Composite-Video Cables
4. ഉൽപ്പന്ന സവിശേഷതകൾ
- Playback compatibility: DVD, DVD-R, CD, Video CD, CD-R/W discs, and Photo CDs.
- Audio signal-to-noise ratio: 120 dB.
- Audio dynamic range: 100 dB.
- Video signal-to-noise ratio: 68 dB.
- Connectivity: S-video out, component video out, front and rear composite video in, and composite video out.
- Screen Fit feature: Adjusts DVD images for both widescreen 16:9 and traditional 4:3 televisions.
- Progressive scan (480p) for enhanced DVD picture quality.
- 3:2 pulldown correction for film-frame-accurate picture from DVDs.
- Memory Stick interface for MP3 music files and digital photo slideshows.
- Hi-fi stereo sound and quasi-S-VHS (QSPB) playback for VCR.
- Auto clock set for VCR.
- Dual-azimuth VCR recording heads for optimal SP and EP recording.
- Dolby Digital and DTS 5.1-channel surround-sound signals via digital-audio output.
- Phantom Surround Processor for stereo speakers.
- 96 kHz/24-bit digital-to-analog converter, including HDCD decoding.
5. സജ്ജീകരണം
5.1 അൺപാക്കിംഗും പ്ലേസ്മെന്റും
Carefully remove the unit from its packaging. Place the unit on a stable, level surface, ensuring adequate ventilation around all sides. Avoid placing it near heat sources or in direct sunlight.

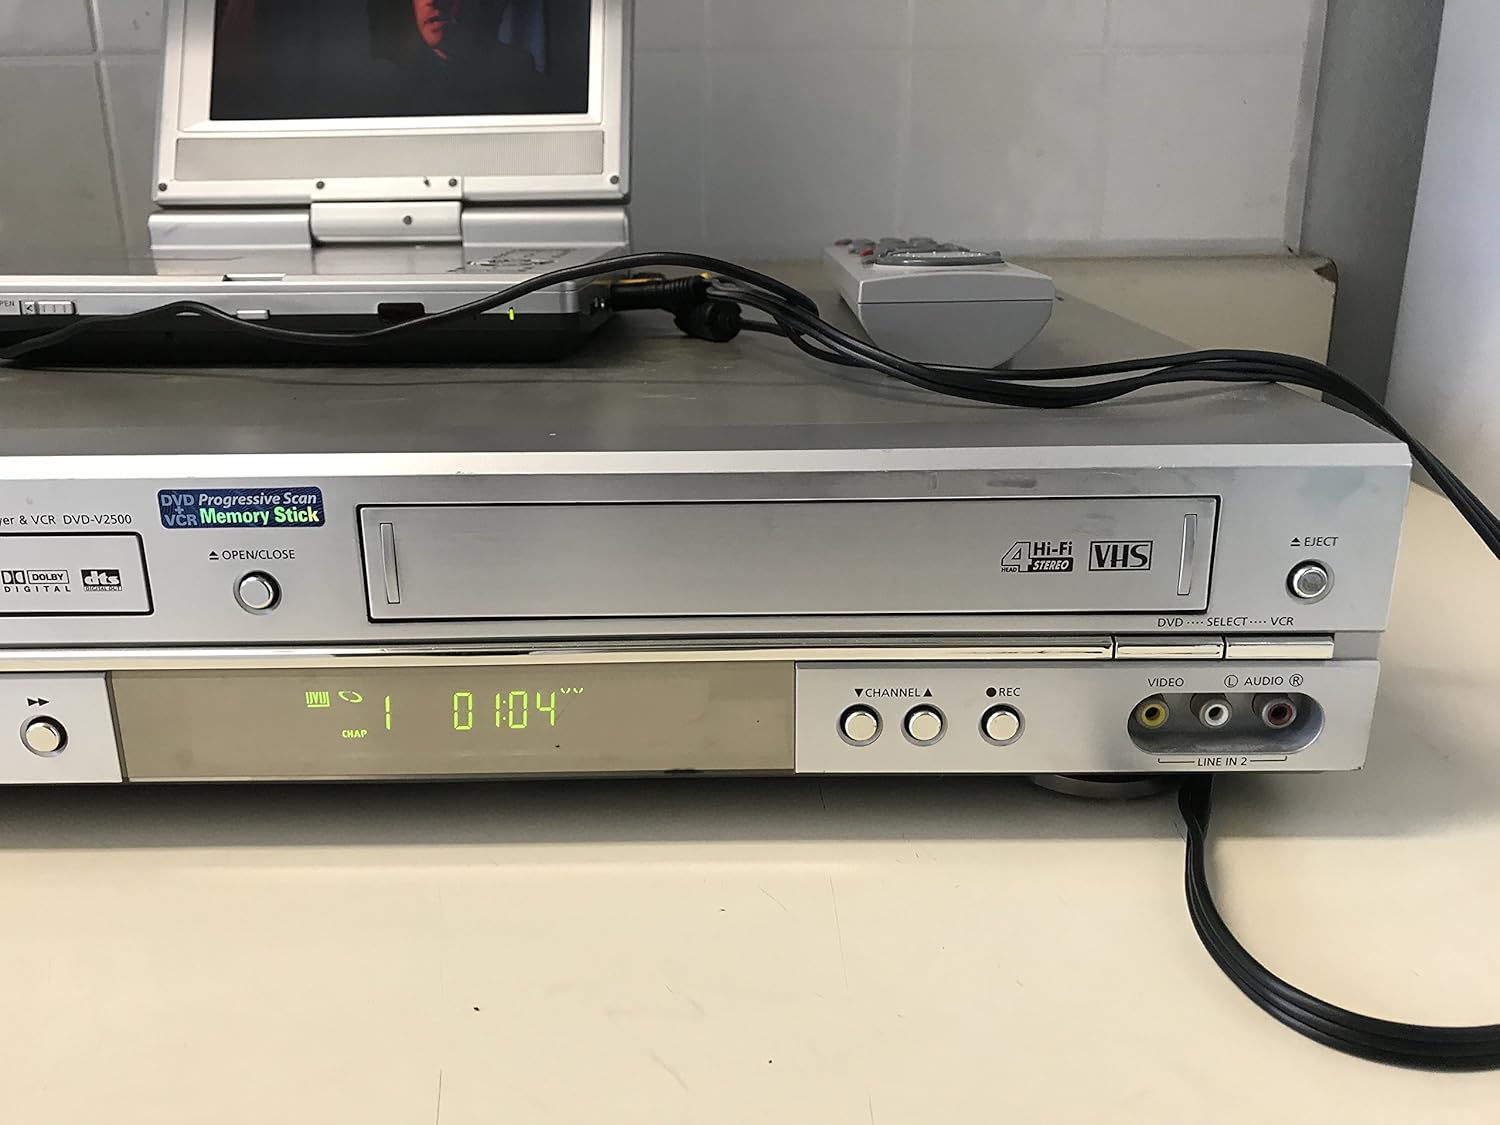
ചിത്രം 1: മുൻഭാഗം view of the Samsung DVD-V2500 unit.
5.2 ഒരു ടെലിവിഷനുമായി ബന്ധിപ്പിക്കുന്നു
The DVD-V2500 offers multiple video output options for connecting to your television:
- Component Video (DVD only): For the highest quality picture, connect the component video output jacks (Y, Pb, Pr) on the rear of the unit to the corresponding input jacks on your television.
- എസ്-വീഡിയോ: Connect the S-Video output jack to your television's S-Video input.
- സംയോജിത വീഡിയോ: Connect the yellow composite video output jack to the yellow video input jack on your television.
For audio, connect the red and white analog audio output jacks to the corresponding audio input jacks on your television or audio receiver. For surround sound, use the digital audio output (optical or coaxial) to connect to a compatible audio receiver.
ചിത്രം 2: പിൻഭാഗം view കണക്ഷൻ പോർട്ടുകൾക്കൊപ്പം.
5.3 പവർ കണക്ഷൻ
After all audio/video connections are made, plug the AC power cord into a wall outlet.
5.4 Initial Setup and Auto Clock Set
Upon first power-on, follow the on-screen prompts to configure basic settings. The VCR features an auto clock set function to automatically set the time, reducing manual configuration.
6. പ്രവർത്തന നിർദ്ദേശങ്ങൾ
6.1 അടിസ്ഥാന പ്ലേബാക്ക് (ഡിവിഡി/വിസിആർ)
- പവർ ഓൺ: അമർത്തുക പവർ യൂണിറ്റിലെയോ റിമോട്ട് കൺട്രോളിലെയോ ബട്ടൺ അമർത്തിപ്പിടിച്ചുകൊണ്ട്.
- മോഡ് തിരഞ്ഞെടുക്കുക: ഉപയോഗിക്കുക DVD/VCR SELECT button on the front panel or remote to switch between DVD and VCR modes.
- ഡിവിഡി പ്ലേബാക്ക്: അമർത്തുക തുറക്കുക/അടയ്ക്കുക to open the DVD tray. Place a DVD disc on the tray with the label side up and press തുറക്കുക/അടയ്ക്കുക again to close. Playback will typically start automatically.
- VCR Playback: VCR സ്ലോട്ടിലേക്ക് ഒരു VHS ടേപ്പ് ഇടുക. യൂണിറ്റ് സ്വയമേവ VCR മോഡിലേക്ക് മാറുകയും പ്ലേബാക്ക് ആരംഭിക്കുകയും ചെയ്യും.
- Stop/Pause/Fast Forward/Rewind: Use the corresponding buttons on the remote control or front panel.

Figure 3: Unit with remote control and external display.
6.2 Memory Stick Usage
Insert a Memory Stick into the front panel slot. The unit can access MP3 music files or digital photos stored on the stick. Use the on-screen menu to navigate and select files for playback or viewing.
6.3 Screen Fit Feature
The Screen Fit feature automatically adjusts DVD images to fit either 16:9 widescreen or 4:3 traditional television sets. This ensures optimal viewing without distortion.
6.4 വിദൂര നിയന്ത്രണം
The included remote control provides full functionality for both DVD and VCR operations. Ensure batteries are correctly installed. Point the remote control directly at the unit's front panel sensor.

Figure 4: Unit with remote control.
7. പരിപാലനം
7.1 യൂണിറ്റ് വൃത്തിയാക്കൽ
Wipe the exterior of the unit with a soft, dry cloth. Do not use liquid cleaners or aerosol sprays. For the VCR heads, use a commercially available head cleaning tape periodically. Do not attempt to clean internal components yourself.
7.2 ഡിസ്ക് ആൻഡ് ടേപ്പ് കെയർ
Handle discs by their edges to avoid fingerprints. Store discs in their cases away from direct sunlight and heat. Keep VHS tapes away from magnetic fields and store them vertically in their cases.
8. പ്രശ്നപരിഹാരം
If you experience issues with your DVD-V2500, refer to the following common problems and solutions:
| പ്രശ്നം | സാധ്യമായ കാരണം / പരിഹാരം |
|---|---|
| ശക്തിയില്ല | പവർ കോർഡ് യൂണിറ്റിലേക്കും പ്രവർത്തിക്കുന്ന ഒരു ഇലക്ട്രിക്കൽ ഔട്ട്ലെറ്റിലേക്കും സുരക്ഷിതമായി പ്ലഗ് ചെയ്തിട്ടുണ്ടെന്ന് ഉറപ്പാക്കുക. |
| ചിത്രമോ വികലമായ ചിത്രമോ ഇല്ല. | Check all video cable connections (component, S-video, composite) between the unit and the TV. Ensure the TV input is set to the correct source. |
| ശബ്ദമോ വികലമായ ശബ്ദമോ ഇല്ല | Check all audio cable connections. Ensure the TV/receiver volume is up and not muted. Verify the correct audio input is selected on your TV/receiver. |
| Disc won't play or eject | Ensure the disc is clean and free of scratches. Try powering off the unit, waiting a few minutes, and then powering it back on. If the issue persists, contact support. |
| VCR tape won't play or eject | Ensure the tape is not damaged. Try powering off the unit, waiting a few minutes, and then powering it back on. If the issue persists, contact support. |
| റിമോട്ട് കൺട്രോൾ പ്രവർത്തിക്കുന്നില്ല | Check and replace batteries if necessary. Ensure there are no obstructions between the remote and the unit's sensor. |
9 സ്പെസിഫിക്കേഷനുകൾ
- മോഡൽ നമ്പർ: DVDV2500
- നിർമ്മാതാവ്: സാംസങ്
- ഇനത്തിൻ്റെ ഭാരം: 12.13 പൗണ്ട്
- പാക്കേജ് അളവുകൾ: 17.5 x 13.3 x 4.5 ഇഞ്ച്
- മീഡിയ തരം: സിഡി, ഡിവിഡി, വിഎച്ച്എസ്
- Input Video Compatibility: NTSC
- പ്രത്യേക സവിശേഷതകൾ: Compact design, Progressive Scan, Memory Stick interface
- Audio Signal-to-Noise Ratio: 120 ഡി.ബി
- ഓഡിയോ ഡൈനാമിക് ശ്രേണി: 100 ഡി.ബി
- Video Signal-to-Noise Ratio: 68 ഡി.ബി
- കണക്റ്റിവിറ്റി: S-video out, component video out, front and rear composite video in, composite video out, digital audio out (optical/coaxial), analog audio out
- UPC: 036725625006
10. വാറൻ്റി വിവരങ്ങൾ
This product is covered by a limited manufacturer's warranty. Please refer to the warranty card included with your purchase for specific terms, conditions, and duration. Retain your proof of purchase for warranty claims.
11. പിന്തുണ
For further assistance, technical support, or service inquiries, please contact Samsung customer support. Contact information can typically be found on the Samsung official webസൈറ്റ് അല്ലെങ്കിൽ നിങ്ങളുടെ വാറന്റി ഡോക്യുമെന്റേഷനിൽ.


