1. ആമുഖം
This manual provides essential information for the safe operation, maintenance, and repair of your Craftsman 900.277230 4-1/2-inch Angle Grinder. Please read this manual thoroughly before using the tool to ensure proper handling and to prevent injury or damage. Keep this manual accessible for future reference.
2. പൊതു സുരക്ഷാ വിവരങ്ങൾ
തീപിടുത്തം, വൈദ്യുതാഘാതം, വ്യക്തിപരമായ പരിക്കുകൾ എന്നിവ കുറയ്ക്കുന്നതിന് എല്ലായ്പ്പോഴും അടിസ്ഥാന സുരക്ഷാ മുൻകരുതലുകൾ പാലിക്കുക. ഇതിൽ ഇവ ഉൾപ്പെടുന്നു, എന്നാൽ ഇവയിൽ മാത്രം പരിമിതപ്പെടുന്നില്ല:
- നേത്ര സംരക്ഷണം ധരിക്കുക: സൈഡ് ഷീൽഡുകളുള്ള സുരക്ഷാ ഗ്ലാസുകളോ സുരക്ഷാ ഗ്ലാസുകളോ എപ്പോഴും ധരിക്കുക.
- ശ്രവണ സംരക്ഷണം ധരിക്കുക: ജോലി ചെയ്യുമ്പോൾ ഇയർപ്ലഗുകളോ ഇയർമഫുകളോ ഉപയോഗിക്കുക.
- ശ്വസന സംരക്ഷണം ധരിക്കുക: If grinding produces dust, wear a dust mask or respirator.
- സുരക്ഷിത വർക്ക്പീസ്: എപ്പോഴും clamp or secure the workpiece to prevent movement during operation.
- ജോലിസ്ഥലം വൃത്തിയായി സൂക്ഷിക്കുക: അലങ്കോലപ്പെട്ട പ്രദേശങ്ങൾ അപകടങ്ങൾ ക്ഷണിച്ചുവരുത്തുന്നു.
- അപകടകരമായ പരിസ്ഥിതി ഒഴിവാക്കുക: ഡിയിൽ പവർ ടൂളുകൾ ഉപയോഗിക്കരുത്amp അല്ലെങ്കിൽ നനഞ്ഞ സ്ഥലങ്ങൾ, അല്ലെങ്കിൽ മഴയിൽ അവരെ തുറന്നുകാട്ടുക.
- ശരിയായ ഉപകരണം ഉപയോഗിക്കുക: ഒരു ചെറിയ ഉപകരണമോ അറ്റാച്ച്മെന്റോ ഒരു ഹെവി ഡ്യൂട്ടി ഉപകരണത്തിന്റെ ജോലി ചെയ്യാൻ നിർബന്ധിക്കരുത്.
- പവർ വിച്ഛേദിക്കുക: Always disconnect the tool from the power source before making adjustments, changing accessories, or performing maintenance.
- പരിശോധനാ ഉപകരണം: Before each use, check for damaged parts, misalignment, or any condition that may affect its operation.
3. ഉൽപ്പന്നം കഴിഞ്ഞുview
The Craftsman 900.277230 is a 4-1/2-inch angle grinder designed for various tasks such as grinding, cutting, and polishing metal or masonry. It features a robust motor and a compact design for ease of use.
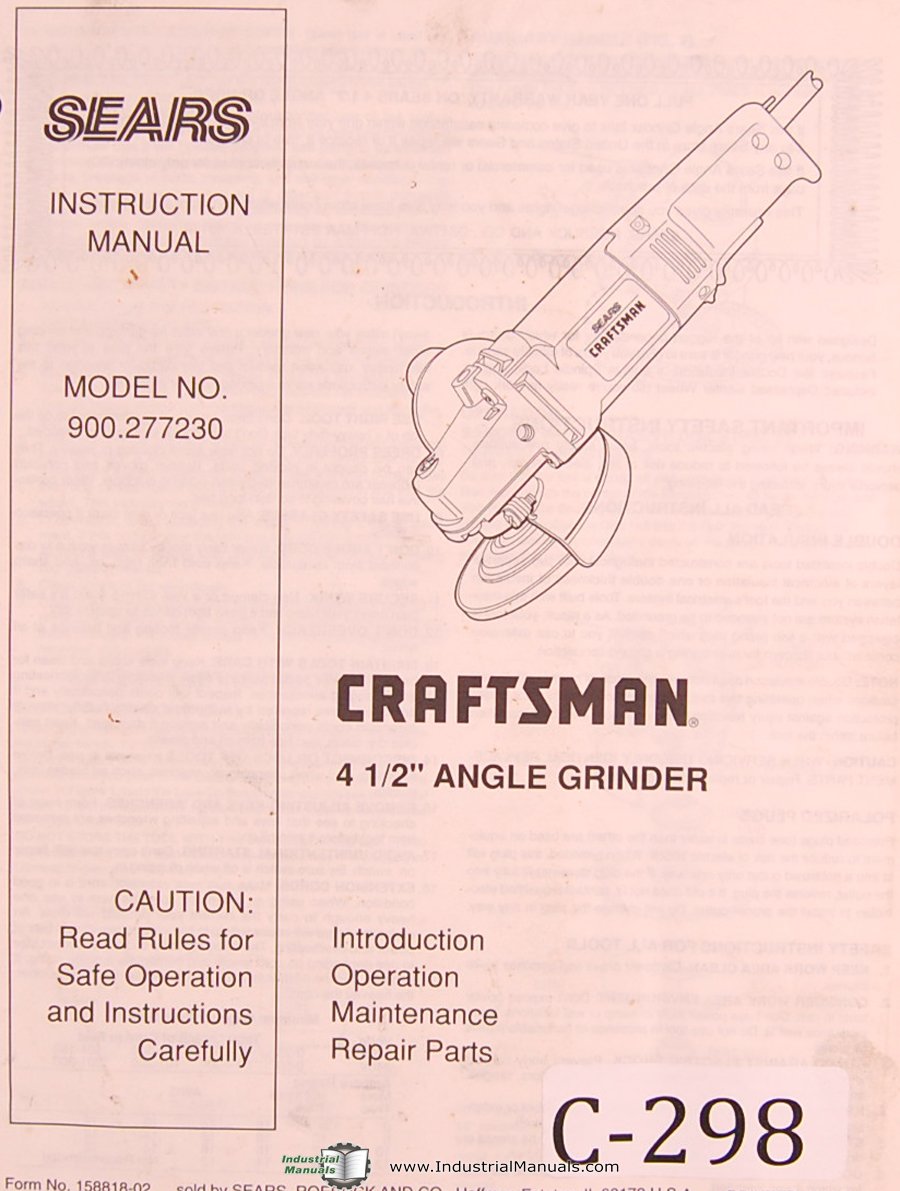
ചിത്രം 1: Craftsman 900.277230 4-1/2-inch Angle Grinder. This image shows the main body of the angle grinder, including the motor housing, handle, and the spindle where grinding wheels are attached. The protective guard is also visible.
ഘടകങ്ങൾ:
- സ്പിൻഡിൽ ലോക്ക് ബട്ടൺ: എളുപ്പത്തിലുള്ള ആക്സസറി മാറ്റങ്ങൾക്കായി സ്പിൻഡിൽ ലോക്ക് ചെയ്യാൻ ഉപയോഗിക്കുന്നു.
- സഹായ ഹാൻഡിൽ: അധിക ഗ്രിപ്പും നിയന്ത്രണവും നൽകുന്നു. ഇരുവശത്തും ഘടിപ്പിക്കാം.
- വീൽ ഗാർഡ്: Protects the user from sparks and debris. Must always be in place.
- വൈദ്യുതി സ്വിച്ച്: മോട്ടോറിന്റെ ഓൺ/ഓഫ് നിയന്ത്രണം.
- Grinding Wheel/Disc: (Sold separately) Various types available for different applications.
4. സജ്ജീകരണം
4.1 ഓക്സിലറി ഹാൻഡിൽ ഘടിപ്പിക്കൽ
Screw the auxiliary handle into one of the threaded holes on either side of the gear housing. Ensure it is tightened securely before operation.
4.2 വീൽ ഗാർഡ് ഇൻസ്റ്റാൾ ചെയ്യൽ
Position the wheel guard over the gear housing so that the tabs align with the slots. Rotate the guard to the desired position for optimal protection and tighten the clamping screw firmly. Never operate the grinder without the wheel guard properly installed.
4.3 Mounting Grinding/Cutting Wheels
- വൈദ്യുതി ഉറവിടത്തിൽ നിന്ന് ഗ്രൈൻഡർ വിച്ഛേദിക്കുക.
- സ്പിൻഡിൽ ലോക്ക് ബട്ടൺ അമർത്തിപ്പിടിക്കുക.
- Using the spanner wrench provided, loosen and remove the outer flange nut.
- ആവശ്യമുള്ള ഗ്രൈൻഡിംഗ് അല്ലെങ്കിൽ കട്ടിംഗ് വീൽ സ്പിൻഡിൽ വയ്ക്കുക, അത് അകത്തെ ഫ്ലേഞ്ചിനെതിരെ ഫ്ലഷ് ആയി ഇരിക്കുന്നുവെന്ന് ഉറപ്പാക്കുക.
- പുറം ഫ്ലേഞ്ച് നട്ട് മാറ്റി സ്പിൻഡിൽ ലോക്ക് ബട്ടൺ അമർത്തിപ്പിടിച്ചുകൊണ്ട് സ്പാനർ റെഞ്ച് ഉപയോഗിച്ച് സുരക്ഷിതമായി മുറുക്കുക. അമിതമായി മുറുക്കരുത്.
- Ensure the wheel is properly seated and spins freely without wobbling before connecting to power.
5. പ്രവർത്തന നിർദ്ദേശങ്ങൾ
5.1 പവർ ഓൺ/ഓഫ്
To turn the grinder ON, slide the power switch to the "I" position. To turn it OFF, slide the switch to the "O" position. Some models may have a paddle switch that requires continuous pressure to operate.
5.2 അരക്കൽ വിദ്യകൾ
- രണ്ട് കൈകൾ കൊണ്ടും ഗ്രൈൻഡർ മുറുകെ പിടിക്കുക.
- വർക്ക്പീസുമായി ബന്ധപ്പെടുന്നതിന് മുമ്പ് ചക്രം പൂർണ്ണ വേഗതയിൽ എത്താൻ അനുവദിക്കുക.
- മർദ്ദം തുല്യമായി കുറയ്ക്കുക. ഉപകരണം ബലം പ്രയോഗിച്ച് ഉപയോഗിക്കരുത്.
- Maintain a shallow angle (typically 15-30 degrees) between the grinding wheel and the workpiece for optimal material removal and control.
- Move the grinder smoothly across the surface to prevent gouging and ensure an even finish.
- Avoid grinding directly into corners or edges, as this can cause kickback.
5.3 കട്ടിംഗ് ടെക്നിക്കുകൾ
- Use only cutting discs designed for angle grinders.
- Hold the grinder firmly and ensure the workpiece is securely clamped.
- Make straight cuts. Do not attempt to bend or twist the cutting disc during operation.
- Allow the disc to cut through the material without excessive force.
- Be aware of sparks and debris, directing them away from yourself and others.
6. പരിപാലനം
Regular maintenance ensures the longevity and safe operation of your angle grinder. Always disconnect the tool from the power source before performing any maintenance.
6.1 വൃത്തിയാക്കൽ
- Clean the tool's ventilation openings regularly to prevent overheating. Use compressed air if available.
- പരസ്യം ഉപയോഗിച്ച് പുറംഭാഗം തുടയ്ക്കുകamp തുണി. കഠിനമായ രാസവസ്തുക്കളോ ലായകങ്ങളോ ഉപയോഗിക്കരുത്.
- വീൽ ഗാർഡ്, സ്പിൻഡിൽ ഏരിയയിൽ നിന്ന് പൊടിയോ അവശിഷ്ടങ്ങളോ നീക്കം ചെയ്യുക.
6.2 കാർബൺ ബ്രഷ് പരിശോധന/മാറ്റിസ്ഥാപിക്കൽ
The carbon brushes wear down over time. If the motor performance decreases or sparks become excessive, the brushes may need inspection or replacement. Refer to the repair parts section for brush part numbers. This procedure should ideally be performed by a qualified service technician.
6.3 Cord Inspection
Regularly inspect the power cord for any signs of damage, cuts, or fraying. A damaged cord must be replaced immediately by a qualified technician to prevent electric shock.
7. പ്രശ്നപരിഹാരം
| പ്രശ്നം | സാധ്യമായ കാരണം | പരിഹാരം |
|---|---|---|
| ഗ്രൈൻഡർ ആരംഭിക്കുന്നില്ല. | വൈദ്യുതി വിതരണം ഇല്ല. തെറ്റായ പവർ സ്വിച്ച്. തേഞ്ഞ കാർബൺ ബ്രഷുകൾ. | പവർ ഔട്ട്ലെറ്റും കേബിളും പരിശോധിക്കുക. Contact service for switch replacement. Inspect and replace carbon brushes. |
| മോട്ടോറിൽ അമിതമായ സ്പാർക്ക്. | തേഞ്ഞ കാർബൺ ബ്രഷുകൾ. Dirty commutator. | Inspect and replace carbon brushes. Have commutator cleaned by a technician. |
| ഉപകരണം അമിതമായി ചൂടാകുന്നു. | അടഞ്ഞ വെന്റിലേഷൻ സ്ലോട്ടുകൾ. ഉപകരണം ഓവർലോഡ് ചെയ്യുന്നു. | വെന്റിലേഷൻ സ്ലോട്ടുകൾ വൃത്തിയാക്കുക. Reduce pressure and allow the tool to cool. |
| അമിതമായ വൈബ്രേഷൻ. | Damaged or unbalanced wheel. Loose flange nut. | Replace the grinding wheel. Tighten the flange nut securely. |
8 സ്പെസിഫിക്കേഷനുകൾ
| ഫീച്ചർ | വിശദാംശങ്ങൾ |
|---|---|
| മോഡൽ നമ്പർ | 900.277230 |
| ഡിസ്ക് വ്യാസം | 4-1/2 ഇഞ്ച് (115 മിമി) |
| പവർ ഉറവിടം | കോർഡഡ് ഇലക്ട്രിക് |
| ബ്രാൻഡ് | കരകൗശല വിദഗ്ധൻ |
| Pages in Manual | 9 |
കുറിപ്പ്: നിർദ്ദിഷ്ട ഇലക്ട്രിക്കൽ റേറ്റിംഗുകൾ (വാല്യംtage, amperage, RPM) are typically found on the product's nameplate. Always refer to the tool itself for precise specifications.
9. അറ്റകുറ്റപ്പണി ഭാഗങ്ങൾ
For a complete list of repair parts and their corresponding part numbers for your Craftsman 900.277230 angle grinder, please refer to the exploded diagram and parts list typically found at the end of the original printed manual or on the official Craftsman service website. When ordering parts, always provide the full model number (900.277230) to ensure compatibility.
Commonly replaced parts may include carbon brushes, spindle lock components, and power cords.
10. വാറണ്ടിയും പിന്തുണയും
Craftsman products are backed by a limited warranty. For detailed warranty information, including terms, conditions, and duration, please refer to the warranty card included with your product or visit the official Craftsman website. Do not attempt to repair the tool yourself if it is under warranty, as this may void the warranty.
For technical support, service, or to locate an authorized service center, please contact Craftsman customer service through their official webസൈറ്റ് അല്ലെങ്കിൽ നിങ്ങളുടെ ഉൽപ്പന്ന പാക്കേജിംഗിൽ നൽകിയിരിക്കുന്ന ബന്ധപ്പെടാനുള്ള വിവരങ്ങൾ.


