പ്രധാനപ്പെട്ട സുരക്ഷാ വിവരങ്ങൾ
Please read and understand all instructions before using the laminator. Keep this manual for future reference.
- Do not operate the laminator if the power cord or plug is damaged.
- Keep the laminator away from water or other liquids.
- Do not insert metal objects into the laminator.
- പ്രവർത്തന സമയത്ത് മെഷീനിന് ചുറ്റും ശരിയായ വായുസഞ്ചാരം ഉറപ്പാക്കുക.
- ഉപയോഗത്തിലില്ലാത്തപ്പോൾ അല്ലെങ്കിൽ വൃത്തിയാക്കുന്നതിന് മുമ്പ് ലാമിനേറ്റർ അൺപ്ലഗ് ചെയ്യുക.
- ഈ ഉപകരണം, അവരുടെ സുരക്ഷയ്ക്ക് ഉത്തരവാദിയായ ഒരു വ്യക്തി ഉപകരണത്തിൻ്റെ ഉപയോഗത്തെ സംബന്ധിച്ച മേൽനോട്ടമോ നിർദ്ദേശമോ നൽകിയിട്ടില്ലെങ്കിൽ, ശാരീരികമോ ഇന്ദ്രിയപരമോ മാനസികമോ ആയ കഴിവുകൾ കുറഞ്ഞതോ അനുഭവത്തിൻ്റെയും അറിവിൻ്റെയും അഭാവം ഉള്ള വ്യക്തികൾക്ക് (കുട്ടികൾ ഉൾപ്പെടെ) ഉപയോഗിക്കാൻ ഉദ്ദേശിച്ചുള്ളതല്ല.
ഉൽപ്പന്നം കഴിഞ്ഞുview
The Amazon Basics 9-Inch Thermal Laminator is designed for home, office, or classroom use, providing high-quality lamination for various document sizes.
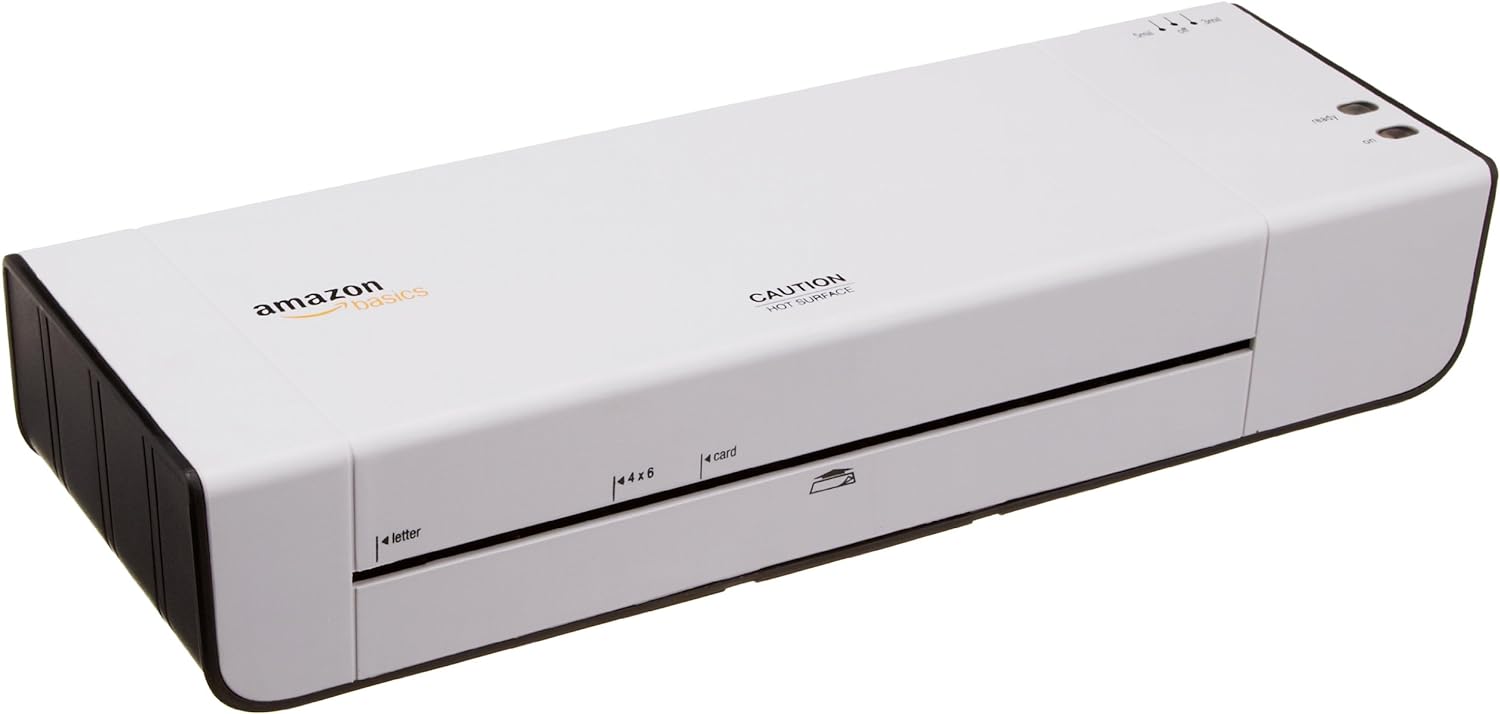
ചിത്രം 1: മുൻഭാഗം view of the Amazon Basics 9-Inch Thermal Laminator Machine, showing the feed slot and branding.
പ്രധാന സവിശേഷതകൾ:
- Laminates documents up to 9 inches wide.
- Two heat settings: 3 mil and 5 mil.
- Quick 4-minute warm-up time.
- Jam release lever for easy clearing.
- കോംപാക്റ്റ് ഡിസൈൻ.
സജ്ജമാക്കുക
അൺപാക്ക് ചെയ്യുന്നു:
Carefully remove the laminator from its packaging. Retain the packaging for future storage or transport.
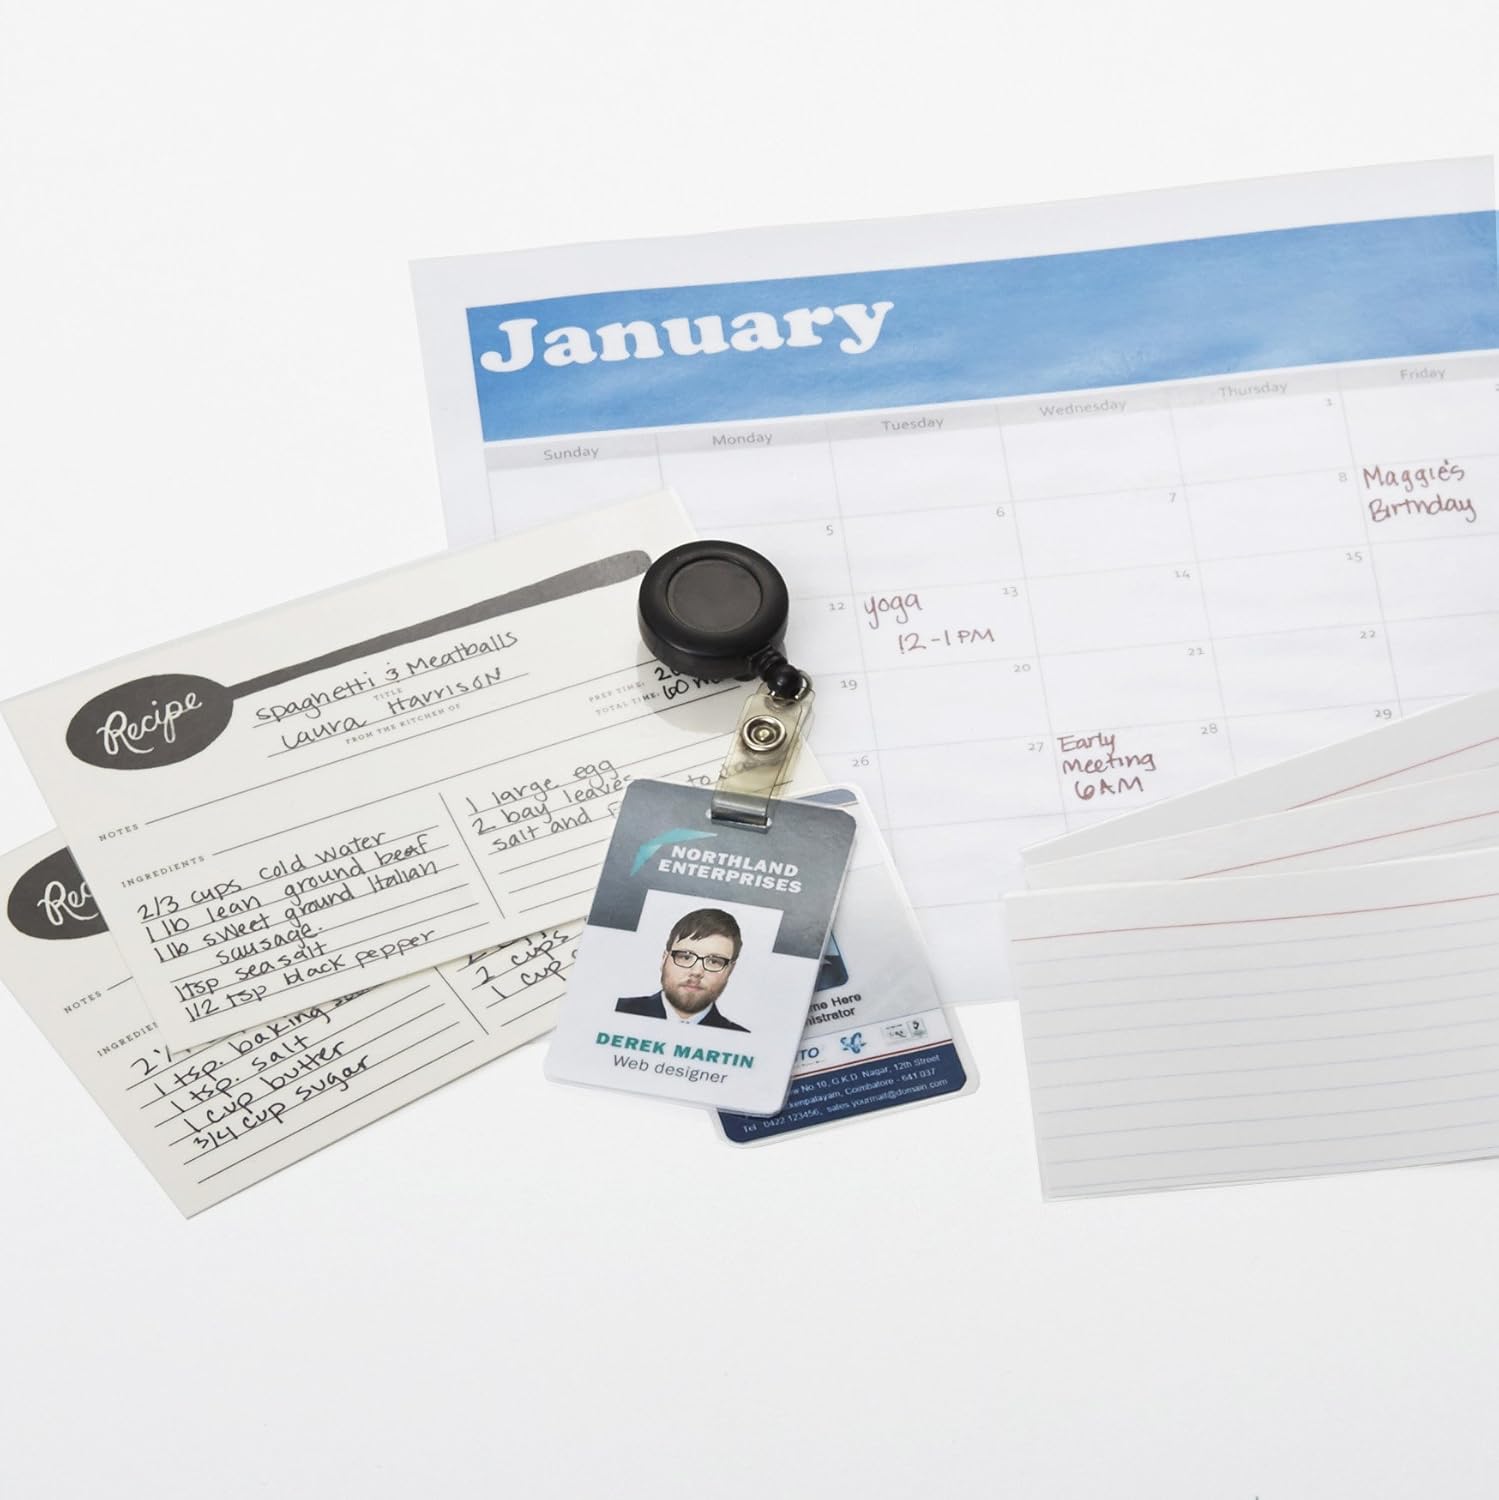
Figure 2: The laminator machine as it appears inside its frustration-free packaging.
പ്ലേസ്മെൻ്റ്:
Place the laminator on a flat, stable, and heat-resistant surface. Ensure there is adequate space around the machine for proper ventilation and for documents to exit the rear.
പവർ കണക്ഷൻ:
Plug the power cord into a standard electrical outlet. The power switch is located on the side of the unit.

ചിത്രം 3: ക്ലോസപ്പ് view of the power switch, 3mil/5mil heat settings, and release lever on the side of the laminator.
പ്രവർത്തന നിർദ്ദേശങ്ങൾ
Laminating a Document:
പവർ ഓണും വാം-അപ്പും:
Turn the power switch to the "On" position. The "Ready" indicator light will illuminate once the machine has warmed up (approximately 4 minutes).
ചൂട് ക്രമീകരണം തിരഞ്ഞെടുക്കുക:
Choose the appropriate heat setting based on the laminating pouch thickness:
- 3 mil: For normal documents, photos, and card stock.
- 5 mil: For thinner papers.
ഡോക്യുമെന്റ് തയ്യാറാക്കുക:
Place the document inside a laminating pouch, ensuring it is centered and there is an even border around the edges. Use the included 3 mil thick, 8.9 by 11.4 inch laminating pouches or any compatible 3 mil or 5 mil pouch.

ചിത്രം 4: ഉദാample of laminating recipe cards, showing the document being fed into the laminator.
പൗച്ച് ചേർക്കുക:
Carefully insert the sealed edge of the laminating pouch into the laminator's feed slot. The machine will automatically pull the pouch through.

Figure 5: A calendar page being laminated, demonstrating the machine's ability to handle various document types.
Retrieve Laminated Document:
Once the pouch exits the rear of the machine, allow it to cool on a flat surface before handling to ensure proper sealing.

Figure 6: A collection of laminated items, including recipe cards, ID badges, and a calendar, showcasing the versatility of the laminator.
മെയിൻ്റനൻസ്
വൃത്തിയാക്കൽ:
Ensure the laminator is unplugged and completely cool before cleaning. Wipe the exterior with a soft, damp തുണി. ഉരച്ചിലുകളുള്ള ക്ലീനറുകളോ ലായകങ്ങളോ ഉപയോഗിക്കരുത്.
Roller Cleaning (Optional):
Periodically, you may run a cleaning sheet (available separately) through the laminator to remove any adhesive residue from the rollers.
സംഭരണം:
Store the laminator in a cool, dry place when not in use. Ensure the power cord is neatly wrapped and not kinked.
ട്രബിൾഷൂട്ടിംഗ്
| പ്രശ്നം | സാധ്യമായ കാരണം | പരിഹാരം |
|---|---|---|
| Laminator does not turn on. | Not plugged in; power switch off; no power at outlet. | Check power cord connection; ensure power switch is "On"; test outlet with another device. |
| Pouch jams in the machine. | Pouch inserted incorrectly; pouch too thick; foreign object. | അമർത്തുക റിലീസ് ലിവർ to clear the jam. Ensure pouch is inserted sealed edge first and is within specified thickness (3 or 5 mil). |
| Lamination is cloudy or bubbly. | Incorrect heat setting; machine not fully warmed up; low-quality pouch. | Ensure correct heat setting (3 mil for normal, 5 mil for thinner); wait for "Ready" light; use high-quality laminating pouches. |
| Lamination is not sealed properly. | Incorrect heat setting; machine not fully warmed up; document too thick for pouch. | Verify heat setting; wait for "Ready" light; ensure document fits pouch with adequate border. |
സ്പെസിഫിക്കേഷനുകൾ
| ഫീച്ചർ | വിശദാംശങ്ങൾ |
|---|---|
| മോഡൽ നമ്പർ | PL9-US |
| ലാമിനേറ്റിംഗ് വീതി | 9 ഇഞ്ച് വരെ |
| ചൂട് ക്രമീകരണങ്ങൾ | 3 mil, 5 mil |
| സന്നാഹ സമയം | ഏകദേശം 4 മിനിറ്റ് |
| റോളറുകളുടെ എണ്ണം | 2 |
| ഭാരം | 1.2 കി.ഗ്രാം |
| വൈദ്യുതി വിതരണം | സ്റ്റാൻഡേർഡ് എസി |
വാറൻ്റിയും പിന്തുണയും
For warranty information and customer support, please visit the official Amazon Basics webസൈറ്റ് സന്ദർശിക്കുക അല്ലെങ്കിൽ ആമസോൺ ഉപഭോക്തൃ സേവനവുമായി നേരിട്ട് ബന്ധപ്പെടുക.
ഓൺലൈൻ പിന്തുണ: ആമസോൺ ബേസിക്സ് സ്റ്റോർ
Note: Reading the full user manual is recommended prior to the first use of this product.


