1. ആമുഖം
This manual provides comprehensive instructions for the Sony Cyber-shot DSC-W810 Digital Camera. It covers essential information for setting up, operating, maintaining, and troubleshooting your camera to ensure optimal performance and longevity. Please read this manual thoroughly before using your camera.
2. ഉൽപ്പന്നം കഴിഞ്ഞുview
Familiarize yourself with the components and controls of your Sony Cyber-shot DSC-W810 camera.
2.1 ക്യാമറ ഘടകങ്ങൾ

ചിത്രം 1: മുൻഭാഗം view of the camera with the lens retracted. This shows the lens, flash, and shutter button.
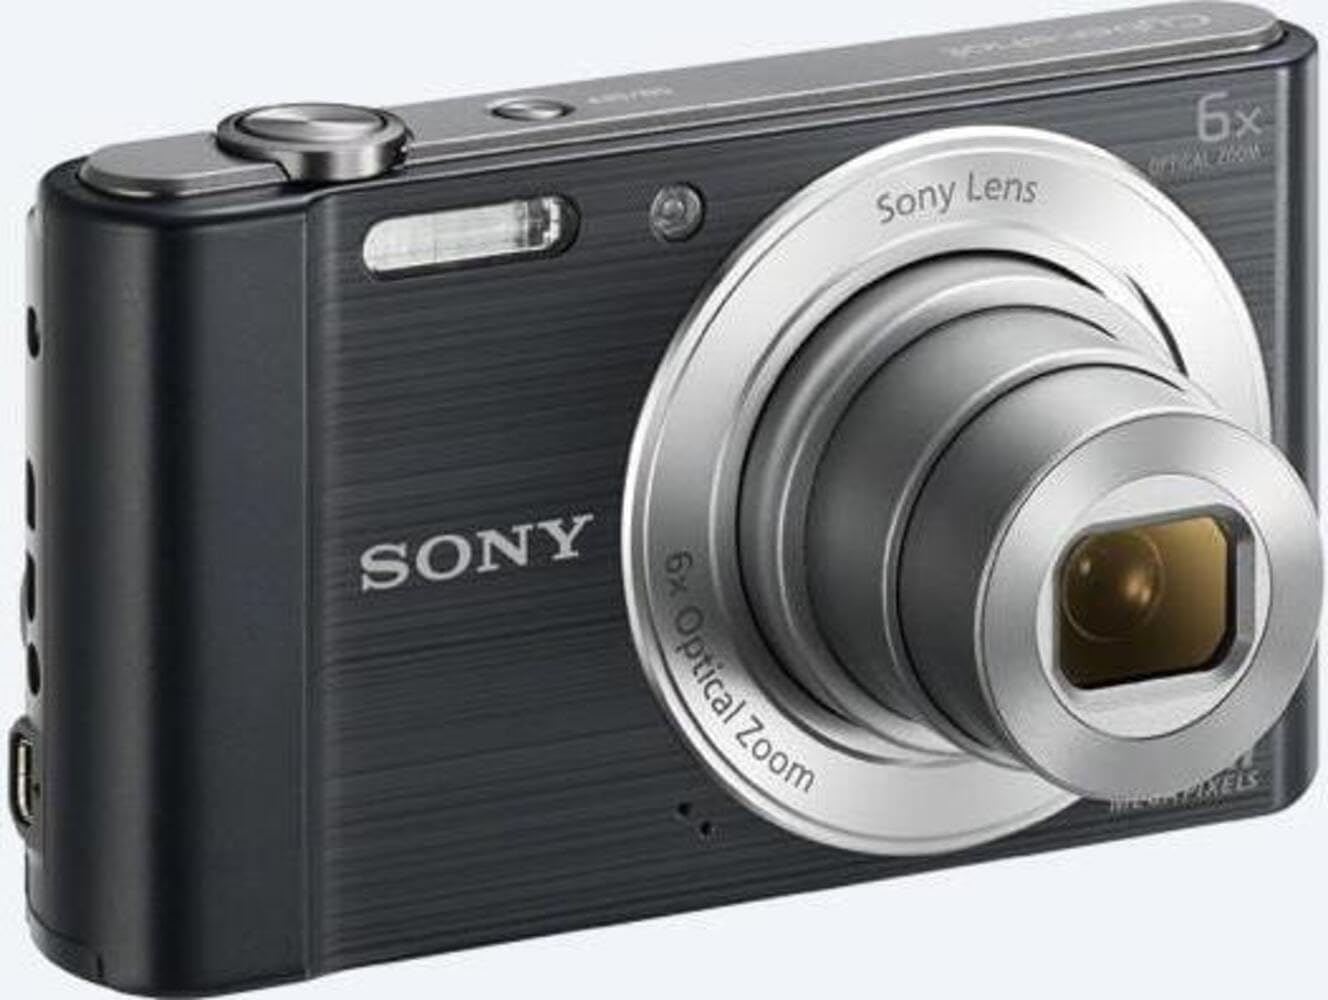
ചിത്രം 2: മുൻഭാഗം view of the camera with the lens extended, ready for shooting. This illustrates the camera's compact design when in use.

ചിത്രം 3: പിൻഭാഗം view of the camera, highlighting the 2.7-inch LCD screen, navigation buttons, movie record button, and menu button.

ചിത്രം 4: മുകളിൽ view of the camera, showing the power button, shutter button, and zoom lever.
2.2 Control Buttons and Functions
- ഷട്ടർ ബട്ടൺ: ഫോക്കസ് ചെയ്യാൻ പകുതി അമർത്തുക, ഒരു ചിത്രം പകർത്താൻ പൂർണ്ണമായും അമർത്തുക.
- സൂം ലിവർ (പ/വാട്ട്): Adjusts optical and digital zoom. "W" for wide-angle, "T" for telephoto.
- പവർ ബട്ടൺ: ക്യാമറ ഓൺ അല്ലെങ്കിൽ ഓഫ് ചെയ്യുന്നു.
- മൂവി ബട്ടൺ: വീഡിയോ റെക്കോർഡിംഗ് ആരംഭിക്കുകയും നിർത്തുകയും ചെയ്യുന്നു.
- പ്ലേബാക്ക് ബട്ടൺ: പ്ലേബാക്ക് മോഡിലേക്ക് പ്രവേശിക്കുന്നു view ഫോട്ടോകളും വീഡിയോകളും.
- മെനു ബട്ടൺ: ക്യാമറ ക്രമീകരണങ്ങളും ഓപ്ഷനുകളും ആക്സസ് ചെയ്യുന്നു.
- ദിശാസൂചന ബട്ടണുകൾ: Navigate menus and select options. Also used for flash settings, self-timer, and display options.
- ഫ്ലാഷ്: കുറഞ്ഞ വെളിച്ചത്തിൽ ഉപയോഗിക്കാൻ ബിൽറ്റ്-ഇൻ ഫ്ലാഷ്.
- LCD സ്ക്രീൻ: 2.7-inch display for framing shots, viewചിത്രങ്ങളും നാവിഗേറ്റിംഗ് മെനുകളും.
3. സജ്ജീകരണം
Follow these steps to prepare your camera for first use.
3.1 ബാറ്ററി ചേർക്കുന്നു
- ക്യാമറയുടെ അടിയിലുള്ള ബാറ്ററി/മെമ്മറി കാർഡ് കവർ തുറക്കുക.
- Insert the battery with the correct orientation, ensuring the terminals align. Push until it clicks into place.
- കവർ സുരക്ഷിതമായി അടയ്ക്കുക.
Note: The camera does not include batteries. Please use compatible Sony NP-BN or NP-BN1 batteries.
3.2 ഒരു മെമ്മറി കാർഡ് ഇടുന്നു
The camera supports SDXC or SDHC memory cards.
- ബാറ്ററി/മെമ്മറി കാർഡ് കവർ തുറക്കുക.
- Insert the memory card into the slot with the correct orientation until it clicks.
- കവർ സുരക്ഷിതമായി അടയ്ക്കുക.
Note: A memory card is not included with the camera. Purchase a compatible SDXC or SDHC card separately.
3.3 Initial Power On and Settings
- ക്യാമറ ഓണാക്കാൻ പവർ ബട്ടൺ അമർത്തുക.
- The initial setup screen will appear. Follow the on-screen prompts to set the language, date, and time.
- Ensure the date and time are accurate for proper photo organization.
4. ക്യാമറ പ്രവർത്തിപ്പിക്കുക
Learn how to capture photos and videos with your DSC-W810.
4.1 ഫോട്ടോ എടുക്കൽ
- ക്യാമറ ഓണാക്കുക.
- എൽസിഡി സ്ക്രീൻ ഉപയോഗിച്ച് നിങ്ങളുടെ ഷോട്ട് ഫ്രെയിം ചെയ്യുക.
- Use the zoom lever (W/T) to adjust the 6x optical zoom.
- Press the Shutter button halfway down to focus. The focus frame will turn green when focus is achieved.
- Press the Shutter button fully to take the picture.
4.2 Using Flash Modes
The camera features a built-in flash with various modes. Press the right directional button (flash icon) to cycle through modes:
- ഓട്ടോ ഫ്ലാഷ്: Camera automatically determines if flash is needed.
- Fill-flash: ഓരോ ഷോട്ടിനും ഫ്ലാഷ് ഫയർ.
- സ്ലോ സിങ്ക്: പശ്ചാത്തല വെളിച്ചം പകർത്താൻ ഫ്ലാഷ് മിന്നുന്നു, ഷട്ടർ വേഗത മന്ദഗതിയിലാക്കുന്നു.
- ഫ്ലാഷ് ഇല്ല: ഫ്ലാഷ് പ്രവർത്തനരഹിതമാക്കി.
Tip: For low-light environments, the "Party Mode" (accessible via the menu) can optimize settings for clearer images without harsh flash.
4.3 വീഡിയോ റെക്കോർഡിംഗ്
- ക്യാമറ ഓണാക്കുക.
- Press the dedicated Movie button to start recording.
- Press the Movie button again to stop recording.
Note: Videos are recorded in 720p resolution in MP4 format.
4.4 പ്ലേബാക്ക് മോഡ്
- Press the Playback button to enter playback mode.
- Use the left/right directional buttons to browse through your photos and videos.
- Press the center button to play videos.
- ഷൂട്ടിംഗ് മോഡിലേക്ക് മടങ്ങാൻ പ്ലേബാക്ക് ബട്ടൺ വീണ്ടും അമർത്തുക.
5. പരിപാലനം
Proper care ensures the longevity and performance of your camera.
5.1 ക്യാമറ വൃത്തിയാക്കൽ
- ക്യാമറ ബോഡി: മൃദുവായതും ഉണങ്ങിയതുമായ തുണി ഉപയോഗിച്ച് തുടയ്ക്കുക. കഠിനമായ അഴുക്കിന്, ഒരു തുണി ഉപയോഗിച്ച് നേരിയ തോതിൽ തുടയ്ക്കുക.ampവെള്ളം കൊണ്ട് തീർത്തു.
- ലെൻസ്: പൊടി നീക്കം ചെയ്യാൻ ലെൻസ് ബ്രഷ് ഉപയോഗിക്കുക, തുടർന്ന് ലെൻസ് ക്ലീനിംഗ് തുണി ഉപയോഗിച്ച് സൌമ്യമായി തുടയ്ക്കുക. നിങ്ങളുടെ വിരലുകൾ കൊണ്ട് ലെൻസ് പ്രതലത്തിൽ സ്പർശിക്കുന്നത് ഒഴിവാക്കുക.
- LCD സ്ക്രീൻ: എൽസിഡി സ്ക്രീനുകൾക്കായി പ്രത്യേകം രൂപകൽപ്പന ചെയ്ത മൃദുവായതും ഉണങ്ങിയതുമായ തുണി ഉപയോഗിക്കുക.
Caution: Do not use organic solvents such as alcohol or thinner to clean the camera.
5.2 ബാറ്ററി കെയർ
- ആദ്യ ഉപയോഗത്തിന് മുമ്പ് ബാറ്ററി പൂർണ്ണമായും ചാർജ് ചെയ്യുക.
- ക്യാമറ ദീർഘനേരം ഉപയോഗിച്ചില്ലെങ്കിൽ ബാറ്ററി നീക്കം ചെയ്യുക.
- തണുത്തതും വരണ്ടതുമായ സ്ഥലത്ത് ബാറ്ററികൾ സൂക്ഷിക്കുക.
5.3 സംഭരണം
When not in use, store the camera in a dry, well-ventilated area, away from direct sunlight, high temperatures, and humidity. Use a camera case for protection during transport.
6. പ്രശ്നപരിഹാരം
പൊതുവായ പ്രശ്നങ്ങൾക്കുള്ള പരിഹാരങ്ങൾക്കായി ഈ വിഭാഗം കാണുക.
| പ്രശ്നം | പരിഹാരം |
|---|---|
| ക്യാമറ ഓണാകുന്നില്ല. |
|
| ചിത്രങ്ങൾ അവ്യക്തമാണ്. |
|
| ഫ്ലാഷ് വളരെ തെളിച്ചമുള്ളതാണ് അല്ലെങ്കിൽ വളരെ മങ്ങിയതാണ്. |
|
| മെമ്മറി കാർഡ് പിശക്. |
|
7 സ്പെസിഫിക്കേഷനുകൾ
Key technical specifications for the Sony Cyber-shot DSC-W810 Digital Camera.
| ഫീച്ചർ | വിശദാംശങ്ങൾ |
|---|---|
| മോഡലിൻ്റെ പേര് | DSCW810B.CE3 |
| ഫലപ്രദമായ സ്റ്റിൽ റെസല്യൂഷൻ | 20.1 എം.പി |
| ഫോട്ടോ സെൻസർ ടെക്നോളജി | സിസിഡി |
| ഒപ്റ്റിക്കൽ സൂം | 6x |
| ഡിജിറ്റൽ സൂം | 48x |
| പരമാവധി ഫോക്കൽ ദൈർഘ്യം | 27.6 മി.മീ |
| കുറഞ്ഞ ഫോക്കൽ ലെങ്ത് | 4.6 മി.മീ |
| ഇമേജ് സ്റ്റെബിലൈസേഷൻ | ഡിജിറ്റൽ, ഒപ്റ്റിക്കൽ |
| സ്ക്രീൻ വലിപ്പം | 2.7 ഇഞ്ച് എൽസിഡി |
| വീഡിയോ റെസല്യൂഷൻ | 720p |
| പിന്തുണച്ചു File ഫോർമാറ്റുകൾ | JPEG, RAW (Still), MP4 (Video) |
| ഫ്ലാഷ് മെമ്മറി തരം | SDXC or SDHC |
| കണക്റ്റിവിറ്റി | USB, HDMI |
| ഇനത്തിൻ്റെ ഭാരം | 111 ഗ്രാം |
| നിറം | കറുപ്പ് |
8. വാറൻ്റിയും പിന്തുണയും
8.1 വാറൻ്റി വിവരങ്ങൾ
This product comes with a 90-day Limited Hardware Warranty. For full details, please refer to the official warranty document:
View 90-day Limited Hardware Warranty
Note: This is an international version of the camera and may have warranty limitations in certain regions.
8.2 ഉപഭോക്തൃ പിന്തുണ
കൂടുതൽ സഹായം, സാങ്കേതിക പിന്തുണ അല്ലെങ്കിൽ സേവന അന്വേഷണങ്ങൾ എന്നിവയ്ക്കായി, ദയവായി ഔദ്യോഗിക സോണി പിന്തുണ സന്ദർശിക്കുക. webസൈറ്റ് അല്ലെങ്കിൽ അവരുടെ ഉപഭോക്തൃ സേവനവുമായി ബന്ധപ്പെടുക.