1. ആമുഖം
The FlashForge Finder is a user-friendly, home-friendly, and wallet-friendly 3D printer designed for novices and educators. It features easy-to-use functionalities such as a slide-in build plate, assisted bed-leveling, and an intuitive color touchscreen. The printer operates quietly and safely, using only non-toxic PLA filament with safely encased heated components. This manual provides essential information for setting up, operating, and maintaining your FlashForge Finder 3D printer.
2. ബോക്സിൽ എന്താണുള്ളത്?
Upon unboxing your FlashForge Finder 3D Printer, please verify that all the following components are included:
- FlashForge Finder 3D Printer
- ദ്രുത ആരംഭ ഗൈഡ്
- വിൽപ്പനാനന്തര സേവന കാർഡ്
- പവർ കേബിൾ
- ഫിലമെന്റ് ഗൈഡ് ട്യൂബ്
- ടൂൾ ബാഗ്
- Start-up PLA Filament
- പവർ അഡാപ്റ്റർ
- USB കേബിൾ
- Solid Glue
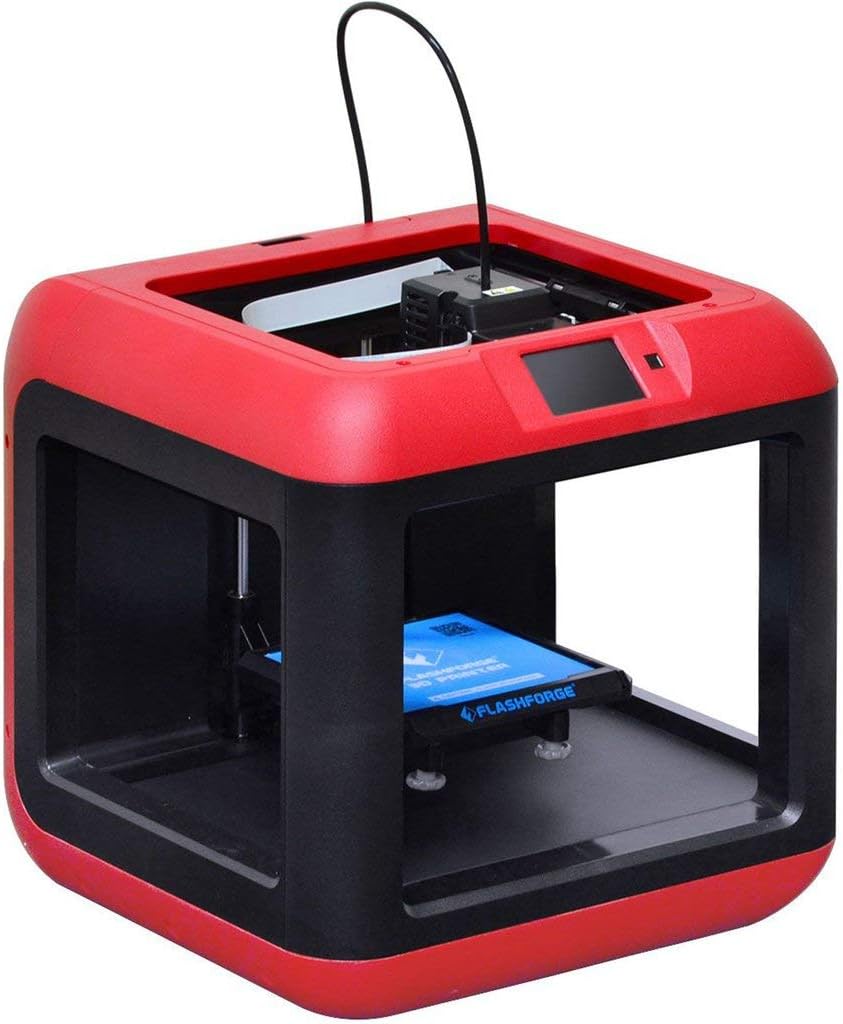
ചിത്രം 2.1: മുൻഭാഗം view of the FlashForge Finder 3D Printer.
3 പ്രധാന സവിശേഷതകൾ
The FlashForge Finder 3D Printer is equipped with several features designed for ease of use and reliable performance:
- Slide-in Build Plate: Allows for easy removal of printed objects.
- 3.5-Inch Full Color Touchscreen: Provides intuitive icons for straightforward operation.
- Sturdy, Plastic Alloy Construction: Ensures stable and consistent prints.
- Safe, Non-Heated Build Plate: Enhances safety, especially in educational or home environments.
- ഒന്നിലധികം കണക്റ്റിവിറ്റി ഓപ്ഷനുകൾ: Supports printing via Wi-Fi, USB cable, USB stick, and Cloud.
- High Positioning Precision: Achieves 0.0001 inch on the Z-axis and 0.0004 inch on the XY plane, with a resolution of 0.004 inch.
- PLA Filament Compatibility: Designed to use PLA material.

Figure 3.1: Close-up of the intuitive color touchscreen display.
4. സജ്ജീകരണം
Follow these steps to set up your FlashForge Finder 3D Printer for first use:
- അൺപാക്ക് ചെയ്യുന്നു: Carefully remove the printer and all accessories from the packaging. Retain the packaging for future transport or storage.
- പ്ലേസ്മെൻ്റ്: പ്രിന്റർ നേരിട്ട് സൂര്യപ്രകാശം ഏൽക്കാത്തതും താപ സ്രോതസ്സുകൾ ഏൽക്കാത്തതുമായ, നന്നായി വായുസഞ്ചാരമുള്ള സ്ഥലത്ത്, സ്ഥിരതയുള്ളതും നിരപ്പായതുമായ ഒരു പ്രതലത്തിൽ സ്ഥാപിക്കുക.
- പവർ കണക്ഷൻ: Connect the power adapter to the printer and then plug it into a suitable power outlet. Turn on the printer using the power switch.
- ഫിലമെൻ്റ് ലോഡിംഗ്:
- Insert the filament guide tube into the designated port on the extruder.
- ഫിലമെന്റ് സ്പൂൾ ഫിലമെന്റ് ഹോൾഡറിൽ വയ്ക്കുക.
- Feed the filament through the guide tube and into the extruder until it is properly seated.

Figure 4.1: Close-up of the extruder and filament path.
- കിടക്ക നിരപ്പാക്കൽ: The FlashForge Finder features assisted bed-leveling.
- Navigate to the leveling option on the touchscreen.
- Follow the on-screen prompts to adjust the build plate at the indicated points until the correct gap is achieved between the nozzle and the build plate.
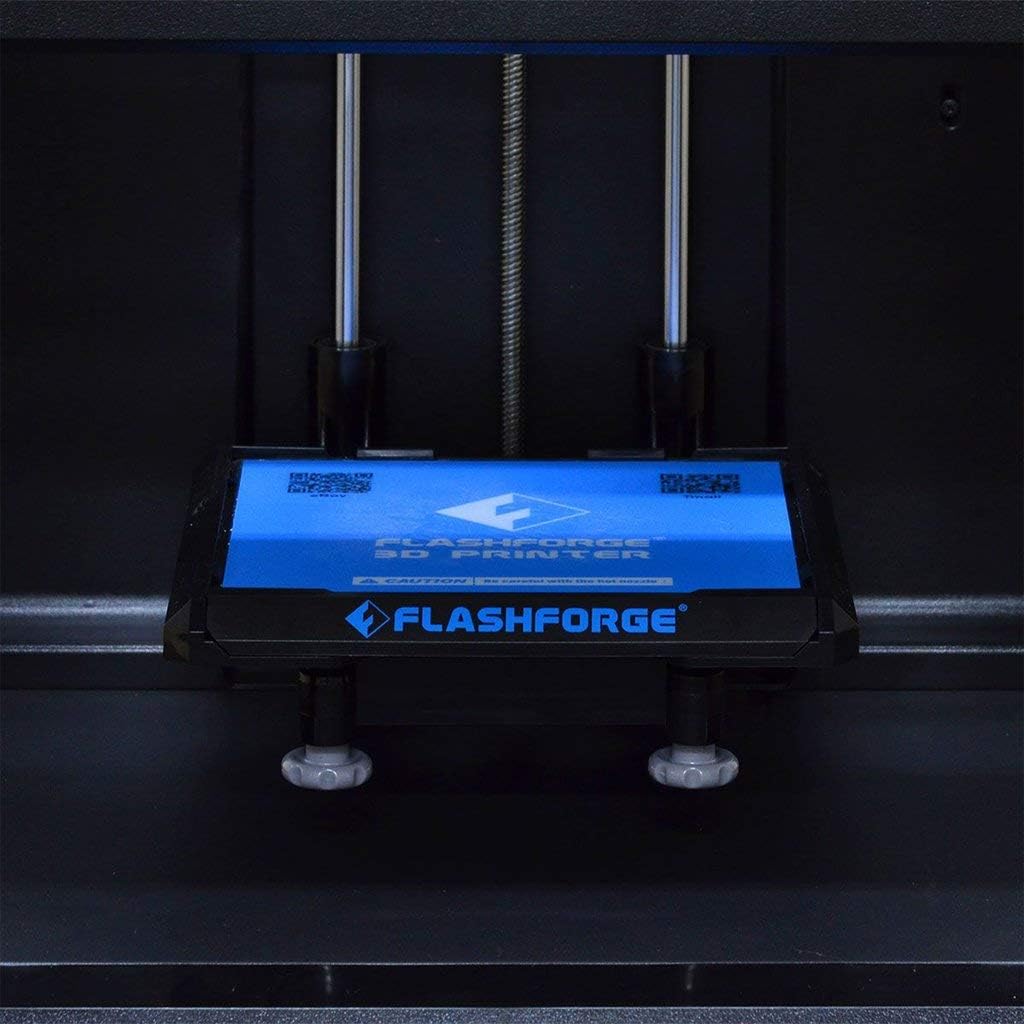
Figure 4.2: The removable build plate for easy print removal.
5. ഓപ്പറേഷൻ
Operating your FlashForge Finder is designed to be straightforward. Here are the basic steps:
- സോഫ്റ്റ്വെയർ ഇൻസ്റ്റാളേഷൻ: Install the FlashPrint software from the included USB stick or download the latest version from the official FlashForge webസൈറ്റ്.
- Model Preparation:
- നിങ്ങളുടെ 3D മോഡൽ തുറക്കുക file (e.g., .STL, .OBJ) in FlashPrint.
- Adjust print settings such as layer height, infill density, and support structures as needed.
- ജി-കോഡ് സൃഷ്ടിക്കാൻ മോഡൽ സ്ലൈസ് ചെയ്യുക. file അച്ചടിക്ക്.
- കൈമാറുന്നു Files: Transfer the generated G-code file to the printer using one of the following methods:
- USB സ്റ്റിക്ക്: Save the G-code to a USB stick and insert it into the printer's USB port.
- യൂഎസ്ബി കേബിൾ: Connect the printer to your computer via USB cable and transfer the file നേരിട്ട്.
- Wi-Fi/Cloud: Use the FlashPrint software to send the file wirelessly to the printer or via Cloud connectivity.
- Starting a Print:
- On the printer's touchscreen, select the desired G-code file.
- Confirm the print settings and initiate the print job. The printer will begin heating the extruder and then start printing.
- Monitoring the Print: Observe the initial layers to ensure proper adhesion to the build plate. Monitor the print progress via the touchscreen.
6. പരിപാലനം
Regular maintenance ensures the longevity and optimal performance of your FlashForge Finder 3D Printer:
- Clean the Build Plate: After each print, clean the build plate to remove any residue. Use a soft cloth and isopropyl alcohol if necessary.
- നോസൽ വൃത്തിയാക്കൽ: Periodically check the nozzle for clogs. Use the provided tools to clear any blockages.
- Lubricate Guide Rods: Apply a small amount of lubricant to the guide rods every few months to ensure smooth movement of the print head.
- ഫേംവെയർ അപ്ഡേറ്റുകൾ: Check the FlashForge webനിങ്ങളുടെ പ്രിന്ററിൽ ഏറ്റവും പുതിയ സവിശേഷതകളും ബഗ് പരിഹാരങ്ങളും ഉണ്ടെന്ന് ഉറപ്പാക്കാൻ ലഭ്യമായ ഏതെങ്കിലും ഫേംവെയർ അപ്ഡേറ്റുകൾക്കായി സൈറ്റ് സന്ദർശിക്കുക.
7. പ്രശ്നപരിഹാരം
This section addresses common issues you might encounter with your FlashForge Finder 3D Printer:
| പ്രശ്നം | സാധ്യമായ കാരണം | പരിഹാരം |
|---|---|---|
| പ്രിന്റ് ബിൽഡ് പ്ലേറ്റിൽ പറ്റിപ്പിടിക്കുന്നില്ല. | Improper bed leveling, dirty build plate, insufficient adhesion. | Re-level the build plate using the assisted leveling function. Clean the build plate thoroughly. Apply a thin layer of solid glue (included) or painter's tape to the build plate for better adhesion. |
| ഫിലമെന്റ് പുറത്തെടുക്കുന്നില്ല | അടഞ്ഞുപോയ നോസൽ, കുരുങ്ങിയ ഫിലമെന്റ്, തെറ്റായ താപനില. | Clear the nozzle using the provided cleaning needle. Ensure filament is not tangled and feeds smoothly. Verify extruder temperature settings in FlashPrint match PLA requirements (typically 190-220°C). |
| Poor print quality (e.g., layer shifting, rough surfaces) | Loose belts, incorrect print speed, filament quality, model issues. | Check and tighten any loose belts. Reduce print speed. Try a different brand of PLA filament. Ensure the 3D model is not corrupted. |
| Printer not connecting via Wi-Fi | Incorrect Wi-Fi settings, network interference. | Double-check Wi-Fi password and network name on the printer's touchscreen. Ensure the printer is within range of your Wi-Fi router. Restart both the printer and your router. |
8 സ്പെസിഫിക്കേഷനുകൾ
Detailed technical specifications for the FlashForge Finder 3D Printer:
| സ്പെസിഫിക്കേഷൻ | മൂല്യം |
|---|---|
| പ്രിൻ്റിംഗ് ടെക്നോളജി | FFF (ഫ്യൂസ്ഡ് ഫിലമെന്റ് ഫാബ്രിക്കേഷൻ) |
| Build Volume (L x W x H) | 140 x 140 x 140 മിമി (5.5 x 5.5 x 5.5 ഇഞ്ച്) |
| ലെയർ റെസല്യൂഷൻ | 100-400 microns, adjustable |
| Positioning Precision (X and Y) | 11 microns (0.0004 inch) |
| Positioning Precision (Z) | 2.5 microns (0.0001 inch) |
| ഫിലമെൻ്റ് വ്യാസം | 1.75 മി.മീ |
| നോസൽ വ്യാസം | 0.4 മി.മീ |
| Frame and Body Material | Plastic and Alloy |
| എക്സ്ട്രൂഡർ അളവ് | ഒന്ന് |
| ഉൽപ്പന്ന അളവുകൾ | 420 x 420 x 420 മിമി (16.54 x 16.54 x 16.54 ഇഞ്ച്) |
| ഉൽപ്പന്ന ഭാരം | 13.5 കി.ഗ്രാം (24.2 പൗണ്ട്) |
| സോഫ്റ്റ്വെയർ | ഫ്ലാഷ്പ്രിന്റ് |
| കണക്റ്റിവിറ്റി | Wi-Fi, USB cable, USB stick, Cloud |
| പ്രിൻ്റിംഗ് മെറ്റീരിയൽ | പി.എൽ.എ |
| നിറം | കറുപ്പ് |
| നിർമ്മാതാവ് | ZHEJIANG FLASHFORGE 3D TECHNOLOGY CO.,LTD |
| ആദ്യ തീയതി ലഭ്യമാണ് | നവംബർ 6, 2015 |

Figure 8.1: Dimensions of the FlashForge Finder 3D Printer.
9. വാറൻ്റിയും പിന്തുണയും
For warranty information and additional support, please refer to the following resources:
- നിർമ്മാതാവിൻ്റെ വാറൻ്റി: The product comes with a 90-day manufacturer warranty from a US authorized distributor.
- ഉപയോക്തൃ ഗൈഡുകൾ:
- ഓൺലൈൻ പിന്തുണ: Visit the official FLASHFORGE Store on Amazon for more information and support: ഫ്ലാഷ്ഫോർജ് സ്റ്റോർ


