ഉൽപ്പന്നം കഴിഞ്ഞുview
The Canarm Preston III 52-Inch Ceiling Fan is designed to enhance the comfort and style of your living space. Featuring a brushed nickel finish and five reversible blades (walnut/silver oak), this fan offers versatile aesthetics to complement various interior designs. It includes an integrated light kit with an opal glass shade for ambient illumination and operates via pull chains for fan speed and light control. The downrod mount ensures stable installation, making it suitable for medium to large rooms.
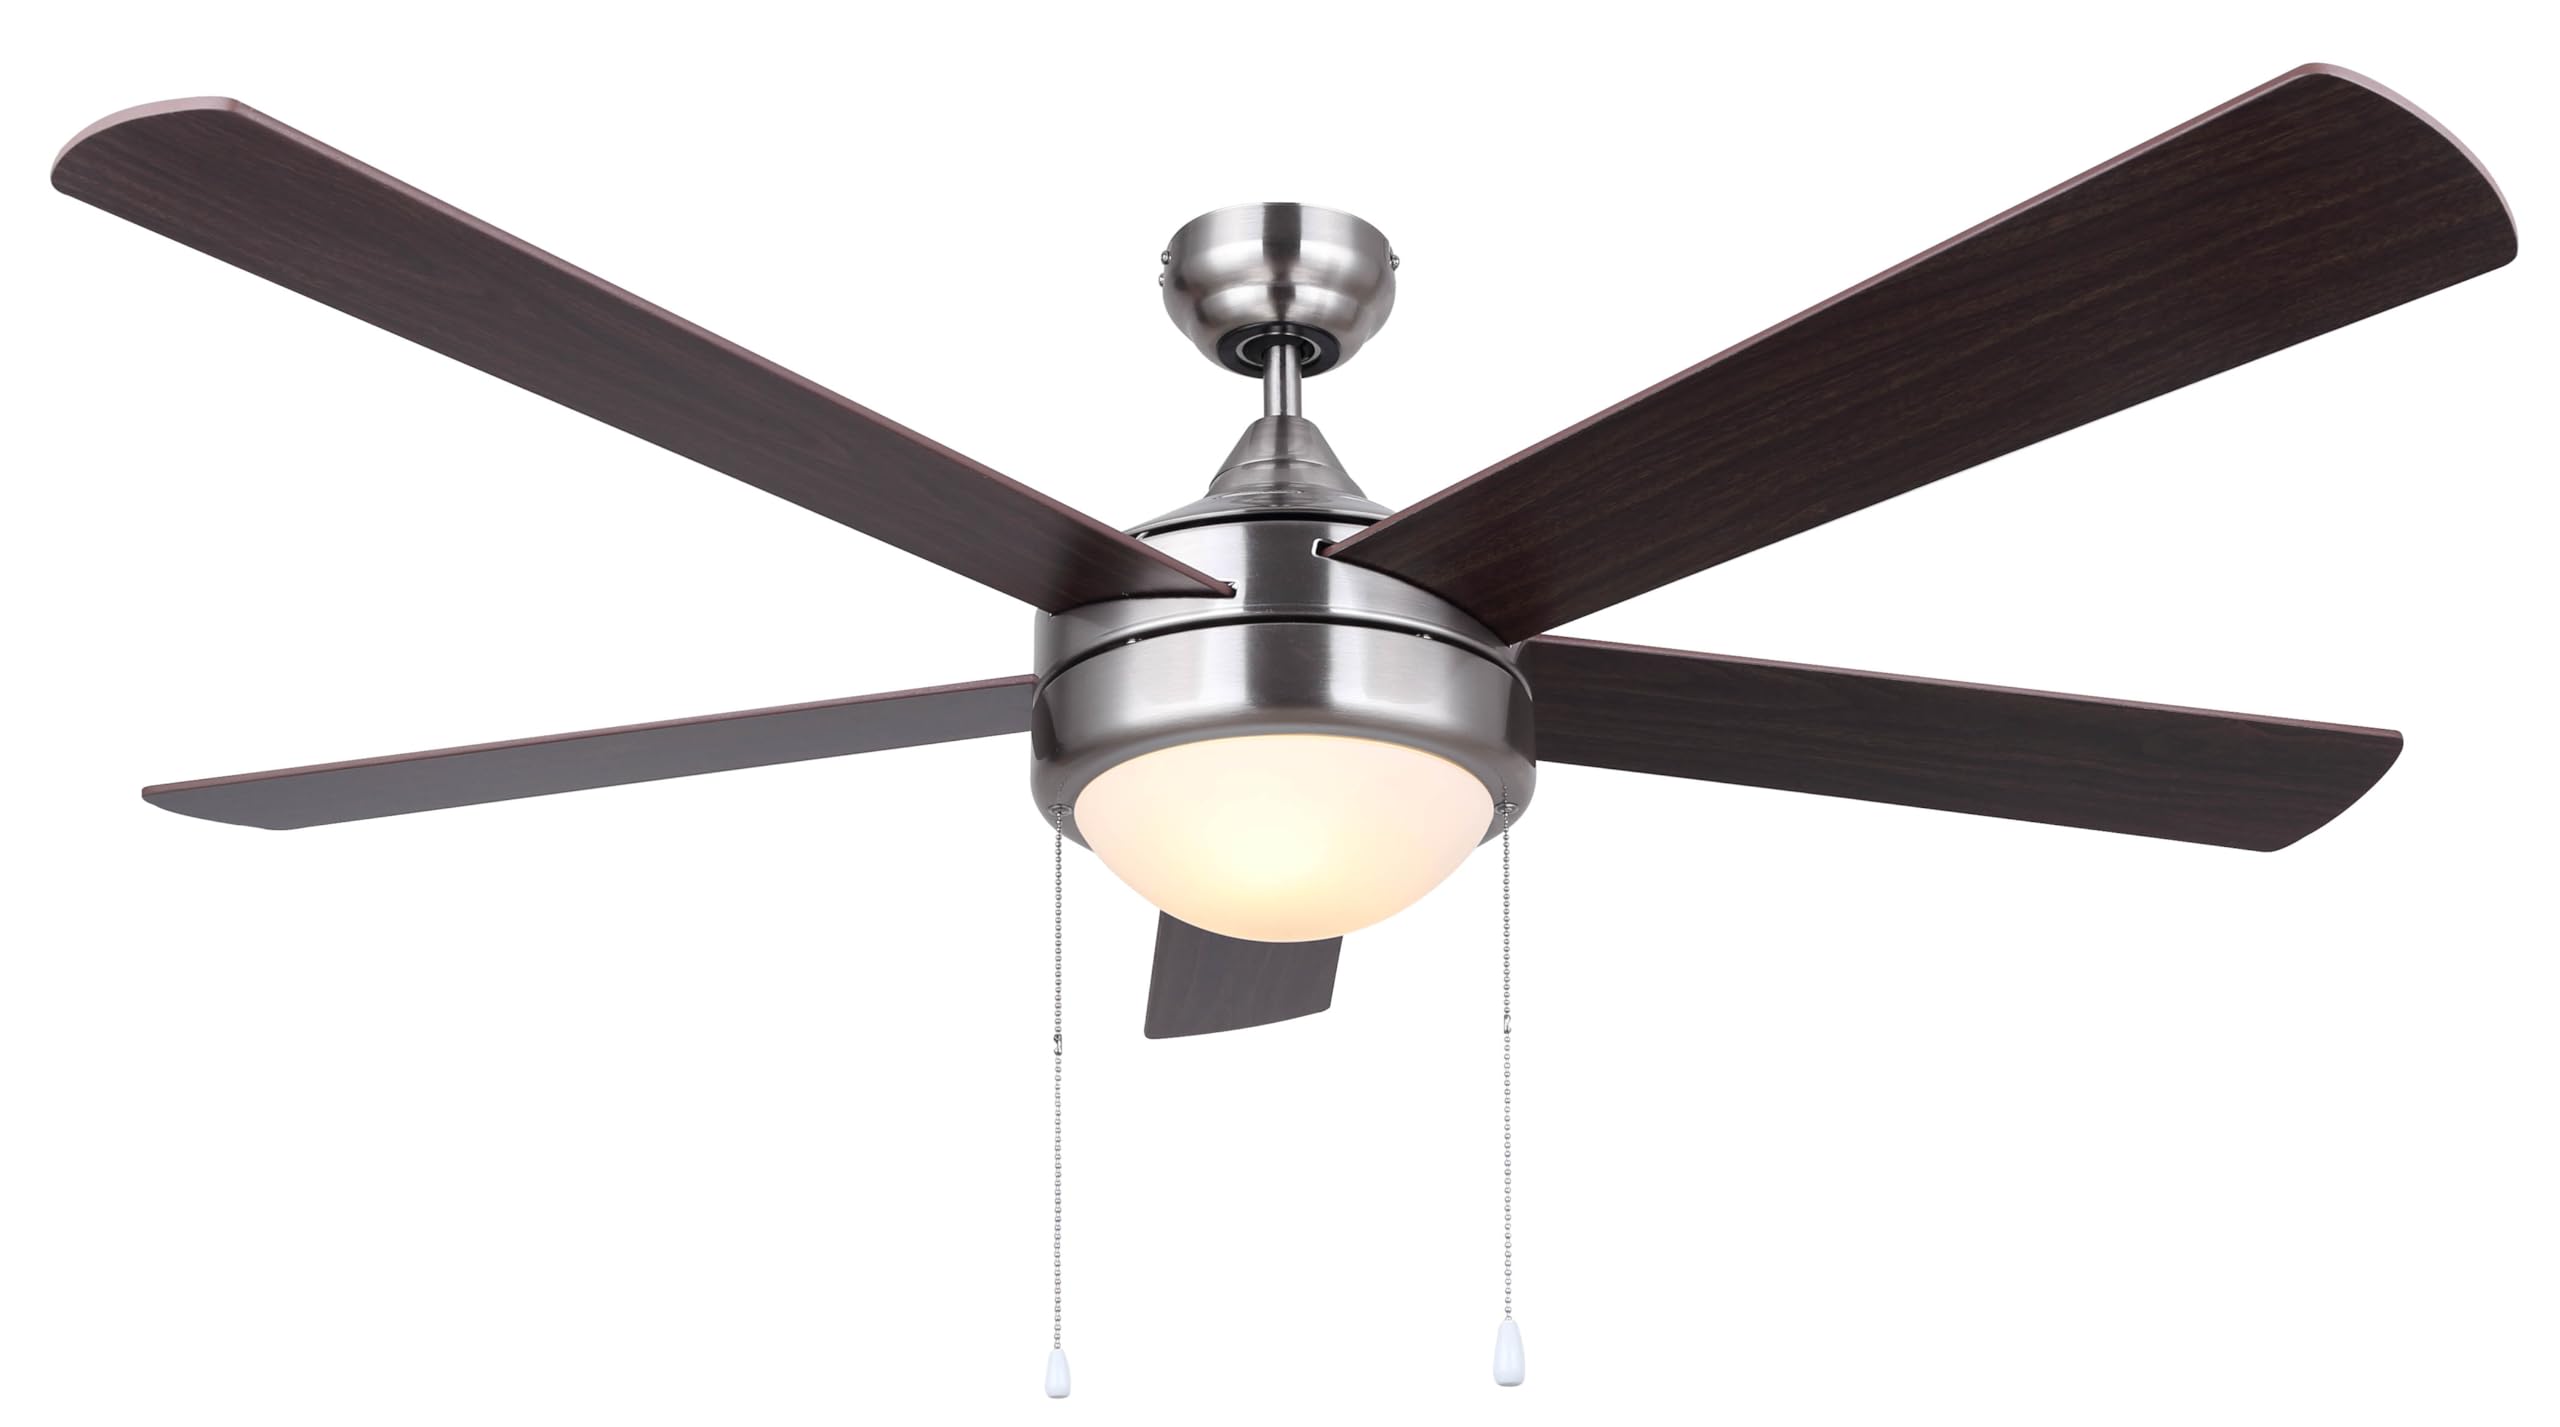
Image: Canarm Preston III 52-Inch Ceiling Fan with walnut blades installed in a modern living room setting.
സുരക്ഷാ വിവരങ്ങൾ
Before beginning installation, read all instructions carefully. Ensure all electrical connections comply with local codes and ordinances. Disconnect power at the main circuit breaker before working on the fan. Consult a qualified electrician if you are unfamiliar with electrical wiring. Do not install the fan on a sloped ceiling without appropriate adapter kits. Ensure the mounting structure can support the fan's weight.
പാക്കേജ് ഉള്ളടക്കം
Verify that all components are present before starting assembly. If any parts are missing or damaged, contact customer support.
- മോട്ടോർ ഹൗസിംഗ് അസംബ്ലി
- Fan Blades (5, reversible walnut/silver oak)
- ബ്ലേഡ് ബ്രാക്കറ്റുകൾ
- ഡ ro ൺറോഡ്
- മേലാപ്പ്
- മൌണ്ടിംഗ് ബ്രാക്കറ്റ്
- Light Kit Assembly with Opal Glass Shade
- Light Bulbs (included)
- പുൾ ചെയിനുകൾ (ഫാൻ വേഗതയ്ക്കും വെളിച്ചത്തിനും)
- ഹാർഡ്വെയർ പായ്ക്ക് (സ്ക്രൂകൾ, വാഷറുകൾ, വയർ നട്ടുകൾ)
- ഇൻസ്ട്രക്ഷൻ മാനുവൽ
സജ്ജീകരണവും ഇൻസ്റ്റാളേഷനും
Professional installation is recommended for safety and optimal performance. Ensure the power is OFF at the circuit breaker before starting.
- മൗണ്ടിംഗ് ബ്രാക്കറ്റ് ഇൻസ്റ്റലേഷൻ: മൗണ്ടിംഗ് ബ്രാക്കറ്റ് സീലിംഗ് ജംഗ്ഷൻ ബോക്സിൽ ഉറപ്പിക്കുക. ജംഗ്ഷൻ ബോക്സ് കെട്ടിട ഘടനയിൽ സുരക്ഷിതമായി ഉറപ്പിച്ചിട്ടുണ്ടെന്നും ഫാനിന്റെ ഭാരം താങ്ങാൻ കഴിയുമെന്നും ഉറപ്പാക്കുക.
- ഡൗൺറോഡ് അസംബ്ലി: Insert the downrod through the canopy and motor housing. Secure with the provided pin and screw.
- വയറിംഗ്: Connect the fan's electrical wires to the household wiring according to the wiring diagram in the full manual. Use appropriate wire nuts.
- മേലാപ്പ് ഇൻസ്റ്റാളേഷൻ: Lift the fan assembly and hang it on the mounting bracket. Secure the canopy to the mounting bracket with screws.
- ബ്ലേഡ് അറ്റാച്ച്മെൻ്റ്: Attach each of the five fan blades to the blade brackets using the provided screws. Ensure they are firmly secured.
- ലൈറ്റ് കിറ്റ് ഇൻസ്റ്റാളേഷൻ: Connect the light kit wiring to the fan motor wiring. Secure the light kit assembly to the bottom of the fan motor housing.
- Glass Shade and Bulbs: Install the included light bulbs into the sockets. Attach the opal glass shade by twisting or securing it into place.
- Pull Chain Attachment: Attach the decorative pull chains for fan speed and light operation.

ചിത്രം: വിശദമായത് view of the brushed nickel motor housing and downrod connection, showing the sturdy construction.

Image: The fan assembly with the light kit and pull chains visible, ready for blade attachment.
പ്രവർത്തന നിർദ്ദേശങ്ങൾ
Once installed and power is restored, operate the fan using the pull chains.
- ഫാൻ സ്പീഡ് നിയന്ത്രണം: Pull the chain with the fan icon (or shorter chain) to cycle through fan speeds (High, Medium, Low, Off).
- പ്രകാശ നിയന്ത്രണം: Pull the chain with the light bulb icon (or longer chain) to turn the light On or Off.
- റിവേഴ്സിബിൾ ബ്ലേഡുകൾ: The blades are reversible, offering walnut on one side and silver oak on the other. To change the blade finish, remove the blades, flip them, and reattach.
- സീസണൽ പ്രവർത്തനം: Most ceiling fans have a reverse switch on the motor housing. In warm weather, set the switch to circulate air downwards (counter-clockwise rotation) for a cooling effect. In cool weather, set the switch to circulate air upwards (clockwise rotation) to redistribute warm air from the ceiling.
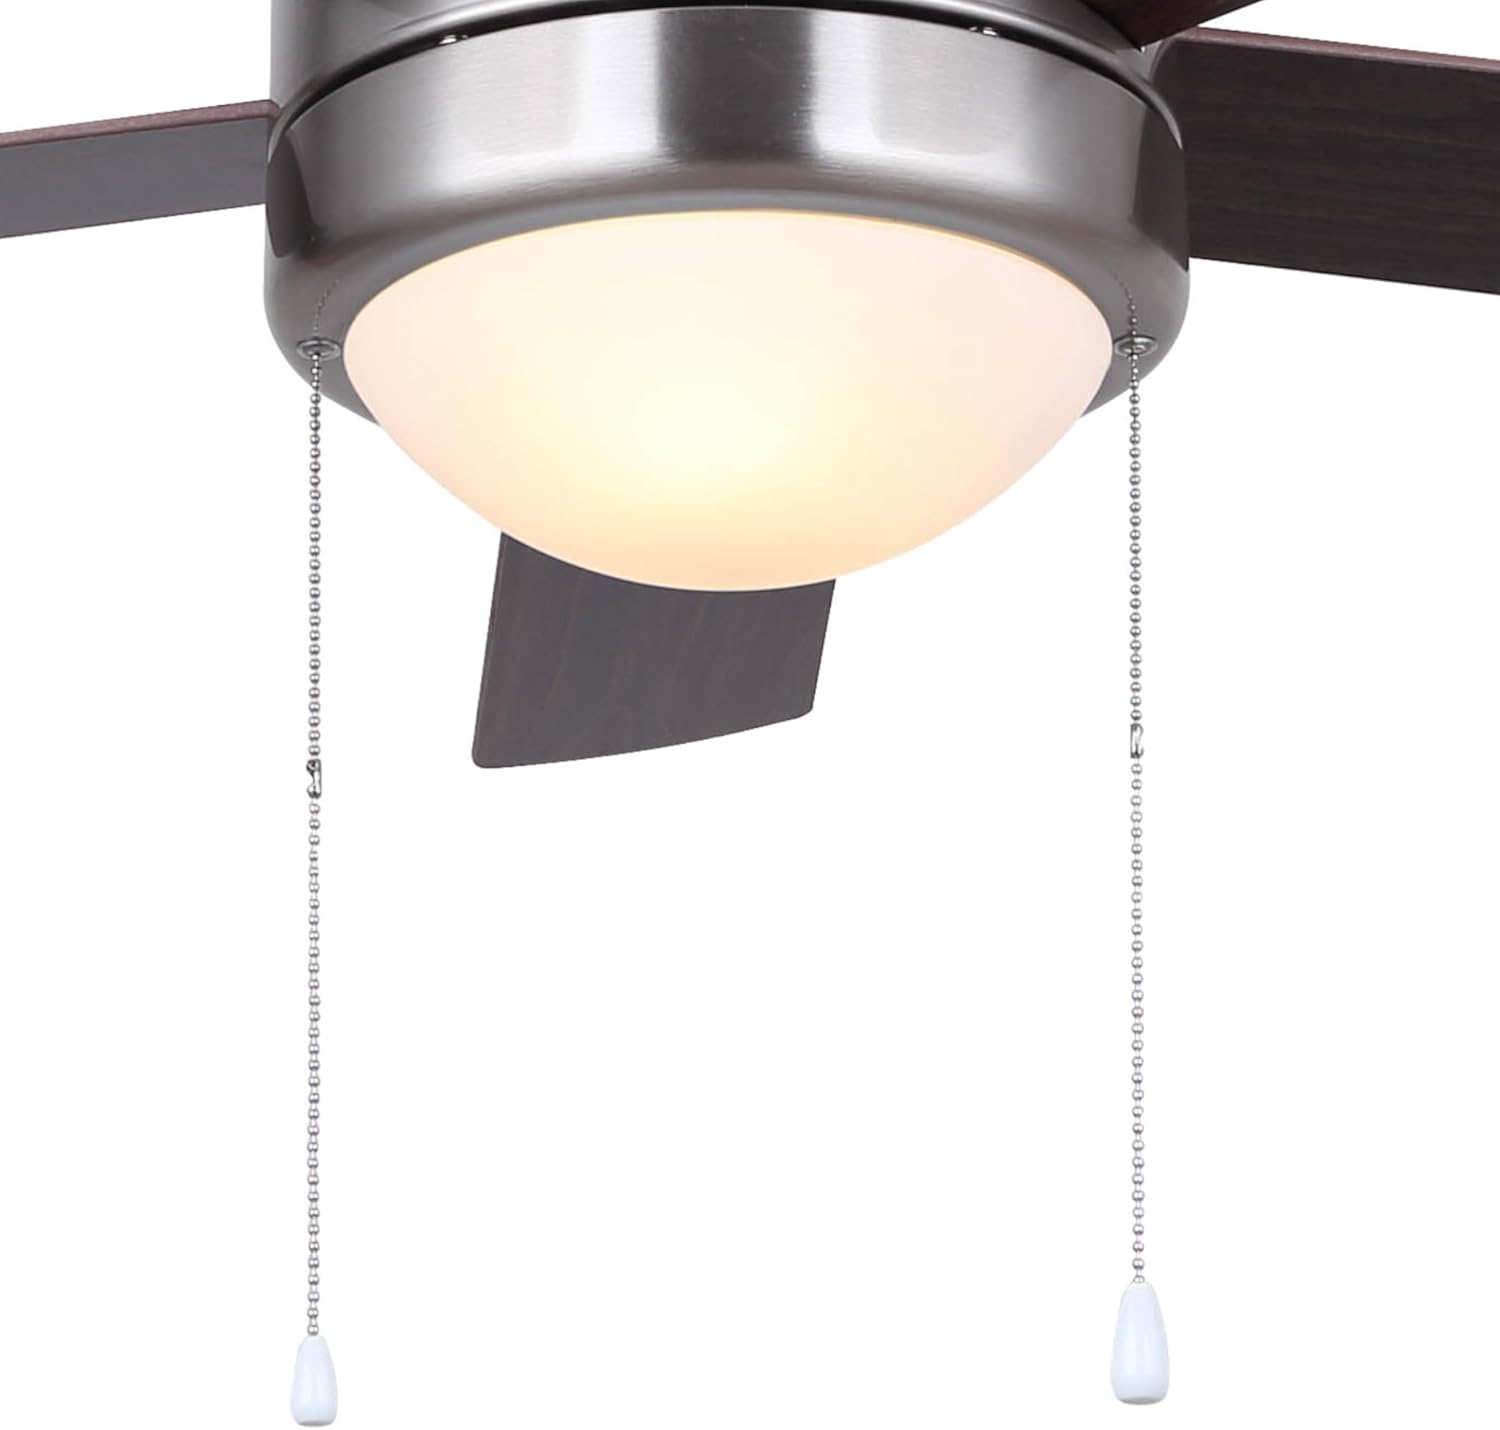
Image: The two pull chains for controlling the fan speed and the integrated light kit.
മെയിൻ്റനൻസ്
Regular maintenance ensures long-lasting performance and safety.
- വൃത്തിയാക്കൽ: ഇടയ്ക്കിടെ ഫാൻ ബ്ലേഡുകളും മോട്ടോർ ഹൗസിംഗും ഒരു സോഫ്റ്റ്, ഡി ക്ലീനർ ഉപയോഗിച്ച് വൃത്തിയാക്കുക.amp തുണി. ഉരച്ചിലുകളുള്ള ക്ലീനറുകളോ ലായകങ്ങളോ ഉപയോഗിക്കരുത്.
- ബ്ലേഡ് ദൃഢത: Check blade screws periodically to ensure they are tight. Loose blades can cause wobbling and noise.
- ലൈറ്റ് ബൾബ് മാറ്റിസ്ഥാപിക്കൽ: When replacing bulbs, ensure the power is off. Use bulbs of the same type and wattage as specified in the full manual or on the fixture.
- പൊടി ശേഖരണം: Dust can accumulate on the blades and motor, potentially affecting performance. Clean regularly.
ട്രബിൾഷൂട്ടിംഗ്
If you encounter issues, refer to these common solutions:
- ഫാൻ ആരംഭിക്കുന്നില്ല:
- സർക്യൂട്ട് ബ്രേക്കർ ഓണാണോ എന്ന് പരിശോധിക്കുക.
- എല്ലാ വയർ കണക്ഷനുകളും സുരക്ഷിതമാണെന്ന് ഉറപ്പാക്കുക.
- Verify the pull chain for the fan is in the ON position.
- വെളിച്ചം പ്രവർത്തിക്കുന്നില്ല:
- Check if the light pull chain is in the ON position.
- Ensure light bulbs are correctly installed and not burnt out.
- Verify wire connections to the light kit.
- ഫാൻ വബിൾസ്:
- Ensure all blade screws are tight.
- Check that the downrod is securely fastened to the mounting bracket and motor housing.
- Verify the mounting bracket is securely attached to the ceiling.
- ശബ്ദായമാനമായ പ്രവർത്തനം:
- Check for loose screws on the blades or motor housing.
- Ensure the fan is properly balanced.
- Allow a break-in period for new fans; some noise may diminish over time.
സ്ഥിരമായ പ്രശ്നങ്ങൾക്ക്, ഉപഭോക്തൃ പിന്തുണയുമായി ബന്ധപ്പെടുക.
സ്പെസിഫിക്കേഷനുകൾ
| ബ്രാൻഡ് | കാനറം |
| മോഡലിൻ്റെ പേര് | PRESTONIII 52 inch Ceiling Fan |
| മോഡൽ നമ്പർ | CF52PR35BN |
| വലിപ്പം | 52 ഇഞ്ച് |
| പൂർത്തിയാക്കുക | Brushed Nickel (matte) |
| ബ്ലേഡ് മെറ്റീരിയൽ | Oak (reversible Walnut/Silver Oak) |
| ബ്ലേഡുകളുടെ എണ്ണം | 5 |
| ലൈറ്റ് കിറ്റ് | Integrated with Opal Glass Shade, 2 Light Sources |
| ബൾബ് ബേസ് | E26 |
| നിയന്ത്രണ രീതി | ചെയിൻ വലിക്കുക |
| മൗണ്ടിംഗ് തരം | ഡൗൺറോഡ് മൗണ്ട് |
| ഇൻഡോർ/ഔട്ട്ഡോർ ഉപയോഗം | ഇൻഡോർ |
| ഇനത്തിൻ്റെ ഭാരം | 18.7 പൗണ്ട് |
| ഉൽപ്പന്ന അളവുകൾ | 52 x 52 x 16 ഇഞ്ച് |
വാറൻ്റിയും പിന്തുണയും
വാറന്റി വിവരങ്ങൾക്കോ സാങ്കേതിക പിന്തുണയ്ക്കോ, ദയവായി നിർമ്മാതാവിന്റെ ഉദ്യോഗസ്ഥനെ കാണുക. webസൈറ്റിൽ ബന്ധപ്പെടുകയോ അവരുടെ ഉപഭോക്തൃ സേവന വിഭാഗവുമായി ബന്ധപ്പെടുകയോ ചെയ്യുക. വാറന്റി ക്ലെയിമുകൾക്കായി നിങ്ങളുടെ വാങ്ങൽ രസീത് സൂക്ഷിക്കുക.
നിർമ്മാതാവ്: കാനറം
ബ്രാൻഡ് സ്റ്റോർ: ആമസോണിലെ കാനാം സ്റ്റോർ


