1. ആമുഖം
This manual provides detailed instructions for the ELECROW 7-inch 1024x600 HD IPS TFT LCD Touch Monitor. This versatile display is designed for various applications, including use with Raspberry Pi, Windows PCs, and other compatible devices. It features a capacitive USB touch screen and supports multiple display modes.
2. ബോക്സിൽ എന്താണുള്ളത്?
താഴെ ലിസ്റ്റ് ചെയ്തിരിക്കുന്ന എല്ലാ ഇനങ്ങളും നിങ്ങളുടെ പാക്കേജിൽ ഉൾപ്പെടുത്തിയിട്ടുണ്ടെന്ന് ദയവായി പരിശോധിക്കുക:

ചിത്രം: ഉൽപ്പന്ന പാക്കേജിന്റെ ഉള്ളടക്കം.
- 7-inch Touch Monitor x1
- HD മുതൽ HD വരെ കേബിൾ x1
- HD to Micro HD Adapter x1
- USB A to Micro USB Cable x1
- DVD x1 (containing drivers/software)
- ഉപയോക്തൃ മാനുവൽ x1
- Copper Screws Pack x1
3 സ്പെസിഫിക്കേഷനുകൾ
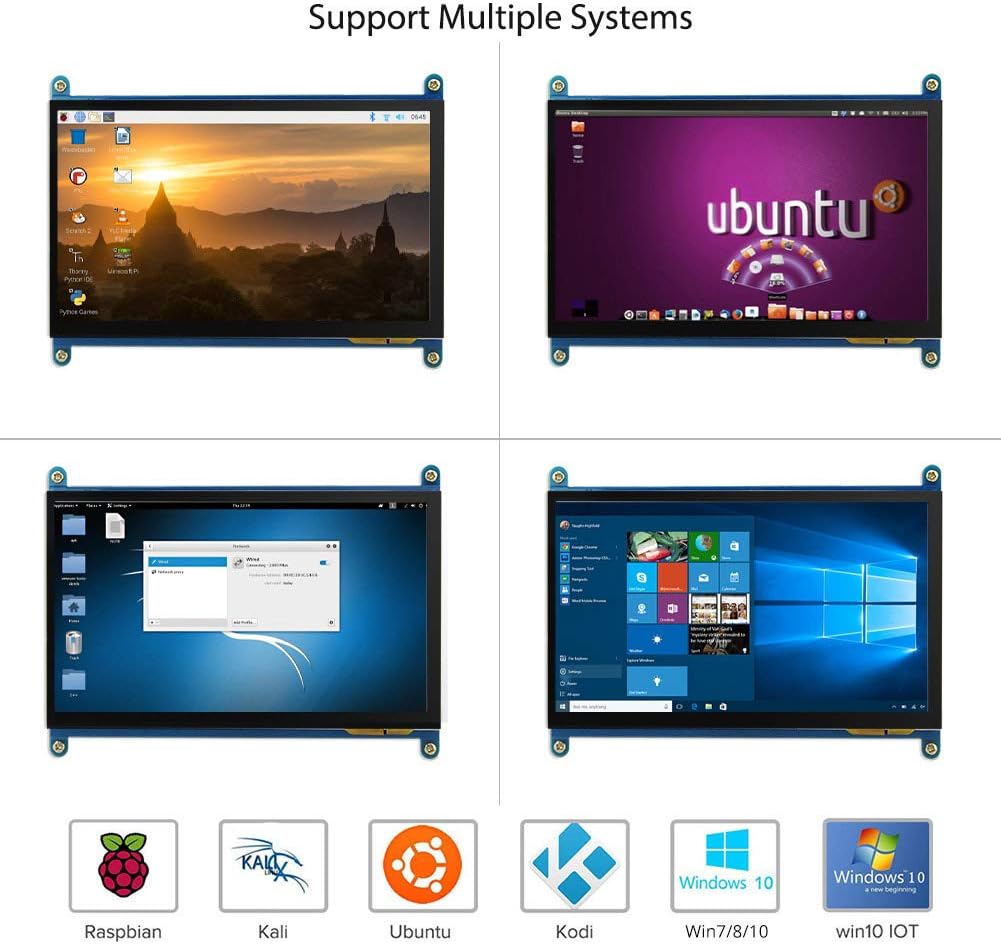
Image: The 7-inch IPS display highlighting its 1024x600 resolution.
| ഫീച്ചർ | വിശദാംശങ്ങൾ |
|---|---|
| ബ്രാൻഡ് | ഇലക്രോ |
| ഇനം മോഡൽ നമ്പർ | 7-inch 1024x600 Monitor |
| പരമ്പര | ടച്ച് സ്ക്രീൻ |
| നിറം | വിവിധ നിറങ്ങൾ |
| സ്ക്രീൻ തരം | എൽസിഡി |
| സ്ക്രീൻ വലിപ്പം | 7 ഇഞ്ച് |
| സ്ക്രീൻ റെസല്യൂഷൻ | 1024 x 600 |
| പരമാവധി ഡിസ്പ്ലേ റെസല്യൂഷൻ | 1024 x 600 |
| ഹാർഡ്വെയർ ഇന്റർഫേസ് | HDMI, Micro-HDMI, USB |
| HDMI പോർട്ടുകളുടെ എണ്ണം | 1 |
| കണക്റ്റർ തരം | HDMI, USB |
| ഉപകരണ അനുയോജ്യത | Raspberry Pi (5/400/4/3/2/1/3B+/BB), Banana Pi, Jetson Nano, BB Black |
| ഇനത്തിൻ്റെ അളവുകൾ L x W x H | 15 x 164 x 123 മില്ലിമീറ്റർ |
| പ്രത്യേക ഫീച്ചർ | ടച്ച് സ്ക്രീൻ |
| വീക്ഷണാനുപാതം | 1.71:1 |
| സ്ക്രീൻ ഉപരിതല വിവരണം | സുഗമമായ |
| ഇമേജ് ദൃശ്യതീവ്രത അനുപാതം | [Estimated] 800:1 |
| പ്രതികരണ സമയം | 5 മില്ലിസെക്കൻഡ് |
| പുതുക്കിയ നിരക്ക് | 60 Hz |
| സ്പെയർ പാർട്സ് ലഭ്യത | വിവരങ്ങൾ ലഭ്യമല്ല |
| സോഫ്റ്റ്വെയർ അപ്ഡേറ്റുകൾ ലഭിക്കുന്നതുവരെ ഉറപ്പ് | വിവരങ്ങൾ ലഭ്യമല്ല |
4. സജ്ജീകരണ നിർദ്ദേശങ്ങൾ
Follow these steps to connect and set up your ELECROW 7-inch monitor.
4.1 ഹാർഡ്വെയർ ഓവർview
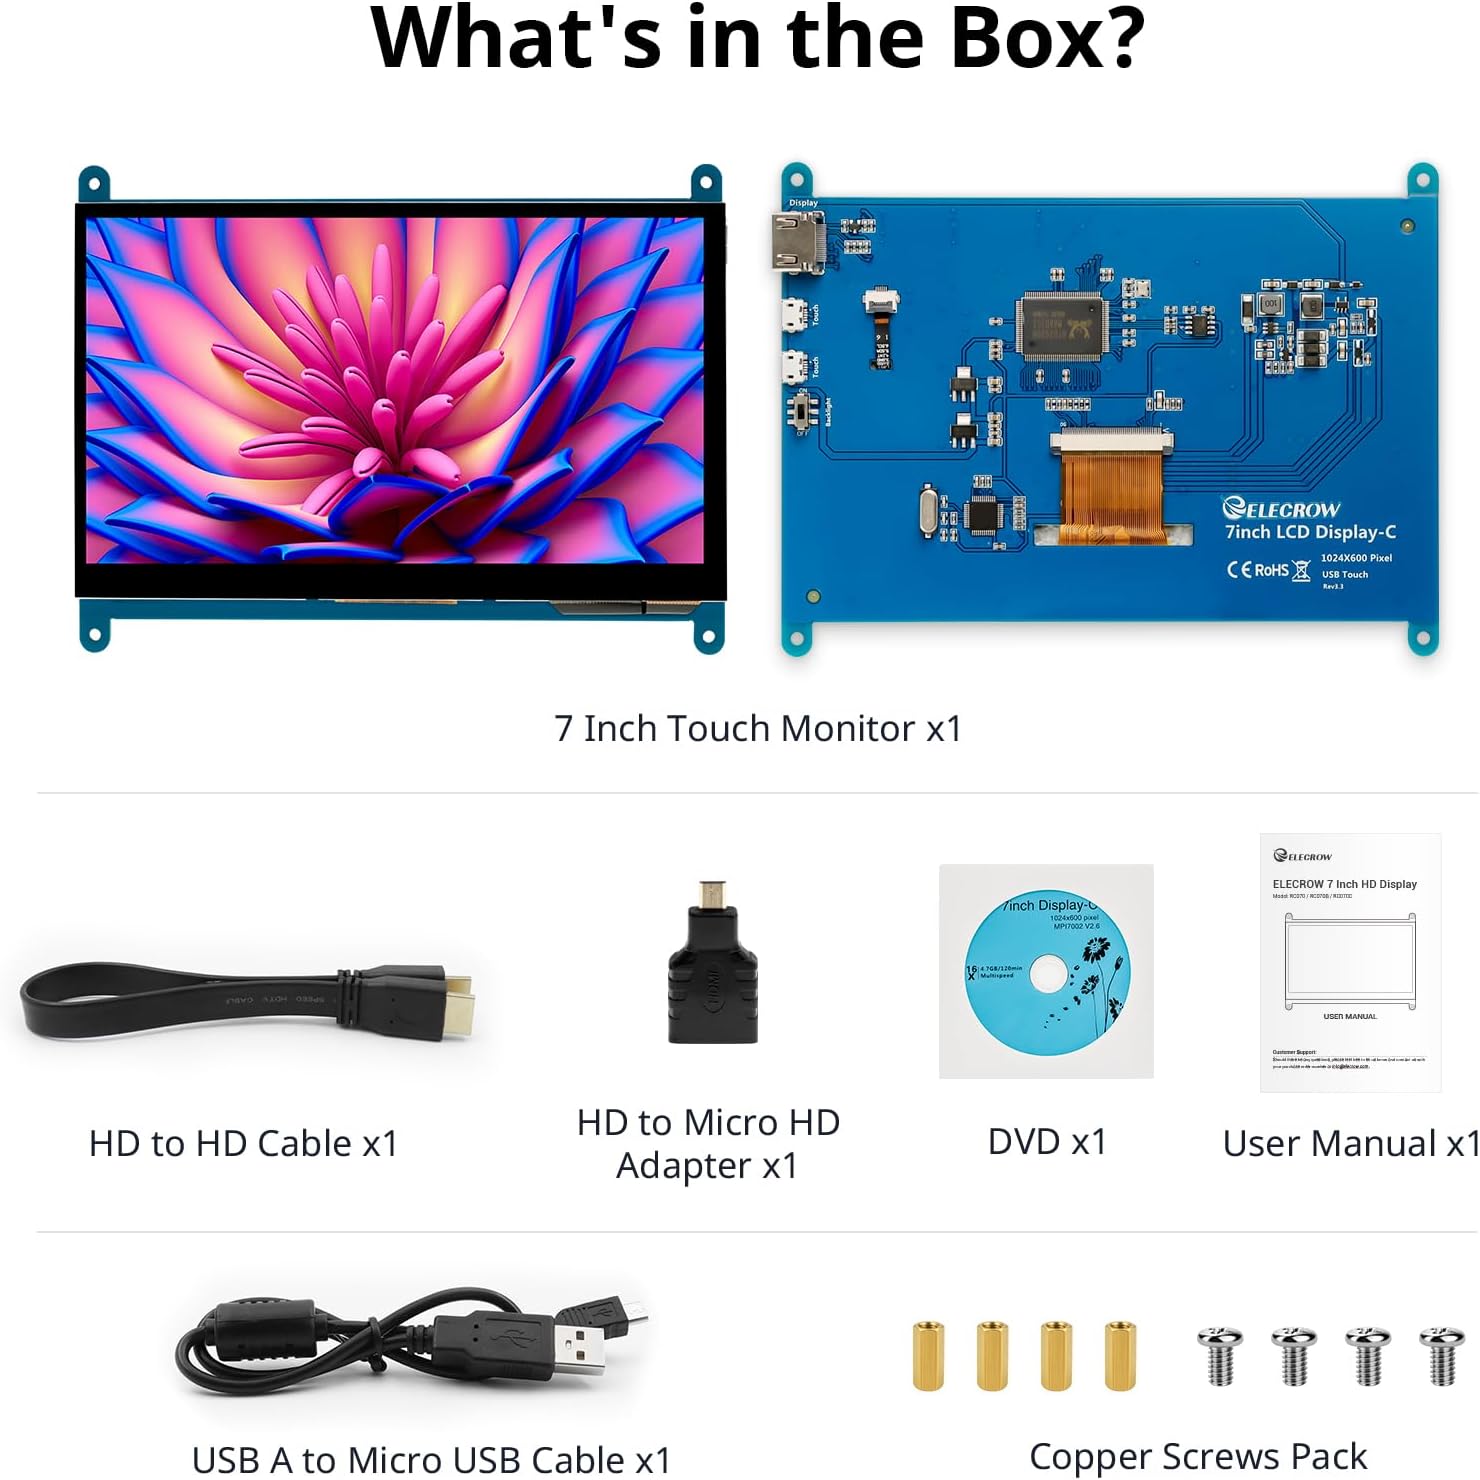
Image: Hardware overview of the monitor, indicating ports and backlight.
മോണിറ്ററിൻ്റെ സവിശേഷതകൾ:
- Standard HD Port for Data Transfer
- Micro USB Port for Touch and Power
- Backlight (control)
4.2 പൊതുവായ കണക്ഷൻ
To enable both display and touch functionality, connect the monitor to your device using both the HD cable for video and the USB cable for touch and power.

Image: Seamless connectivity options for various devices.
4.3 റാസ്പ്ബെറി പൈയിലേക്ക് ബന്ധിപ്പിക്കുന്നു
The monitor is fully compatible with Raspberry Pi models (5/400/4/3/2/1/3B+/BB). For touch functionality with Raspberry Pi, ensure the USB touch port is powered. The monitor supports Raspbian, Ubuntu, and single-touch input.
- Connect the HD cable from the Raspberry Pi to the monitor's HD port.
- Connect the USB A to Micro USB cable from a USB port on the Raspberry Pi to the monitor's Micro USB port. This provides power for the touch function.
- For initial boot or if experiencing issues, use an external power source for the Raspberry Pi, then unplug the USB power from the monitor and reconnect it to the Raspberry Pi's USB port.

Image: Raspberry Pi monitor setup diagram.
4.4 ഒരു പിസിയിലേക്ക് (വിൻഡോസ്) കണക്റ്റുചെയ്യുന്നു
When used as a computer monitor, it supports Windows 10/8/7 with 5-point touch. No driver installation is typically required; it's plug and play.
- Connect the HD cable from your PC's HD output to the monitor's HD port.
- Connect the USB A to Micro USB cable from a USB port on your PC to the monitor's Micro USB port. This enables the touch functionality.

Image: Monitor connected to a laptop as a PC monitor.
5. പ്രവർത്തന നിർദ്ദേശങ്ങൾ
5.1 ടച്ച് പ്രവർത്തനം
The monitor features a capacitive touch screen. When connected to a Windows PC, it supports 5-point multi-touch for a smooth and responsive experience. With Raspberry Pi, it supports single-touch.
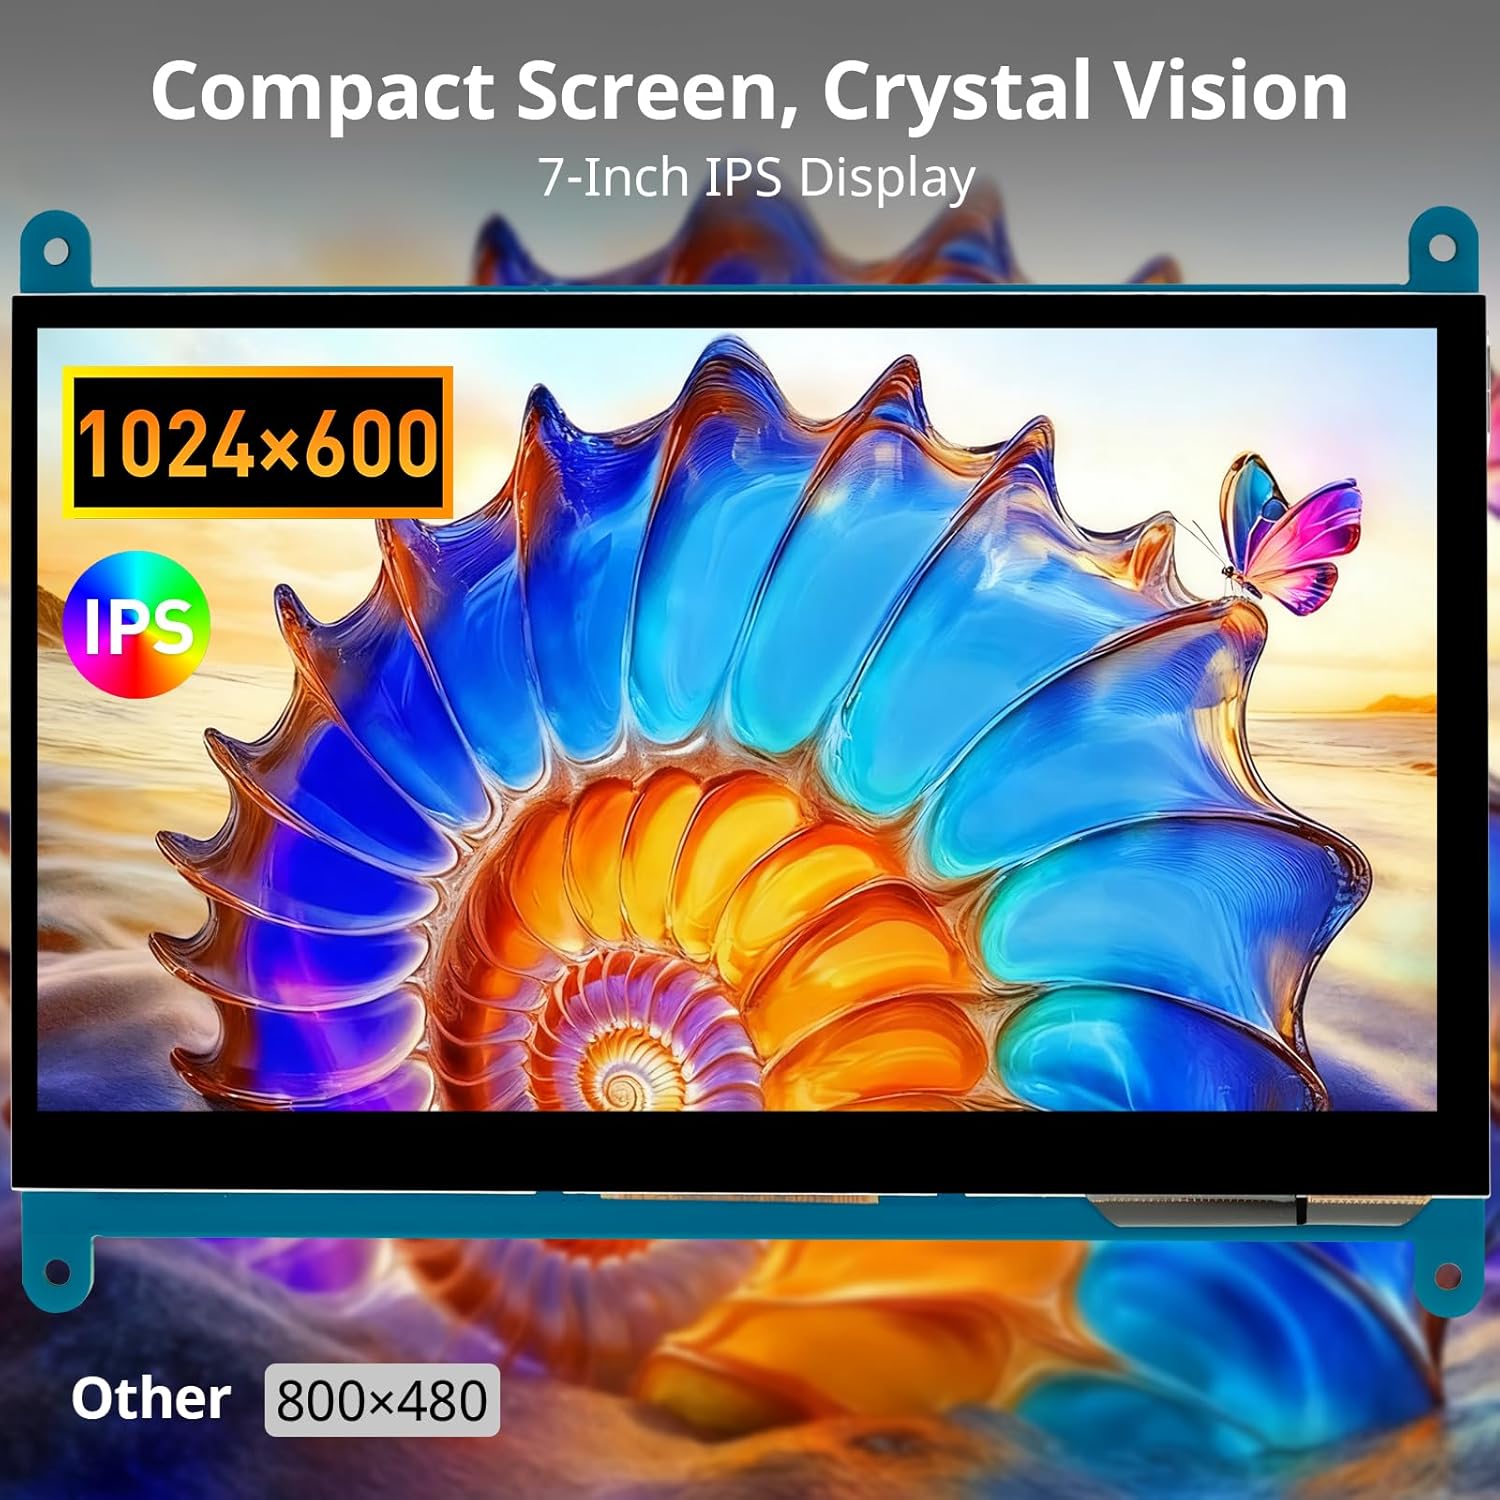
Image: Demonstration of 5-point multi-touch gestures.
5.2 ഡിസ്പ്ലേ മോഡുകൾ
This mini monitor operates in three modes when connected to a compatible system:
- കോപ്പി മോഡ്: Duplicates the primary display's content.
- വിപുലീകരിച്ച മോഡ്: Extends the desktop across both displays, providing more screen real estate.
- രണ്ടാമത്തെ സ്ക്രീൻ മോഡ്: Uses only the monitor as the primary display.
5.3 വൈവിധ്യമാർന്ന ആപ്ലിക്കേഷനുകൾ
The monitor's compact size and features make it suitable for various uses:
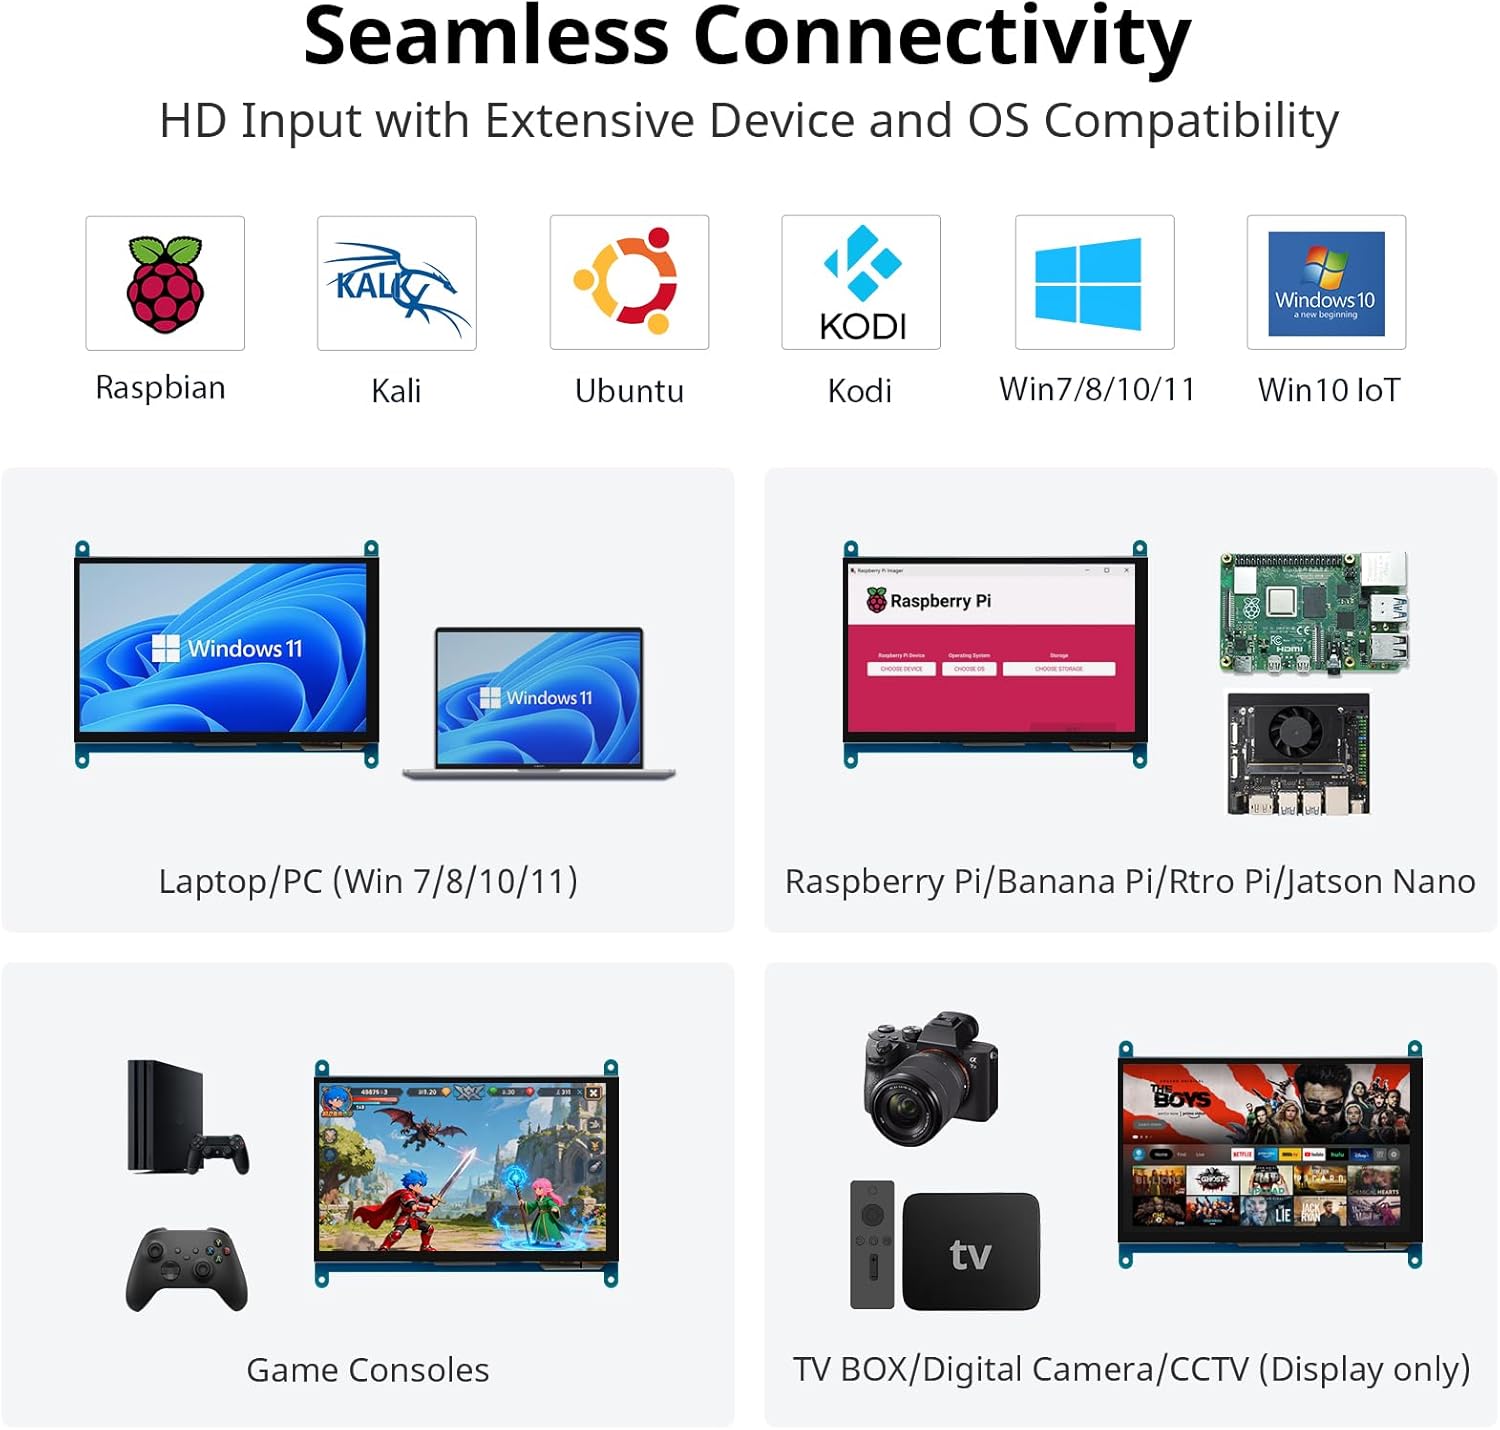
ചിത്രം: ഉദാamples of versatile display applications.
- Raspberry Pi Monitor: Ideal for DIY projects and embedded systems.
- Windows PC Monitor: Functions as a secondary or primary display for Windows 10/8/7.
- Gaming Monitor: Can be used with mini gaming setups.
- ഡിജിറ്റൽ ഫോട്ടോ ഫ്രെയിം: Display photos or other media.
- Home Monitoring Display: Integrate into smart home systems.
- In-Case System Monitor: Mount inside PC cases for system stats.
6. പരിപാലനം
നിങ്ങളുടെ മോണിറ്ററിന്റെ ദീർഘായുസ്സും ഒപ്റ്റിമൽ പ്രകടനവും ഉറപ്പാക്കാൻ, ഈ പരിപാലന മാർഗ്ഗനിർദ്ദേശങ്ങൾ പാലിക്കുക:
- സ്ക്രീൻ വൃത്തിയാക്കൽ: മൃദുവായ, ലിൻ്റ് രഹിത തുണി ഉപയോഗിക്കുകampened with water or a screen-cleaning solution. Avoid harsh chemicals, abrasive materials, or excessive moisture.
- സി വൃത്തിയാക്കൽasing: മോണിറ്റർ തുടയ്ക്കുക casinമൃദുവായതും ഉണങ്ങിയതുമായ തുണി ഉപയോഗിച്ച് ഗ്രാം.
- സംഭരണം: When not in use for extended periods, store the monitor in a cool, dry place away from direct sunlight and extreme temperatures.
- കൈകാര്യം ചെയ്യൽ: Avoid dropping the monitor or subjecting it to strong impacts. Do not apply excessive pressure to the screen.
- വെൻ്റിലേഷൻ: Ensure proper airflow around the monitor to prevent overheating.
7. പ്രശ്നപരിഹാരം
If you encounter issues with your ELECROW monitor, refer to the following common problems and solutions:
| പ്രശ്നം | സാധ്യമായ കാരണം / പരിഹാരം |
|---|---|
| Screen remains black / No signal |
|
| ടച്ച് ഫംഗ്ഷൻ പ്രവർത്തിക്കുന്നില്ല |
|
| Display resolution incorrect |
|
| Screen flickering or distorted image |
|
8. വാറൻ്റിയും പിന്തുണയും
8.1 വാറൻ്റി വിവരങ്ങൾ
Specific warranty details for this product are typically provided at the point of purchase or within the product packaging. Please refer to your purchase documentation for information regarding warranty duration and terms. Spare parts availability information is not available at this time.
8.2 ഉപഭോക്തൃ പിന്തുണ
For further assistance, technical support, or inquiries not covered in this manual, please contact ELECROW customer service through their official webസൈറ്റ് അല്ലെങ്കിൽ നിങ്ങൾ ഉൽപ്പന്നം വാങ്ങിയ റീട്ടെയിലർ.


