1. ആമുഖം
The Compustar ADS NI3 Plug-N-Play T-Harness (model ADS-THR-NI3) is an automotive electrical component designed to simplify the installation of remote start systems in specific Nissan vehicles. This T-harness provides a direct connection interface, reducing the need for extensive wire cutting and splicing, thereby streamlining the installation process for compatible remote start modules.
This manual provides essential information regarding the setup, operation, maintenance, and troubleshooting of your ADS NI3 T-Harness. For optimal performance and safety, it is recommended that installation be performed by a qualified professional.
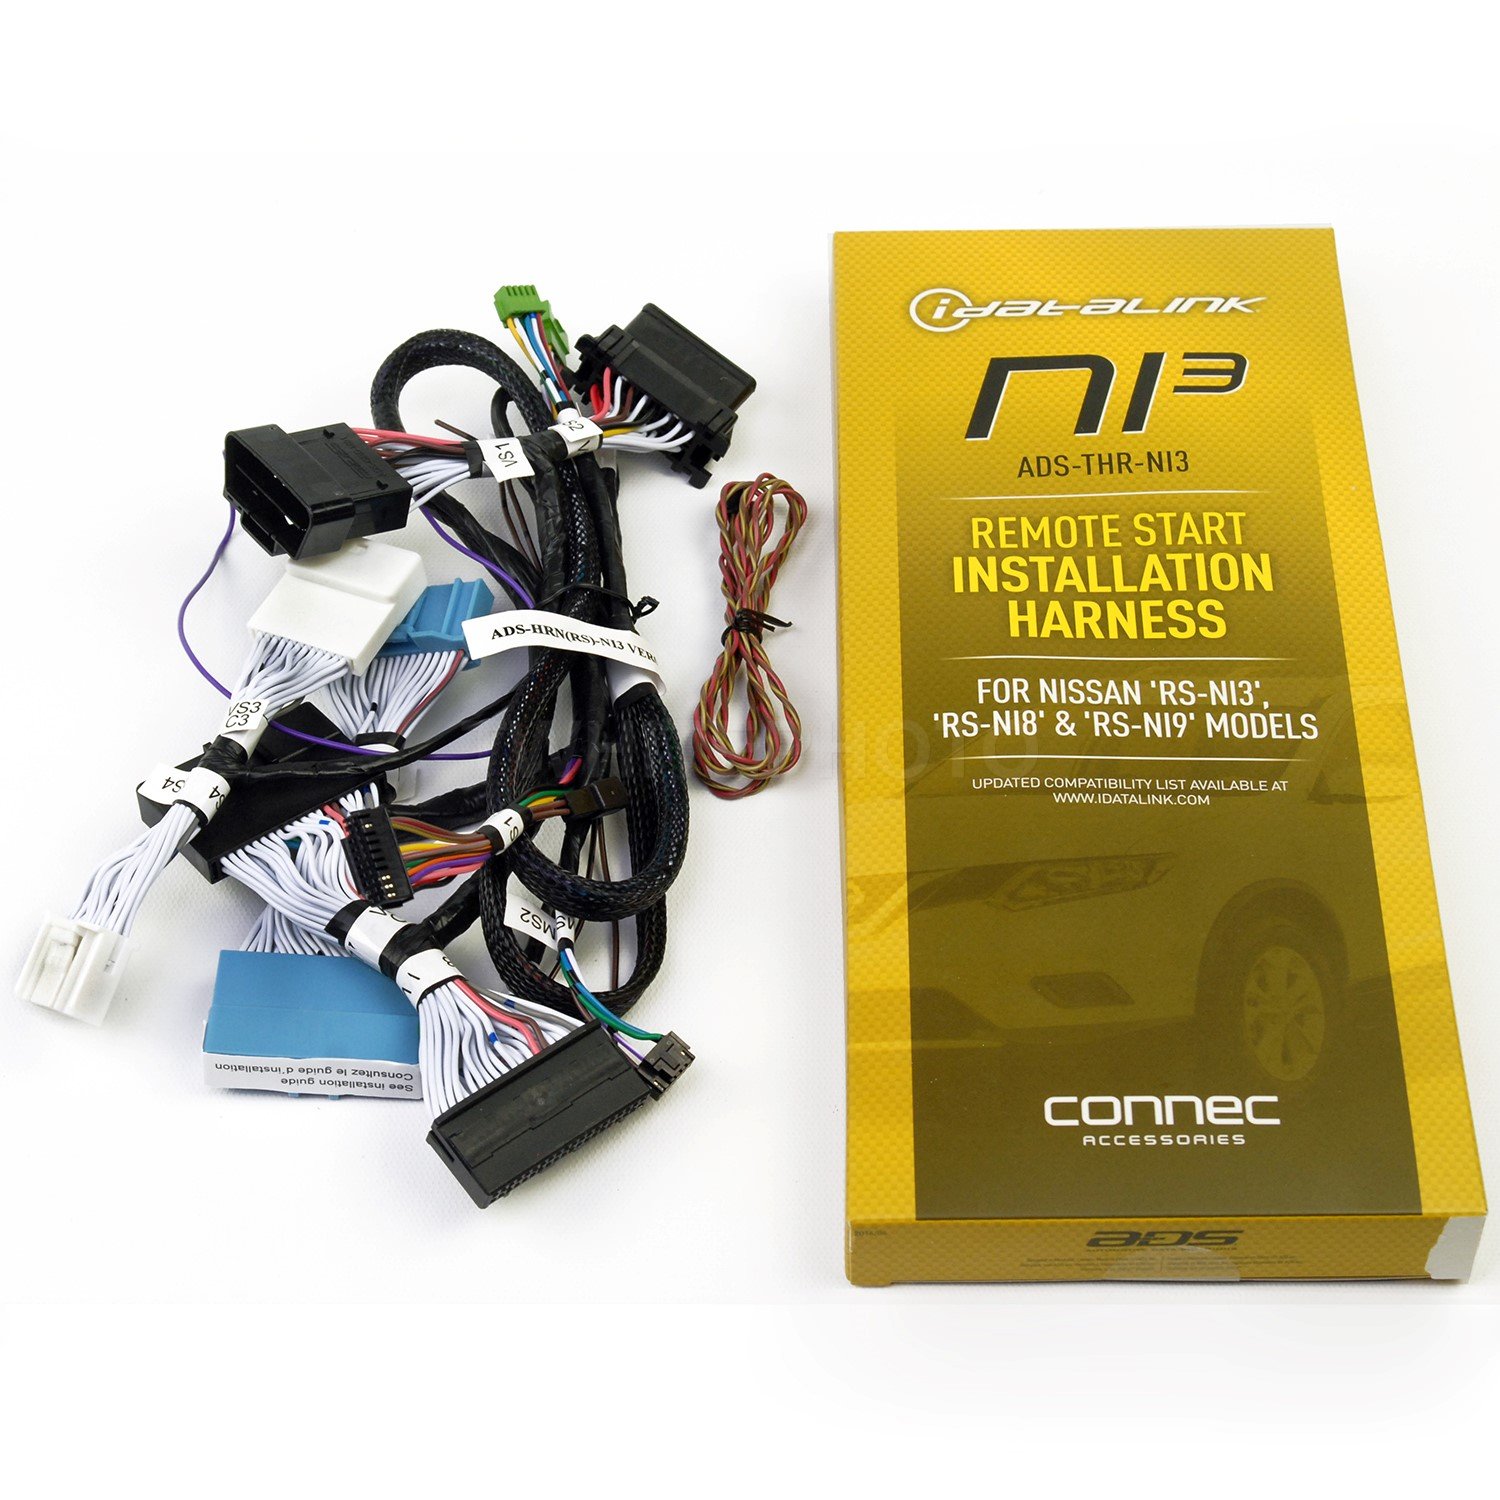
This image displays the product packaging for the ADS-THR-NI3 Remote Start Installation Harness. The packaging is primarily yellow and black, featuring the iDataLINK logo, the model number NI3, and the full product name 'ADS-THR-NI3 Remote Start Installation Harness'. It also indicates compatibility with Nissan 'RS-NI3', 'RS-NI8', and 'RS-NI9' models, and directs users to www.idatalink.com for an updated compatibility list. The 'connec ACCESSORIES' logo is visible at the bottom.
2. സജ്ജീകരണവും ഇൻസ്റ്റാളേഷനും
The ADS NI3 T-Harness is designed for integration with compatible remote start systems. Proper installation is crucial for functionality and vehicle safety. Due to the complexity of automotive electrical systems, professional installation is strongly recommended.
2.1 പ്രീ-ഇൻസ്റ്റലേഷൻ ചെക്ക്ലിസ്റ്റ്
- അനുയോജ്യത പരിശോധിച്ചുറപ്പിക്കൽ: Confirm that your vehicle (Nissan 'RS-NI3', 'RS-NI8', or 'RS-NI9' models) and your remote start module are compatible with the ADS NI3 T-Harness. Refer to the latest compatibility list on the iDataLINK webസൈറ്റ് (www.idatalink.com).
- ആവശ്യമായ ഉപകരണങ്ങൾ: Basic automotive tools may be needed for accessing vehicle wiring, such as panel removal tools, screwdrivers, and possibly a multimeter for testing.
- സുരക്ഷാ മുൻകരുതലുകൾ: Disconnect the vehicle's battery before beginning any electrical work to prevent short circuits or damage to vehicle components.
- നിർദ്ദേശങ്ങൾ വായിക്കുക: Thoroughly read this manual and the instructions provided with your remote start module before starting the installation.
2.2. ഇൻസ്റ്റലേഷൻ ഘട്ടങ്ങൾ (പൊതു മാർഗ്ഗനിർദ്ദേശങ്ങൾ)
- വാഹന വയറിംഗ് ആക്സസ് ചെയ്യുക: Carefully remove necessary trim panels to gain access to the vehicle's ignition and other relevant wiring harnesses.
- Locate Connection Points: Identify the specific OEM connectors in your vehicle that correspond to the ADS NI3 T-Harness. These are typically found near the steering column or behind the dashboard.
- ടി-ഹാർനെസ് ബന്ധിപ്പിക്കുക: Plug the ADS NI3 T-Harness directly into the identified OEM connectors. Ensure all connections are secure and fully seated.
- Integrate with Remote Start Module: Connect the other end of the ADS NI3 T-Harness to your compatible remote start module according to the module's specific wiring diagram.
- സുരക്ഷിത വയറിംഗ്: Route and secure all wiring to prevent interference with moving parts or accidental disconnections. Use zip ties or electrical tape as needed.
- ടെസ്റ്റ് സിസ്റ്റം: Reconnect the vehicle battery and test the remote start system's functionality before reassembling the vehicle's interior.
- വീണ്ടും കൂട്ടിച്ചേർക്കുക: Once confirmed operational, carefully reassemble all removed trim panels.
കുറിപ്പ്: Specific installation details, including exact wire colors and connector locations, vary by vehicle model and remote start system. Always consult the detailed installation guides provided by Compustar and iDataLINK for your specific application.
3. Operating the T-Harness
The ADS NI3 T-Harness is a passive component designed to facilitate the connection between your vehicle's electrical system and a remote start module. It does not have independent operational controls. Its function is to provide the necessary electrical pathways for the remote start system to communicate with and control vehicle functions such as ignition, door locks, and security systems.
Operation of the remote start system itself will depend on the specific remote start module installed and its associated remote control or smartphone application. Refer to the user manual provided with your remote start module for instructions on how to use its features.
4. പരിപാലനം
The ADS NI3 T-Harness requires minimal maintenance. Once properly installed, it is designed for long-term, reliable operation within your vehicle's electrical system.
- ആനുകാലിക പരിശോധന: If you experience issues with your remote start system, a professional installer may inspect the T-harness connections to ensure they remain secure and free from corrosion or damage.
- പരിസ്ഥിതി സംരക്ഷണം: Ensure the harness and its connections are protected from excessive moisture, heat, and physical abrasion during installation and throughout the vehicle's use.
- വൃത്തിയാക്കൽ: Avoid direct application of cleaning agents to electrical connections. If cleaning is necessary, use a dry, lint-free cloth.
5. പ്രശ്നപരിഹാരം
If your remote start system is not functioning as expected, the issue may not directly stem from the T-Harness itself, but rather from the remote start module, its programming, or other vehicle components. However, the T-Harness's connections can be a point of failure if not installed correctly.
5.1. പൊതുവായ പ്രശ്നങ്ങളും പരിഹാരങ്ങളും
- Remote Start System Not Responding:
- കണക്ഷനുകൾ പരിശോധിക്കുക: Ensure all T-Harness connectors are fully seated and secure. Loose connections can interrupt signals.
- Verify Module Power: Confirm the remote start module is receiving power.
- മൊഡ്യൂൾ പ്രോഗ്രാമിംഗ്: The remote start module may require reprogramming or re-initialization. Consult the module's manual.
- ഇടയ്ക്കിടെയുള്ള പ്രവർത്തനം:
- കേടുപാടുകൾക്കായി പരിശോധിക്കുക: Check the T-Harness wires and connectors for any signs of physical damage, pinching, or corrosion.
- പാരിസ്ഥിതിക ഘടകങ്ങൾ: Extreme temperatures or moisture could affect electrical connections.
- Vehicle Warning Lights:
- If new warning lights appear after installation, immediately consult a professional installer. This could indicate an incorrect connection or a conflict with the vehicle's onboard diagnostics.
If troubleshooting steps do not resolve the issue, it is highly recommended to contact a certified automotive electronics technician or the Compustar/iDataLINK support for assistance.
6 സ്പെസിഫിക്കേഷനുകൾ
| ഫീച്ചർ | വിശദാംശങ്ങൾ |
|---|---|
| മോഡൽ നമ്പർ | ADS-THR-NI3 |
| ബ്രാൻഡ് | കമ്പസ്റ്റാർ |
| മെറ്റീരിയൽ | പോളി വിനൈൽ ക്ലോറൈഡ് (PVC) |
| കണക്റ്റർ തരം | ടി-കണക്റ്റർ |
| യു.പി.സി | 700191259491 |
| പാക്കേജ് അളവുകൾ | 10 x 2 x 2 ഇഞ്ച് |
| ഇനത്തിൻ്റെ ഭാരം | 1 പൗണ്ട് |
| അനുയോജ്യത | Nissan 'RS-NI3', 'RS-NI8', 'RS-NI9' models (verify on idatalink.com) |
7. വാറൻ്റിയും പിന്തുണയും
7.1. ഉൽപ്പന്ന വാറൻ്റി
The Compustar ADS NI3 T-Harness is covered by a manufacturer's warranty against defects in materials and workmanship. The specific terms and duration of the warranty may vary. Please refer to the official Compustar or iDataLINK website, or the documentation included with your purchase, for detailed warranty information.
കുറിപ്പ്: Damage resulting from improper installation, misuse, or unauthorized modifications may void the product warranty.
7.2. സാങ്കേതിക പിന്തുണ
For technical assistance, installation guidance, or troubleshooting beyond the scope of this manual, please contact:
- Your authorized Compustar or iDataLINK dealer/installer.
- Compustar Customer Support (refer to their official webബന്ധപ്പെടാനുള്ള വിവരങ്ങൾക്ക് സൈറ്റ്).
- iDataLINK Support (www.idatalink.com).
When contacting support, please have your product model number (ADS-THR-NI3) and vehicle information readily available.


